Introduction to the OpenStack Dashboard
An overview of the OpenStack dashboard graphical user interface
Abstract
Preface
This document provides an outline of the options available in the OpenStack dashboard graphical user interface.
Chapter 1. The OpenStack Dashboard
The OpenStack dashboard is a web-based graphical user interface for managing OpenStack services.
To access the browser dashboard, the dashboard service must be installed, and you must know the dashboard host name (or IP) and login password. The dashboard URL is:
http://HOSTNAME/dashboard/
http://HOSTNAME/dashboard/

Chapter 2. The Admin Tab
The Admin tab provides an interface where administrative users can view usage and manage instances, volumes, flavors, images, projects, users, services, and quotas.
The Admin tab displays in the main window only if you have logged in as a user with administrative privileges.
The following options are available in the Admin tab:
| Parameter Name | Description |
|---|---|
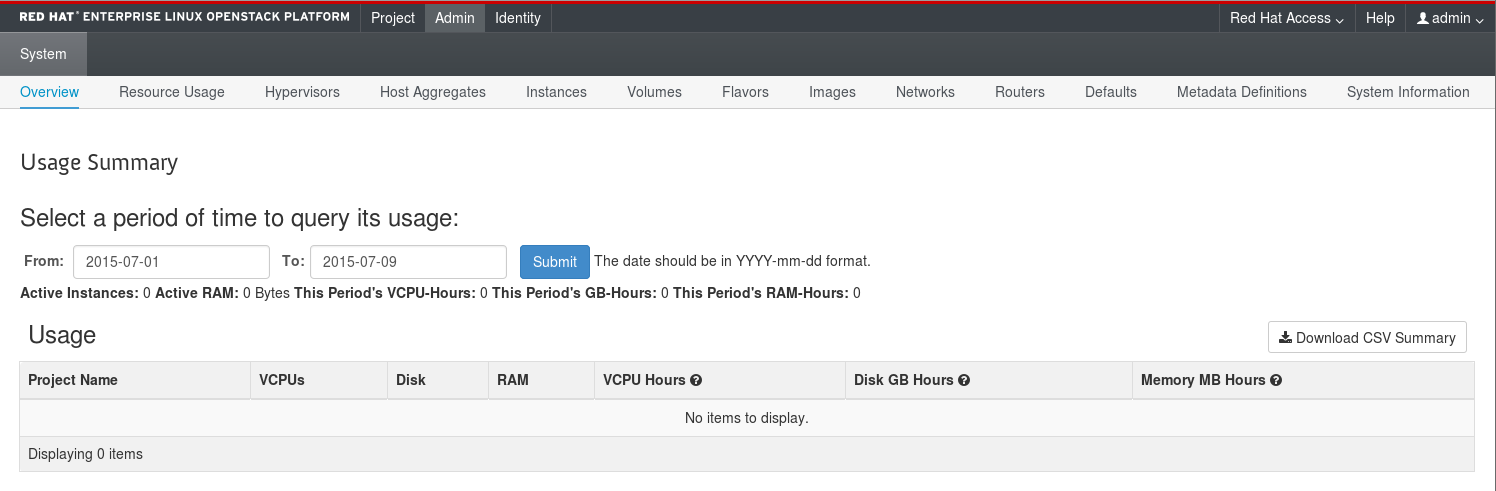
| Overview | View basic reports. |
| Resource Usage | Use the following tabs to view the following usages:
|
| Hypervisors | View the hypervisor summary. |
| Host Aggregates | View, create, and edit host aggregates. View the list of availability zones. |
| Instances | View, pause, resume, suspend, migrate, soft or hard reboot, and delete running instances that belong to users of some, but not all, projects. Also, view the log for an instance or access an instance using the console. |
| Volumes | View, create, edit, and delete volumes, and volume types. |
| Flavors | View, create, edit, view extra specifications for, and delete flavors. Flavors are the virtual hardware templates in OpenStack. |
| Images | View, create, edit properties for, and delete custom images. |
| Networks | View, create, edit properties for, and delete networks. |
| Routers | View, create, edit properties for, and delete routers. |
| Floating IPs | View allocated floating IP addresses for all projects. |
| Defaults | View and edit the default quotas (maximum limits) for resources in the environment. |
| Metadata Definitions | Import, view, and edit metadata definition namespaces, and associate the metadata definitions with specific resource types. |
| System Information | Contains the following tabs:
|
2.1. View Allocated Floating IP Addresses
You can use the Floating IPs panel to view a list of allocated floating IP addresses. This information can also be accessed using the command line:
nova list --all-tenants
$ nova list --all-tenantsChapter 3. The Project Tab
The Project tab provides an interface for viewing and managing the resources of a project. Set a project as active in Identity > Projects to view and manage resources in that project.
The following options are available in the Project tab:
| Parameter Name | Description |
|---|---|
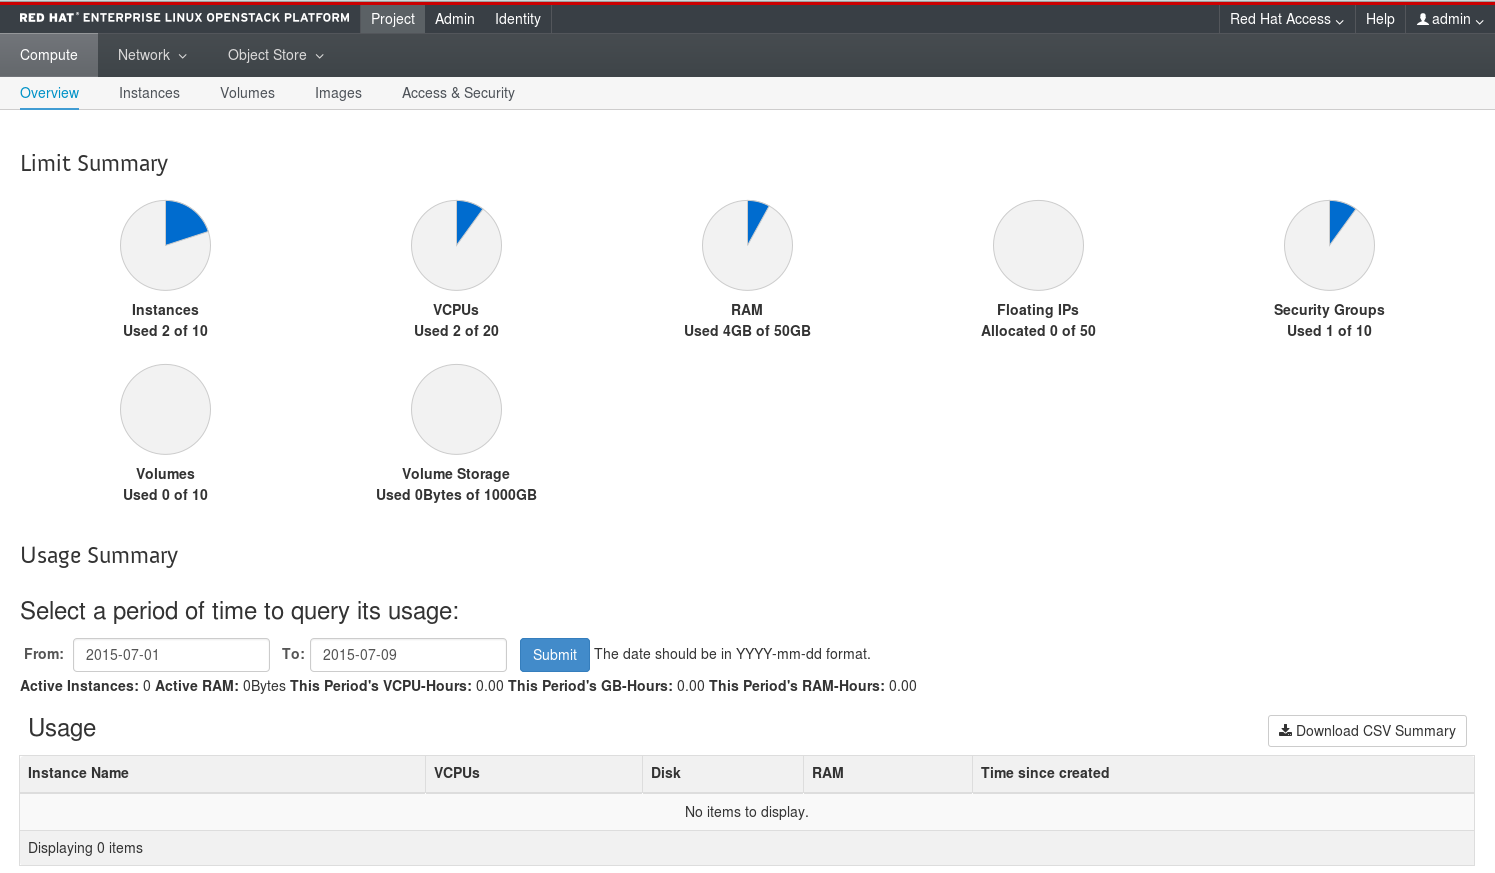
| Overview | View reports for the project. |
| Instances | View, launch, create a snapshot from, stop, pause, or reboot instances, or connect to them through the console. |
| Volumes | Use the following tabs to complete these tasks:
|
| Images | View images, instance snapshots, and volume snapshots created by project users, and any images that are publicly available. Create, edit, and delete images, and launch instances from images and snapshots. |
| Access & Security | Use the following tabs to complete these tasks:
|
| Parameter Name | Description |
|---|---|
| Network Topology | View the interactive topology of the network. |
| Networks | Create and manage public and private networks and subnets. |
| Routers | Create and manage routers. |
| Parameter Name | Description |
|---|---|
| Containers | Create and manage storage containers. A container is a storage compartment for data, and provides a way for you to organize your data. It is similar to the concept of a Linux file directory, but it cannot be nested. |
| Parameter Name | Description |
|---|---|
| Stacks | Orchestrate multiple composite cloud applications using templates, through both an OpenStack-native REST API and a CloudFormation-compatible Query API. |
Chapter 4. The Identity Tab
The Identity tab provides an interface for viewing and managing projects and users.

The following options are available in the Identity tab:
- Projects - View, create, edit, and delete projects/tenants, view project usage, add or remove users as project members, modify quotas, and set an active project.
- Users - View, create, edit, disable, and delete users, and change user passwords. The Users tab displays only if you are logged in as a user with administrative privileges.
For more information on procedures to manage your cloud using the OpenStack Dashboard, see the following guides:
- Instances and Images guide (also has procedures for volumes and containers)
- Networking guide
- Users and Identity Management guide
Chapter 5. Customizing the Dashboard
The look and feel of the OpenStack dashboard can be customized using the settings defined in /openstack-dashboard/openstack_dashboard/local/local_settings.py. You can customize the following elements of the dashboard:
- HTML title
- Site branding link
- Help URL
In addition, you can create a custom theme and further customize the look and feel of the dashboard, including the following components:
- Logo
- Site colors
- Stylesheets
The OpenStack dashboard installs a default theme. If you do not want to use this theme, remove it using the following commands:
cd /usr/share/openstack-dashboard/openstack_dashboard/enabled
cp _99_customization.py _999_remove_theme.py
echo "DISABLED = True" >> _999_remove_theme.py
systemctl restart httpd
# cd /usr/share/openstack-dashboard/openstack_dashboard/enabled
# cp _99_customization.py _999_remove_theme.py
# echo "DISABLED = True" >> _999_remove_theme.py
# systemctl restart httpd
For a director deployment, you will need to log in to each controller node as heat-admin to make the changes.
5.1. Logo, Site Colors, and Stylesheets
-
Copy the entire RCUE theme directory
/usr/share/openstack-dashboard/openstack_dashboard/themes/rcueto a new location, for example/usr/share/openstack-dashboard/openstack_dashboard/themes/mytheme. Create a new file
/etc/openstack-dashboard/local_settings.d/_12_mytheme_theme.pyand add the following line:AVAILABLE_THEMES = [('mytheme', 'My Custom Theme', 'themes/mytheme')]AVAILABLE_THEMES = [('mytheme', 'My Custom Theme', 'themes/mytheme')]Copy to Clipboard Copied! Toggle word wrap Toggle overflow Change all paths inside
/usr/share/openstack-dashboard/openstack_dashboard/themes/mytheme/static/replacingrcuewith the newmythemename.To change a theme's colors, graphics, fonts, among others, edit the files in `/usr/share/openstack-dashboard/openstack_dashboard/themes/mytheme`.
To change a theme's colors, graphics, fonts, among others, edit the files in `/usr/share/openstack-dashboard/openstack_dashboard/themes/mytheme`.Copy to Clipboard Copied! Toggle word wrap Toggle overflow If you deployed OpenStack with High Availability, restart the httpd service using pacemaker:
pcs resource restart httpd-clone
# pcs resource restart httpd-cloneCopy to Clipboard Copied! Toggle word wrap Toggle overflow Otherwise, run:
systemctl restart httpd
# systemctl restart httpdCopy to Clipboard Copied! Toggle word wrap Toggle overflow
To view your changes, reload your dashboard.
5.2. HTML Title
To set the HTML title that appears at the top of the browser window, add the following line to
local_settings.py.SITE_BRANDING = "Example, Inc. Cloud"
SITE_BRANDING = "Example, Inc. Cloud"Copy to Clipboard Copied! Toggle word wrap Toggle overflow - Restart the httpd server.
5.3. Site Branding Link
The logo also acts as a hyperlink, redirecting to
horizon:user_homeby default. To change this, add the following attribute with the desired URL target tolocal_settings.py.SITE_BRANDING_LINK = "http://example.com"
SITE_BRANDING_LINK = "http://example.com"Copy to Clipboard Copied! Toggle word wrap Toggle overflow - Restart the httpd server.
5.4. Help URL
By default the help URL points to https://access.redhat.com/documentation/en/red-hat-openstack-platform. You can change the help URL by editing the following attribute to the URL of your choice in
local_settings.py:'help_url': "http://openstack.example.com",
'help_url': "http://openstack.example.com",Copy to Clipboard Copied! Toggle word wrap Toggle overflow - Restart the httpd server.