Web console
Read more to learn how to use console components.
Abstract
Chapter 1. Web console
Learn how to access the console for your Red Hat Advanced Cluster Management console and learn how to use console components.
1.1. Accessing your console
From the Red Hat OpenShift Container Platform web console, you can access the Red Hat Advanced Cluster Management for Kubernetes console. You can also access the console from your terminal after installation. See all the options for accessing your console.
1.1.1. From the OpenShift Container Platform web console
- You can click the Application launcher in the header and choose the Red Hat Advanced Cluster Management for Kubernetes option.
- For earlier versions of OpenShift Container Platform, you can click the Application launcher in the header and choose the Red Hat Advanced Cluster Management for Kubernetes option.
You can also access the console from the left-hand navigation.
- Click Networking > Routes
-
From the Project menu, select the namespace where Red Hat Advanced Cluster Management for Kubernetes is installed. The default namespace is
open-cluster-management. -
Click the
multicloud-consoleURL from theLocationcolumn.
1.1.2. From the Red Hat OpenShift CLI:
-
While logged in to Red Hat OpenShift Container Platform and after you install Red Hat Advanced Cluster Management for Kubernetes, run the following command to find the route. Here,
<namespace-from-install>is the namespace where you installed the product:
oc get routes -n <namespace-from-install>-
Find the
open-cluster-managementname and theHost/Portcolumns to get your URL.
Learn more about the Red Hat Advanced Cluster Management for Kubernetes console, see Web console.
1.2. Console overview
Learn more about console components that you can use to view, manage, or customize your console.
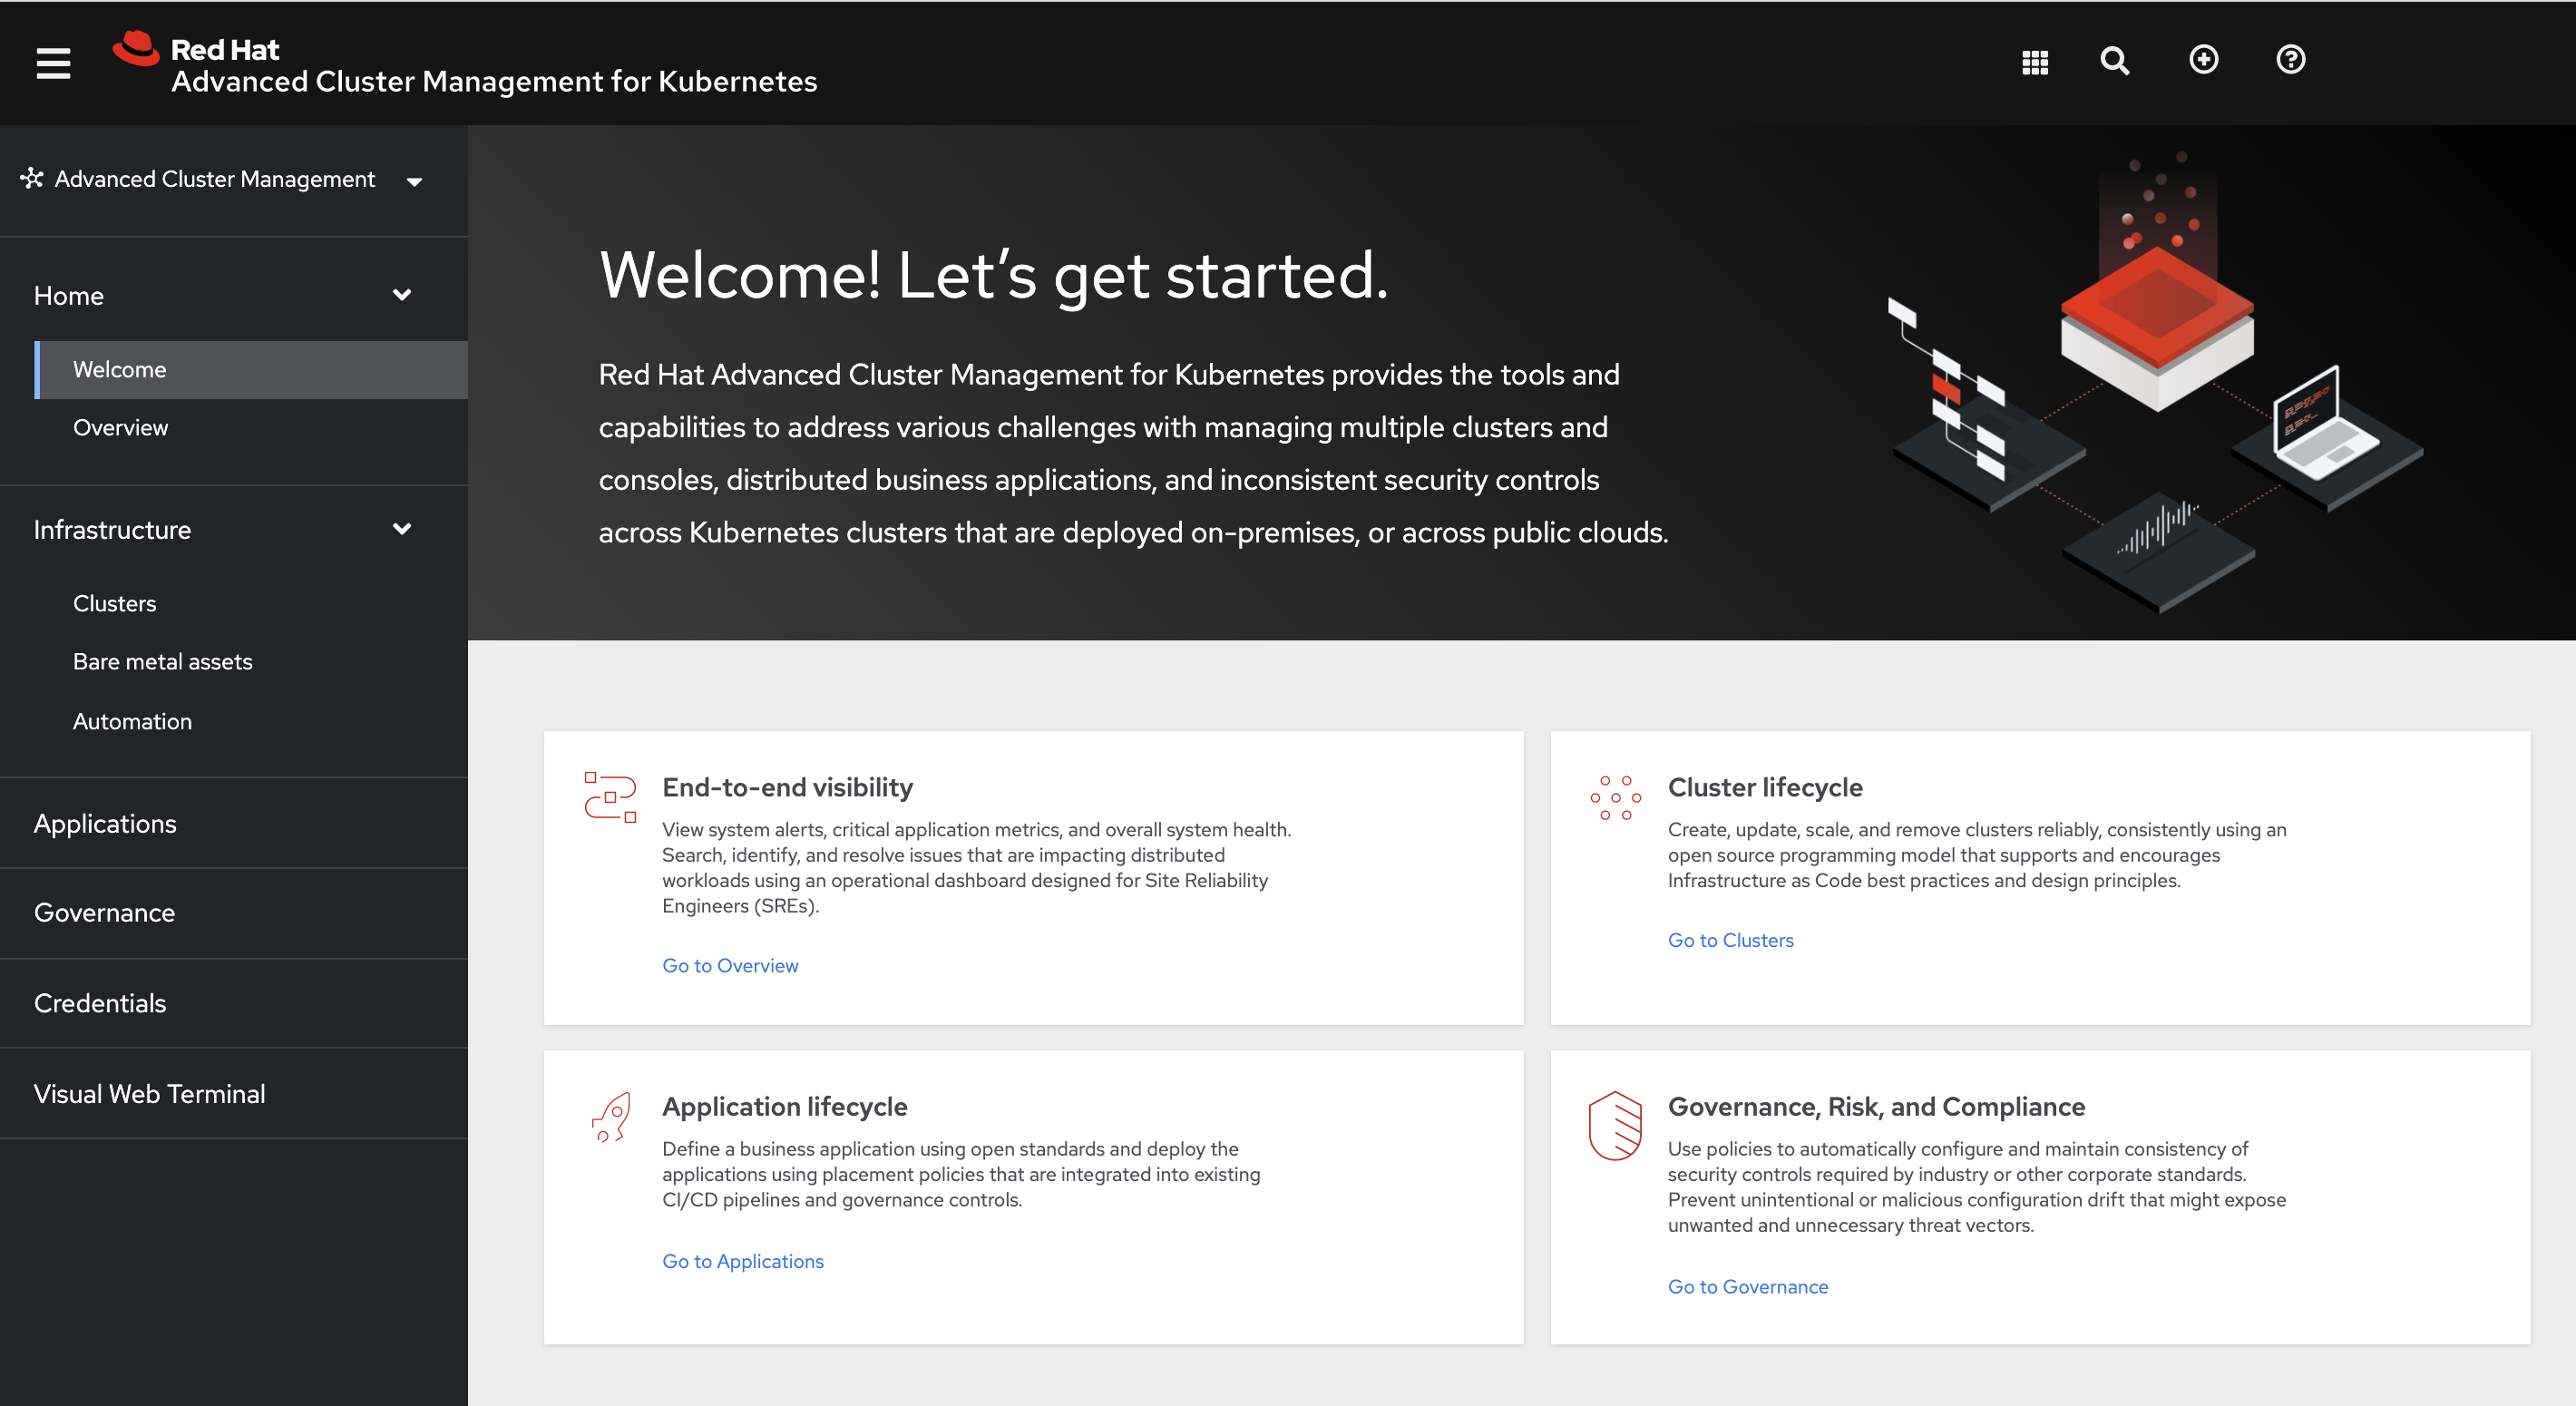
See the following image of the Navigation from the Red Hat Advanced Cluster Management for Kubernetes console, which is described in more detail later in each section. See that the navigation represents major production function.
1.2.1. Console components
To learn about Search, see Search in the console
1.2.2. Home
From the Red Hat Advanced Cluster Management for Kubernetes Home page, you get more information about the product and you can access header features, as well as the pages for the major components of the product.
Access the Welcome page and the Overview, which gives you visibility into your clusters.
You can view the following information about your clusters on the Overview dashboard:
- Metric data from your managed clusters by selecting the Grafana link
- Cluster, node, and pod counts across all clusters and for each provider
- Cluster status
- Cluster compliance
- Pod status
Additionally, you can view many clickable elements on the dashboard open a search for related resources. Click on a provider card to view information for clusters from a single provider.
- Select Grafana to access the Grafana dashboard.
- Click Add provider connections to access the Clusters page.
1.3. Search in the console
For Red Hat Advanced Cluster Management for Kubernetes, search provides visibility into your Kubernetes resources across all of your clusters. Search indexes the Kubernetes resources and the relationships to other resources. You can create a searchcustomization custom resource (CR) to define the storage settings for search persistence if you want to change the storage class and storage size.
1.3.1. Search components
The search architecture is composed of the following components:
-
Collector: Watches the Kubernetes resources and creates an index. The
search-collectorcomputes relationships for resources within the managed cluster. -
Aggregator: Receives data from the collector and writes to a database. The
search-aggregatorwatches resources in the hub cluster, computes multicluster relationships, and tracks the activity from connected collectors. - Search API: Provides access to the data in the search index and enforces role-based access control.
Search is enabled by default. Search is also enabled when you provision or manually import a managed cluster. If you want to disable search on your managed cluster, see Modifying the klusterlet add-ons settings of your cluster for more information.
1.3.2. Search customization
When you install Red Hat Advanced Cluster Management, the product is configured to persist the data in-memory to a file system. The StatefulSet search-redisgraph deploys the Redisgraph pod, which mounts the persistent volume named persist. If your cluster has a defined default storage class, the search component creates a Persistent Volume Claim (PVC) of 10Gi on the default storage class. If a default storage class does not exist in your cluster, search saves the index in an empty directory (emptyDir).
You can customize the storage settings for search by creating the searchcustomization CR. Search customization is namespace-scoped and located where search is installed in the hub cluster. View the following example of the search customization CR:
apiVersion: search.open-cluster-management.io/v1alpha1
kind: SearchCustomization
metadata:
  name: searchcustomization
  namespace: open-cluster-management
spec:
  persistence: true
  storageClass: gp2
  storageSize: 12Gi
Run the following command to view search customization CRD:
oc get crd searchcustomizations.search.open-cluster-management.io -o yaml
You can disable persistence by updating the persistence flag to false in the customization CR, which turns off saving search index to the file system. A status for persistence can be retrieved from the search operator (searchoperator) CR. Run the following command to view search operator CR: oc get searchoperator searchoperator -o yaml.
1.3.3. Queries in the console
You can type any text value in the Search box and results include anything with that value from any property, such as a name or namespace. Users are unable to search for values that contain an empty space.
For more specific search results, include the property selector in your search. You can combine related values for the property, for a more precise scope of your search. For example, search for cluster:dev red to receive results that match the string "red" in the dev cluster.
View the following steps to make queries with search:
- Click Search in the navigation menu.
Type a word in the Search box, then Search finds your resources that contain that value.
- As you search for resources, you receive other resources that are related to your original search result, which help you visualize how the resources interact with other resources in the system.
- Search returns and lists each cluster with the resource that you search. For resources in the hub cluster, the cluster name is displayed as local-cluster.
-
Your search results are grouped by
kind, and each resourcekindis grouped in a table. Your search options depend on your cluster objects. You can refine your results with specific labels. Search is case-sensitive when you query labels. See the following examples: name, namespace, status, and other resource fields. Auto-complete provides suggestions to refine your search. See the following example:
-
Search for a single field, such as
kind:podto find all pod resources. -
Search for multiple fields, such as
kind:pod namespace:defaultto find the pods in the default namespace.
-
Search for a single field, such as
Notes:
-
You can also search with conditions by using characters, such as
>, >=, <, <=, !=. When you search for more than one property selector with multiple values, the search returns either of the values that were queried. View the following examples:
-
When you search for
kind:pod name:a, any pod namedais returned. -
When you search for
kind:pod name:a,b, any pod namedaorbare returned. -
Search for
kind:pod status:!Runningto find all pod resources where the status is notRunning. -
Search for
kind:pod restarts:>1to find all pods that restarted at least twice.
-
When you search for
- If you want to save your search, click the Save search icon.
1.3.3.1. Query ArgoCD applications
When you search for an ArgoCD application, you are directed to the Applications page. Complete the following steps to access the ArgoCD application from the Search page:
- Log in to your Red Hat Advanced Cluster Management hub cluster.
- From the console header, select the Search icon.
-
Filter your query with the following values:
kind:applicationandapigroup:argoproj.io - Select an application to view. The Application page displays an overview of information for the application.
Learn more about the Red Hat Advanced Cluster Management for Kubernetes console, see Web console.
1.4. Visual Web Terminal (Technology preview)
The Red Hat Advanced Cluster Management for Kubernetes Visual Web Terminal is a Technology preview feature. You can use the Visual Web Terminal to run many commands across your cluster. Run commands and get outputs without leaving the entire console. You can run multiple commands, similar to what you can do in a standard terminal.
With Visual Web Terminal, commands that return cluster resource data are displayed visually in interactive tabular format, rather than plain text that is displayed in a standard terminal. You can see the data, click on a row, and then see more details about that resource.
By default, Visual Web Terminal includes the versions of the oc, kubectl, helm, and subctl CLI binaries that are equivalent to the latest OpenShift Container Platform version that is supported by Red Hat Advanced Cluster Management for the hub cluster.
You can check the versions by running the following commands:
-
oc version -
kubectl version -
helm version -
subctl version
Notes:
The information that is provided in the Visual Web Terminal is limited by the permissions of the user. When you run a command, only the items that you have permission to view are displayed.
If there are over ten sessions that are running at the same time, there might be a slower response time when running commands.
The Visual Web Terminal connects to the cloud that you are already logged into with the hub cluster console.
1.4.1. Starting a session
You can access the Visual Web Terminal by completing the following steps:
- Log in to your console.
- Access the terminal either from the console navigation where you can open in a new tab, or select Visual Web Terminal icon from the console Header. From the header, choose to open in a new tab or open in a current tab.
1.4.2. Running commands in a session
Start running commands in the input field. For example, you can start running any
ocorkubectlcommands and get an interactive table of resources.Notes:
- After you run a command in your session and hover your cursor over the command, the following actions are available: Copy, Re-execute this command, and End session
- When you select a resource in the command results table to see the details, the screen is split. The second screen that appears displays the command that was run to display the details. The details that are included in the split-screen details tabs are Summary, YAML, and others that are associated with the resource type, for example Logs and Terminal.
-
Optional: Run the command,
getting startedor select the getting started link to pull up the Getting started page in a new tab on the Visual Web Terminal page. The new tab remains open until you close it. Optional: You can click the buttons to change the default context and namespace using the pop-up finder panel. By default, the context is the hub cluster and the namespace is the default namespace. After you change the default namespace, the
@defaultnamespace is changed until you manually change it again.Note: If you have multiple tabs open, you can select a diifferent namespace for every tab so that the commands that you run on that tab default to the namespace you selected. You can search for the namespace that you want to use.
-
Use the Supported command list to learn about commands that you can run in addition to
oc,kubectl,helm, andsubctl.
1.4.3. Supported command list
The following table provides information and examples for the command types that are supported by the Visual Web Terminal:
| Command | Description | Example |
|---|---|---|
|
| Run the previous command again. |
|
|
|
Run the following basic |
|
|
| Change the current working directory within your Visual Web Terminal session. When the session starts, you are given a home directory. You can create files and directories from the home directory, but you are not allowed to access any other directories. The contents of your home directory only exist during the current Visual Web Terminal session. It does not persist after you close the page. |
|
|
| Clear the screen of previous commands and output. |
|
|
| Export the output of the command to an external file. |
|
|
|
Run supported |
|
|
| Display additional information about a command that is supported in the Visual Web Terminal on the Getting Started page. |
|
|
|
Displays the previous 20 commands that were run during the current session. Tip: You can limit the search criteria by adding it to the end of the command. For example, |
|
|
|
Run supported |
|
|
|
Runs Red Hat OpenShift |
|
|
| Searches your Kubernetes resources for those that match the specified search filters and parameters. |
|
|
| Displays your saved searches that you created and saved in the Search page. |
|
|
|
Pauses activity during a session. Note: Requires a |
|
|
|
Displays a drop-down list of the contrast theme options of the interface, which you can set to either |
|
1.4.4. Searching with Visual Web Terminal
The Visual Web Terminal search function provides visibility into your resources across all your clusters.
You can only search for resources based on your role-based access control level assignment. If you save and share a search query with another user, returned results for that user depend on his or her access level.
- Start a Visual Web Terminal session.
-
In the command entry field of the Visual Web Terminal, type:
search. When you run asearchcommand, the Visual Web Terminal verifies that the search function is available. If it is not available, a message indicates that either the search function is not installed, or that it is just not available. If it is installed, but not available, it might be a network issue. -
Add a space after the
searchcommand. The list of filters that are available for the search is displayed. The list of filters might be empty because it is dependent on the resources that are available in your environment and your role permissions. -
Select one of the filters from the list. The selected filter is added to the search criteria on your command line, and the next level of filters for that selection are displayed. Tip: You can also enter a string after the
searchcommand, rather than selecting a filter from the list. - Optional: Add filters by entering a single space after each filter entry until your command contains all of the required filters.
- When you are finished adding your search criteria, press Enter to run the search.
You can refine your results with specific fields. See the following example:
-
Search for a single field, such as
kind:podto find all pod resources. -
Search for multiple fields, such as
kind:pod namespace:defaultto find the pods in the default namespace.
You can also search with conditions using characters, such as (>, >=, <, <=, !=).
See the following examples:
-
Search for
kind:pod status:!Runningto find all pod resources where the status is notRunning. -
Search for
kind:pod restarts:>1to find all pods that have restarted at least twice.
The search returns resources that meet the criteria of your search request, as well as links to view related resources. Viewing all of them helps you visualize how the resources interact with other resources in the system.
Your search results are grouped by kind and each resource kind is grouped in a table. You can reorder the data in the tables by selecting the row and column headings.
You can use a search that was saved in the console by entering the savedsearches command and selecting the search that you want to run.