Getting Started Guide
Abstract
Chapter 1. Getting started
1.1. Before you start
Make sure your machine or container platform can provide sufficient memory and CPU for your desired usage of Red Hat build of Keycloak. See Concepts for sizing CPU and memory resources for more on how to get started with production sizing.
Make sure you have OpenJDK 21 installed.
1.2. Download Red Hat build of Keycloak
Download Red Hat build of Keycloak from the Red Hat website and extract it.
After extracting this file, you should have a directory that is named rhbk-26.0.17.
1.3. Start Red Hat build of Keycloak
-
From a terminal, open the
rhbk-26.0.17directory. Enter the following command:
On Linux, run:
bin/kc.sh start-dev
bin/kc.sh start-devCopy to Clipboard Copied! Toggle word wrap Toggle overflow On Windows, run:
bin\kc.bat start-dev
bin\kc.bat start-devCopy to Clipboard Copied! Toggle word wrap Toggle overflow
Using the start-dev option, you are starting Red Hat build of Keycloak in development mode. In this mode, you can try out Red Hat build of Keycloak for the first time to get it up and running quickly. This mode offers convenient defaults for developers, such as for developing a new Red Hat build of Keycloak theme.
1.4. Create an admin user
Red Hat build of Keycloak has no default admin user. You need to create an admin user before you can start Keycloak.
- Open http://localhost:8080/.
- Fill in the form with your preferred username and password.
1.5. Log in to the Admin Console
- Go to the Red Hat build of Keycloak Admin Console.
- Log in with the username and password you created earlier.
1.6. Create a realm
A realm in Red Hat build of Keycloak is equivalent to a tenant. Each realm allows an administrator to create isolated groups of applications and users. Initially, Red Hat build of Keycloak includes a single realm, called master. Use this realm only for managing Red Hat build of Keycloak and not for managing any applications.
Use these steps to create the first realm.
- Open the Red Hat build of Keycloak Admin Console.
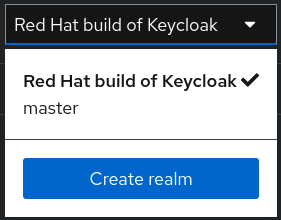
- Click Red Hat build of Keycloak next to master realm, then click Create Realm.
-
Enter
myrealmin the Realm name field. - Click Create.
1.7. Create a user
Initially, the realm has no users. Use these steps to create a user:
- Verify that you are still in the myrealm realm, which is shown above the word Manage.
- Click Users in the left-hand menu.
- Click Create new user.
Fill in the form with the following values:
-
Username:
myuser - First name: any first name
- Last name: any last name
-
Username:
- Click Create.
This user needs a password to log in. To set the initial password:
- Click Credentials at the top of the page.
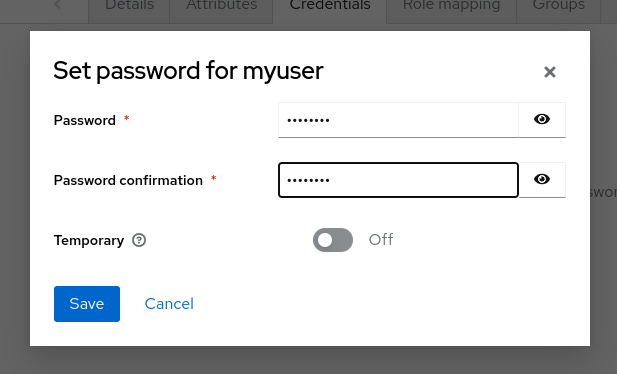
- Fill in the Set password form with a password.
- Toggle Temporary to Off so that the user does not need to update this password at the first login.
1.8. Log in to the Account Console
You can now log in to the Account Console to verify this user is configured correctly.
- Open the Red Hat build of Keycloak Account Console.
-
Log in with
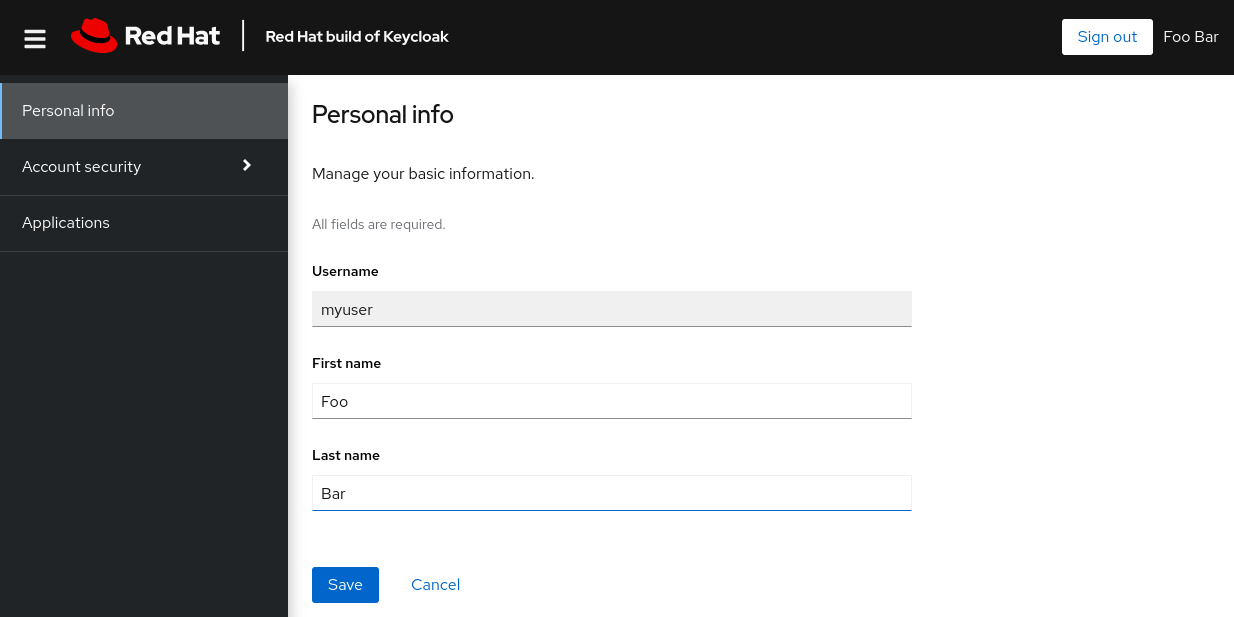
myuserand the password you created earlier.
As a user in the Account Console, you can manage your account including modifying your profile, adding two-factor authentication, and including identity provider accounts.
1.9. Secure the first application
To secure the first application, you start by registering the application with your Red Hat build of Keycloak instance:
- Open the Red Hat build of Keycloak Admin Console.
- Click the word master in the top-left corner, then click myrealm.
- Click Clients.
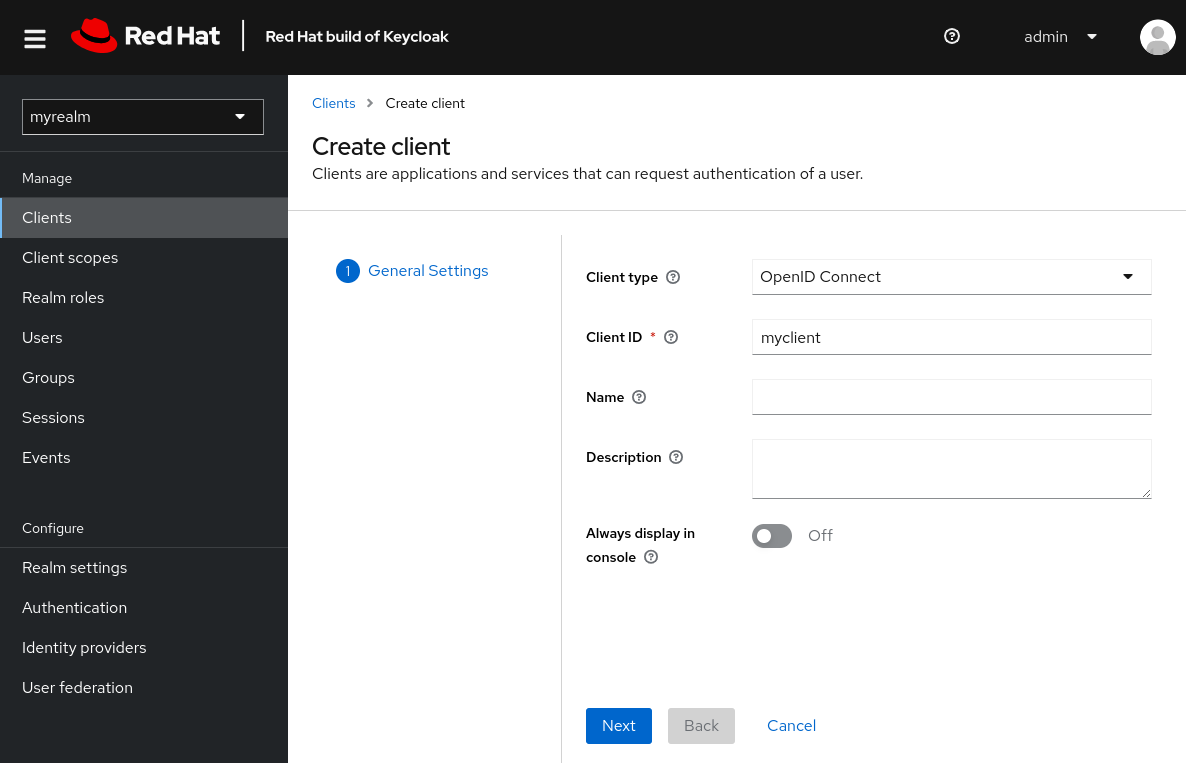
- Click Create client
Fill in the form with the following values:
-
Client type:
OpenID Connect Client ID:
myclient
-
Client type:
- Click Next
- Confirm that Standard flow is enabled.
- Click Next.
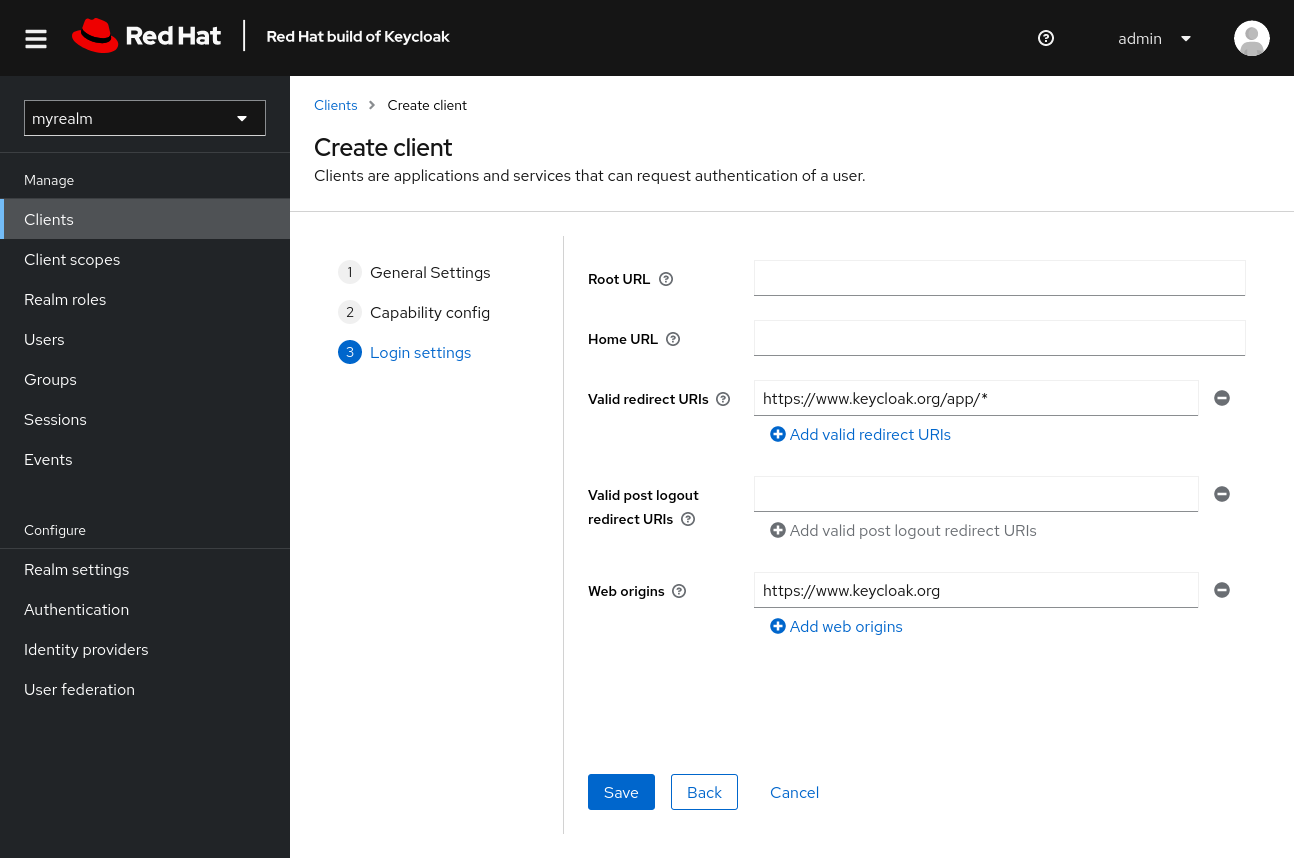
Make these changes under Login settings.
-
Set Valid redirect URIs to
https://www.keycloak.org/app/* -
Set Web origins to
https://www.keycloak.org
-
Set Valid redirect URIs to
- Click Save.
To confirm the client was created successfully, you can use the SPA testing application on the Keycloak website.
- Open https://www.keycloak.org/app/.
- Click Save to use the default configuration.
- Click Sign in to authenticate to this application using the Red Hat build of Keycloak server you started earlier.
1.10. Taking the next step
Before you run Red Hat build of Keycloak in production, consider the following actions:
- Switch to a production ready database such as PostgreSQL.
- Configure SSL with your own certificates.
- Switch the admin password to a more secure password.
For more information, see the Server Configuration Guide.
Chapter 2. Scaling
After starting Red Hat build of Keycloak, consider adapting your instance to the required load using these scaling and tuning guidelines:
- minimize resource utilization
- achieve target response times
- minimize database pool contention
- resolve out of memory errors, or excessive garbage collection overhead
- provide higher availability via horizontal scaling
2.1. Vertical Scaling
As you monitor your Red Hat build of Keycloak workload, check to see if the CPU or memory is under or over utilized. Consult Concepts for sizing CPU and memory resources to better tune the resources available to the Java Virtual Machine (JVM).
Before increasing the amount of memory available to the JVM, in particular when experiencing an out of memory error, it is best to determine what is contributing to the increased footprint using a heap dump. Excessive response times may also indicate the HTTP work queue is too large and tuning for load shedding would be better than simply providing more memory. See the following section.
2.1.1. Common Tuning Options
Red Hat build of Keycloak automatically adjusts the number of used threads based upon how many cores you make available. Manually changing the thread count can improve overall throughput. For more details, see Concepts for configuring thread pools. However, changing the thread count must be done in conjunction with other JVM resources, such as database connections; otherwise, you may be moving a bottleneck somewhere else. For more details, see Concepts for database connection pools.
To limit memory utilization of queued work and to provide for load shedding, see Concepts for configuring thread pools.
If you are experiencing timeouts in obtaining database connections, you should consider increasing the number of connections available. For more details, see Concepts for database connection pools.
2.1.2. Vertical Autoscaling
Some platforms, such as Kubernetes, provide mechanisms to vertically autoscale. Vertical autoscaling is not recommended for Red Hat build of Keycloak if it requires restarting the server instance, which is currently the case for Java on Kubernetes. You can consider instead providing higher CPU and/or memory limits to allow your JVM to adapt within those limits as needed.
2.2. Horizontal Scaling
A single Red Hat build of Keycloak instance is susceptible to availability issues. If the instance goes down, you experience a full outage until another instance comes up. By running two or more cluster members on different machines, you greatly increase the availability of Red Hat build of Keycloak.
A single JVM has a limit on how many concurrent requests it can handle. Additional server instances can provide roughly linear scaling of throughput until associated resources, such as the database or distributed caching, limit that scaling.
In general, consider allowing the Red Hat build of Keycloak Operator to handle horizontal scaling concerns. When using the Operator, set the Keycloak custom resource spec.instances as desired to horizontally scale. For more details, see Deploy Red Hat build of Keycloak for HA with the Red Hat build of Keycloak Operator.
If you are not using the Operator, please review the following:
- Higher availability is possible of your instances are on separate machines. On Kubernetes, use Pod anti-affinitity to enforce this.
Use distributed caching; for multi-site clusters, use external caching for cluster members to share the same state. For details on the relevant configuration, see Configuring distributed caches. The embedded Infinispan cache has horizontal scaling considerations including:
- Your instances need a way to discover each other. For more information, see discovery in Configuring distributed caches.
- This cache is not optimal for clusters that span multiple availability zones, which are also called stretch clusters. For embedded Infinispan cache, work to have all instances in one availability zone. The goal is to avoid unnecessary round-trips in the communication that would amplify in the response times. On Kubernetes, use Pod affinity to enforce this grouping of Pods.
- This cache does not gracefully handle multiple members joining or leaving concurrently. In particular, members leaving at the same time can lead to data loss. On Kubernetes, you can use a StatefulSet with the default serial handling to ensure Pods are started and stopped sequentially.
To avoid losing service availability when a whole site is unavailable, see the high availability guide for more information on a multi-site deployment. See Multi-site deployments.
2.2.1. Horizontal Autoscaling
Horizontal autoscaling allows for adding or removing Red Hat build of Keycloak instances on demand. Keep in mind that startup times will not be instantaneous and that optimized images should be used to minimize the start time.
When using the embedded Infinispan cache cluster, dynamically adding or removing cluster members requires Infinispan to perform a rebalancing of the Infinispan caches, which can get expensive if many entries exist in those caches. To minimize this time we limit number of entries in session related caches to 10000 by default. Note, this optimization is possible only if persistent-user-sessions feature is not explicitly disabled in your configuration.
On Kubernetes, the Keycloak custom resource is scalable meaning that it can be targeted by the built-in autoscaler.
