此内容没有您所选择的语言版本。
Chapter 3. Accessing the Console
Once the server is started, simply point your browser to http://localhost:8080/ and then choose the Admin Console link from the list.
Note
This URL assumes you are accessing the Admin Console from the machine your Enterprise Application Platform instance is running on and your server is listening on the default ports and network interface. If you have changed any of these defaults you will have to alter the URL accordingly.
Note
The Admin Console has been tested against and is supported for use with Mozilla Firefox 2.0, 3.0, 3.5 and 3.6; and Internet Explorer 6 and 7. It may also work in other browsers, but it is only supported in the browsers listed here.
Once the Admin Console has been loaded the login page will be displayed:
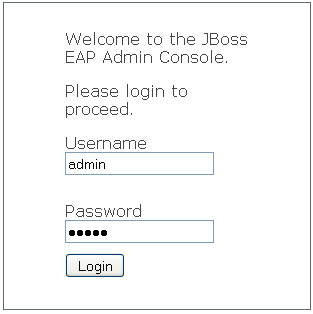
Login credentials are the same as used for the JMX console. A default user is provided for immediate access as part of the Enterprise Application Platform. In order to enable this user you need to uncomment the setting in
$JBOSS_HOME/server/$PROFILE/conf/props/jmx-console-users.properties so that it contains:
admin=admin
Once the
jmx-console-users.properties file has been saved, enter admin for both the username and password in the prompts and then click the Login button. After clicking the Login button, the Admin Console will scan your Enterprise Application Platform instance and detect what is running on it. Once this is complete, you will be shown a screen similar to the one below:
