Dieser Inhalt ist in der von Ihnen ausgewählten Sprache nicht verfügbar.
Chapter 11. Remotely accessing the desktop as a single user
You can remotely connect to the desktop on a RHEL server using graphical GNOME applications. Only a single user can connect to the desktop on the server at a given time.
11.1. Enabling desktop sharing on the server using GNOME
This procedure configures a RHEL server to enable a remote desktop connection from a single client.
Prerequisites
The GNOME Remote Desktop service is installed:
# dnf install gnome-remote-desktop
Procedure
Configure a firewall rule to enable VNC access to the server:
# firewall-cmd --permanent --add-service=vnc-server
success
Reload firewall rules:
# firewall-cmd --reload success- Open Settings in GNOME.
Navigate to the Sharing menu:
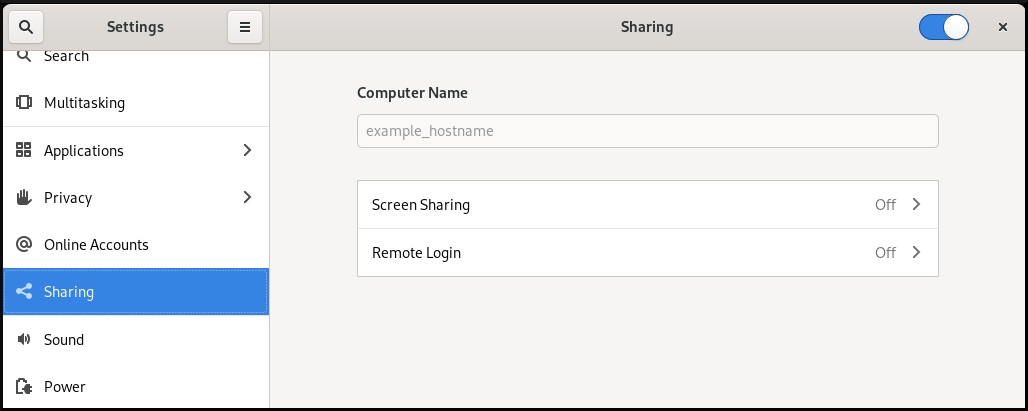
Click Screen Sharing.
The screen sharing configuration opens:

Click the switch button in the window header to enable screen sharing:
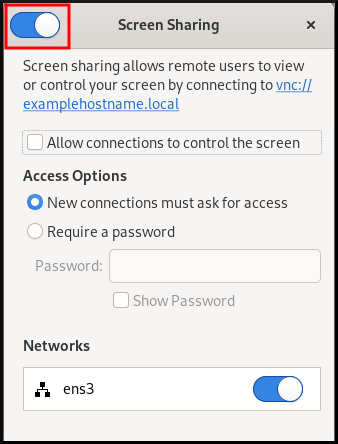
- Select the Allow connections to control the screen check box.
- Under Access Options, select the Require a password option.
Set a password in the Password field.
Remote clients must enter this password when connecting to the desktop on the server.

11.2. Connecting to a shared desktop using GNOME
This procedure connects to a remote desktop session using the Connections application. It connects to the graphical session of the user that is currently logged in on the server.
Prerequisites
- A user is logged into the GNOME graphical session on the server.
- The desktop sharing is enabled on the server.
Procedure
Install the Connections application on the client:
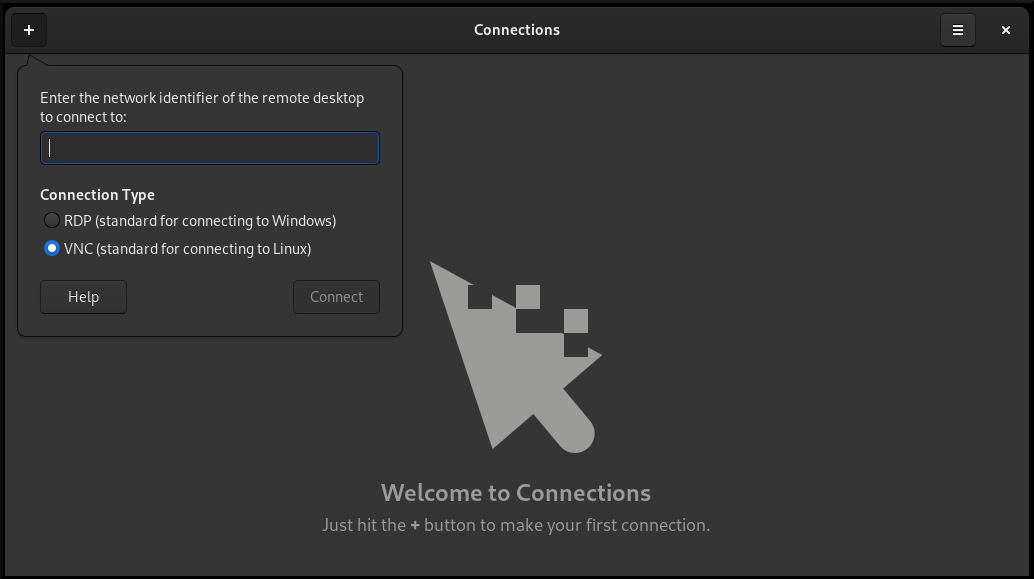
# dnf install gnome-connections- Launch the Connections application.
Click the button to open a new connection.
Enter the IP address of the server.
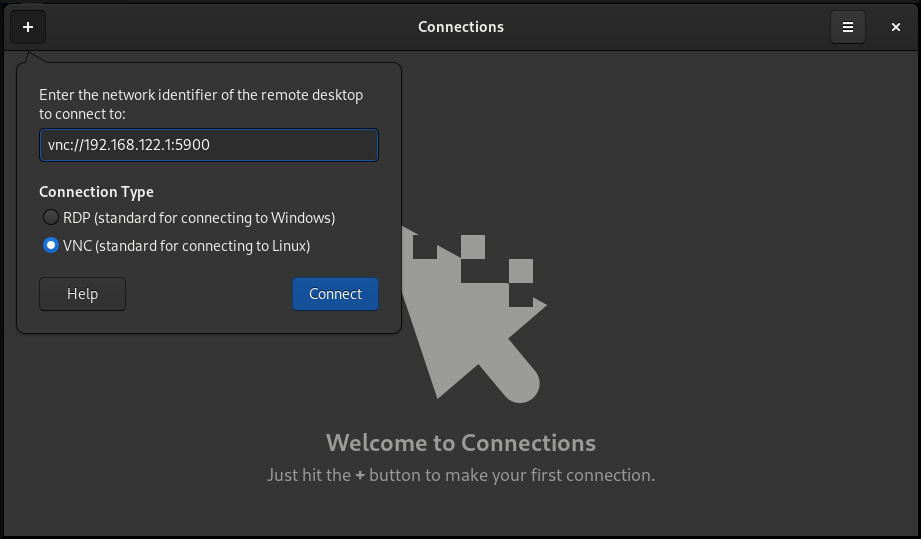
- Choose the connection type based on the operating system you want to connect to.
- Click .
Verification
- On the client, check that you can see the shared server desktop.
On the server, a screen sharing indicator appears on the right side of the top panel:

You can control the screen sharing in the system menu.
11.3. Disabling encryption in GNOME VNC
You can disable encryption in the GNOME remote desktop solution. This enables VNC clients that do not support the encryption to connect to the server.
Procedure
As the server user, set the
encryptionkey oforg.gnome.desktop.remote-desktop.vncGSettings schema to['none'].$ gsettings set org.gnome.desktop.remote-desktop.vnc encryption "['none']"Optional: Red Hat recommends that you tunnel the VNC connection over SSH to your VNC port. As a result, the SSH tunnel keeps the connection encrypted.
For example:
On the client, configure the port forwarding.
# ssh -N -T -L 5901:server-ip-address:5901 user@server-ip-address-
Connect to the VNC session on the
localhost:5901address.