Dieser Inhalt ist in der von Ihnen ausgewählten Sprache nicht verfügbar.
Chapter 1. Overview
Red Hat Fuse on OpenShift provides Apicurito, a web-based API designer, that you can use to design REST APIs that comply with the OpenAPI 2.0 specification, a vendor-neutral and portable open description format for API services. Apicurito is a “light” version of the Apicurio Studio open source project (https://www.apicur.io/). This means that your Apicurito design sessions are stateless and you must save your API definition as a JSON file at the end of each session.
You can also use Apicurito to generate a preliminary Fuse project based on a REST API definition. In your Fuse development environment, you can then complete the project’s Camel routes and build the project. Finally, you can deploy the resulting REST service on Fuse on OpenShift.
Here is an overview of how you can use Apicurito to incorporate REST APIs in your Fuse on OpenShift application solution:
- Add Apicurito as a service to your OpenShift project.
In the Apicurito web-based designer:
- Create an API definition with Apicurito. Save the REST API definition as a JSON file to your local file system. You can save your API definition at any point during your editing session, even if the API definition is not complete.
- Upload an API definition to Apicurito.
- Generate a Fuse Camel project based on the current REST API definition. Apicurito provides a downloadable zip file that contains a complete Maven project.
- In your Fuse development environment, complete the skeleton implementation provided by the generated Fuse project.
- Build and deploy the Fuse application to OpenShift.
- (Optional) Integrate the Fuse application with Red Hat 3scale API Management, using the 3scale service discovery capability to find and configure your Fuse application.
1.1. Add Apicurito as a service to your OpenShift project
You can add Apicurito as a service to your OpenShift project from the OpenShift service catalog. You can access this instance at a URL external to the OpenShift environment.
Prerequisites
- Obtain the hostname that will allow you to access Apicurito by following the guidelines recommended by your OpenShift system administrator.
Verify that the Fuse on OpenShift images and templates, including
apicurito-uiandfuse-apicurito-generator, are installed on your OpenShift cluster, by running the following command in a command window:oc get is -n openshift
oc get is -n openshiftCopy to Clipboard Copied! Toggle word wrap Toggle overflow If the images and templates are not pre-installed, or if the provided versions are out of date, install (or update) the Fuse on OpenShift images and templates as described in the Fuse on OpenShift Guide.
Procedure
To add Apicurito as a service to your OpenShift project:
In a command window, log in to the OpenShift server:
oc login -u developer -p developer
oc login -u developer -p developerCopy to Clipboard Copied! Toggle word wrap Toggle overflow Create a new project namespace. For example, the following command creates a new project named test:
oc new-project test
oc new-project testCopy to Clipboard Copied! Toggle word wrap Toggle overflow -
In your web browser, open the OpenShift console and log in with your credentials (for example, username
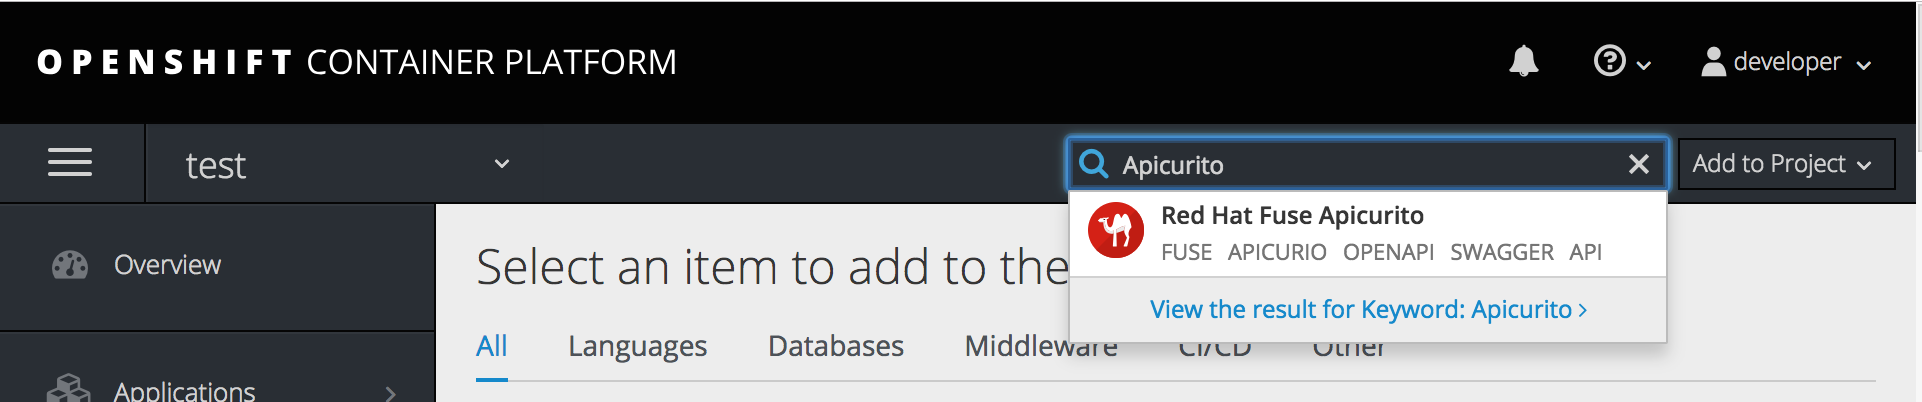
developerand passworddeveloper). Click Catalog. In the Catalog search field, type
Apicuritoand then select Red Hat Fuse Apicurito.The Information step of the Red Hat Fuse Apicurito wizard opens.
Click Next.
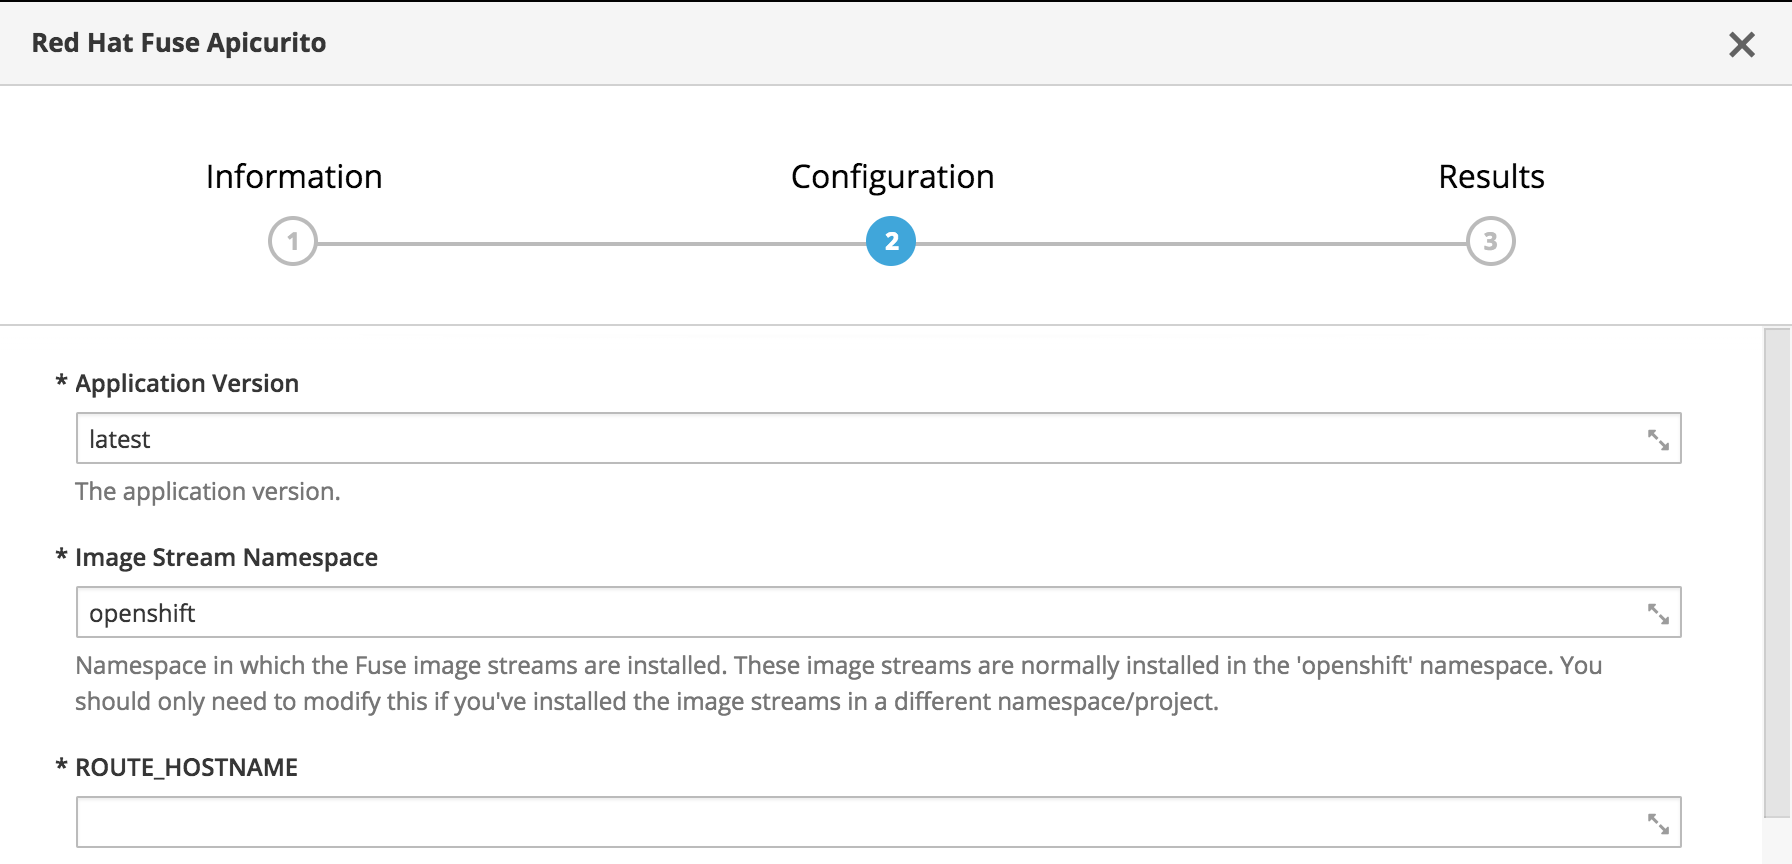
The Configuration step of the Red Hat Fuse Apicurito wizard opens.
In the Image Stream Namespace field, type
openshift.-
In the ROUTE_HOSTNAME field, type the external hostname that allows you to access the Apicurito instance, for example
apicurito-myproject.192.168.64.43.nip.io. Accept the default values for the rest of the settings in the Configuration step and click Create.
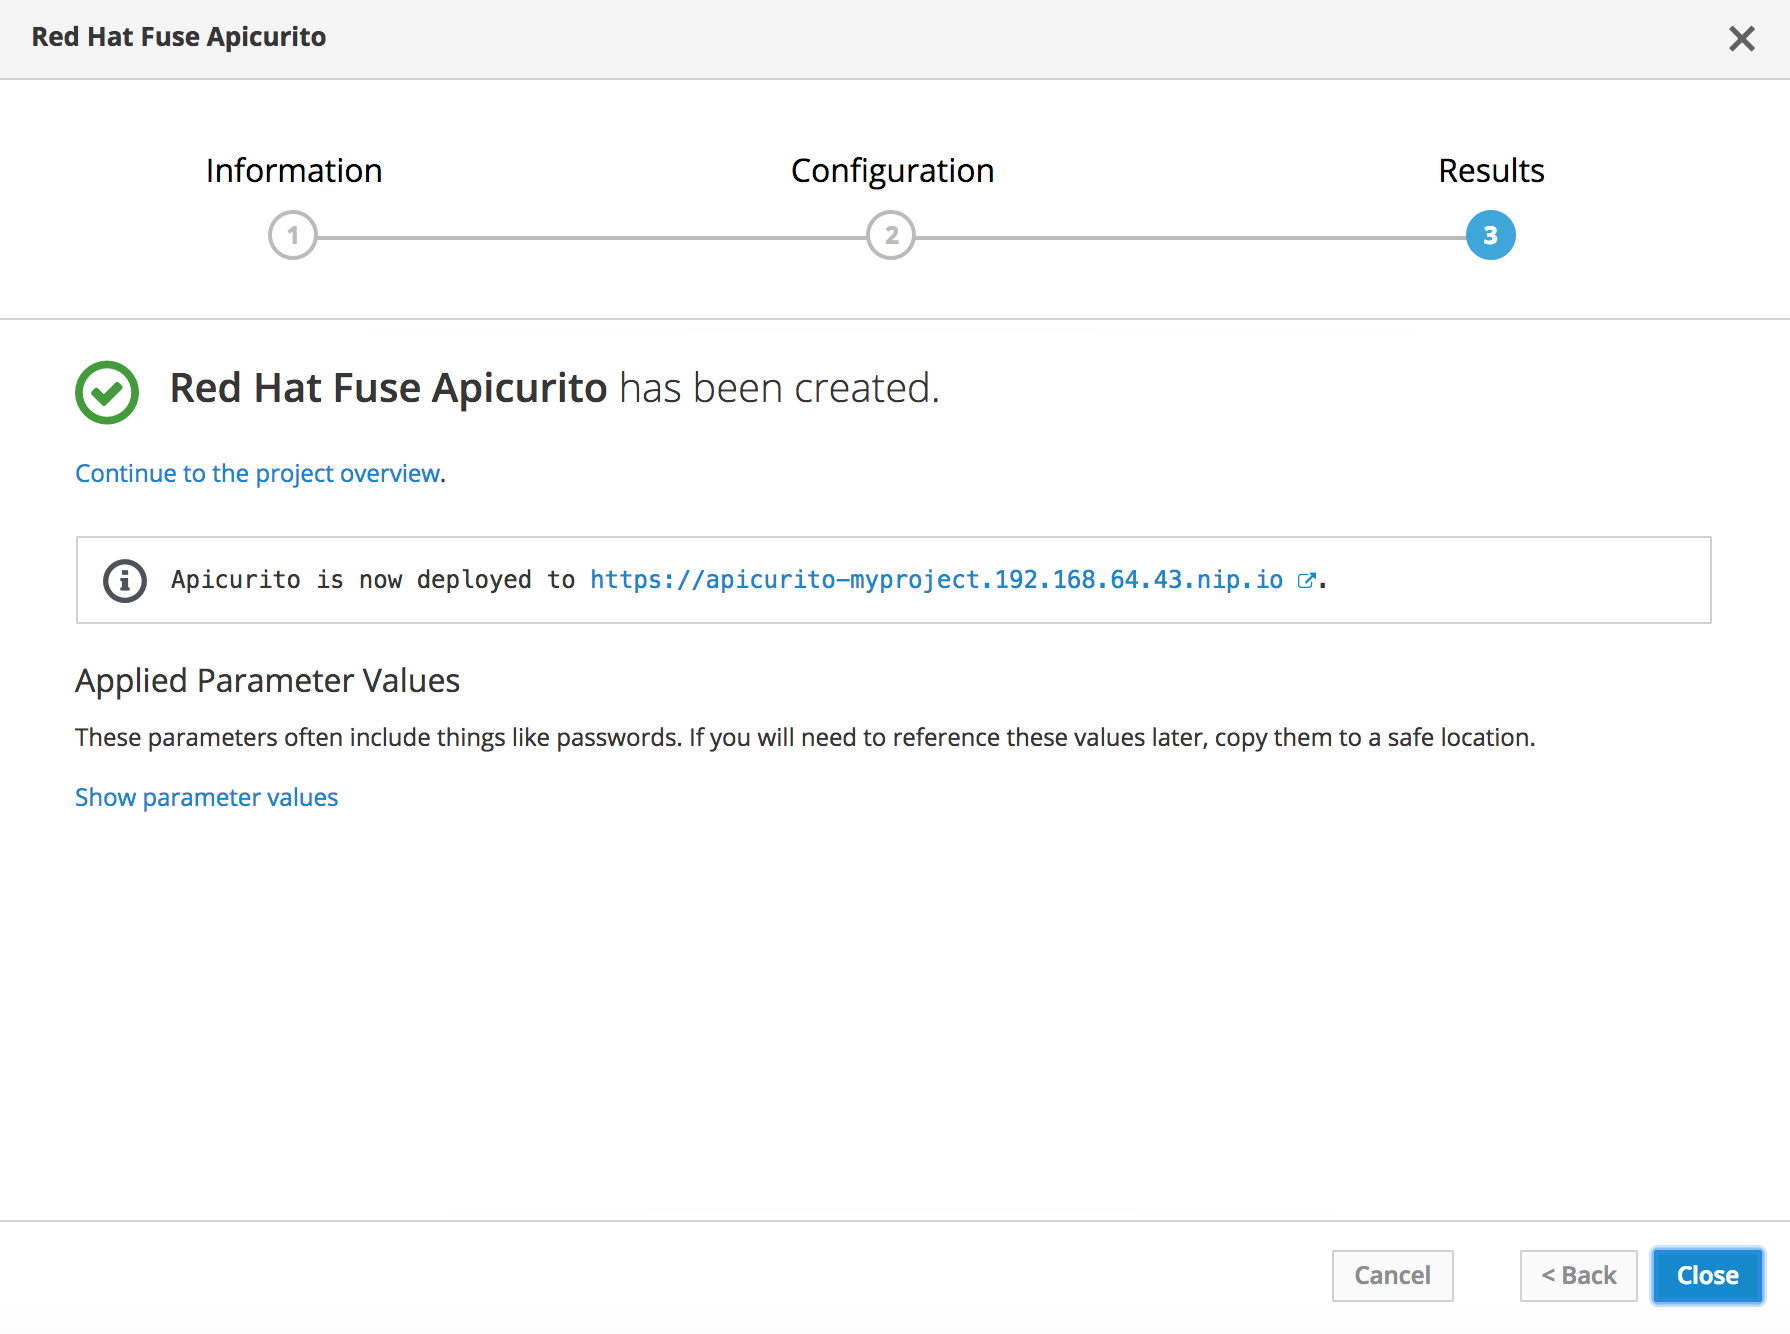
The Results step of the template wizard opens.
- Click Close.
In the OpenShift web console, in the My Projects pane, select the project, for example select test.
The project’s Overview tab opens, showing the apicurito-ui application.
Click the arrow to the left of the apicurito-ui deployment to expand and view the deployment details:
Click the link for the Aplicurito instance, for example
https://apicurito-myproject.192.168.64.43.nip.io.Apicurito opens in a new web browser window or tab:


If you cannot open the Apicurito instance, you might need to edit your computer’s /etc/hosts file to add the ROUTE_HOSTNAME by using the following syntax, where $OPENSHIFT_IP_ADDR is the IP address for the OpenShift server and apicurito.my-minishift.apicurio.io is the ROUTE_HOSTNAME that you specified in step 7.
$OPENSHIFT_IP_ADDR apicurito.my-minishift.apicurio.io
$OPENSHIFT_IP_ADDR apicurito.my-minishift.apicurio.io