Dieser Inhalt ist in der von Ihnen ausgewählten Sprache nicht verfügbar.
Chapter 3. Red Hat Quay Security Scanning with Clair
Red Hat Quay supports scanning container images for known vulnerabilities with a scanning engine such as Clair. This document explains how to configure Clair with Quay.
3.1. Visit the management panel
Sign in to a superuser account from the Red Hat Quay login screen. For example, if the host were reg.example.com, you would go to http://reg.example.com/superuser to view the management panel:

3.2. Enable Security Scanning
-
Click the configuration tab () and scroll down to the section entitled Security Scanner.

- Check the "Enable Security Scanning" box
3.3. Enter a security scanner
In the "Security Scanner Endpoint" field, enter the HTTP endpoint of a Red Hat Quay-compatible security scanner such as Clair.

3.4. Generate an auth key
To connect Red Hat Quay securely to the scanner, click "Create Key >" to create an authentication key between Quay and the Security Scanner.
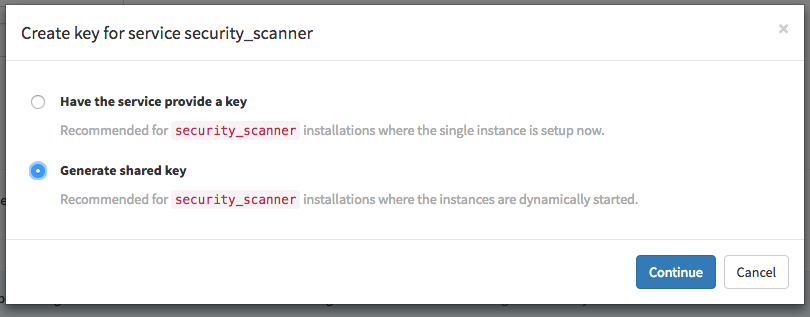
3.4.1. Authentication for high-availability scanners
If the security scanning engine is running on multiple instances in a high-availability setup, select "Generate shared key":
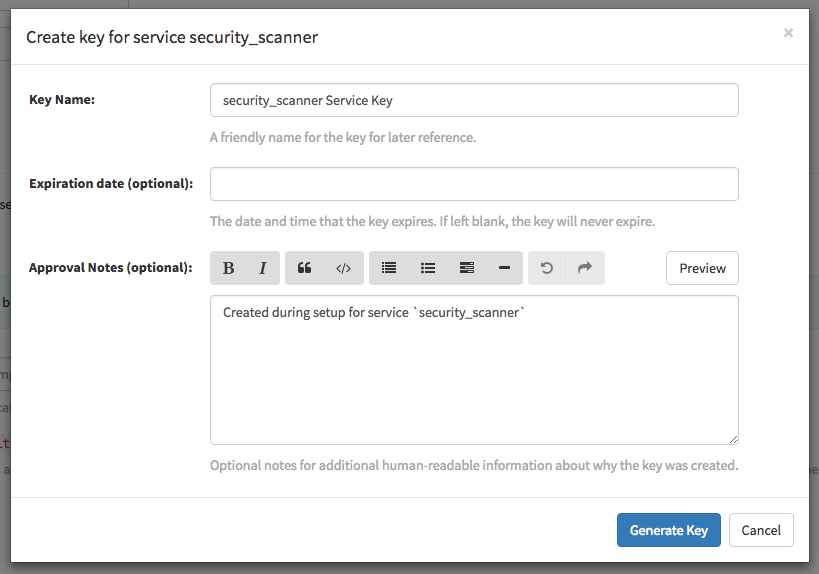
Enter an optional expiration date, and click "Generate Key":
Save the key ID and download the preshared private key into the configuration directory for the security scanning engine. 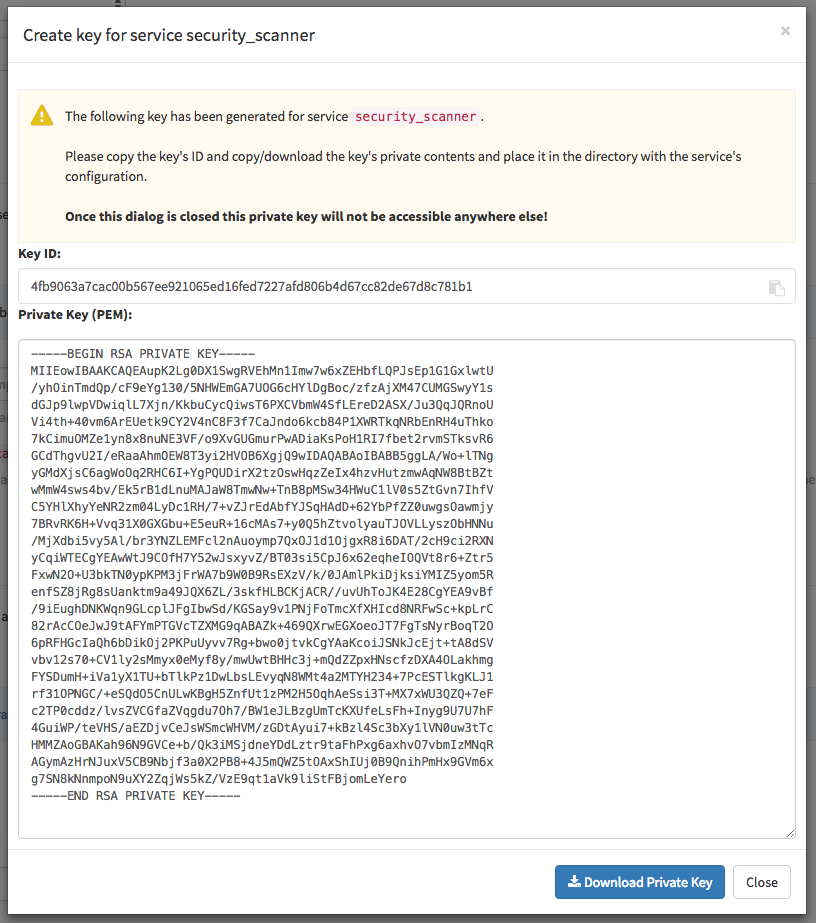
3.4.2. Authentication for single-instance scanners
If the security scanning engine is being run on a single instance, select "Have the service provide a key":
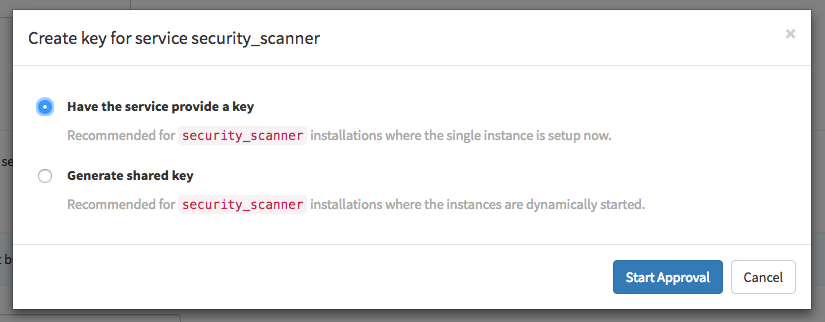
Once the following dialog is visible, run the security scanning engine:
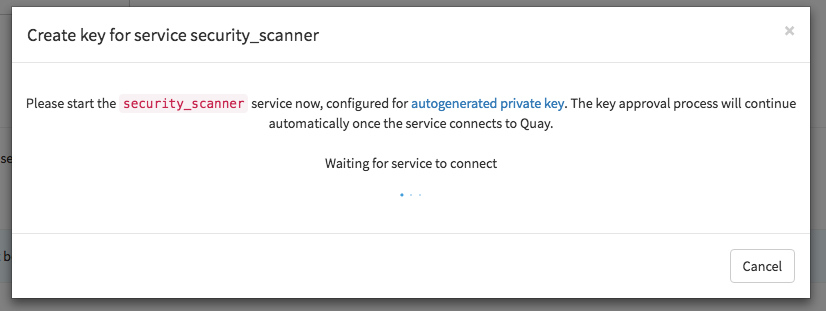
When the security scanning engine connects, the key will be automatically approved.
3.5. Save configuration
- Click "Save Configuration Changes"
- Restart the container (you will be prompted)