Dieser Inhalt ist in der von Ihnen ausgewählten Sprache nicht verfügbar.
Chapter 2. Installing and Booting
This section describes how to boot a Red Hat Single Sign-On server in standalone mode, set up the initial admin user, and log in to the Red Hat Single Sign-On admin console.
2.1. Installing the Server
Download the Red Hat Single Sign-On Server:
- rh-sso-7.3.8.GA.zip
This file can be downloaded from the Red Hat customer portal.
The rh-sso-7.3.8.GA.zip file is the server-only distribution. It contains only the scripts and binaries to run the Red Hat Single Sign-On server.
Place the file in a directory you choose and use the unzip utility to unpack it, like this:
Linux/Unix
$ jar xf rh-sso-7.3.8.GA.zipWindows
> unzip rh-sso-7.3.8.GA.zip2.2. Booting the Server
To boot the Red Hat Single Sign-On server, go to the bin directory of the server distribution and run the standalone boot script:
Linux/Unix
$ cd bin
$ ./standalone.sh
Windows
> ...\bin\standalone.bat2.3. Creating the Admin Account
After the server boots, open http://localhost:8080/auth in your web browser. The welcome page will indicate that the server is running.
Enter a username and password to create an initial admin user.
This account will be permitted to log in to the master realm’s administration console, from which you will create realms and users and register applications to be secured by Red Hat Single Sign-On.
You can only create an initial admin user on the Welcome Page if you connect using localhost. This is a security precaution. You can create the initial admin user at the command line with the add-user-keycloak.sh script. For more information, see the Server Installation and Configuration Guide and the Server Administration Guide.
2.4. Logging in to the Admin Console
After you create the initial admin account, use the following steps to log in to the admin console:
- Click the Administration Console link on the Welcome page or go directly to the console URL http://localhost:8080/auth/admin/
Type the username and password you created on the Welcome page to open the Red Hat Single Sign-On Admin Console.
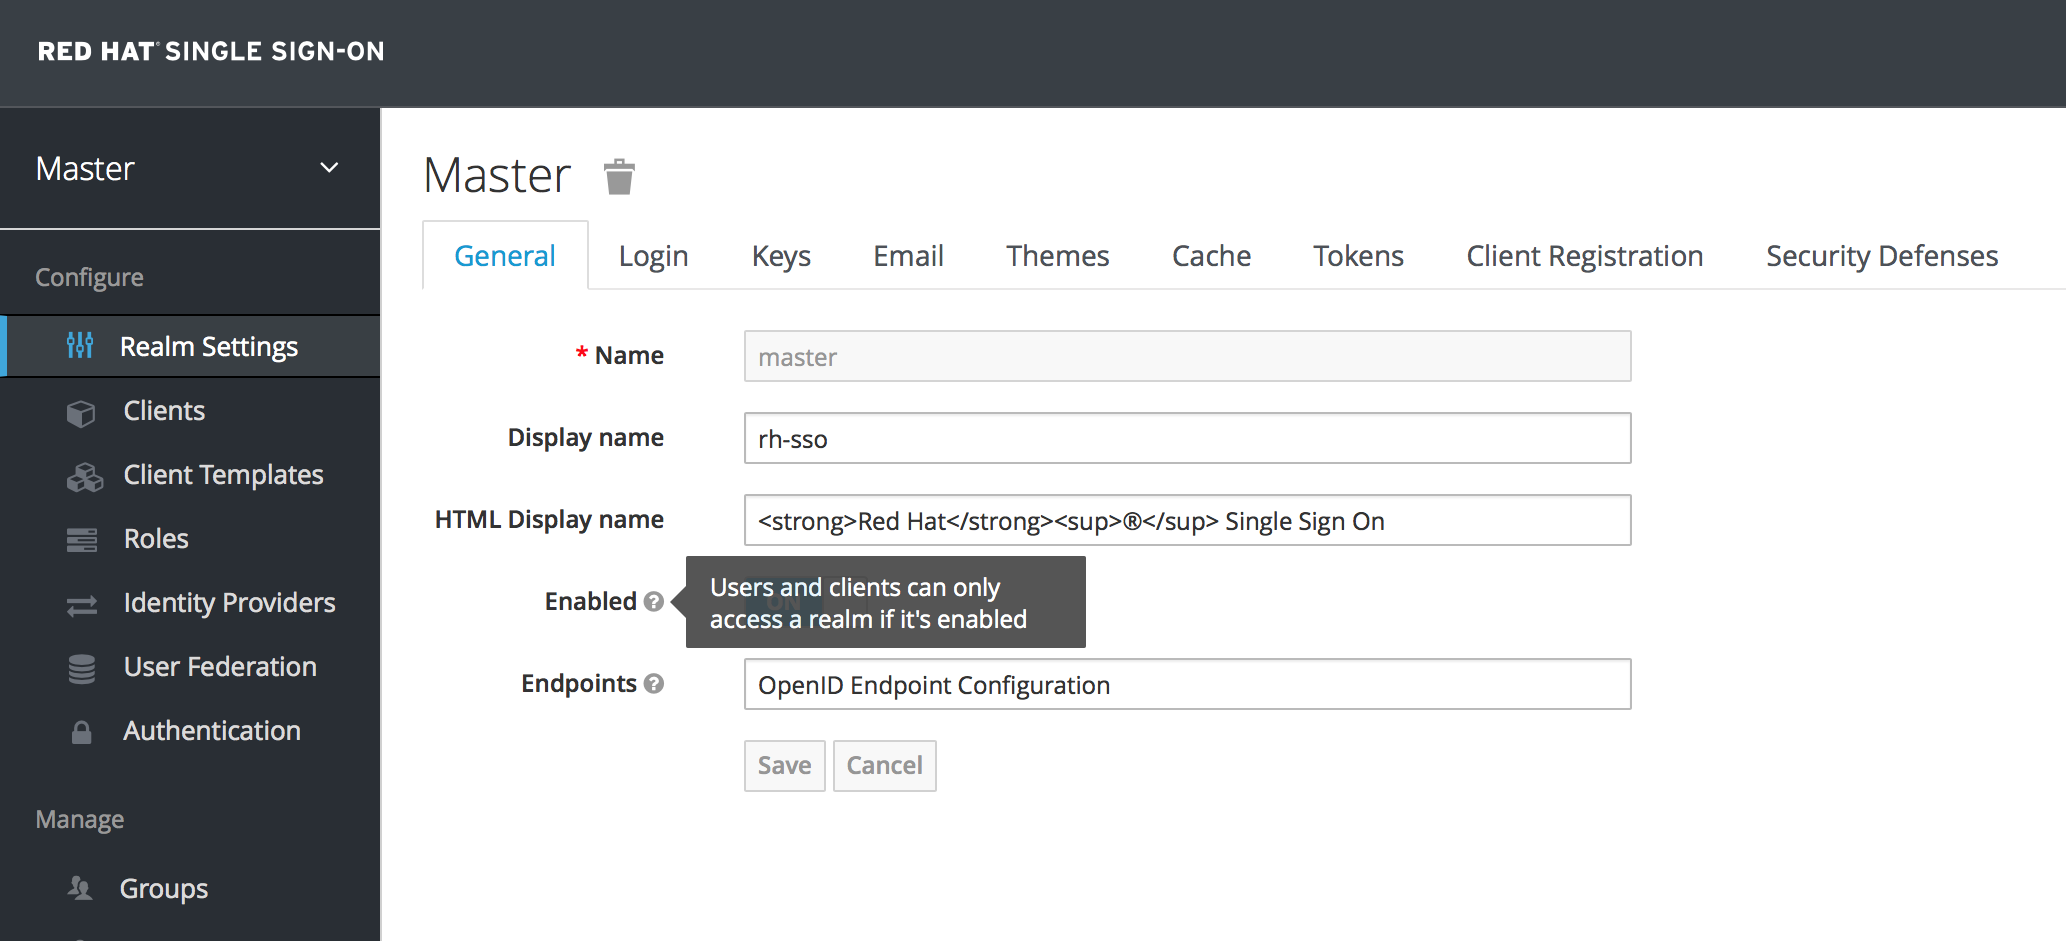
Admin Console