Dieser Inhalt ist in der von Ihnen ausgewählten Sprache nicht verfügbar.
Chapter 7. Red Hat Enterprise Virtualization Hypervisor
7.1. Installing the Red Hat Enterprise Virtualization Hypervisor
Link kopierenLink in die Zwischenablage kopiert!
The Red Hat Enterprise Virtualization Hypervisor is a minimal operating system based on Red Hat Enterprise Linux that is designed to provide a simple method for setting up a physical machine to act as a hypervisor in a Red Hat Enterprise Virtualization environment. The minimal operating system contains only the packages required for the machine to act as a hypervisor, and features a simple text user interface for configuring the machine and adding it to an environment.
Important
In new Red Hat Enterprise Virtualization 3.6 environments, Red Hat recommends installing RHVH 3.6 because it provides an upgrade path to the most recent version of Red Hat Virtualization through the Manager. Installations that use RHEV-H 7 require a full reinstall of the hypervisors to upgrade to the most recent version of Red Hat Virtualization. See Section 8.1, “Installing Red Hat Virtualization Host” for more information.
For more information about upgrading with RHEV-H, see Upgrading to Red Hat Enterprise Virtualization 3.6 in the Upgrade Guide. RHEV-H installations should be converted to RHVH 3.6 as part of the upgrade.
Before you proceed, make sure the hosts meet the hardware requirements listed in Section 2.2, “Hypervisor Requirements”.
Installing Red Hat Enterprise Virtualization Hypervisor on a physical machine involves three key steps:
- Obtain the Red Hat Enterprise Virtualization Hypervisor ISO file (
RHEV-H Image) either by installing the package or downloading it from the Customer Portal. - Write the Red Hat Enterprise Virtualization Hypervisor ISO File to a USB Storage Device, CD, or DVD.
- Install the Red Hat Enterprise Virtualization Hypervisor Minimal Operating System.
Procedure 7.1. Installing the Red Hat Enterprise Virtualization Hypervisor Disk Image
- Obtain the latest Red Hat Enterprise Virtualization Hypervisor image by installing the package. By default, the Red Hat Enterprise Virtualization Hypervisor disk image is located in the
/usr/share/rhev-hypervisor/directory. Alternatively, download the disk image (RHEV-H Image) from the Customer Portal.- Enable the required repositories:
- For Red Hat Enterprise Linux 6:
subscription-manager repos --enable=rhel-6-server-rhevh-rpms
# subscription-manager repos --enable=rhel-6-server-rhevh-rpmsCopy to Clipboard Copied! Toggle word wrap Toggle overflow - For Red Hat Enterprise Linux 7:
subscription-manager repos --enable=rhel-7-server-rhevh-rpms
# subscription-manager repos --enable=rhel-7-server-rhevh-rpmsCopy to Clipboard Copied! Toggle word wrap Toggle overflow
- Install the RHEV-H package:
- For Red Hat Enterprise Linux 6:
yum install rhev-hypervisor6
# yum install rhev-hypervisor6Copy to Clipboard Copied! Toggle word wrap Toggle overflow - For Red Hat Enterprise Linux 7:
yum install rhev-hypervisor7
# yum install rhev-hypervisor7Copy to Clipboard Copied! Toggle word wrap Toggle overflow
- Write the disk image to a storage device.
- Install the livecd-tools package and write the disk image to a USB storage device.
yum install livecd-tools
# yum install livecd-toolsCopy to Clipboard Copied! Toggle word wrap Toggle overflow livecd-iso-to-disk --format --reset-mbr /usr/share/rhev-hypervisor/rhev-hypervisor.iso /dev/[sdb]
# livecd-iso-to-disk --format --reset-mbr /usr/share/rhev-hypervisor/rhev-hypervisor.iso /dev/[sdb]Copy to Clipboard Copied! Toggle word wrap Toggle overflow - Install the wodim package, insert a blank CD-ROM or DVD, and write the disk image to disc.
yum install wodim
# yum install wodimCopy to Clipboard Copied! Toggle word wrap Toggle overflow wodim dev=[device] [image]
wodim dev=[device] [image]Copy to Clipboard Copied! Toggle word wrap Toggle overflow Note
To find out the name of your writer device, run the following command:less /proc/sys/dev/cdrom/info
# less /proc/sys/dev/cdrom/infoCopy to Clipboard Copied! Toggle word wrap Toggle overflow Example 7.1. Use of the wodim Utility
This example uses the first CD-RW (/dev/sr0) device available and the default Hypervisor image location.wodim dev=/dev/sr0 /usr/share/rhev-hypervisor/rhev-hypervisor.iso
# wodim dev=/dev/sr0 /usr/share/rhev-hypervisor/rhev-hypervisor.isoCopy to Clipboard Copied! Toggle word wrap Toggle overflow
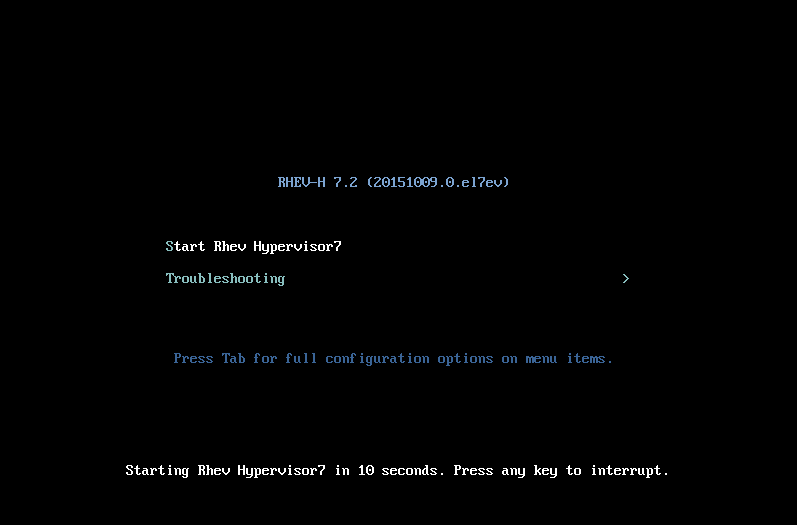
- Start the machine on which to install the Hypervisor minimal operating system using the prepared installation media.
- From the boot menu, select , and press Enter.
Important
If reinstalling Red Hat Enterprise Virtualization Hypervisor over an existing instance on a multipathed iSCSI machine, remove therd_NO_MULTIPATHkernel argument by pressing the Tab button after selecting the option to reinstall the Hypervisor. This will help avoid potential installation errors. - Select a keyboard layout, and press Enter.
- Select the device on which to install the boot loader for the Red Hat Enterprise Virtualization Hypervisor.
- Select the device on which to install the Red Hat Enterprise Virtualization Hypervisor.
- Select the Fill disk with Data partition check box. Clearing this text box displays a field showing the remaining space on the drive and allows you to specify the amount of space to be allocated to data storage.
- From the Confirm disk selection screen, press Enter to confirm the boot device and storage device selection, or select Back and press Enter to revise your selection.
- Set a password for the
adminuser, confirm the password, and press Enter to commence installation.
Note
From the boot menu, you can also press the Tab key to edit the kernel parameters. Kernel parameters must be separated by a space, and you can boot the system using the specified kernel parameters by pressing the Enter key. Press the Esc key to clear any changes to the kernel parameters and return to the boot menu.
Once installation is complete, the machine reboots. Log in as the
admin user and configure the networking options. You can then add the Hypervisor to a standard Red Hat Enterprise Virtualization environment or use the Hosted Engine screen to configure a self-hosted engine environment. See Appendix G, Configuring a Hypervisor Host for PCI Passthrough for more information on how to enable the hypervisor hardware and software for device passthrough.
Warning
Red Hat strongly recommends not creating untrusted users on Red Hat Enterprise Virtualization Hypervisor, as this can lead to exploitation of local security vulnerabilities.