Chapter 1. Developing using containers and the cloud in CodeReady Studio
1.1. Using Red Hat CodeReady Containers tools in CodeReady Studio
Red Hat CodeReady Containers (CRC) brings a minimal OpenShift 4 cluster to your local computer. This cluster provides a minimal environment for development and testing purposes. It is mainly targeted at running on developers' desktops. For other use cases, such as headless, multi-developer or team-based setups, use of the full-fledged OpenShift installer is recommended.
For a more in-depth introduction to OpenShift, see OpenShift documentation.
1.1.1. Downloading and installing Red Hat CodeReady Containers
The following section describes how to set up CodeReady Containers in CodeReady Studio.
Prerequisites
- Download the latest release of CodeReady Containers and the pull secret.
Extract the CRC file.
For more information on how to install and set up CRC, see the Installation chapter of the Getting started with CodeReady Containers Guide.
Procedure
- Start CodeReady Studio.
Click
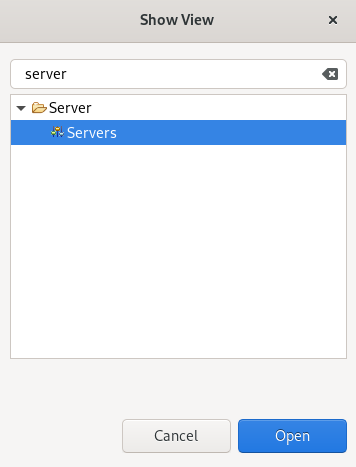
. The Show View window appears.
- Enter Server in the search field.
- Select Servers.
Click .
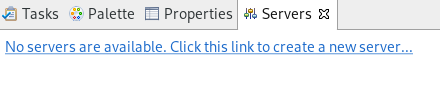
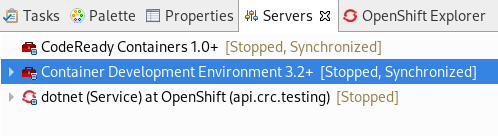
The Servers view appears.
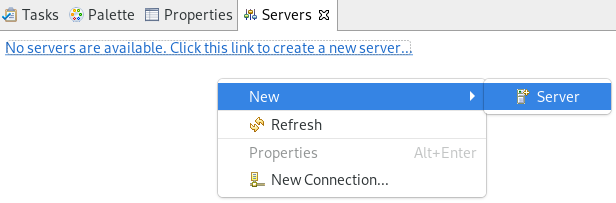
Right-click any area in the Servers view.
Click
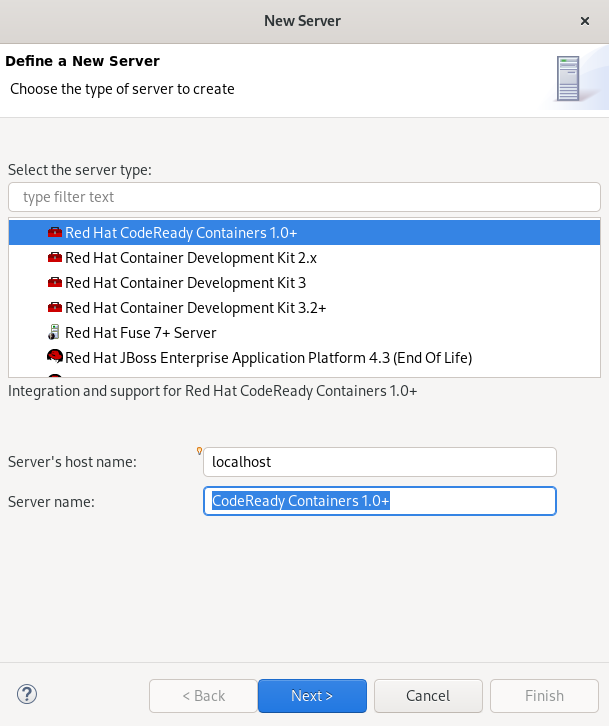
. The Define a New Server window appears.
- Select CodeReady Containers 1.0+.
Click .
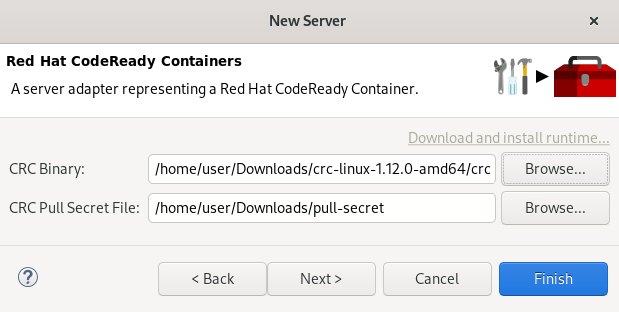
The CodeReady Containers window appears.
- Click to locate the CRC binary.
- Click to locate the CRC Pull Secret File.
- Click .
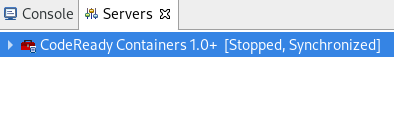
Your newly added CodeReady Containers 1.0+ server adapter is now listed in the Servers view.
In case you did not set up CRC prior to starting the server adapter, you will see a warning: CRC has not been properly initialized!
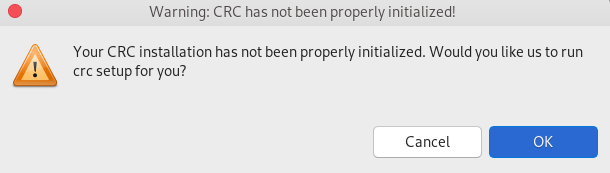
Follow the on-screen instructions to initialize CRC.
1.1.2. Using the OpenShift Container Platform tools
The following section describes how to use OpenShift Containers in CodeReady Studio.
Prerequisites
The CRC server adapter is set up and configured.
For more information, see Downloading and installing CRC.
Procedure
- Start CodeReady Studio.
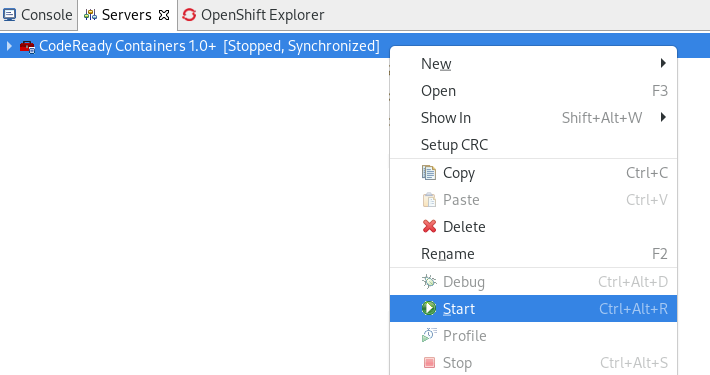
Start the CRC server adapter.
Click
. The Show View window appears.
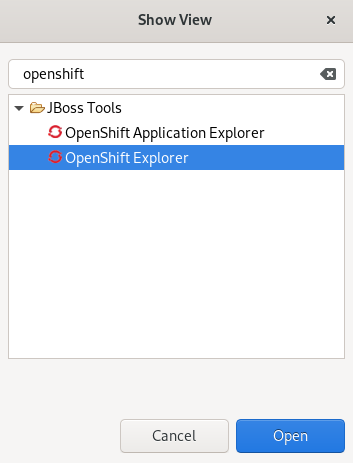
- Enter OpenShift in the search field.
- Select OpenShift Explorer.
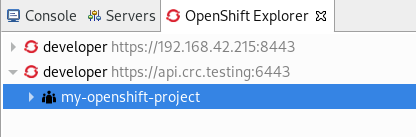
Click .
The OpenShift Explorer view appears.
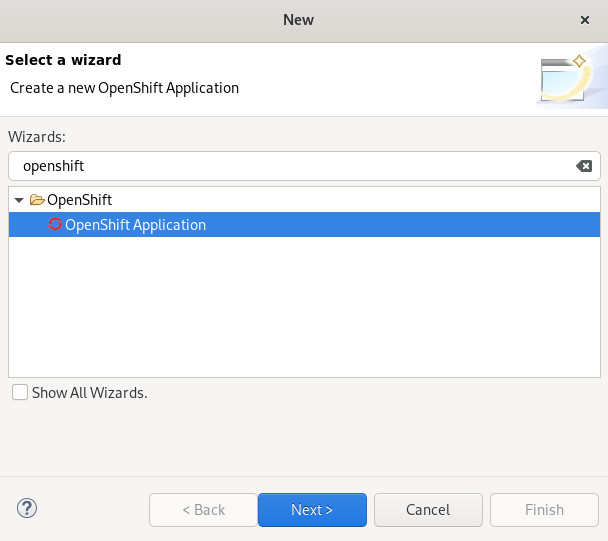
Press Ctrl+N.
The Select a wizard window appears.
- Enter OpenShift in the search field.
- Select OpenShift Application.
Click .
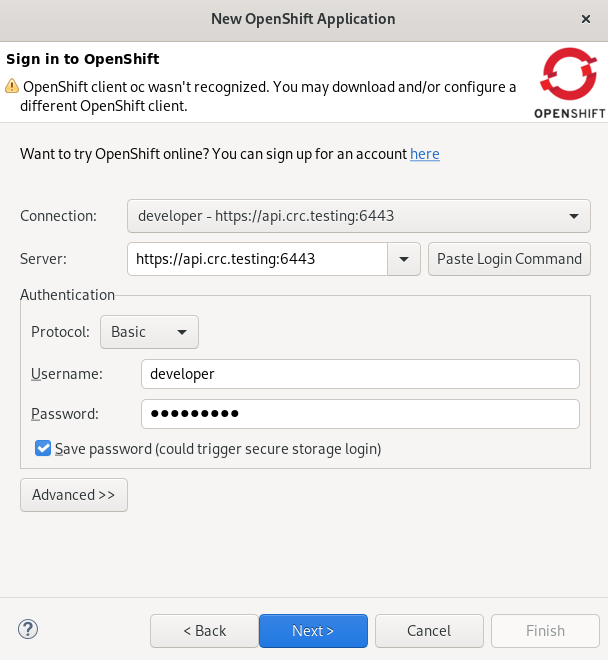
The Sign in to OpenShift window appears.
Provide your credentials and click .
The Create OpenShift Project window appears.
- Name your project.
Click .
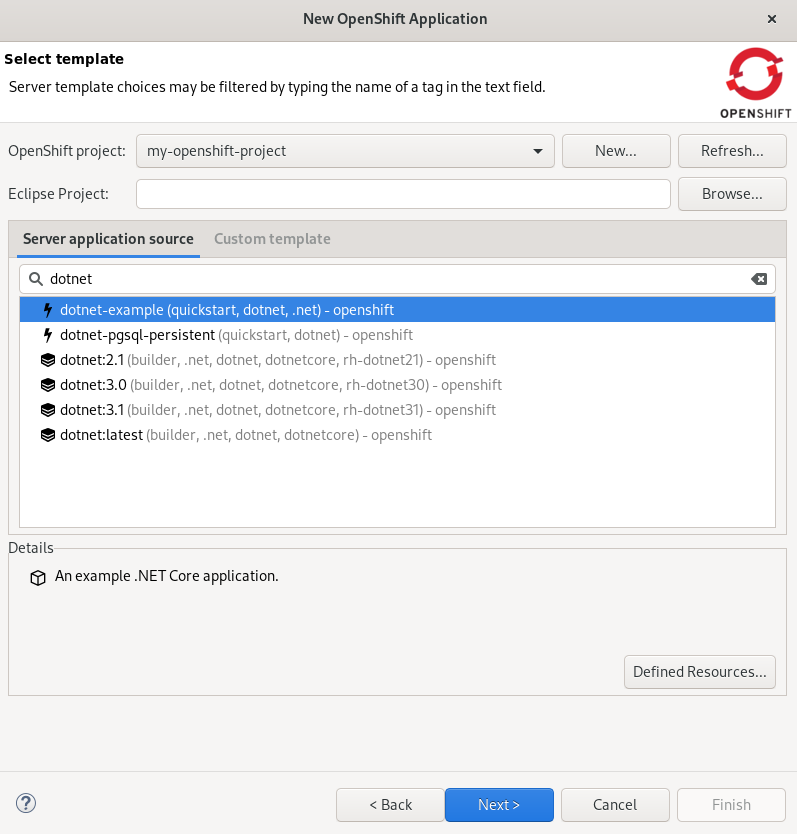
The Select template window appears.
- Select a template.
Click .
The Build Configuration window appears.
- Ensure that the build configurations are correct.
- Click .
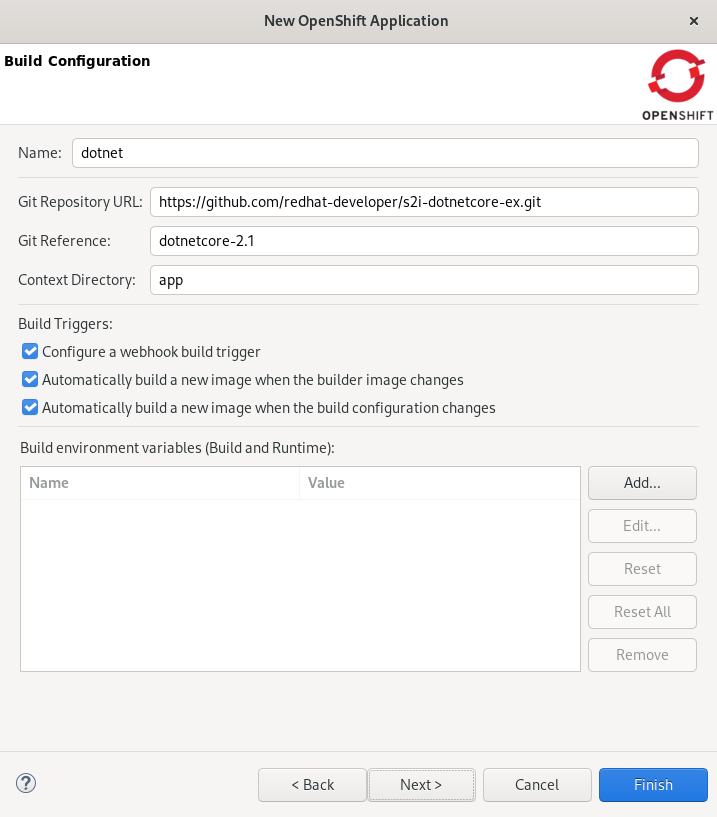
Your newly created OpenShift application project is now listed in the OpenShift Explorer view.
Additional resources
- For more information on how to perform additional tasks with the OpenShift Container Platform projects and application, see Developing for the Cloud with OpenShift in CodeReady Studio.
1.2. Using Red Hat Container Development Kit tools in CodeReady Studio
Red Hat Container Development Kit (CDK) is a pre-built container development environment based on Red Hat Enterprise Linux (RHEL). CDK helps you get started with developing container-based applications quickly.
1.2.1. Installing Container Development Kit
The following section describes how to install CDK from within CodeReady Studio.
Prerequisites
Ensure that the Hypervisor is installed and configured on your system:
- VirtualBox, Linux KVM/libvirt (Linux)
- xhyve (macOS)
- Hyper-V (Windows)
Ensure that hardware virtualization is enabled on your system.
For more information, see Setting Up the Virtualization Environment.
Ensure that you have a Red Hat Developer account.
To create a new account, visit developers.redhat.com.
For more information on CDK, see the Red Hat Container Development Kit Getting Started Guide.
Procedure
- Start CodeReady Studio.
Click
. The Show View window appears.
- Enter Server in the search field.
- Select Servers.
Click .
The Servers view appears.
Right-click any area in the Servers view.
Click
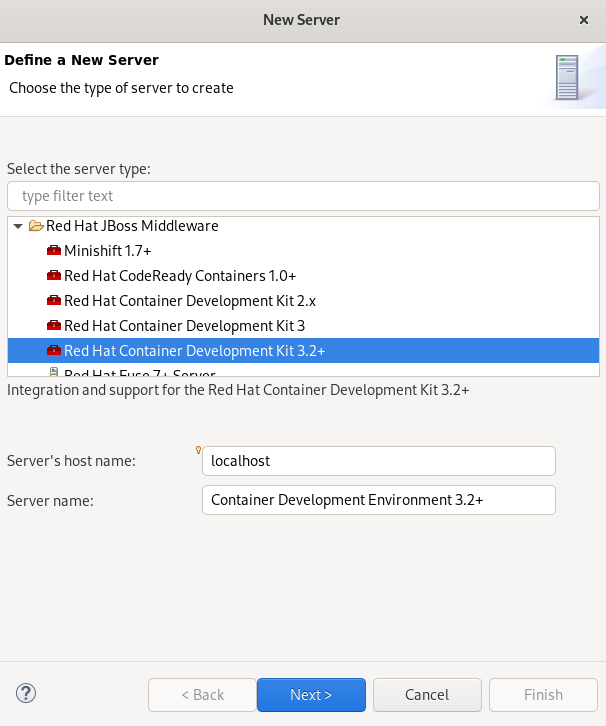
. The Define a New Server window appears.
- Select Red Hat Container Development Kit 3.2+.
Click .
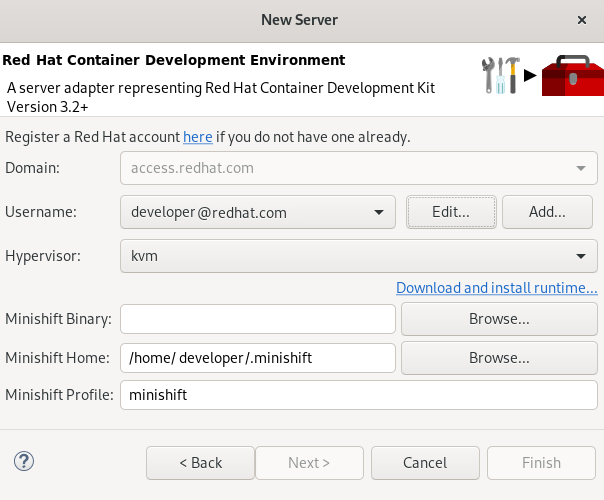
The Red Hat Container Development Environment window appears.
Click Download and install runtime.
The Download Runtimes window appears.
- Select a Red Hat CDK version.
- Click .
- Ensure that your sign-on credentials for access.redhat.com are correct.
- Click .
- Review and accept the license agreement and click .
Select the installation folder and click .
Note that the process of downloading and installing the runtime might take some time to complete.
Click .
Your newly created Container Development Environment 3.2+ server is now listed in the Servers view.
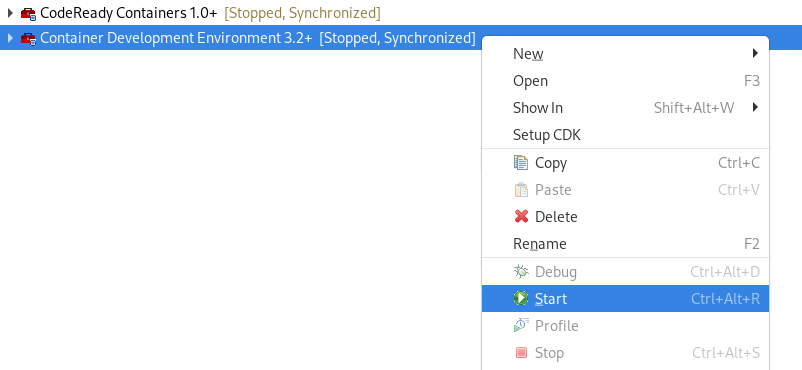
Right-click
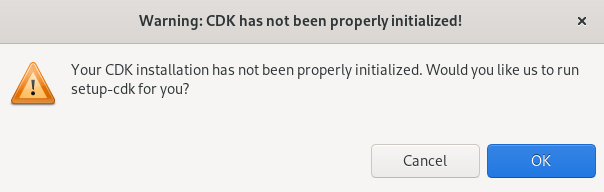
. NoteIn case you did not set up CDK prior to starting the server adapter, you will see a warning: CDK has not been properly initialized!
Follow the on-screen instructions to initialize CDK.

1.2.2. Using Docker tools
1.2.2.1. Creating a Dockerfile
Prerequisites
The CDK server adapter is set up and configured.
For more information, see Installing CDK.
Procedure
- Start CodeReady Studio.
Start the CDK server adapter.
Press Ctrl+N.
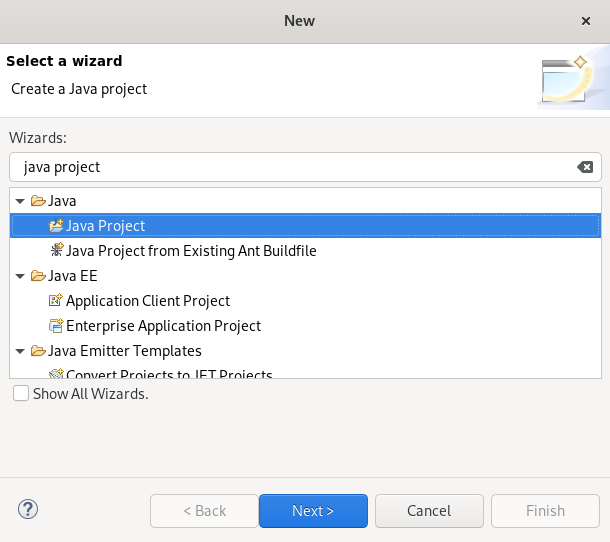
The Select a wizard window appears.
- Enter Java Project in the search field.
- Select Java Project.
Click .
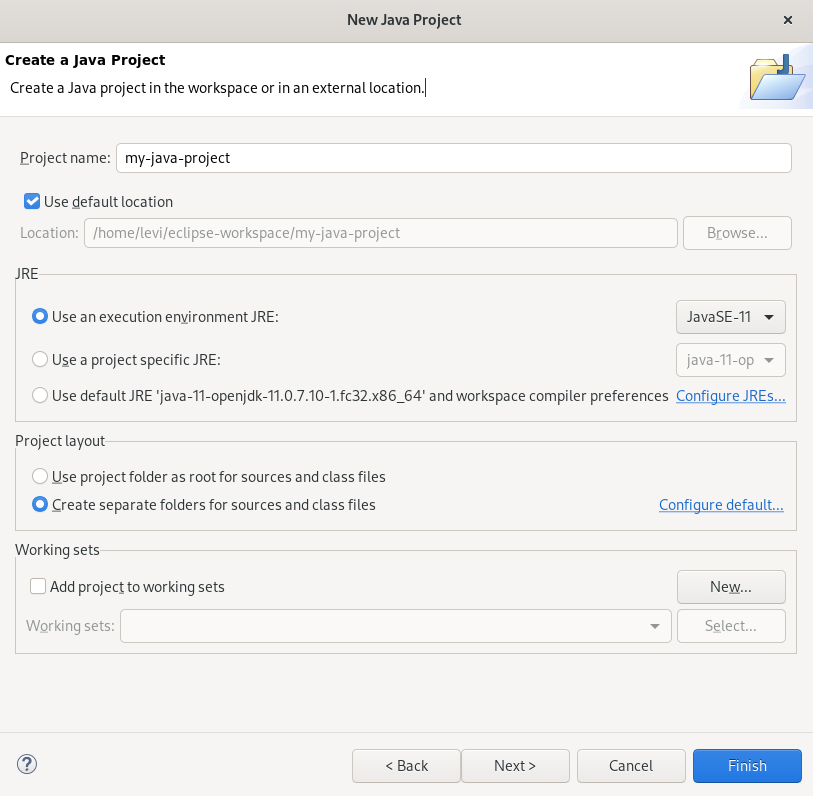
The New Java Project window appears.
- Name your project.
- Select the location for your project.
Click .
Your newly created Java project is now listed in the CodeReady Studio view.
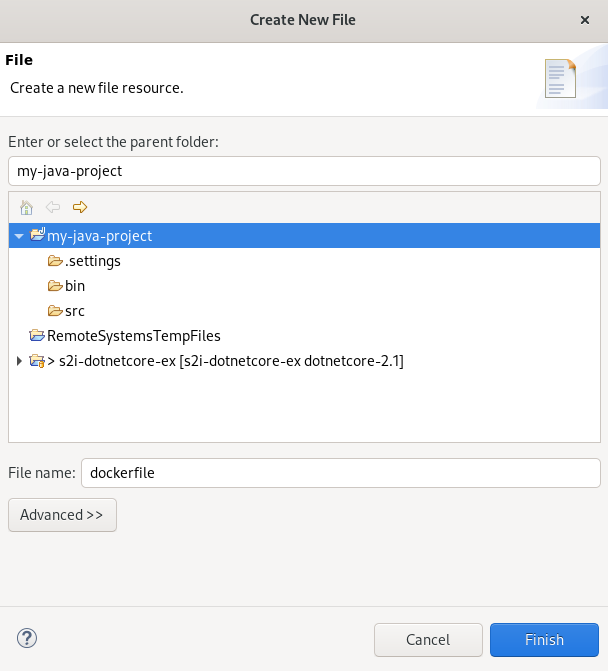
Right-click your
. The Create New File window appears.
- Select the parent folder.
- Name your file.
Click .
Your newly created file is now displayed in the CodeReady Studio editor.
Paste the following content into your newly created file:
Copy to Clipboard Copied! Toggle word wrap Toggle overflow - Press Ctrl+S to save the changes.

Your Dockerfile has been created.
Additional resources
- For more information about Dockerfiles, see Dockerfile reference.
1.2.2.2. Building a Docker image Using Red Hat Container Development Kit
Prerequisites
The CDK server adapter is set up and configured.
For more information, see Installing CDK.
A Java project and a Dockerfile.
For more information, see Creating a Dockerfile.
Procedure
- Start CodeReady Studio.
Start the CDK server adapter.
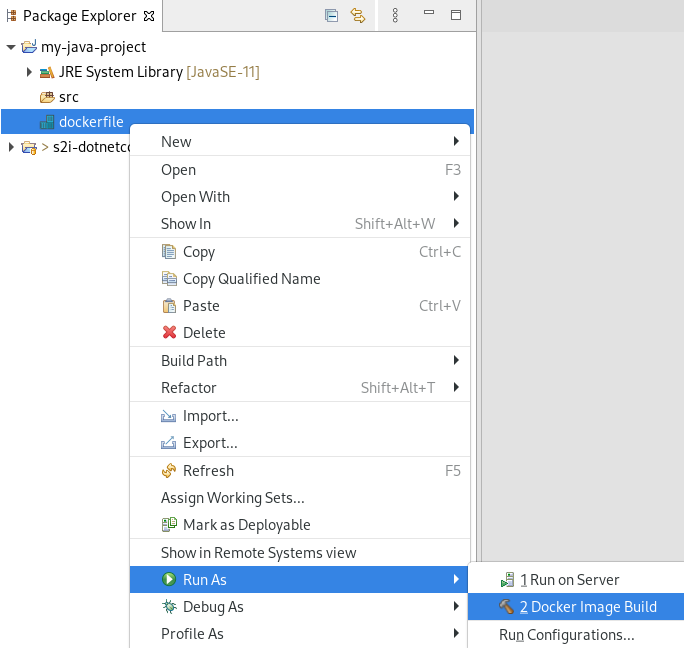
- Expand your Java project.
Right-click
. The Docker Image Build Configuration window appears.
- Select your Container Development Environment server adapter as your connection.
- Name your image.
- Click .
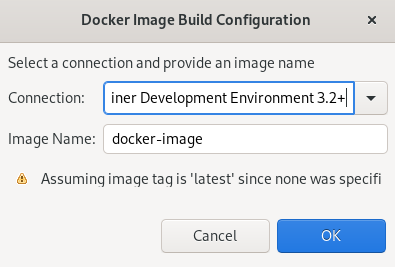
The Console view appears displaying the docker image building process.
1.2.2.3. Additional resources
1.2.3. Additional resources
- For more information on how to perform tasks using the OpenShift Container Platform tooling, see Developing for the Cloud with OpenShift in CodeReady Studio.
- For more information on how to use OpenShift in CodeReady Studio, see OpenShift basics in CodeReady Studio.