Chapter 4. New Features and Enhancements
4.1. OpenShift 3
4.1.1. Enhanced Command to Delete Resource(s)
Earlier, you could delete OpenShift resources in one of the following two ways:
- Individually delete each resource. However, this would create a problem because some resources are hidden by the OpenShift Explorer.
- Delete the containing OpenShift project. But, in this case you may delete more resources than required.
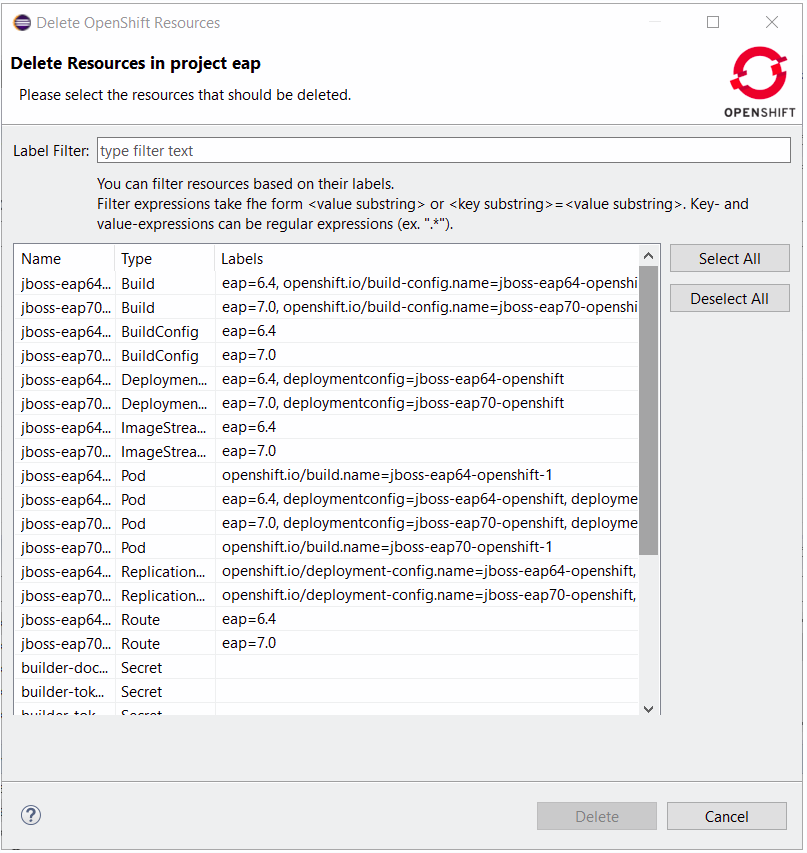
A new enhanced command to delete resources is available at the OpenShift project level. It lists all the available OpenShift resources for the selected OpenShift project. You can then select the resources that you want to delete. You can also filter the list using a filter that is applied to the labels for each retrieved OpenShift resource.
For example, if you have two different deployments in a single OpenShift project (if you arev using OpenShift Online Starter) or if you have different kind of resources in a single deployment, you can now distinct them.
The following images show the workflow of the preceding example.
In this example, we have deployed an EAP6.4 based application and an EAP7.0 based application. The following image shows the OpenShift Explorer view.
Figure 4.1. Application as Shown in the OpenShift Explorer

To invoke the new delete command on the EAP OpenShift project, right-click the OpenShift project and click Delete Resources.
Figure 4.2. Deleting a Resource in an OpenShift Project
For this example, we will consider deleting the EAP6.4 deployement. In the Label filter field, type eap=6.4.
Figure 4.3. Selecting a Deployment for Deletion
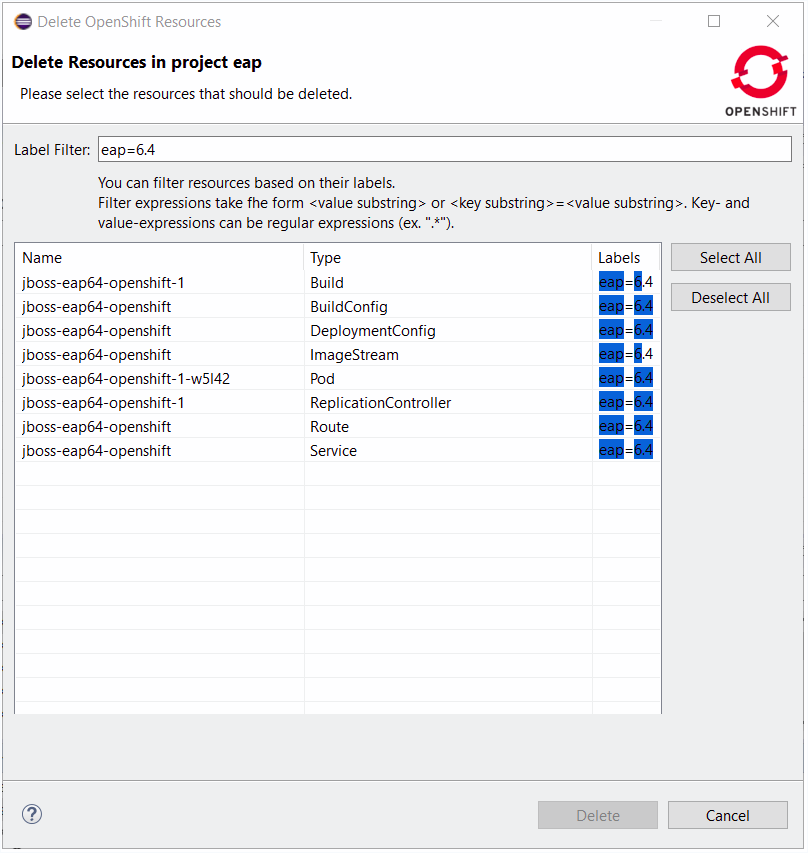
Click .
Figure 4.4. Clicking the Select All Button

Click to close the Delete Resources in Project {project name} window. The resources are deleted and the OpenShift Explorer view is updated accordingly.
Figure 4.5. OpenShift Explorer View Updated after Resource Deletion

Related JIRA: JBIDE-25111
4.1.2. Support for Route Timeouts and Liveness Probe for OpenShift Server Adapter Debugging Configurations
While debugging your OpenShift deployment, you may face two different issues:
- If you launch your test through a Web browser, then it’s likely that you will access your OpenShift deployment through an OpenShift route. The problem is that, by default, OpenShift routes have a 30 seconds timeout for each request. So if you are stepping through one of your breakpoints, you will get a timeout error message in the browser window even if you can still debug your OpenShift deployment. And you will be unable to navigate through your OpenShift application.
- If your OpenShift deployment has a liveness probe configured, depending on your virtual machine capabilities or how your debugger is configured, if you are stepping into one of your breakpoints, the liveness probe may fail; so, OpenShift will restart your container and your debugging session will be destroyed.
So, now, when the OpenShift server adapter is started in debug mode, the following action will be performed:
- If an OpenShift route is found that is linked to the OpenShift deployment you want to debug, the route timeout will be set or increased to one hour. The original or default value will be restored when the OpenShift server adapter will be restarted in run mode.
- If your OpenShift deployment has a liveness probe configured, the initialDelay field will be increased to one hour if the defined value for this field is lower than one hour. If the value of this field is defined to a value value that is greater than an hour, it is left intact. The original value will be restored when the OpenShift server adapter will be restarted in run mode
Related JIRA: JBIDE-24868
4.1.3. Spring Boot applications support in OpenShift server adapter
The OpenShift server adapter allowed hotdeploy and debugging for JEE and NodeJS based applications. It now supports Spring Boot applications with the following limitations: the Spring Boot devtools module must be added to your application as it monitors code changes and as the application must be launched in exploded mode, you must use the upstream image (docker.io/fabric8/s2i-java) rather than the downstream image builder fis-java-openshift.
As an example, we have provided the following OpenShift template that will create an OpenShift application based on the upstream application and a Git repository that added the Spring Boot devtools to the Fabric8 Spring Boot quickstart.
Related JIRA: JBIDE-25303
4.2. Fuse Tooling
4.2.1. Camel Context Parameters Configurable in Properties View for Camel version < 2.18
In the Camel 2.18 and earlier versions, the Camel catalog did not have information about Camel Context. Fuse Tooling now provides this missing piece of information. Like any other component, it allows to edit Camel Context parameters in the Properties view. It is activated when there is no element selected on the diagram.
Figure 4.6. Editing the Camel Context Parameters

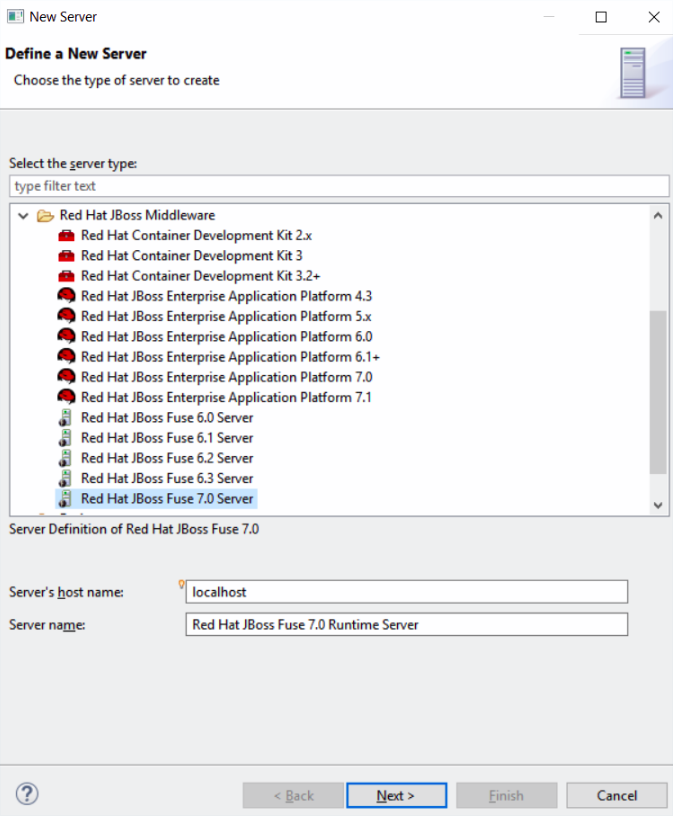
4.2.2. Fuse 7 Karaf-based Runtime Server Adapter
Fuse 7 is under development and preliminary versions are available on the early-access repository. Fuse Tooling is ready to leverage them so that you can try the upcoming major Fuse version.
Figure 4.7. Using the Upcoming Major Fuse Versions
Classical functionalities with server adapters are available: automatic redeploy, Java debug, Graphical Camel debug through created JMX connection. Note that you can’t retrieve the Fuse 7 Runtime directly from Fuse tooling as yet. It is required to download it on your machine and point to it when creating the Server adapter. The provided templates requires some modifications to have them working with Fuse 7, mainly adapting the bom.
Related JIRA: FUSETOOLS-2578
4.2.3. Display routes defined inside "routeContext" in Camel Graphical Editor (Design tab)
The routeContext tag is a special tag used in Camel to provide the ability to reuse routes and to split them across different files. This is useful on large projects. For details, see the Camel documentation. Starting with this version, the Design of the routes defined in the routeContext tags are displayed.
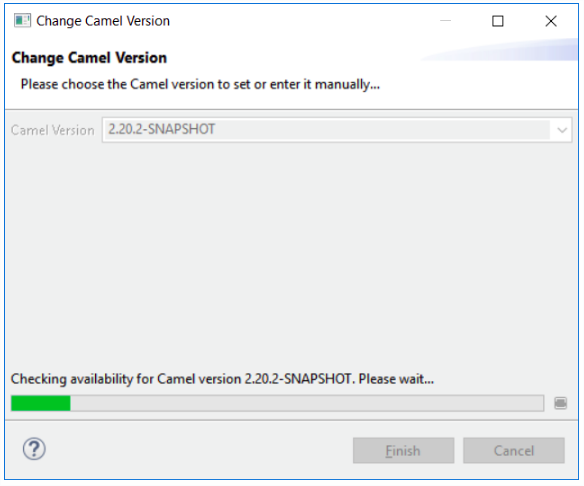
4.2.4. Usability improvement: Progress bar when "Changing the Camel version"
Starting with Fuse Tooling 10.1.0, it is possible to change the Camel version. In case the Camel version was not cached locally and for slow internet connections, this operation can take some time. There is now a progress bar to see the progress.
Figure 4.8. Progress Bar Showing Progress of Camel Version being Changed