Chapter 3. Installing JBoss EAP 8.0 by using the GUI installation program
You can use the JBoss EAP installer to install, configure, and uninstall a JBoss EAP instance on all supported platforms.
3.1. Downloading the JBoss EAP GUI installer
You can download the JBoss EAP 8.0 installer archive file from the Red Hat Customer Portal.
Prerequisites
- Set up an account on the Red Hat Customer Portal.
- Install a supported Java Development Kit (JDK).
Procedure
- Log in to the Red Hat Customer Portal.
- From the Product Downloads list, select Red Hat JBoss Enterprise Application Platform.
- Click Downloads.
- From the Version drop-down list, select 8.0.
Find the Red Hat JBoss Enterprise Application Platform 8.0 Installer file in the list, and then click Download.
3.2. Running the JBoss EAP graphical installation program
The graphical installer offers a convenient way to install, configure, and uninstall a JBoss EAP instance. You can also use the graphical installer to access many optional configuration parameters, which are described in the following section of this chapter.
Prerequisites
- You have set up an account on the Red Hat Customer Portal.
- You have installed a supported Java Development Kit (JDK).
- You have downloaded the JBoss EAP installation package.
Procedure
- Open a terminal instance and navigate to the directory containing the downloaded JBoss EAP installer file.
Run the graphical installer using the following command:
$ java -jar jboss-eap-8.0.0-installer.jar- Choose your preferred language for the installer, and then click OK.
- Agree with the prompt for The EULA for RED HAT JBOSS MIDDLEWARE by selecting "I accept the terms of this license agreement", and then click Next.
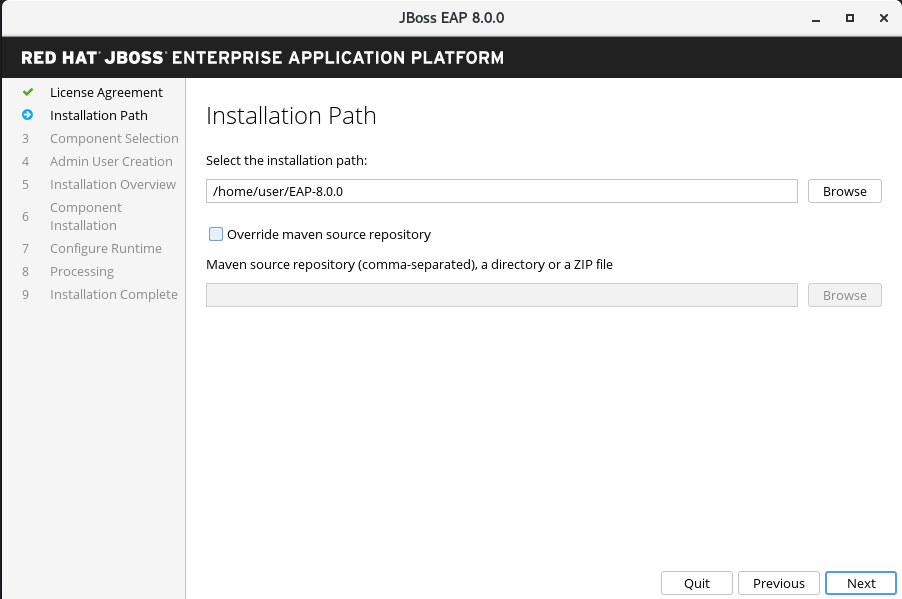
Select the installation path or choose a Maven source repository for JBoss EAP, and then click Next.
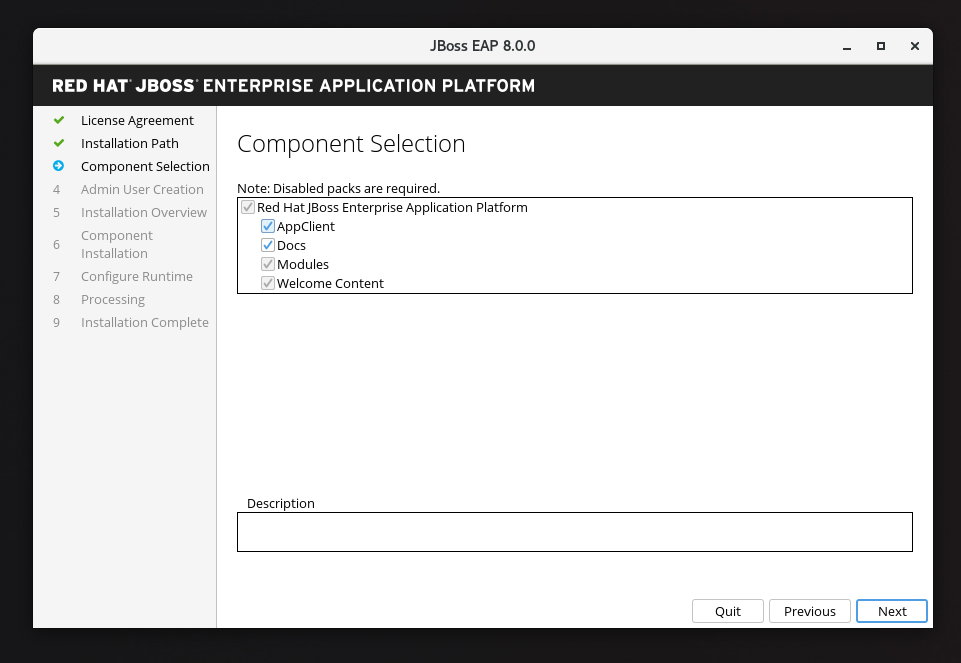
Select the components to install. Required components are disabled for deselection.
3.2.1. Configuring JBoss EAP GUI installation
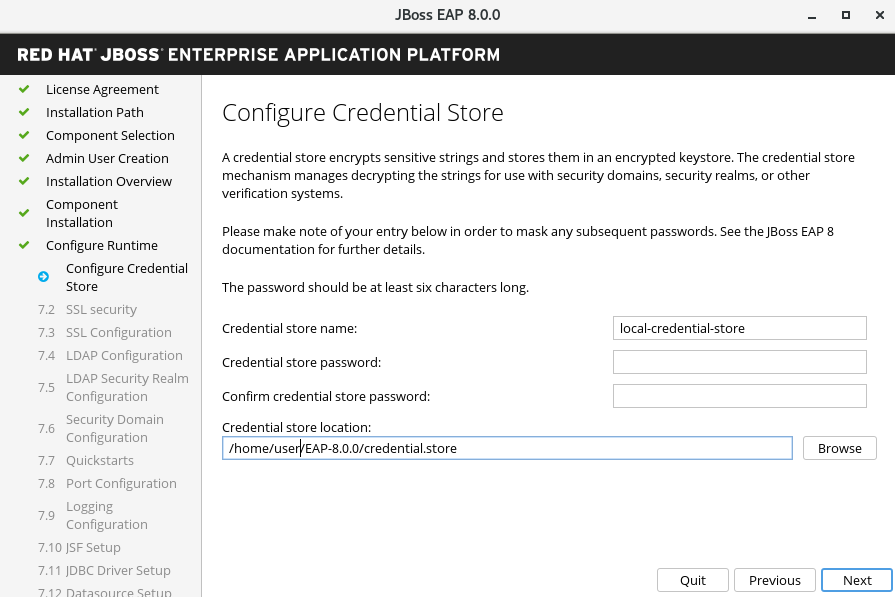
3.2.1.1. Configuring the Credential Store
- Use the Configure Credential Store option to encrypt sensitive strings and store them in an encrypted keystore in your Runtimes environment.
Result
When you select this option, your specified keystore is used to store the passwords used in all other configuration screens that follow.
- Provide a password for the credential store and re-confirm it.
- Browse to or specify the path of the credential store, and then click Next.
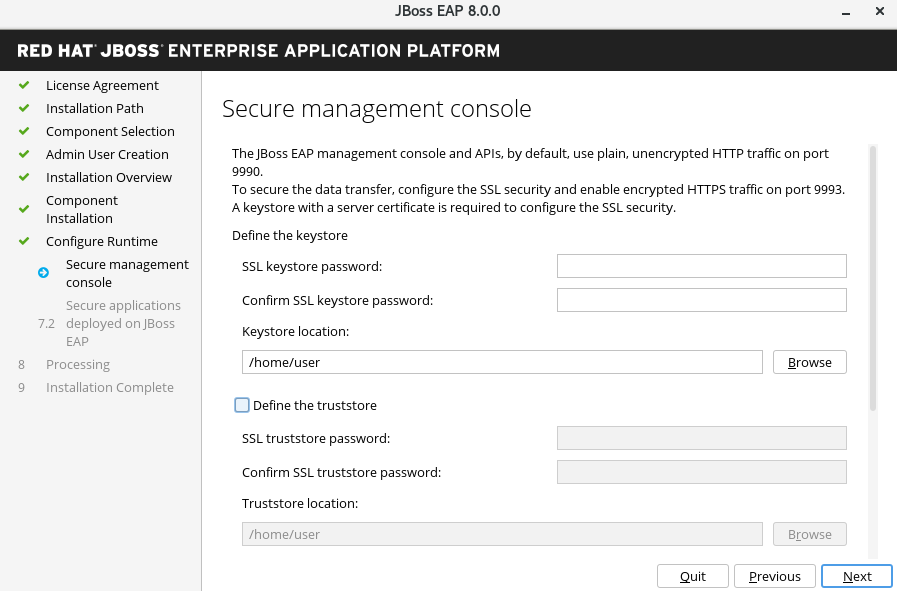
3.2.1.2. SSL security for management interfaces
You can enable SSL security for management interfaces in the advanced configuration of the runtime environment by specifying the location of the keystore containing server certificate and the keystore password for securing the JBoss EAP management interfaces.
- Specify the location of the keystore and the password for securing the JBoss EAP management interfaces.
- When you have specified these values, click Next.
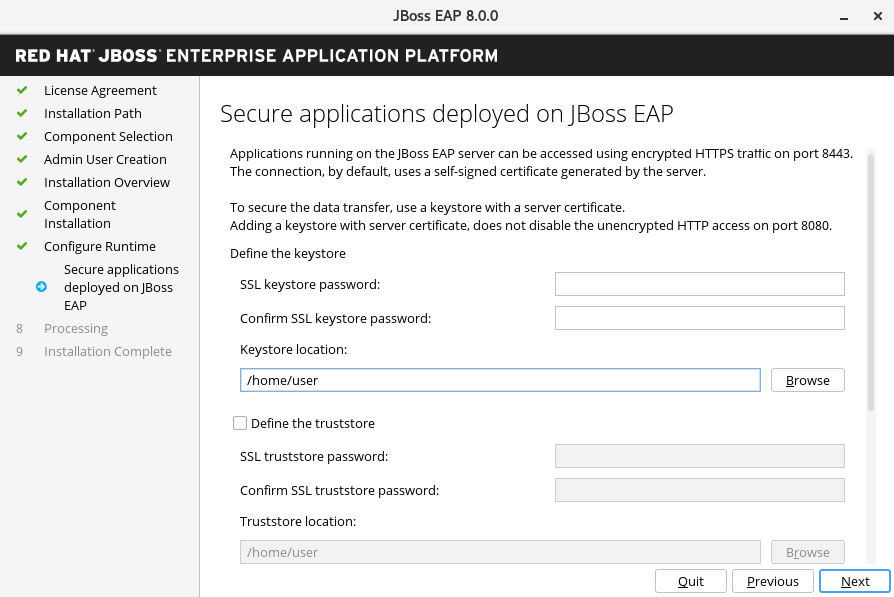
3.2.1.3. SSL security for application interfaces
You can enable SSL security for application interfaces in the advanced configuration of the runtime environment by specifying the location of the keystore containing server certificate and the keystore password for securing the JBoss EAP management interfaces.
- Specify the location of the keystore and the password for securing the JBoss EAP management interfaces.
- When you have specified these values, click Next.
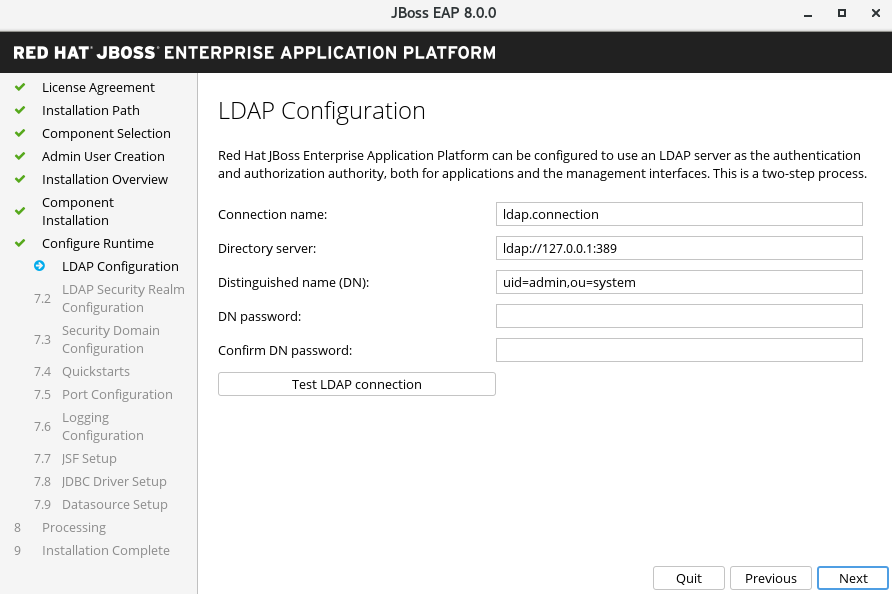
3.2.2. LDAP configuration
You can enable the LDAP server to be the authentication and authorization authority as follows: . Select Configure Runtime. .. Select Enable LDAP authentication. .. On the LDAP Configuration screen, complete the required configurations and click Next.
For more information, see the Securing the Management Interfaces with LDAP chapter of the "How to Configure Identity Management" guide.
3.2.2.1. Configuring the LDAP security realm
You can enable LDAP authentication in the advanced configuration of the runtime environment by using the LDAP connection that you defined in the previous step. Enabling LDAP authentication creates a new security realm and this realm becomes associated with the management interfaces.
- Specify the values for your LDAP Security Realm, and then click Next.
For more information, see Securing the Management Interfaces with LDAP in the "How to Configure Identity Management" guide.

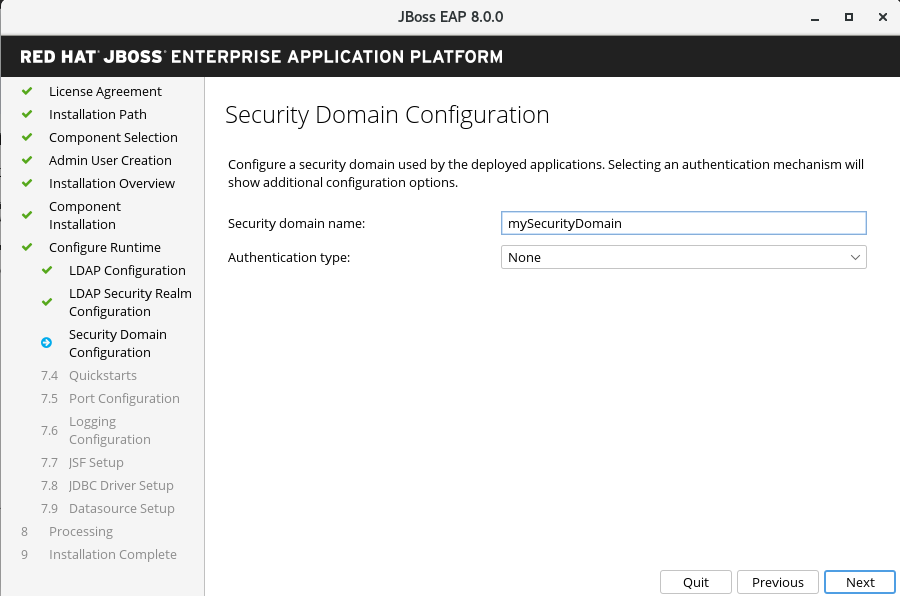
3.2.2.2. Configuring a security Domain
You can add a security domain in the advanced configuration of the Runtime environment by configuring a security domain for the JBoss EAP server instance.
- Enter a security domain name for your JBoss EAP server instance. This security domain can be used for authentication in your applications deployed on JBoss EAP server.
Select the authentication type.
NoteMost of the fields are already populated with default values that can be modified to suit the requirements.
- Click Next.
For more information, see the Security Domains chapter of the "Security Architecture" guide.
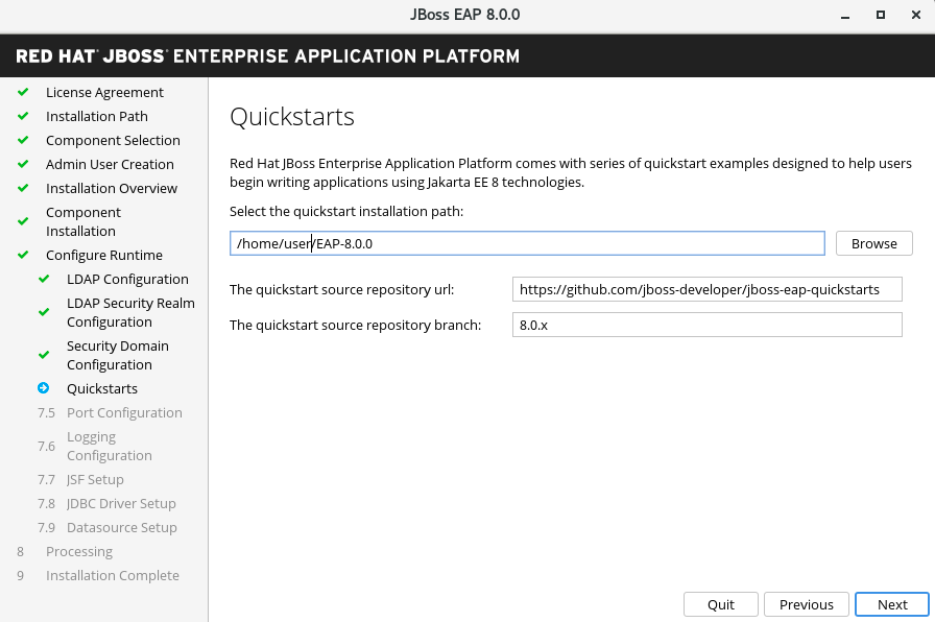
3.2.2.3. Quickstarts
- You can choose to install quickstarts in the advanced configuration of the runtime environment by selecting the quickstart installation path, and then clicking Next.
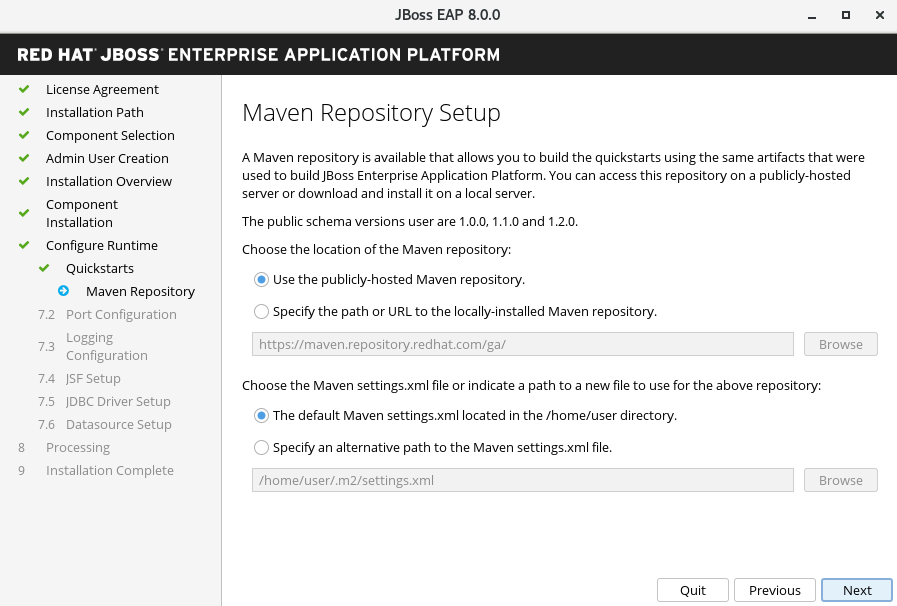
3.2.2.4. Setting up a Maven repository
You can configure the Maven settings used to build the quickstarts in the advanced configuration.
- If your settings.xml file is not in the default location, specify the path.
- If you are using a Maven proxy, specify the Maven repository URL.
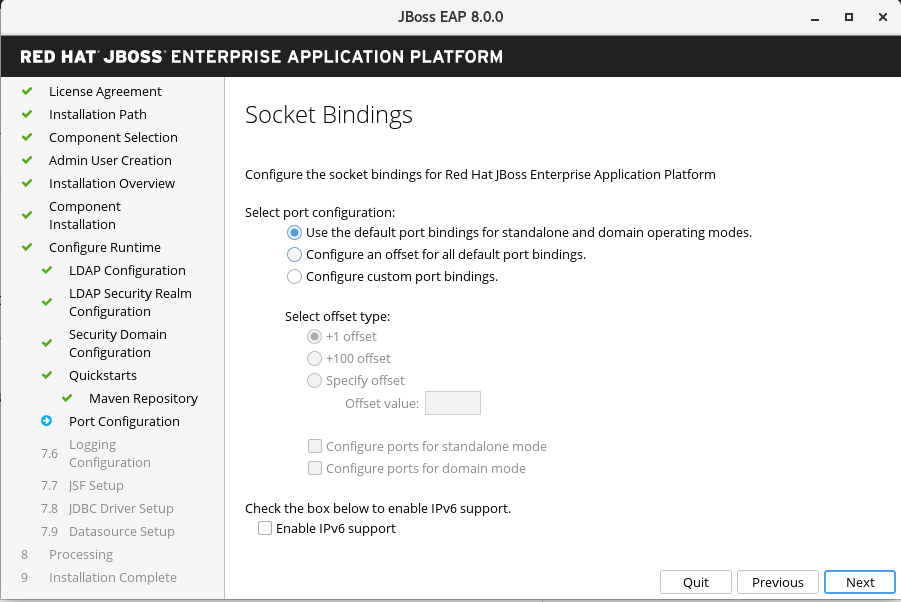
3.2.2.5. Socket bindings
During the installation of JBoss EAP 8.0, in the advanced configuration options, you can configure socket bindings by selecting one of the following items:
- Configure port offsets by choosing the offset type.
- Configure custom bindings by selecting whether to configure the ports for standalone mode, domain mode, or both.
If the host is configured for IPv6 only, select Enable pure IPv6 configuration.
After you have configured your socket binding, click Next.
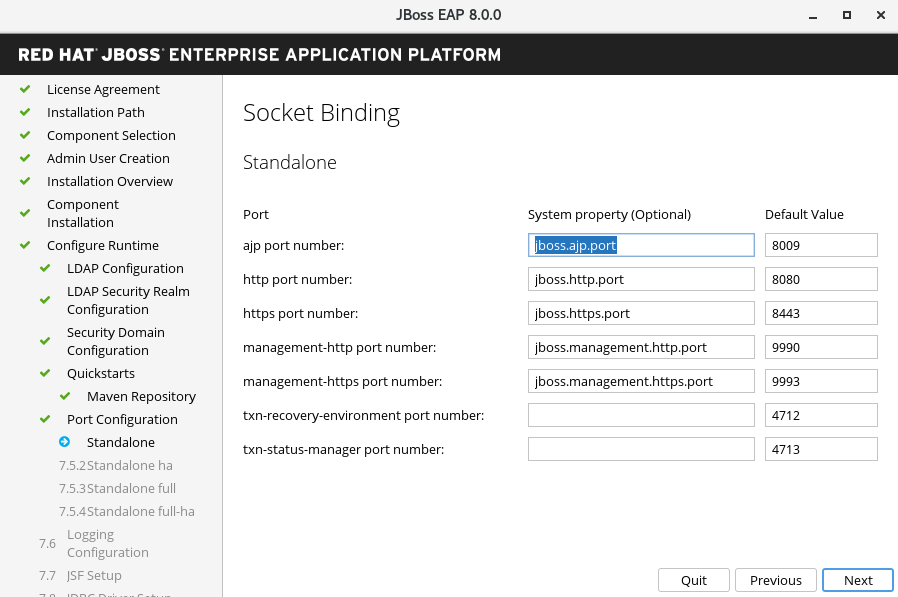
3.2.2.6. Configuring custom socket bindings for standalone mode configurations
Configure custom port bindings for standalone mode by setting the ports and system properties for each of the standalone configurations:
-
standalone, -
standalone ha, -
standalone full, -
standalone full-ha
-
then click Next.
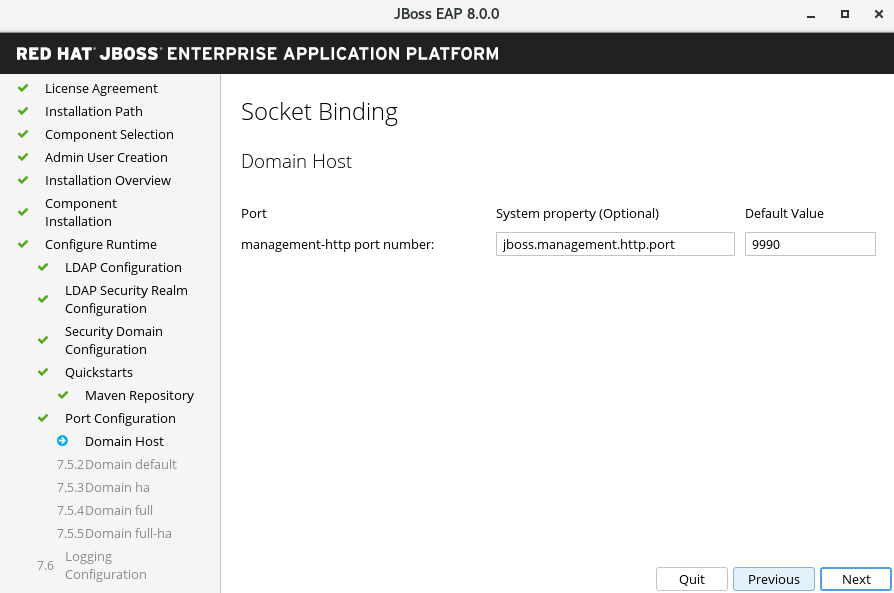
3.2.2.7. Configuring custom socket bindings for domain configurations
Configure custom port bindings for domain operating mode by setting the ports and system properties for the domain host configuration and each of the following domain profiles:
-
domain default -
domain ha -
domain full domain full-ha- Click Next.
-
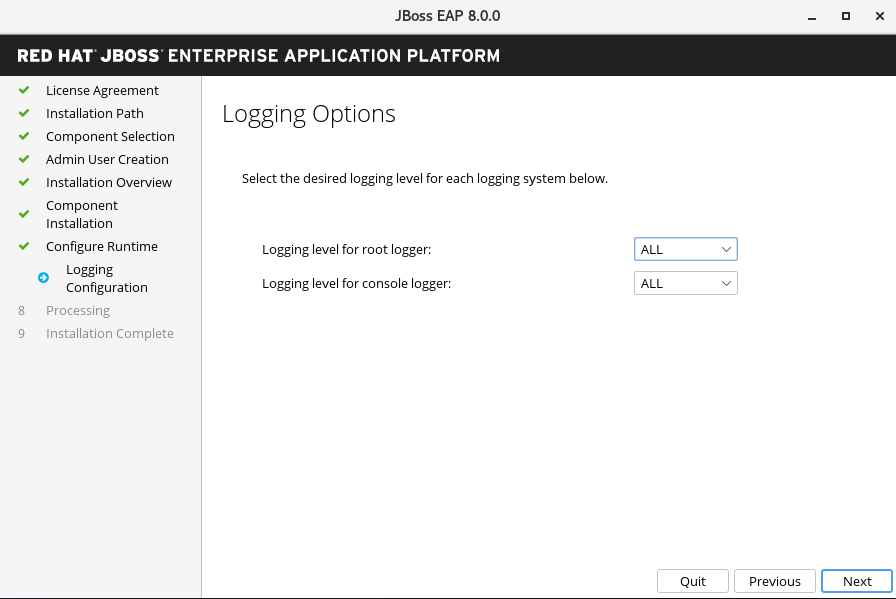
3.2.2.8. Logging options
You can configure logging levels in the advanced configuration settings of the runtime environment as follows:
- Select the desired logging levels for the root logger and the console logger.
- Click Next.
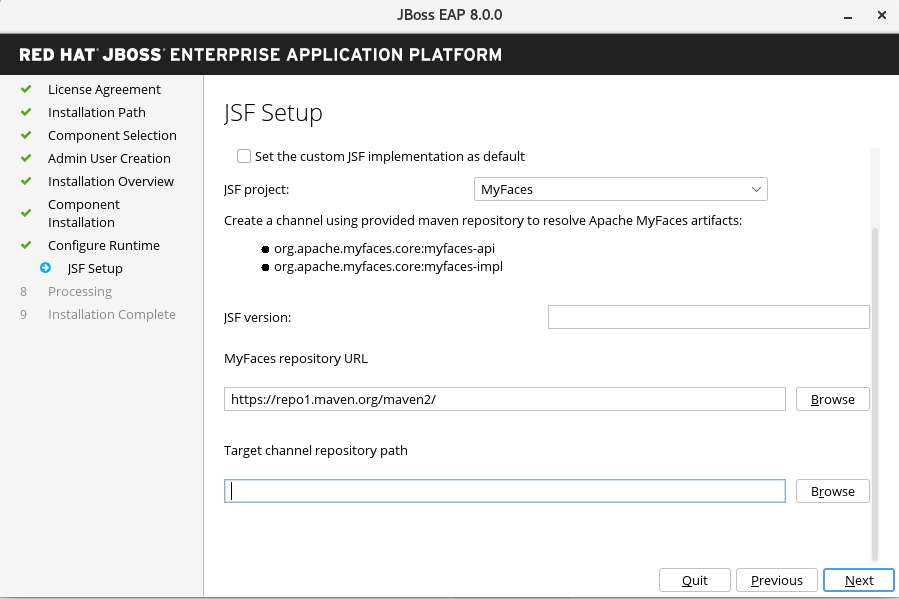
3.2.2.9. Setting up Jakarta Server Faces
You can install an alternative Jakarta Server Faces (JSF) implementation in the advanced configuration settings of the runtime environment, as follows:
- Configure the Jakarta Server Faces options and paths to your Jakarta Server Faces JARs.
- Click Next.
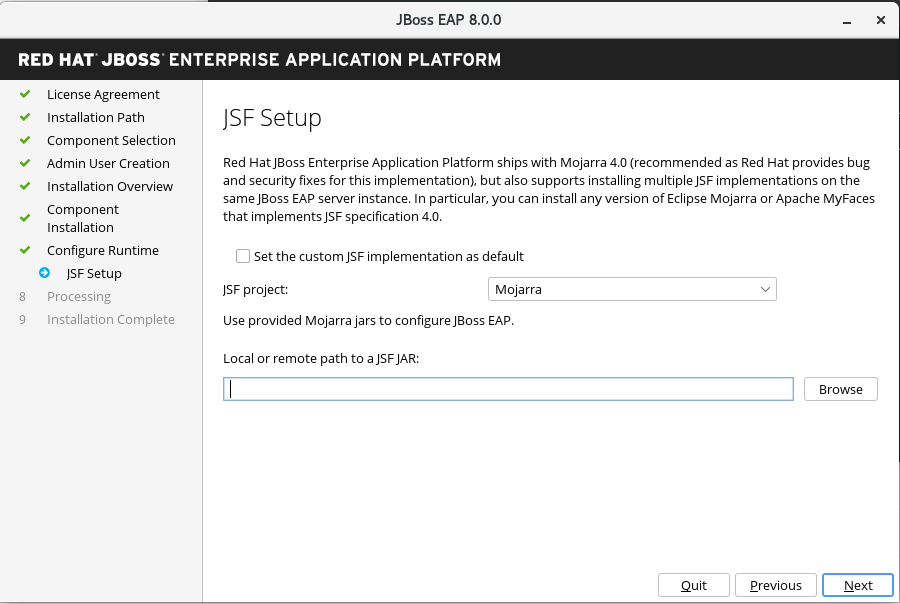
3.2.2.9.1. Custom Jakarta Server Faces Implementation
By default, JBoss EAP ships with Mojara 4.0.0. However, you can install a custom JSF implementation as follows:
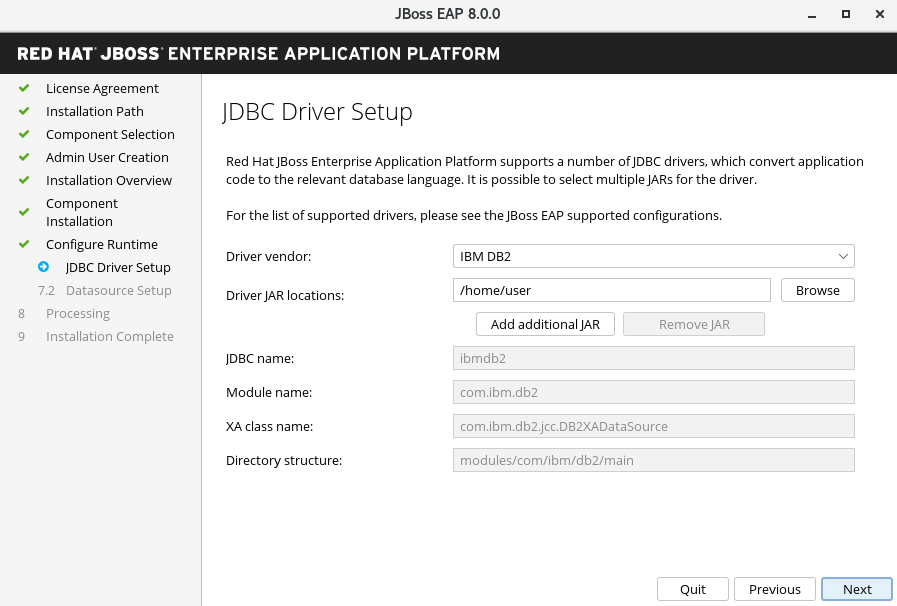
3.2.2.10. Setting up a JDBC driver
To install a JDBC driver, go to the advanced configuration settings of the runtime environment.
Choose the appropriate driver vendor from the list of options.
- Specify the driver’s JAR location(s).
- Click Next. For more information, see the datasource JDBC driver section in the Configuration Guide.
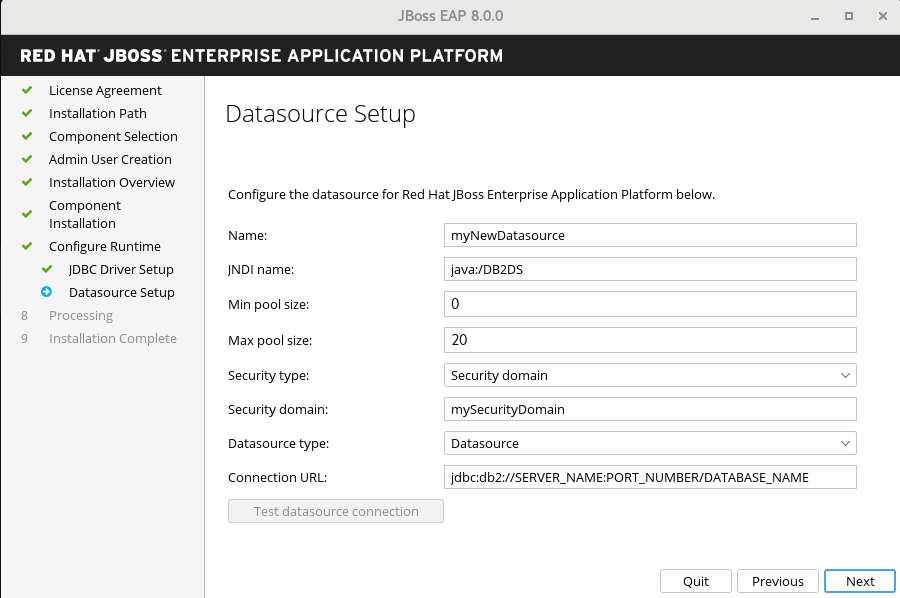
3.2.3. Configuring datasources
In the advanced configuration settings, you can configure a data source for JBoss EAP, also referred to as a datasource throughout the product. When you configure a datasource, specify the JDBC driver that you installed in the previous step.
- Provide a datasource name and configure the other options.
- Click Next.
For more information, see the details of datasource management in the Configuration Guide.
Optional: To save your installation options for future use in an automated installation of JBoss EAP, click Generate installation script and properties file before clicking Done.
Result
Your installation of JBoss EAP is now completed.
The top-level directory for the server that was created by the installation program is otherwise referred to as EAP_HOME.
3.3. Uninstalling JBoss EAP 8.0 by using the GUI
If you installed JBoss EAP 8.0 by using the graphical user interface (GUI), you can uninstall JBoss EAP by running the uninstaller.jar executable file in the EAP 8.0.0 directory.
Prerequisites
- You previously installed JBoss EAP 8.0 by using the GUI.
Procedure
-
Open a terminal and navigate to
EAP_HOME/Uninstaller. Run the graphical uninstaller using the following command:
$ java -jar uninstaller.jar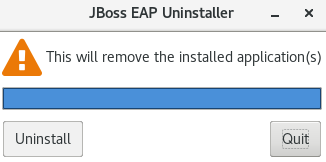
- When prompted, click Uninstall to start the uninstall process.
- When the uninstall process is finished, click Quit to exit the uninstaller.