Chapter 2. Adding TLS Certificates to the Red Hat Quay Container
To add custom TLS certificates to Red Hat Quay, you can use either the command line interface or the Red Hat Quay user interface. From the command line, you need to create a new directory named extra_ca_certs/ beneath the Red Hat Quay config directory and copy any required site-specific TLS certificates to this new directory.
2.1. Add Custom/SSL certificates from the Red Hat Quay UI
To add custom or self-signed SSL certificates to Red Hat Quay from the web UI, do the following:
- Navigate to the Red Hat Quay config UI.
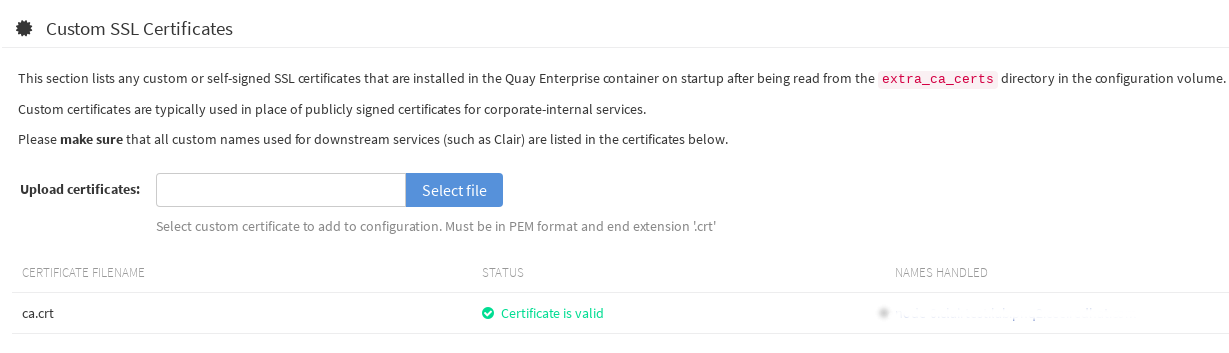
- Scroll to the Custom SSL Certificates section.
-
In the Upload certificates box, select the filename of the certificate. The following figure shows the result of uploading a file named ca.crt.
2.2. Add TLS certificates to Red Hat Quay
View certificate to be added to the container
$ cat storage.crt
-----BEGIN CERTIFICATE-----
MIIDTTCCAjWgAwIBAgIJAMVr9ngjJhzbMA0GCSqGSIb3DQEBCwUAMD0xCzAJBgNV
[...]
-----END CERTIFICATE-----
Create certs directory and copy certificate there
$ mkdir -p quay/config/extra_ca_certs
$ cp storage.crt quay/config/extra_ca_certs/
$ tree quay/config/
├── config.yaml
├── extra_ca_certs
│   ├── storage.crt
Obtain the quay container’s
CONTAINER IDwithdocker ps:$ docker ps CONTAINER ID IMAGE COMMAND CREATED STATUS PORTS 5a3e82c4a75f quay.io/coreos/quay:v2.9.5 "/sbin/my_init" 24 hours ago Up 18 hours 0.0.0.0:80->80/tcp, 0.0.0.0:443->443/tcp, 8443/tcp grave_kellerRestart the container with that ID:
$ docker restart 5a3e82c4a75fExamine the certificate copied into the container namespace:
$ docker exec -it 5a3e82c4a75f cat /etc/ssl/certs/storage.pem
-----BEGIN CERTIFICATE-----
MIIDTTCCAjWgAwIBAgIJAMVr9ngjJhzbMA0GCSqGSIb3DQEBCwUAMD0xCzAJBgNV
2.3. Add certs when deployed on Kubernetes
When deployed on Kubernetes, Red Hat Quay mounts in a secret as a volume to store config assets. Unfortunately, this currently breaks the upload certificate function of the Red Hat Quay config UI.
To get around this error, a base64 encoded certificate can be added to the secret after Quay has been deployed. Here’s how:
Begin by base64 encoding the contents of the certificate:
$ cat ca.crt
-----BEGIN CERTIFICATE-----
MIIDljCCAn6gAwIBAgIBATANBgkqhkiG9w0BAQsFADA5MRcwFQYDVQQKDA5MQUIu
TElCQ09SRS5TTzEeMBwGA1UEAwwVQ2VydGlmaWNhdGUgQXV0aG9yaXR5MB4XDTE2
MDExMjA2NTkxMFoXDTM2MDExMjA2NTkxMFowOTEXMBUGA1UECgwOTEFCLkxJQkNP
UkUuU08xHjAcBgNVBAMMFUNlcnRpZmljYXRlIEF1dGhvcml0eTCCASIwDQYJKoZI
[...]
-----END CERTIFICATE-----

$ cat ca.crt | base64 -w 0
[...]
c1psWGpqeGlPQmNEWkJPMjJ5d0pDemVnR2QNCnRsbW9JdEF4YnFSdVd3PT0KLS0tLS1FTkQgQ0VSVElGSUNBVEUtLS0tLQo=
Use the
kubectltool to edit the quay-enterprise-config-secret.$ kubectl --namespace quay-enterprise edit secret/quay-enterprise-config-secretAdd an entry for the cert and paste the full base64 encoded string under the entry:
custom-cert.crt: c1psWGpqeGlPQmNEWkJPMjJ5d0pDemVnR2QNCnRsbW9JdEF4YnFSdVd3PT0KLS0tLS1FTkQgQ0VSVElGSUNBVEUtLS0tLQo=-
Finally, recycle all Red Hat Quay pods. Use
kubectl deleteto remove all Red Hat Quay pods. The Red Hat Quay Deployment will automatically schedule replacement pods with the new certificate data.