Chapter 3. Admin Console
The bulk of your administrative tasks will be done through the Red Hat Single Sign-On Admin Console. You can go to the console url directly at http://localhost:8080/auth/admin/
Login Page

Enter the username and password you created on the Welcome Page or the add-user-keycloak script in the bin directory. This will bring you to the Red Hat Single Sign-On Admin Console.
Admin Console
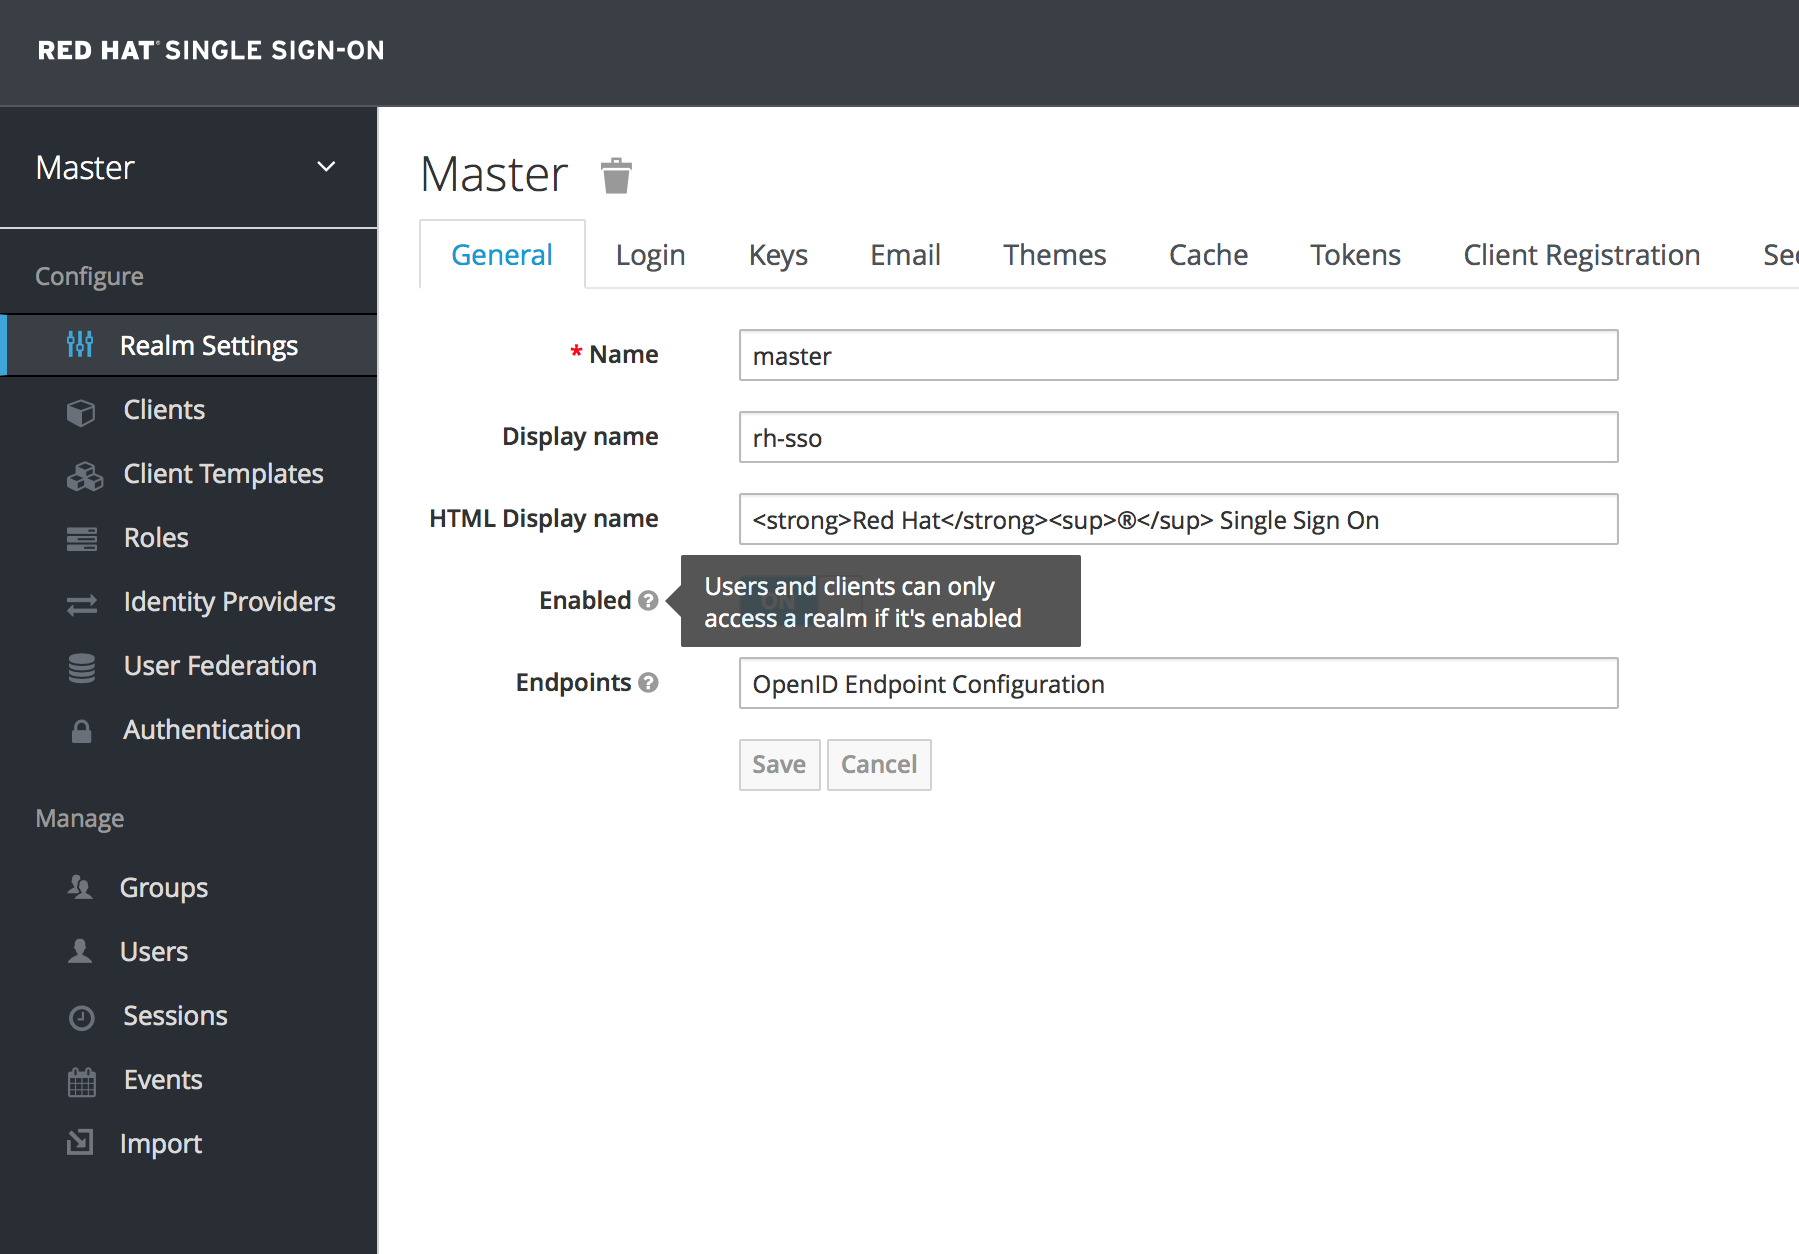
The left drop down menu allows you to pick a realm you want to manage or to create a new one. The right drop down menu allows you to view your user account or logout. If you are curious about a certain feature, button, or field within the Admin Console, simply hover your mouse over any question mark ? icon. This will pop up tooltip text to describe the area of the console you are interested in. The image above shows the tooltip in action.
3.1. The Master Realm
When you boot Red Hat Single Sign-On for the first time Red Hat Single Sign-On creates a pre-defined realm for you. This initial realm is the master realm. It is the highest level in the hierarchy of realms. Admin accounts in this realm have permissions to view and manage any other realm created on the server instance. When you define your initial admin account, you create an account in the master realm. Your initial login to the admin console will also be via the master realm.
We recommend that you do not use the master realm to manage the users and applications in your organization. Reserve use of the master realm for super admins to create and manage the realms in your system. Following this security model helps prevent accidental changes and follows the tradition of permitting user accounts access to only those privileges and powers necessary for the successful completion of their current task.
It is possible to disable the master realm and define admin accounts within each individual new realm you create. Each realm has its own dedicated Admin Console that you can log into with local accounts. This guide talks more about this in the Dedicated Realm Admin Consoles chapter.
3.2. Create a New Realm
Creating a new realm is very simple. Mouse over the top left corner drop down menu that is titled with Master. If you are logged in the master realm this drop down menu lists all the realms created. The last entry of this drop down menu is always Add Realm. Click this to add a realm.
Add Realm Menu
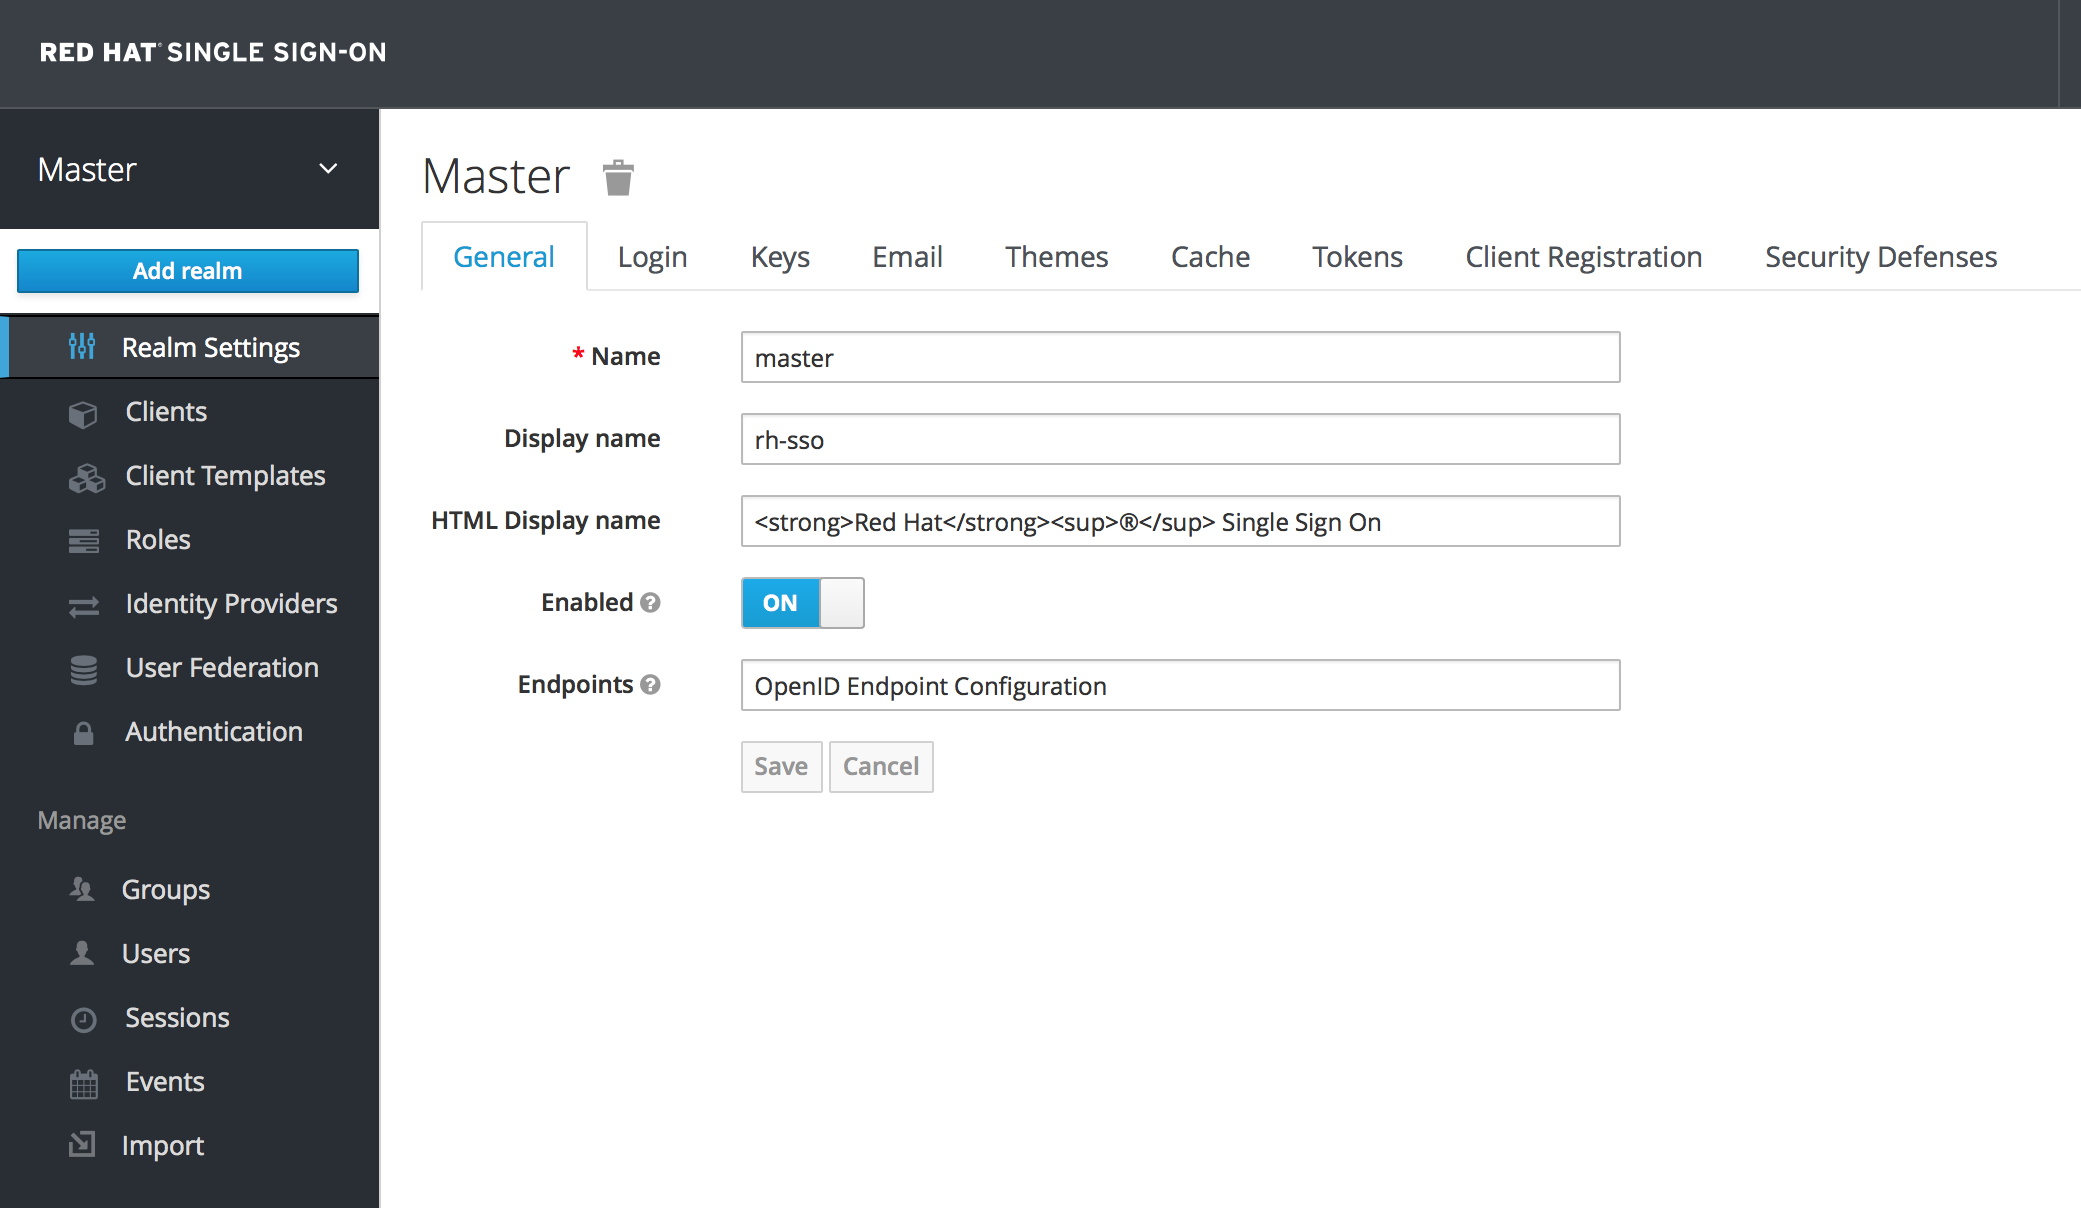
This menu option will bring you to the Add Realm page. Specify the realm name you want to define and click the Create button. Alternatively you can import a JSON document that defines your new realm. We’ll go over this in more detail in the Export and Import chapter.
Create Realm
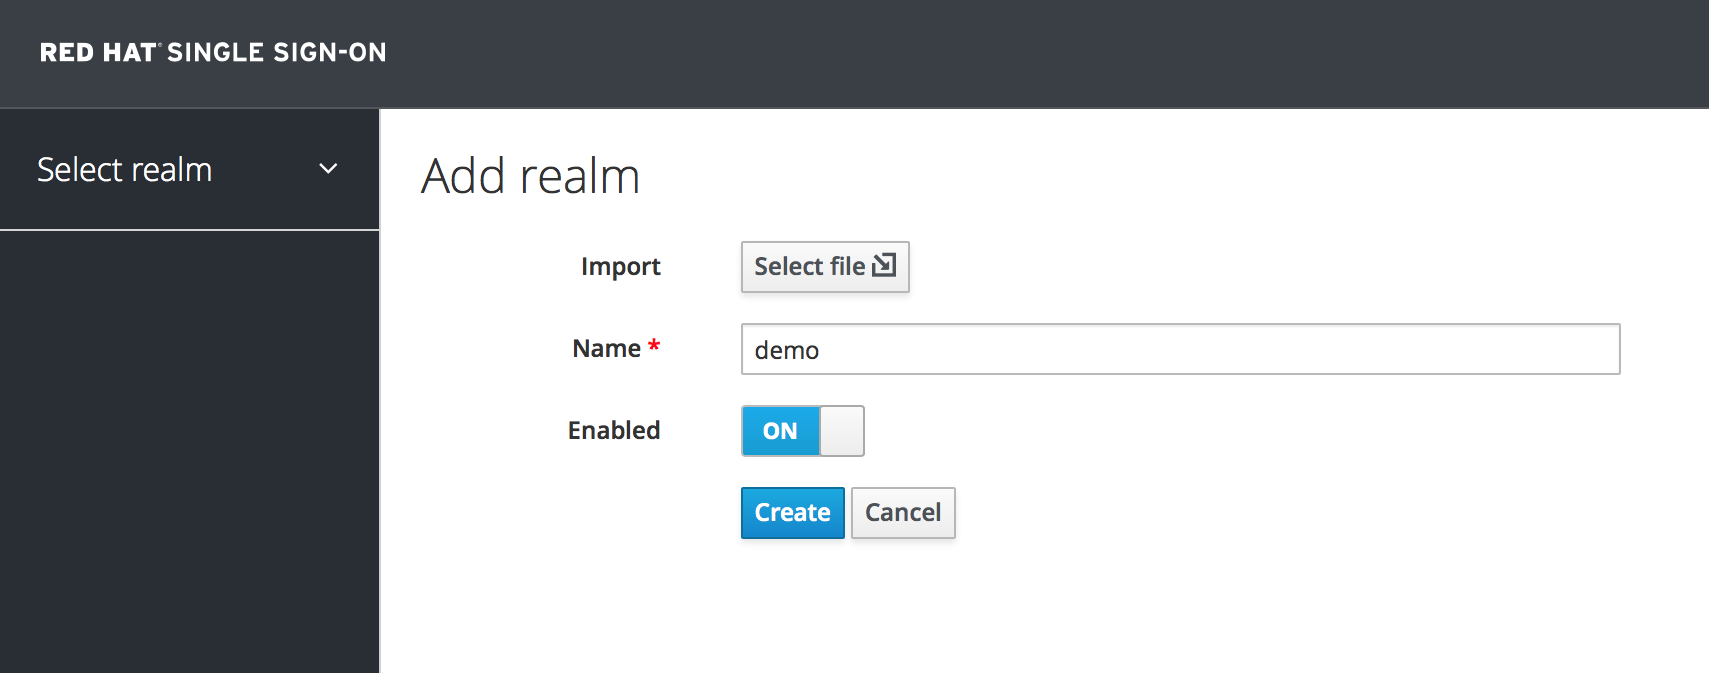
After creating the realm you are brought back to the main Admin Console page. The current realm will now be set to the realm you just created. You can switch between managing different realms by doing a mouse over on the top left corner drop down menu.
3.3. SSL Mode
Each realm has an SSL Mode associated with it. The SSL Mode defines the SSL/HTTPS requirements for interacting with the realm. Browsers and applications that interact with the realm must honor the SSL/HTTPS requirements defined by the SSL Mode or they will not be allowed to interact with the server.
Red Hat Single Sign-On is not set up by default to handle SSL/HTTPS. It is highly recommended that you either enable SSL on the Red Hat Single Sign-On server itself or on a reverse proxy in front of the Red Hat Single Sign-On server.
To configure the SSL Mode of your realm, you need to click on the Realm Settings left menu item and go to the Login tab.
Login Tab

The Require SSL option allows you to pick the SSL Mode you want. Here is an explanation of each mode:
- external requests
-
Users can interact with Red Hat Single Sign-On so long as they stick to private IP addresses like
localhost,127.0.0.1,10.0.x.x,192.168.x.x, and172..16.x.x. If you try to access Red Hat Single Sign-On from a non-private IP address you will get an error. - none
- Red Hat Single Sign-On does not require SSL. This should really only be used in development when you are playing around with things and don’t want to bother configuring SSL on your server.
- all requests
- Red Hat Single Sign-On requires SSL for all IP addresses.
3.4. Clearing Server Caches
Red Hat Single Sign-On will cache everything it can in memory within the limits of your JVM and/or the limits you’ve configured it for. If the Red Hat Single Sign-On database is modified by a third party (i.e. a DBA) outside the scope of the server’s REST APIs or Admin Console there’s a chance parts of the in-memory cache may be stale. You can clear the realm cache, user cache or cache of external public keys (Public keys of external clients or Identity providers, which Red Hat Single Sign-On usually uses for verify signatures of particular external entity) from the Admin Console by going to the Realm Settings left menu item and the Cache tab.
Cache tab
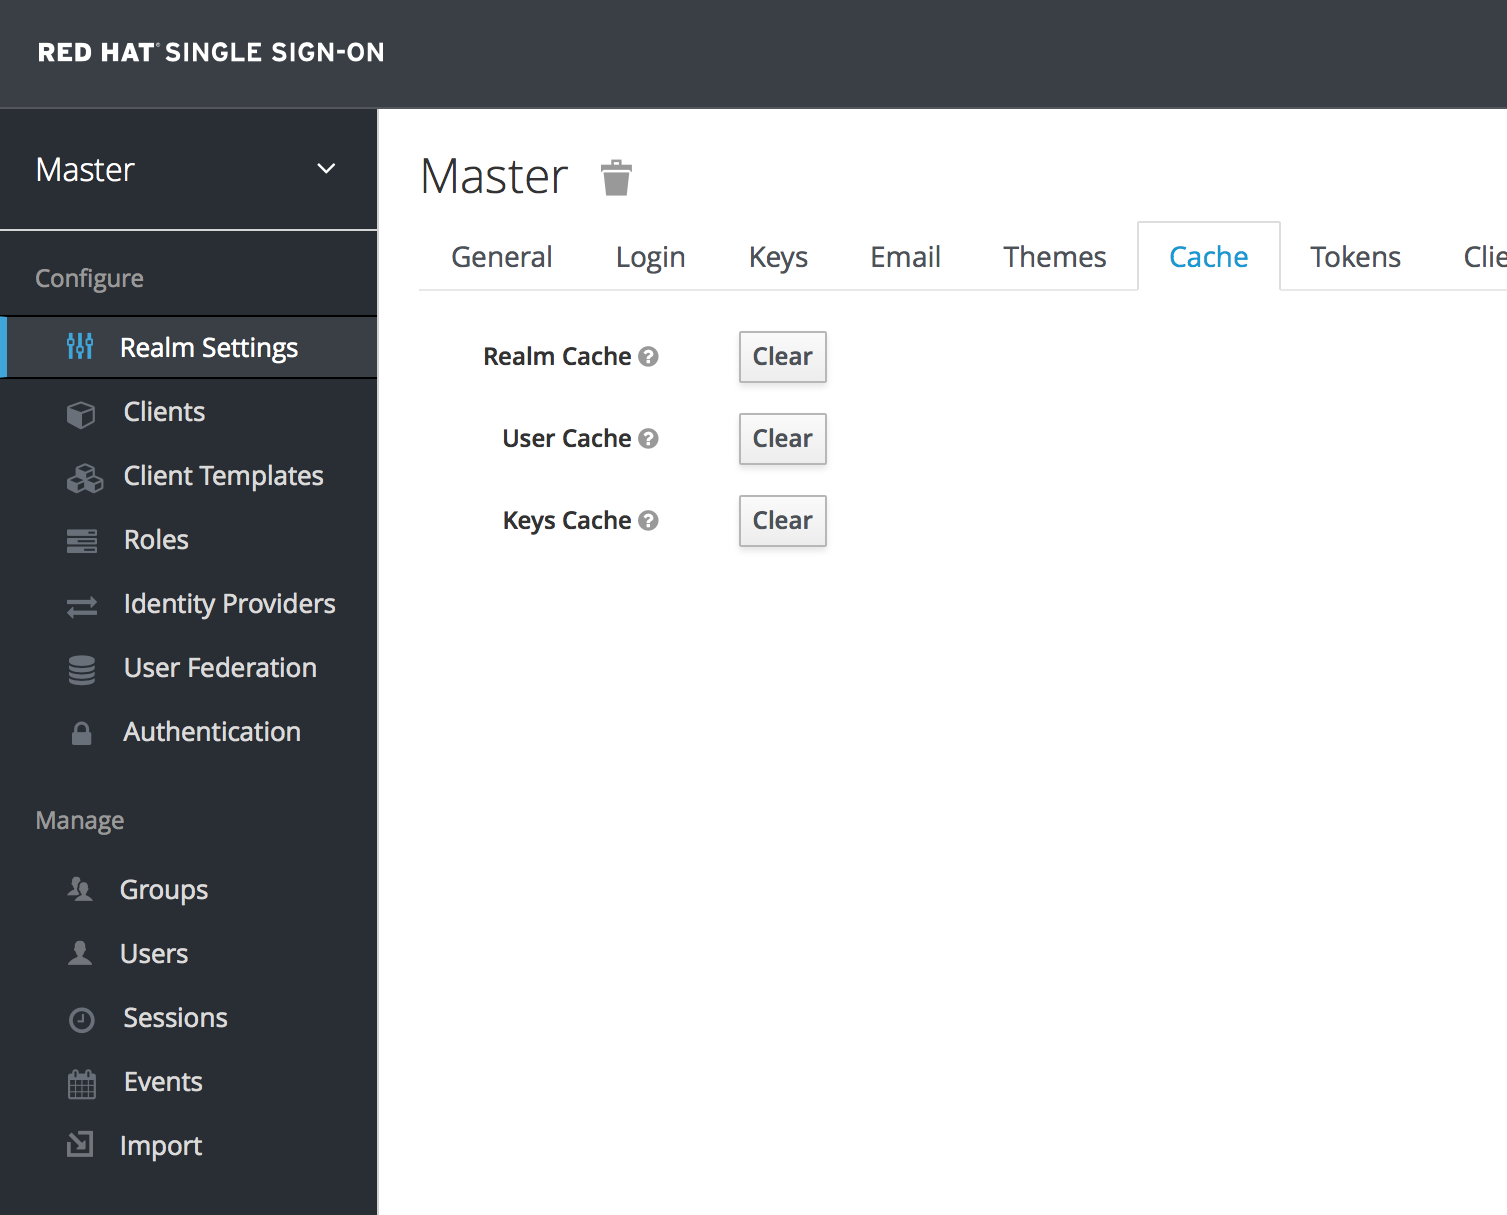
Just click the clear button on the cache you want to evict.
3.5. Email Settings
Red Hat Single Sign-On sends emails to users to verify their email address, when they forget their passwords, or when an admin needs to receive notifications about a server event. To enable Red Hat Single Sign-On to send emails you need to provide Red Hat Single Sign-On with your SMTP server settings. This is configured per realm. Go to the Realm Settings left menu item and click the Email tab.
Email Tab
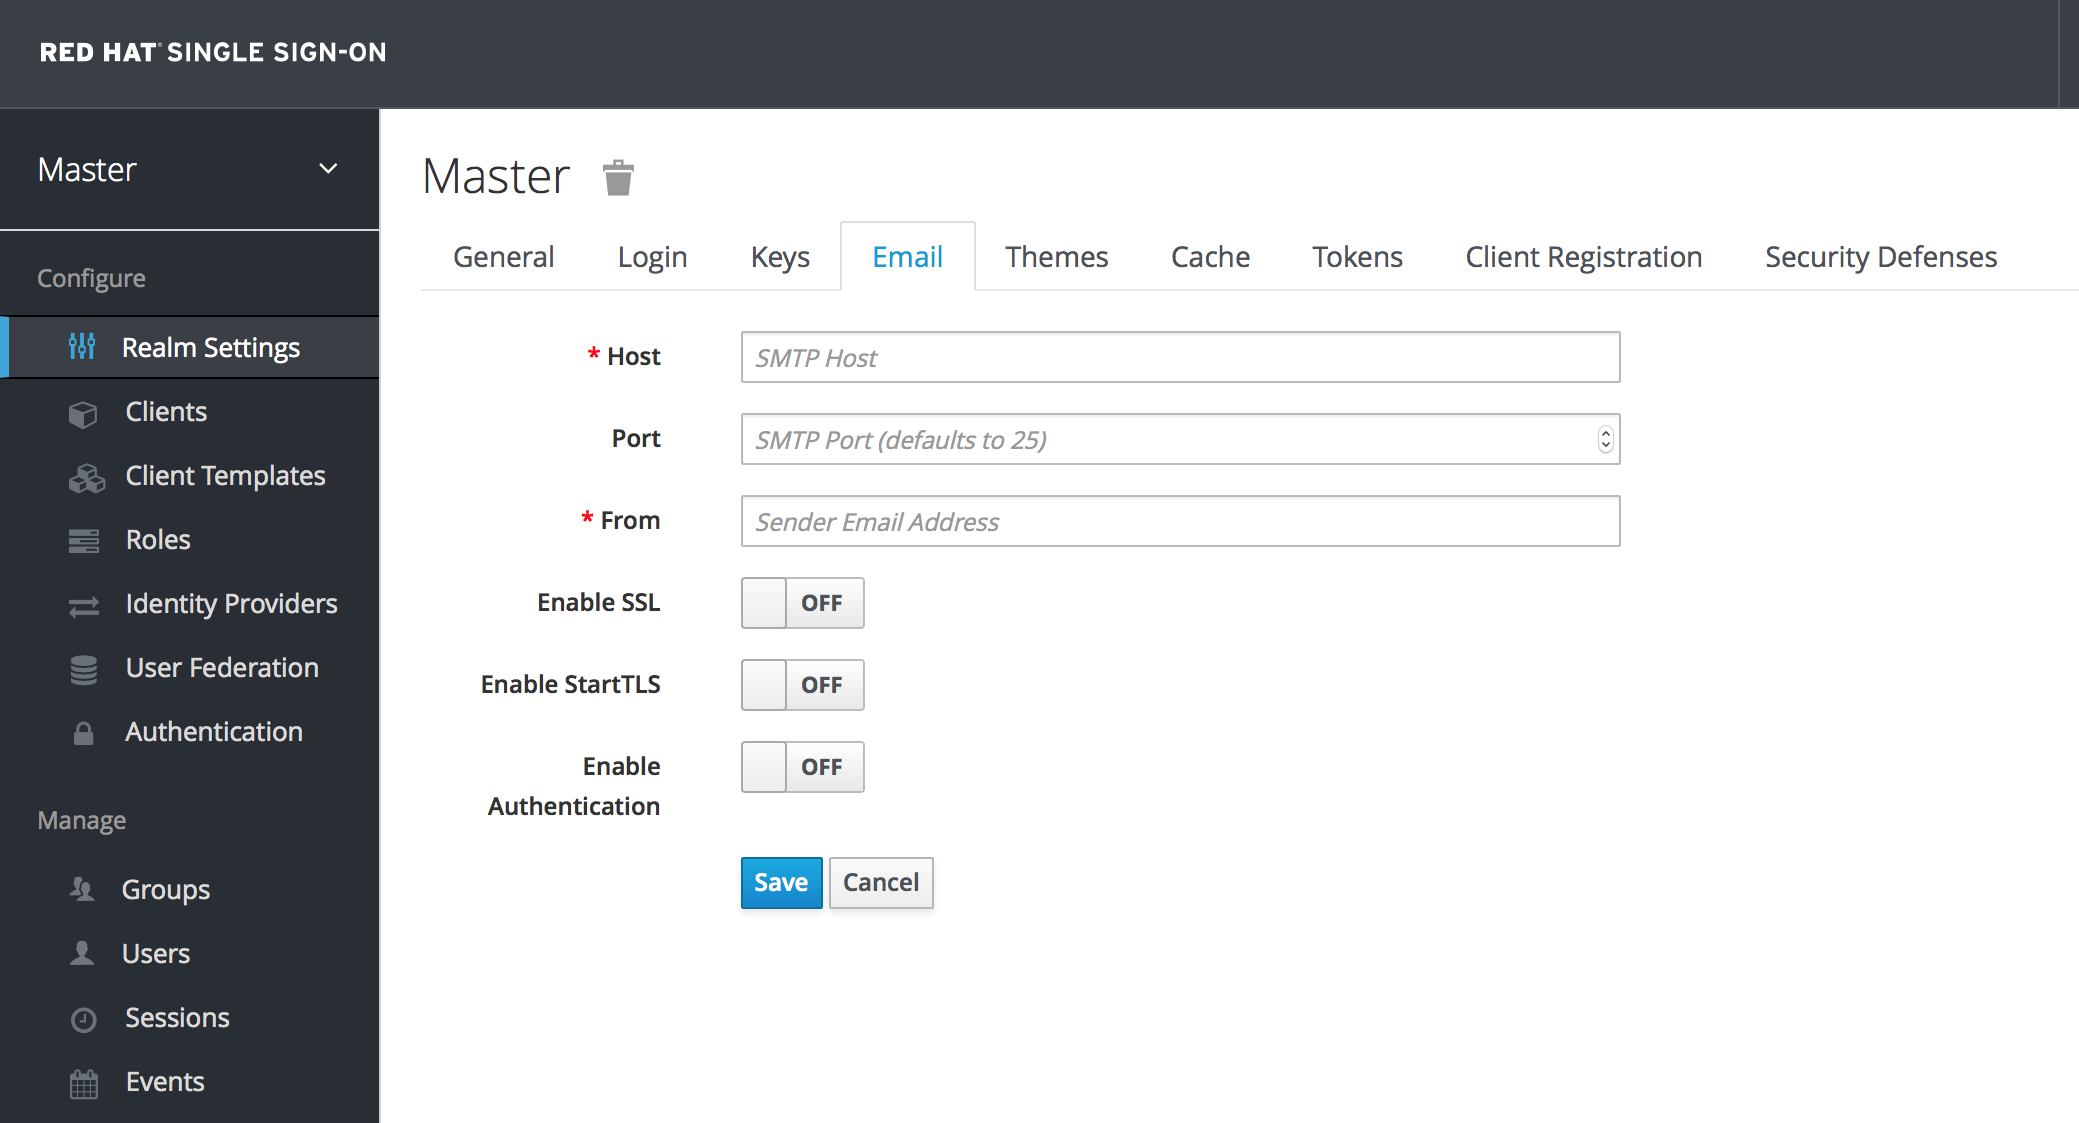
- Host
-
Hostdenotes the SMTP server hostname used for sending emails. - Port
-
Portdenotes the SMTP server port. - From
-
Fromdenotes the address used for theFromSMTP-Header for the emails sent. - From Display Name
-
From Display Nameallows to configure an user friendly email address aliases (optional). If not set the plainFromemail address will be displayed in email clients. - Reply To
-
Reply Todenotes the address used for theReply-ToSMTP-Header for the mails sent (optional). If not set the plainFromemail address will be used. - Reply To Display Name
-
Reply To Display Nameallows to configure an user friendly email address aliases (optional). If not set the plainReply Toemail address will be displayed. - Envelope From
-
Envelope Fromdenotes the Bounce Address used for theReturn-PathSMTP-Header for the mails sent (optional).
As emails are used for recovering usernames and passwords it’s recommended to use SSL or TLS, especially if the SMTP server is on an external network. To enable SSL click on Enable SSL or to enable TLS click on Enable TLS. You will most likely also need to change the Port (the default port for SSL/TLS is 465).
If your SMTP server requires authentication click on Enable Authentication and insert the Username and Password.
3.6. Themes and Internationalization
Themes allow you to change the look and feel of any UI in Red Hat Single Sign-On. Themes are configured per realm. To change a theme go to the Realm Settings left menu item and click on the Themes tab.
Themes Tab
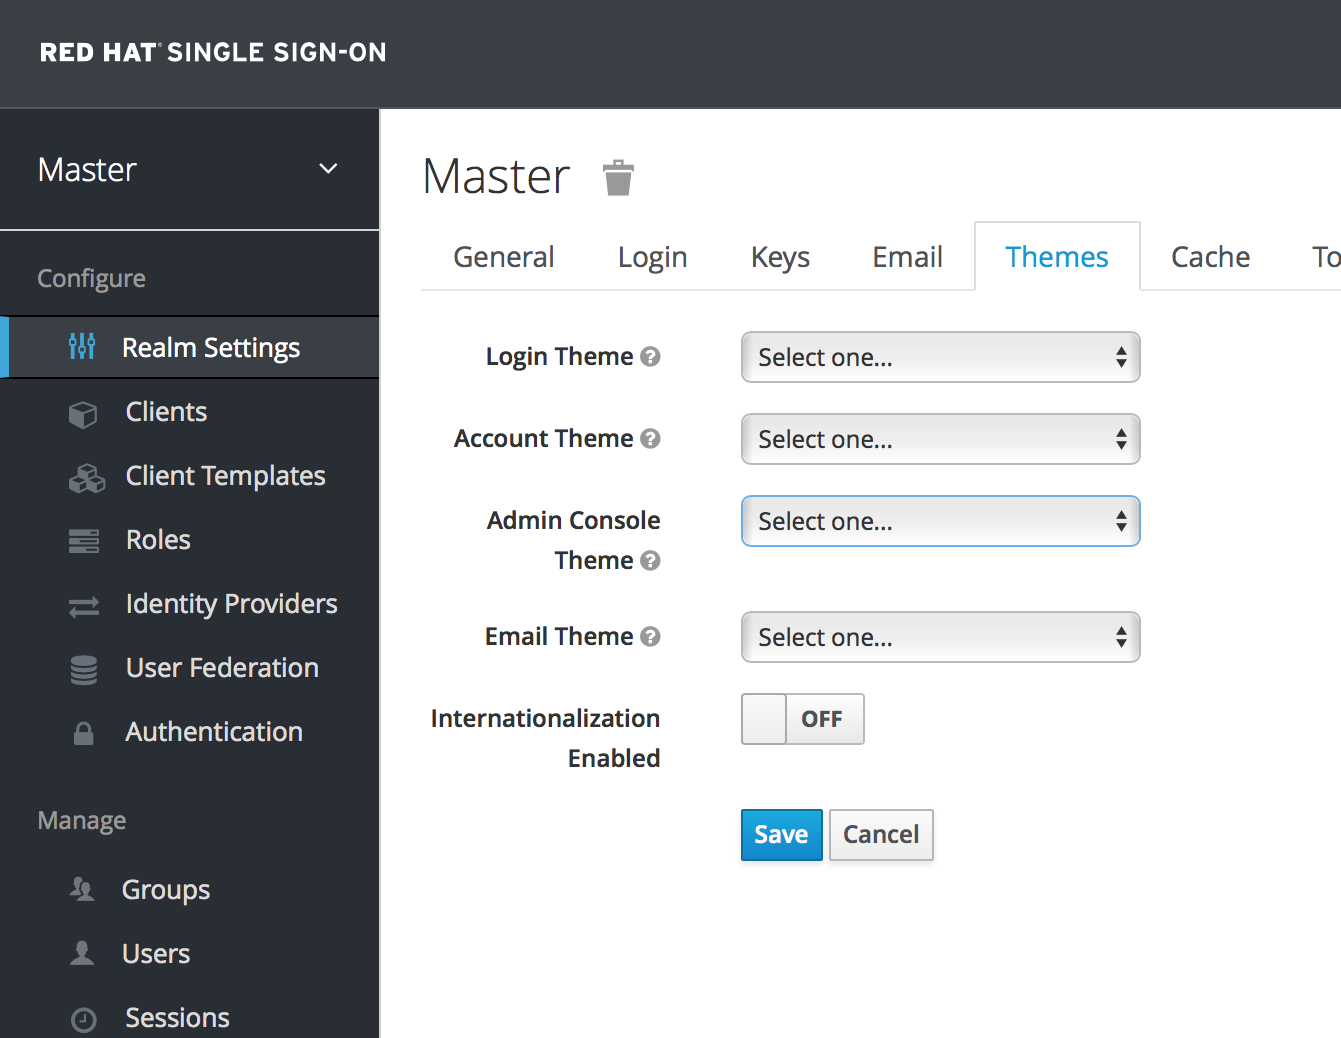
Pick the theme you want for each UI category and click Save.
- Login Theme
- Username password entry, OTP entry, new user registration, and other similar screens related to login.
- Account Theme
- Each user has an User Account Management UI.
- Admin Console Theme
- The skin of the Red Hat Single Sign-On Admin Console.
- Email Theme
- Whenever Red Hat Single Sign-On has to send out an email, it uses templates defined in this theme to craft the email.
The Server Developer Guide goes into how to create a new themes or modify existing ones.
3.6.1. Internationalization
Every UI screen is internationalized in Red Hat Single Sign-On. The default language is English, but if you turn on the Internationalization switch on the Theme tab you can choose which locales you want to support and what the default locale will be. The next time a user logs in, they will be able to choose a language on the login page to use for the login screens, User Account Management UI, and Admin Console. The Server Developer Guide explains how you can offer additional languages.