Este contenido no está disponible en el idioma seleccionado.
Chapter 11. Deploy the Hosted Engine using the Web Console
This section shows you how to deploy the Hosted Engine using the Web Console. Following this process results in Red Hat Virtualization Manager running as a virtual machine on the first physical machine in your deployment. It also configures a Default cluster comprised of the three physical machines, and enables Red Hat Gluster Storage functionality and the virtual-host tuned performance profile for each machine in the cluster.
Prerequisites
- The RHV-M Appliance is installed during the deployment process; however, if required, you can install it on the deployment host before starting the installation:
yum install rhvm-appliance
# yum install rhvm-applianceManually installing the Manager virtual machine is not supported.
- Configure Red Hat Gluster Storage for Hosted Engine using the Web Console
Gather the information you need for Hosted Engine deployment
Have the following information ready before you start the deployment process.
- IP address for a pingable gateway to the hyperconverged host
- IP address of the front-end management network
- Fully-qualified domain name (FQDN) for the Hosted Engine virtual machine
- MAC address that resolves to the static FQDN and IP address of the Hosted Engine
Procedure
Open the Hosted Engine Deployment wizard
If you continued directly from the end of Configure Red Hat Gluster Storage for Hosted Engine using the Web Console, the wizard is already open.
Otherwise:
-
Click Virtualization
Hosted Engine. - Click Start underneath Hyperconverged.
Click Use existing configuration.
ImportantIf the previous deployment attempt failed, click Clean up instead of Use existing configuration to discard the previous attempt and start from scratch. If your deployment uses Network-Bound Disk Encryption, you must then follow the process in Cleaning up Network-Bound Disk Encryption after a failed deployment.
-
Click Virtualization
Specify virtual machine details
Enter the following details:
- Engine VM FQDN
-
The fully qualified domain name to be used for the Hosted Engine virtual machine, for example,
engine.example.com. - MAC Address
The MAC address associated with the Engine VM FQDN.
ImportantThe pre-populated MAC address must be replaced.
- Network Configuration
Choose either DHCP or Static from the Network Configuration drop-down list.
- If you choose DHCP, you must have a DHCP reservation for the Hosted Engine virtual machine so that its host name resolves to the address received from DHCP. Specify its MAC address in the MAC Address field.
If you choose Static, enter the following details:
- VM IP Address - The IP address must belong to the same subnet as the host. For example, if the host is in 10.1.1.0/24, the Hosted Engine virtual machine’s IP must be in the same subnet range (10.1.1.1-254/24).
- Gateway Address
- DNS Servers
- Bridge Interface
- Select the Bridge Interface from the drop-down list.
- Root password
- The root password to be used for the Hosted Engine virtual machine.
- Root SSH Access
- Specify whether to allow Root SSH Access.The default value of Root SSH Access is set to Yes.
- Number of Virtual CPUs
- Enter the Number of Virtual CPUs for the virtual machine.
- Memory Size (MiB)
Enter the Memory Size (MiB). The available memory is displayed next to the input field.
NoteRed Hat recommends to retain the values of Root SSH Access, Number of Virtual CPUs and Memory Size to default values.
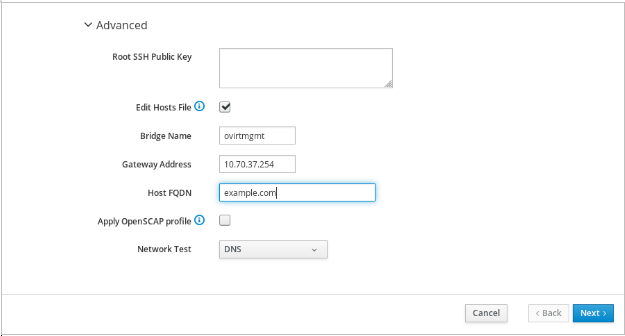
Optionally expand the Advanced fields.
- Root SSH Public Key
- Enter a Root SSH Public Key to use for root access to the Hosted Engine virtual machine.
- Edit Hosts File
- Select or clear the Edit Hosts File check box to specify whether to add entries for the Hosted Engine virtual machine and the base host to the virtual machine’s /etc/hosts file. You must ensure that the host names are resolvable.
- Bridge Name
- Change the management Bridge Name, or accept the default ovirtmgmt.
- Gateway Address
- Enter the Gateway Address for the management bridge.
- Host FQDN
- Enter the Host FQDN of the first host to add to the Manager. This is the front-end FQDN of the base host you are running the deployment on.
- Network Test
-
If you have a static network configuration or are using an isolated environment with addresses defined in
/etc/hosts, set Network Test to Ping.
- Click Next. Your FQDNs are validated before the next screen appears.
Specify virtualization management details
Enter the password to be used by the
adminaccount in the Administration Portal. You can also specify an email address for notifications, the notifications can also be configured post deployment; see Chapter 15, Post-deployment configuration suggestions.- Click Next.
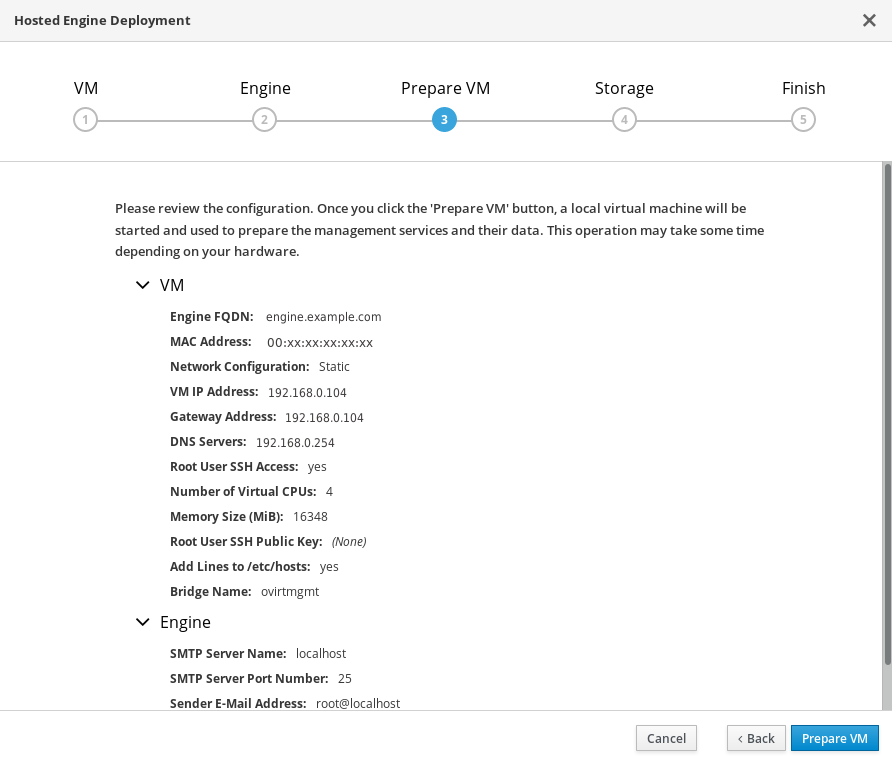
Review virtual machine configuration
Ensure that the details listed on this tab are correct. Click Back to correct any incorrect information.
- Click Prepare VM.
Wait for virtual machine preparation to complete.
If preparation does not occur successfully, see Viewing Hosted Engine deployment errors.
- Click Next.
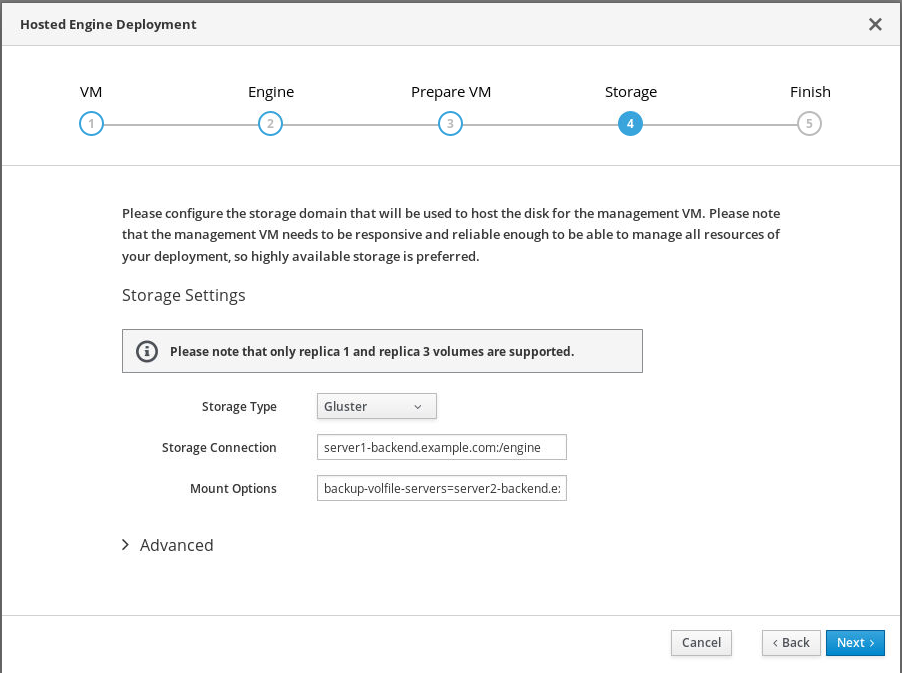
Validate storage for the Hosted Engine virtual machine
Ensure that the Mount Options field is populated correctly with
backup-volfile-servers=<host2-ip-address>:<host3-ip-address>and, if you use IPv6,xlator-option=transport.address-family=inet6, for example:backup-volfile-servers=<host2-ip-address>:<host3-ip-address>,xlator-option=transport.address-family=inet6
backup-volfile-servers=<host2-ip-address>:<host3-ip-address>,xlator-option=transport.address-family=inet6Copy to Clipboard Copied! Toggle word wrap Toggle overflow - Click Next.
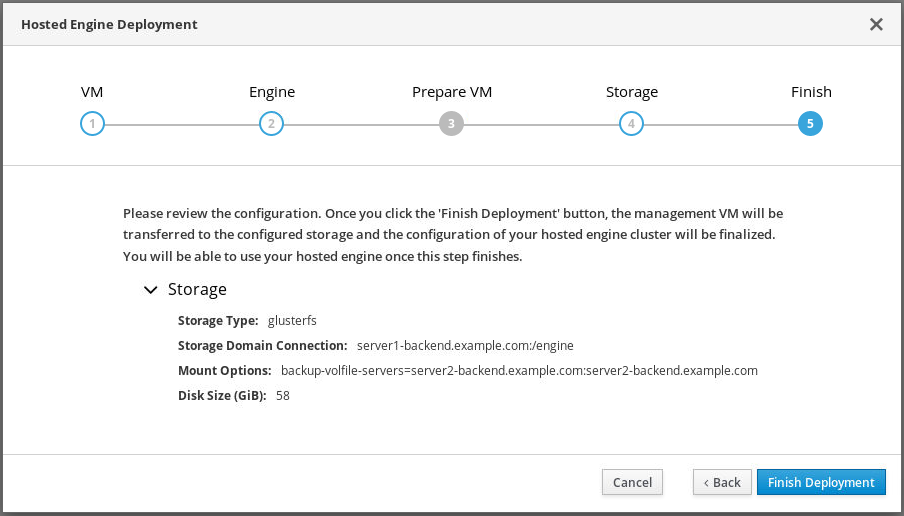
Finalize Hosted Engine deployment
Review your deployment details and verify that they are correct.
NoteThe responses you provided during configuration are saved to an answer file to help you reinstall the hosted engine if necessary. The answer file is created at
/etc/ovirt-hosted-engine/answers.confby default. This file should not be modified manually without assistance from Red Hat Support.- Click Finish Deployment.
Wait for deployment to complete
This can take some time, depending on your configuration details.
The window displays the following when complete.
ImportantAfter RHHI-V deployment is completed successfully, the other 2 Red Hat Virtualization hosts are rebooted. Wait for these hosts to be up, after which the Red Hat Virtualization Administration portal can be accessible. If deployment does not complete successfully, see Viewing Hosted Engine deployment errors.
Click Close.
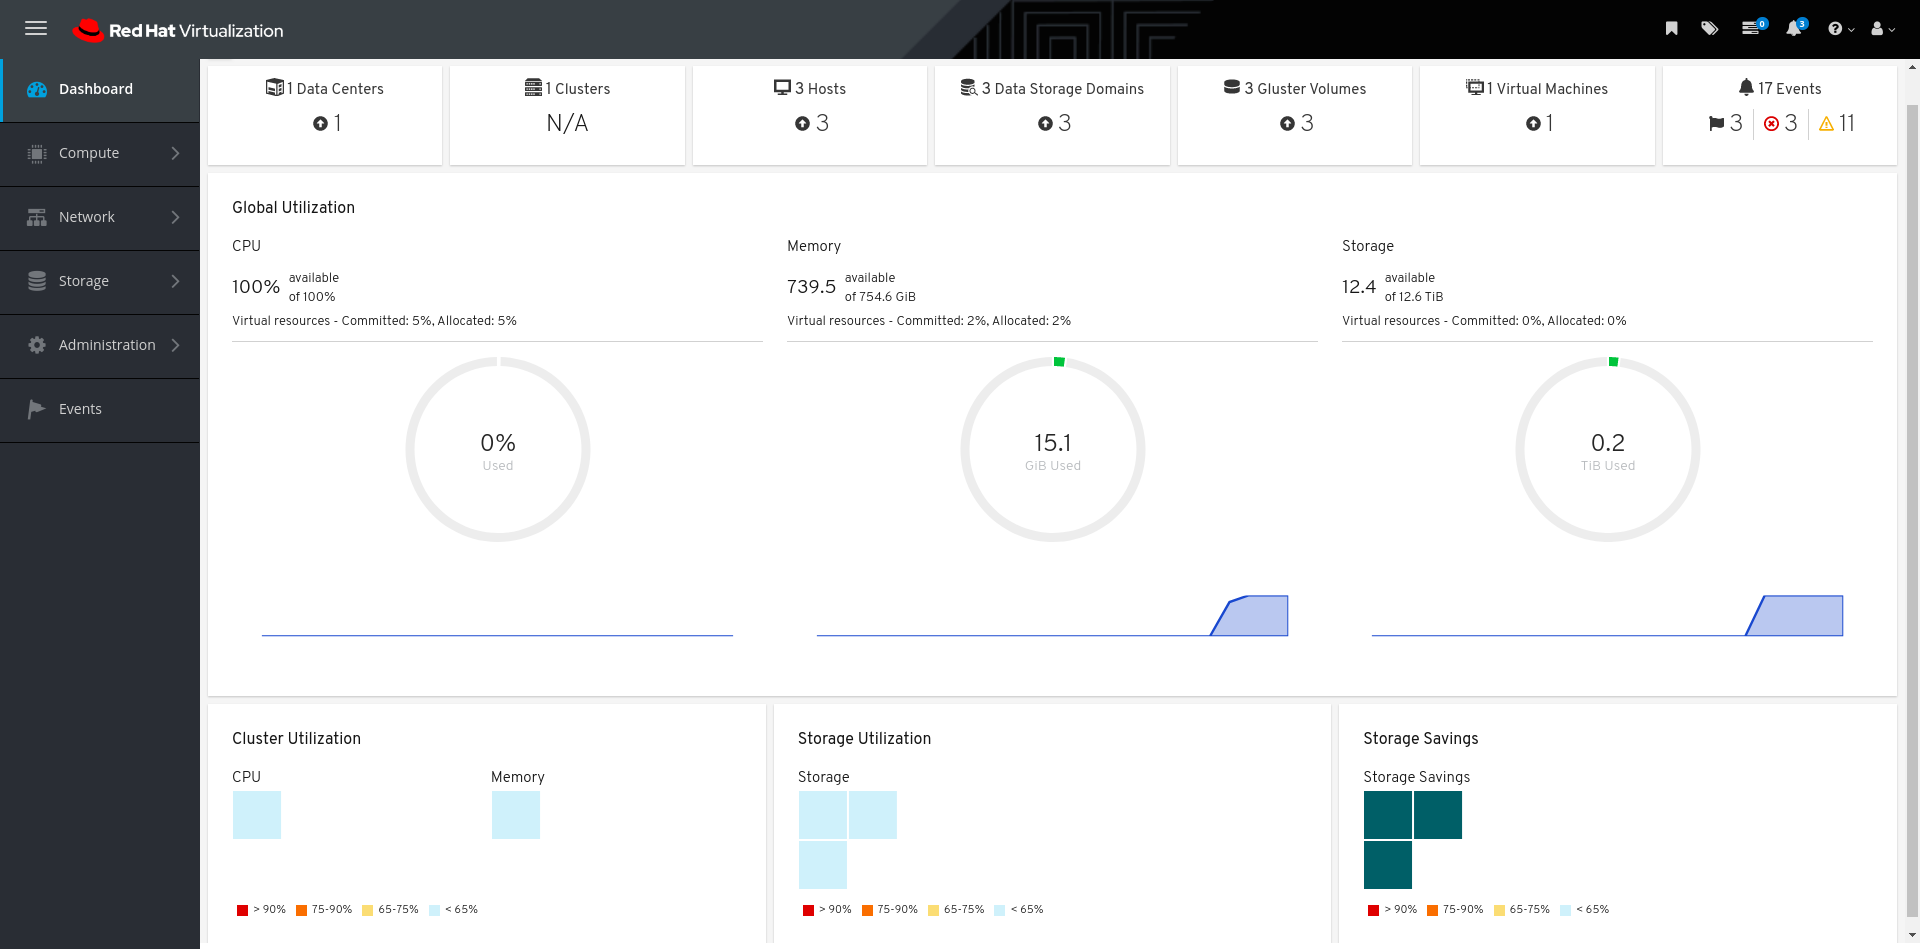
Verify hosted engine deployment
Browse to the Administration Portal (for example, http://engine.example.com/ovirt-engine) and verify that you can log in using the administrative credentials you configured earlier. Click Dashboard and look for your hosts, storage domains, and virtual machines.