Ce contenu n'est pas disponible dans la langue sélectionnée.
Chapter 2. Getting started
Before you can use this tutorial, you need to complete the installation of Red Hat Single Sign-On and create the initial admin user as shown in the Getting Started Guide tutorial. There is one caveat to this. You have to run a separate JBoss EAP instance on the same machine as Red Hat Single Sign-On Server. This separate instance will run your Java Servlet application. Because of this you will have to run the Red Hat Single Sign-On under a different port so that there are no port conflicts when running on the same machine. Use the jboss.socket.binding.port-offset system property on the command line. The value of this property is a number that will be added to the base value of every port opened by Red Hat Single Sign-On Server.
To boot Red Hat Single Sign-On Server:
Linux/Unix
$ .../bin/standalone.sh -Djboss.socket.binding.port-offset=100
Windows
> ...\bin\standalone.bat -Djboss.socket.binding.port-offset=100
After installing and booting both servers you should be able to access Red Hat Single Sign-On Admin Console at http://localhost:8180/auth/admin/ and also the JBoss EAP instance at http://localhost:8080.
Additional resources
- For more details about installing and configuring JBoss EAP instances, see Securing Applications and Services Guide.
2.1. Securing a servlet application
The purpose of this getting started guide is to get you up and running as quickly as possible so that you can experiment with and test various authorization features provided by Red Hat Single Sign-On. This quick tour relies heavily on the default database and server configurations and does not cover complex deployment options. For more information on features or configuration options, see the appropriate sections in this documentation.
This guide explains key concepts about Red Hat Single Sign-On Authorization Services:
- Enabling fine-grained authorization for a client application
- Configuring a client application to be a resource server, with protected resources
- Defining permissions and authorization policies to govern access to protected resources
- Enabling policy enforcement in your applications.
2.2. Creating a realm and a user
The first step in this tutorial is to create a realm and a user in that realm. Then, within the realm we will create a single client application, which then becomes a resource server for which you need to enable authorization services.
Procedure
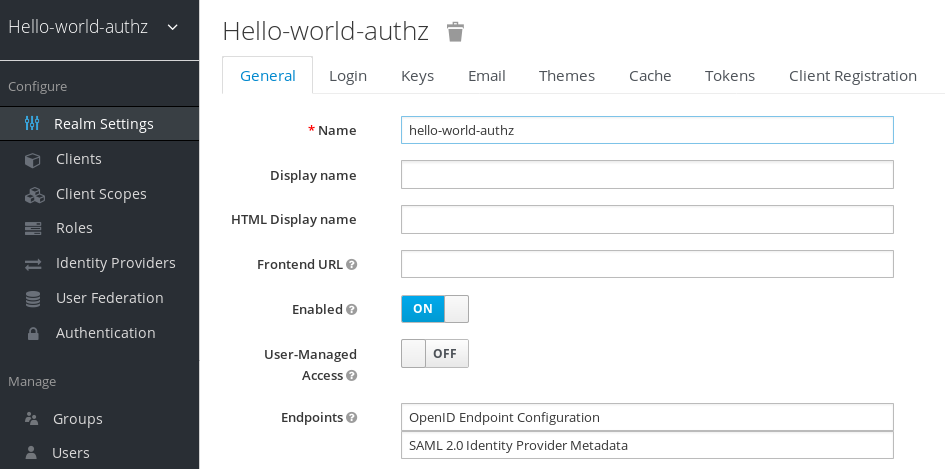
Create a realm with a name hello-world-authz. Once created, a page similar to the following is displayed:
Realm hello-world-authz
Click Users.
The user list page displays where you can create a user.
- Click Add User.
- Complete the Username, Email, First Name, and Last Name fields.
- Toggle User Enabled to ON
Click Save.
Add User

Set a password for the user by clicking the Credentials tab.
Set user password
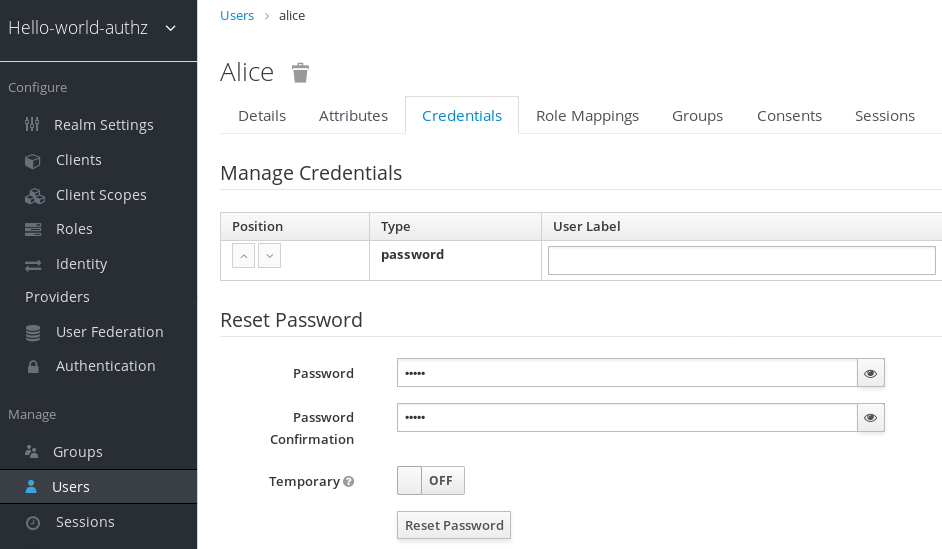
- Complete the New Password and Password Confirmation fields with a password and click the Temporary switch to OFF.
- Click Set Password to set the user’s password.
2.3. Enabling authorization services
You can enable authorization services in an existing client application configured to use the OpenID Connect Protocol. You can also create a client using the following procedure.
Procedure
- Click Clients to start creating a client application.
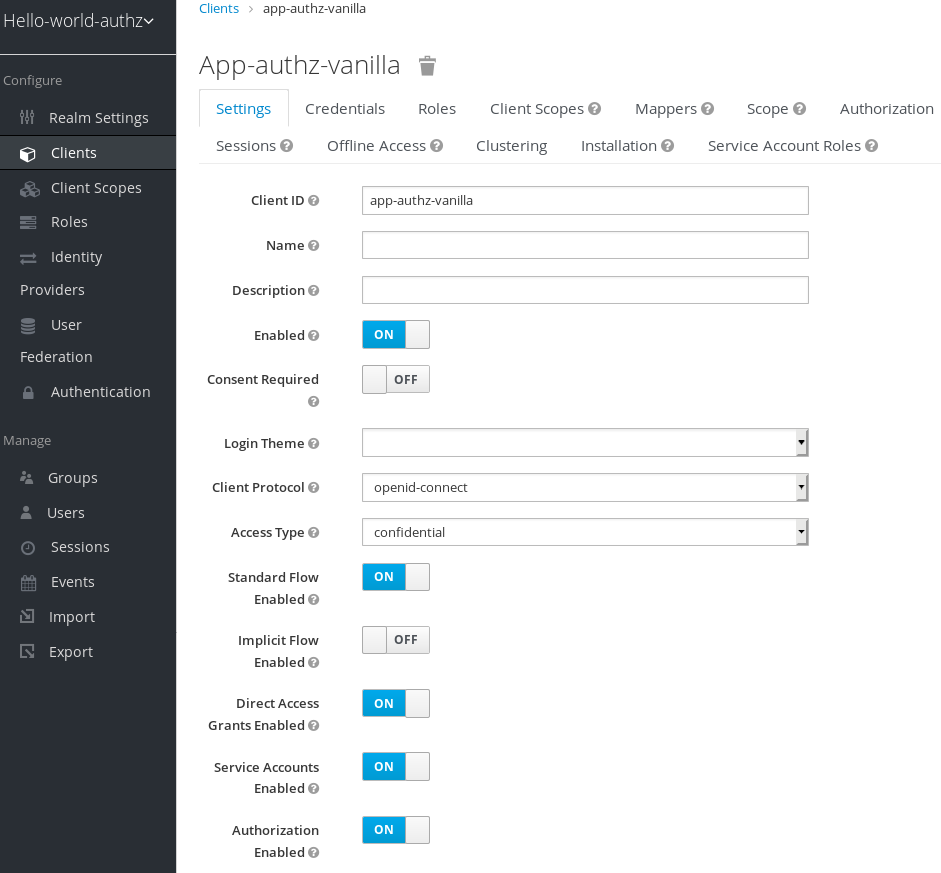
Fill in the Client ID, Client Protocol, and Root URL fields.
Create client application

Click Save.
The Client Settings page is displayed.
- Select confidential in the Access Type field and toggle Authorization Enabled to ON
Click Save.
A new Authorization tab is displayed for the client.
Client Settings
Click the Authorization tab.
An Authorization Settings page similar to the following is displayed:
Authorization settings
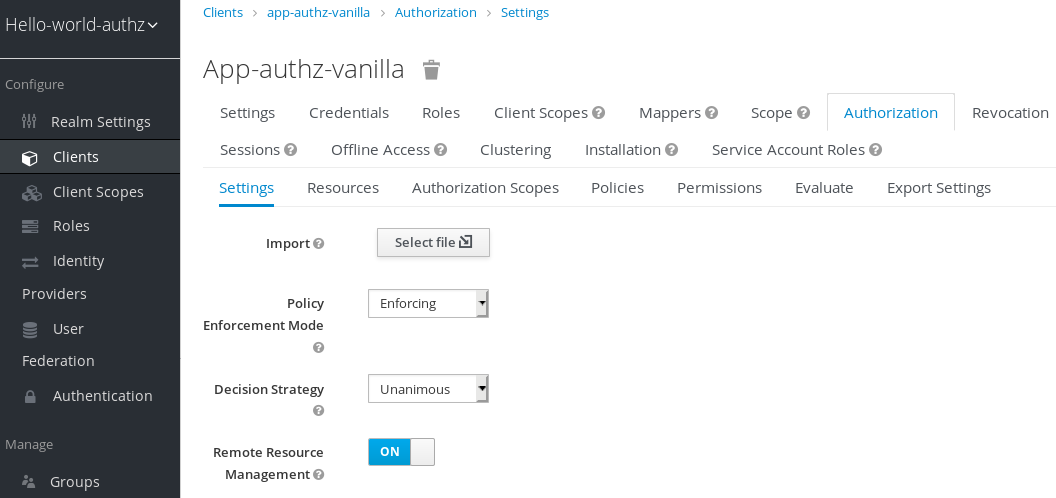
When you enable authorization services for a client application, Red Hat Single Sign-On automatically creates several default settings for your client authorization configuration.
Additional resources
2.4. Build, deploy, and test your application
Now that the app-authz-vanilla resource server (or client) is properly configured and authorization services are enabled, it can be deployed to the server.
The project and code for the application you are going to deploy is available in Red Hat Single Sign-On Quickstarts Repository. You will need the following installed on your machine and available in your PATH before you can continue:
- Java JDK 8
- Apache Maven 3.1.1 or higher
- Git
You can obtain the code by cloning the repository at https://github.com/redhat-developer/redhat-sso-quickstarts. Use the branch matching the version of Red Hat Single Sign-On in use.
Follow these steps to download the code.
Clone Project
$ git clone https://github.com/redhat-developer/redhat-sso-quickstarts
The application we are about to build and deploy is located at
$ cd redhat-sso-quickstarts/app-authz-jee-vanilla
2.4.1. Obtaining the adapter configuration
You must first obtain the adapter configuration before building and deploying the application.
Procedure
- Log into the Admin Console.
- Click Clients in the menu.
In the client listing, click the app-authz-vanilla client application. The Client Settings page opens.
Client Settings
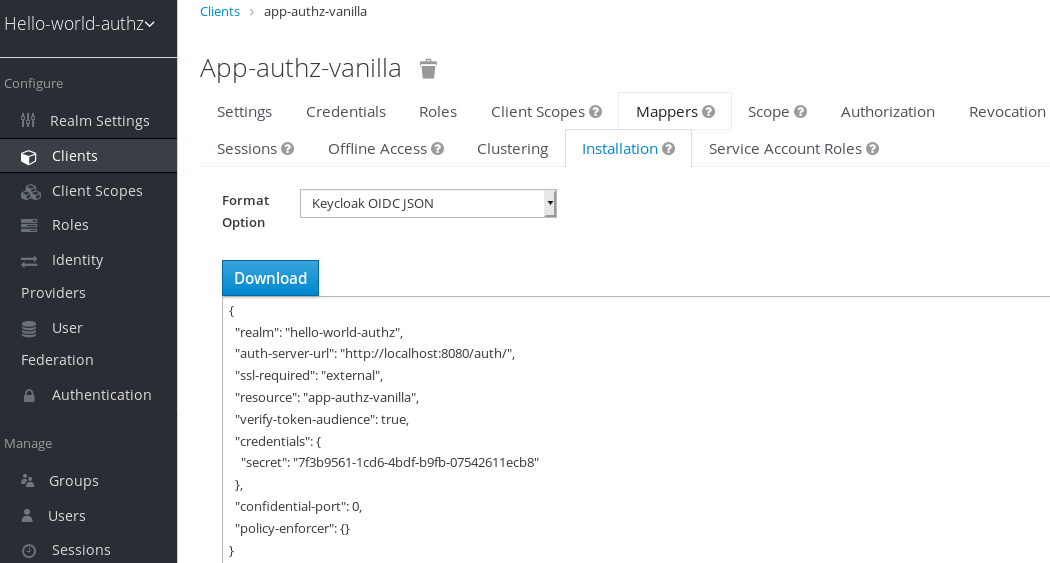
- Click the Installation tab.
From the Format Option item list, select Keycloak OIDC JSON.
The adapter configuration is displayed in JSON format.
Click Download.
Adapter configuration
-
Move the file
keycloak.jsonto theapp-authz-jee-vanilla/configdirectory. Optionally, specify a redirection URL.
By default, the policy enforcer responds with a
403status code when the user lacks permission to access protected resources on the resource server. However, you can also specify a redirection URL for unauthorized users. To specify a redirection URL, edit the keycloak.json file that you updated and replace thepolicy-enforcerconfiguration with the following:"policy-enforcer": { "on-deny-redirect-to" : "/app-authz-vanilla/error.jsp" }This change specifies to the policy enforcer to redirect users to a
/app-authz-vanilla/error.jsppage if a user does not have the necessary permissions to access a protected resource, rather than an unhelpful403 Unauthorizedmessage.
2.4.2. Building and deploying the application
To build and deploy the application execute the following command:
$ cd redhat-sso-quickstarts/app-authz-jee-vanilla
$ mvn clean package wildfly:deploy
2.4.3. Testing the application
If your application was successfully deployed, you can access it at http://localhost:8080/app-authz-vanilla. The Red Hat Single Sign-On Login page opens.
Login page
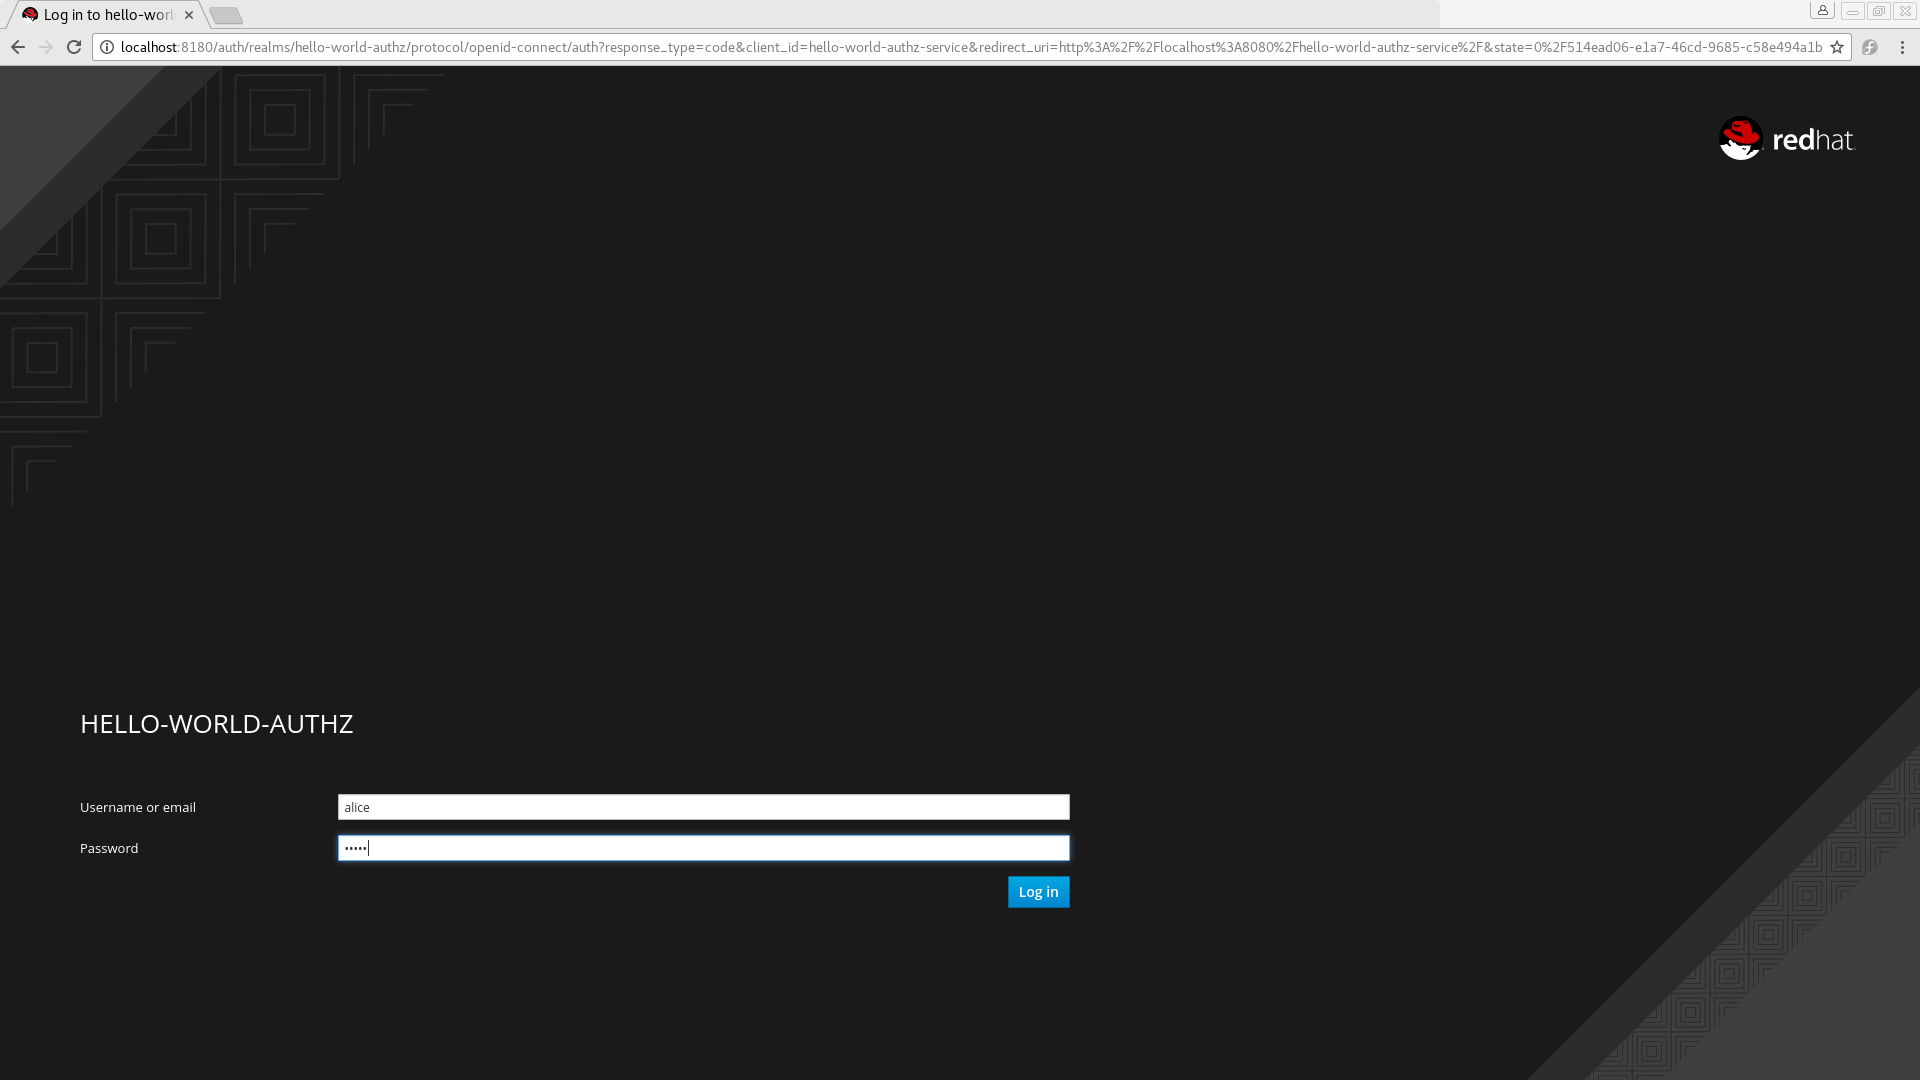
Procedure
Log in as alice using the password you specified for that user. The following page is displayed:
Hello World Authz main page
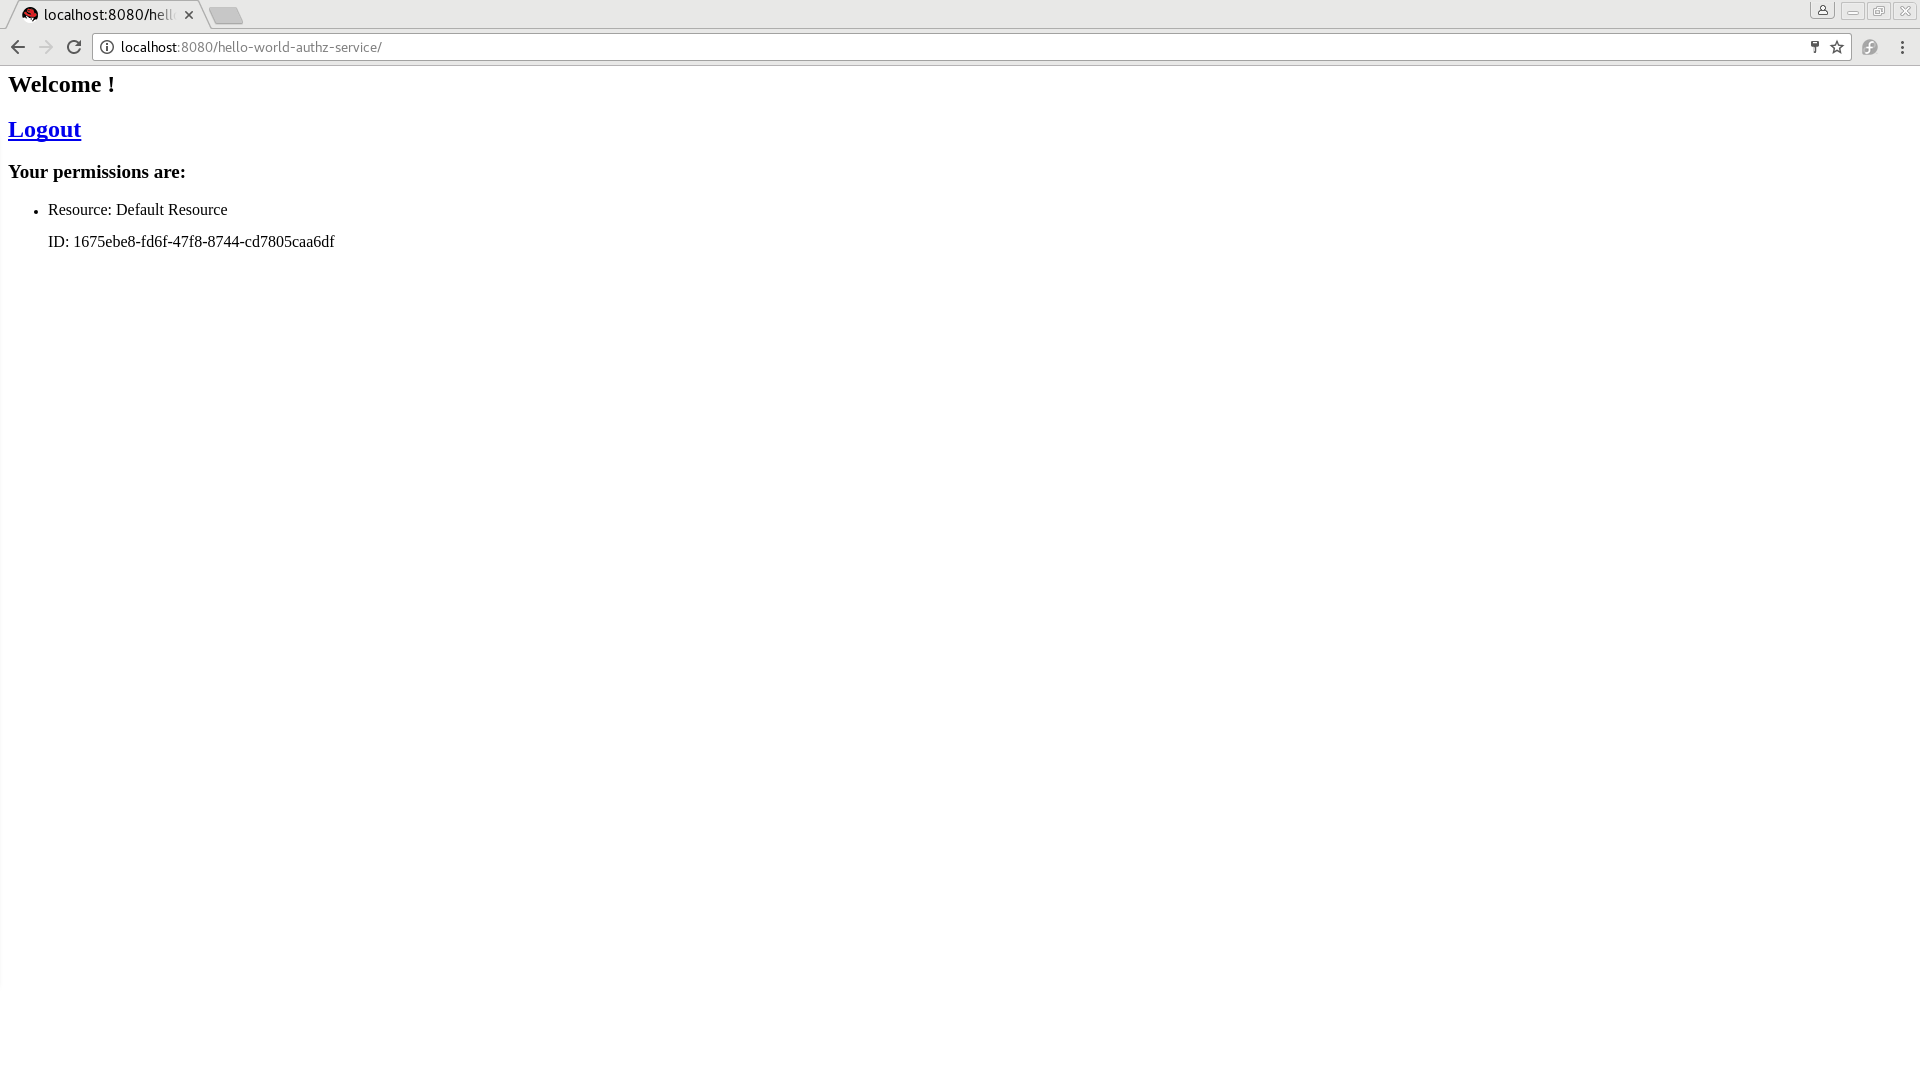
The default settings defined by Red Hat Single Sign-On when you enable authorization services for a client application provide a simple policy that always grants access to the resources protected by this policy.
You can start by changing the default permissions and policies and test how your application responds, or even create new policies using the different policy types provided by Red Hat Single Sign-On.
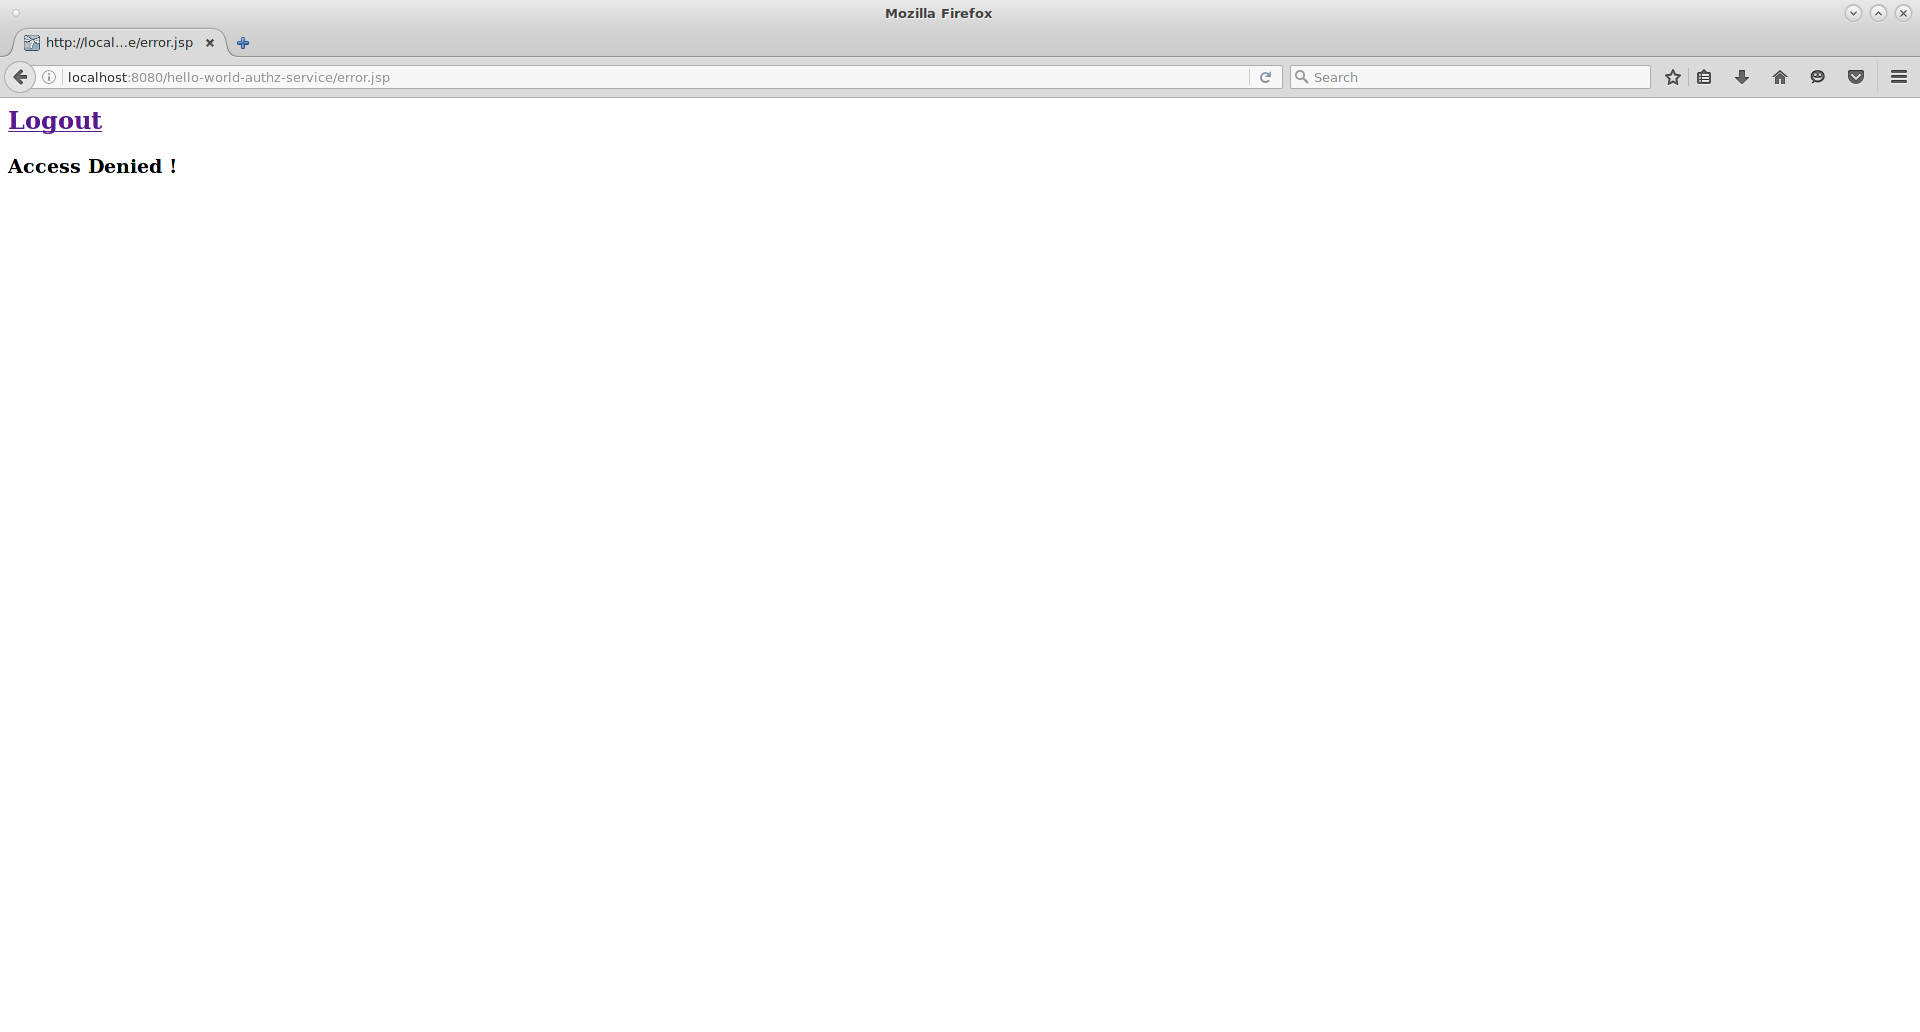
There are a plenty of things you can do now to test this application. For example, you can change the default policy by clicking the Authorization tab for the client, then client on the Policies tab, then click on the Default Policy in the list. Now we are going to change the Logic to Negative using the dropdown list in this page.
Log out of the demo application and log in again.
You can no longer access the application.
Additional resources
2.4.4. Next steps
There are additional things you can do, such as:
- Create a scope, define a policy and permission for it, and test it on the application side. Can the user perform an action (or anything else represented by the scope you created)?
-
Create different types of policies and associate these policies with the
Default Permission. -
Apply multiple policies to the
Default Permissionand test the behavior. For example, combine multiple policies and change theDecision Strategyaccordingly.
Additional resources
- For more information about how to view and test permissions inside your application see Obtaining the authorization context.
2.5. Authorization quickstarts
In addition to the app-authz-jee-vanilla quickstart that was used as a sample application in the previous section, the Red Hat Single Sign-On Quickstarts Repository contains other applications that make use of the authorization services described in this documentation.
The authorization quickstarts have been designed so that authorization services are displayed in different scenarios and using different technologies and integrations. It is not meant as a comprehensive set of all the possible use cases involving authorization but they should provide a starting point for users interested in understanding how the authorization services can be used in their own applications.
Each quickstart has a README file with instructions on how to build, deploy, and test the sample application. The following table provides a brief description of the available authorization quickstarts:
| Name | Description |
|---|---|
| Demonstrates how to enable fine-grained authorization to a Jakarta EE application in order to protect specific resources and build a dynamic menu based on the permissions obtained from a Red Hat Single Sign-On Server. | |
| Demonstrates how to enable fine-grained authorization to a Jakarta EE application and use the default authorization settings to protect all resources in the application. | |
| Demonstrates how to protect a SpringBoot REST service using Red Hat Single Sign-On Authorization Services. | |
| Demonstrates how to write a SpringBoot Web application where both authentication and authorization aspects are managed by Red Hat Single Sign-On. | |
| A simple application based on HTML5+AngularJS+JAX-RS that demonstrates how to enable User-Managed Access to your application and let users to manage permissions for their resources. |