Questo contenuto non è disponibile nella lingua selezionata.
Chapter 13. Setting up a printer
In GNOME, you can set up printing by using the Settings application.
13.1. Accessing printer settings in GNOME
Procedure
Use one of the approaches described in Launching applications to start the Settings application.
Moreover, you can also start the Settings application from the system menu in the upper right corner by clicking on the gear button.

When the Settings application GUI is displayed, go to Printers.
Figure 13.1. GNOME Control center configuration tool

13.2. Adding a new printer in Settings
You can add a new printer by using the Settings application.
Prerequisites
Click the button, which is displayed near the upper-right corner of the Printers screen, and authenticate as one of the following users:
- Superuser
-
Any user with the administrative access provided by
sudo(users listed within/etc/sudoers) -
Any user belonging to the
printadmingroup in/etc/group
Procedure
Open the Printers dialog.
Click Unlock and authenticate.
Select one of the available printers (including also network printers), or enter printer IP address or the hostname of a printer server.
Confirm your selection by clicking in the top right corner.


13.3. Printing a test page in Settings
You can print a test page to make sure that the printer functions properly.
Prerequisites
- A printer is set up.
Procedure
Click the settings (⚙️) button on the right to display a settings menu for the selected printer:
-
Click
.

13.4. Modifying printer settings
In GNOME, you can modify printer settings by using the Settings application.
13.4.1. Displaying and modifying printer details
To maintain a configuration of a printer, use the Settings application:
Procedure
Click the settings (⚙️) button on the right to display a settings menu for the selected printer:
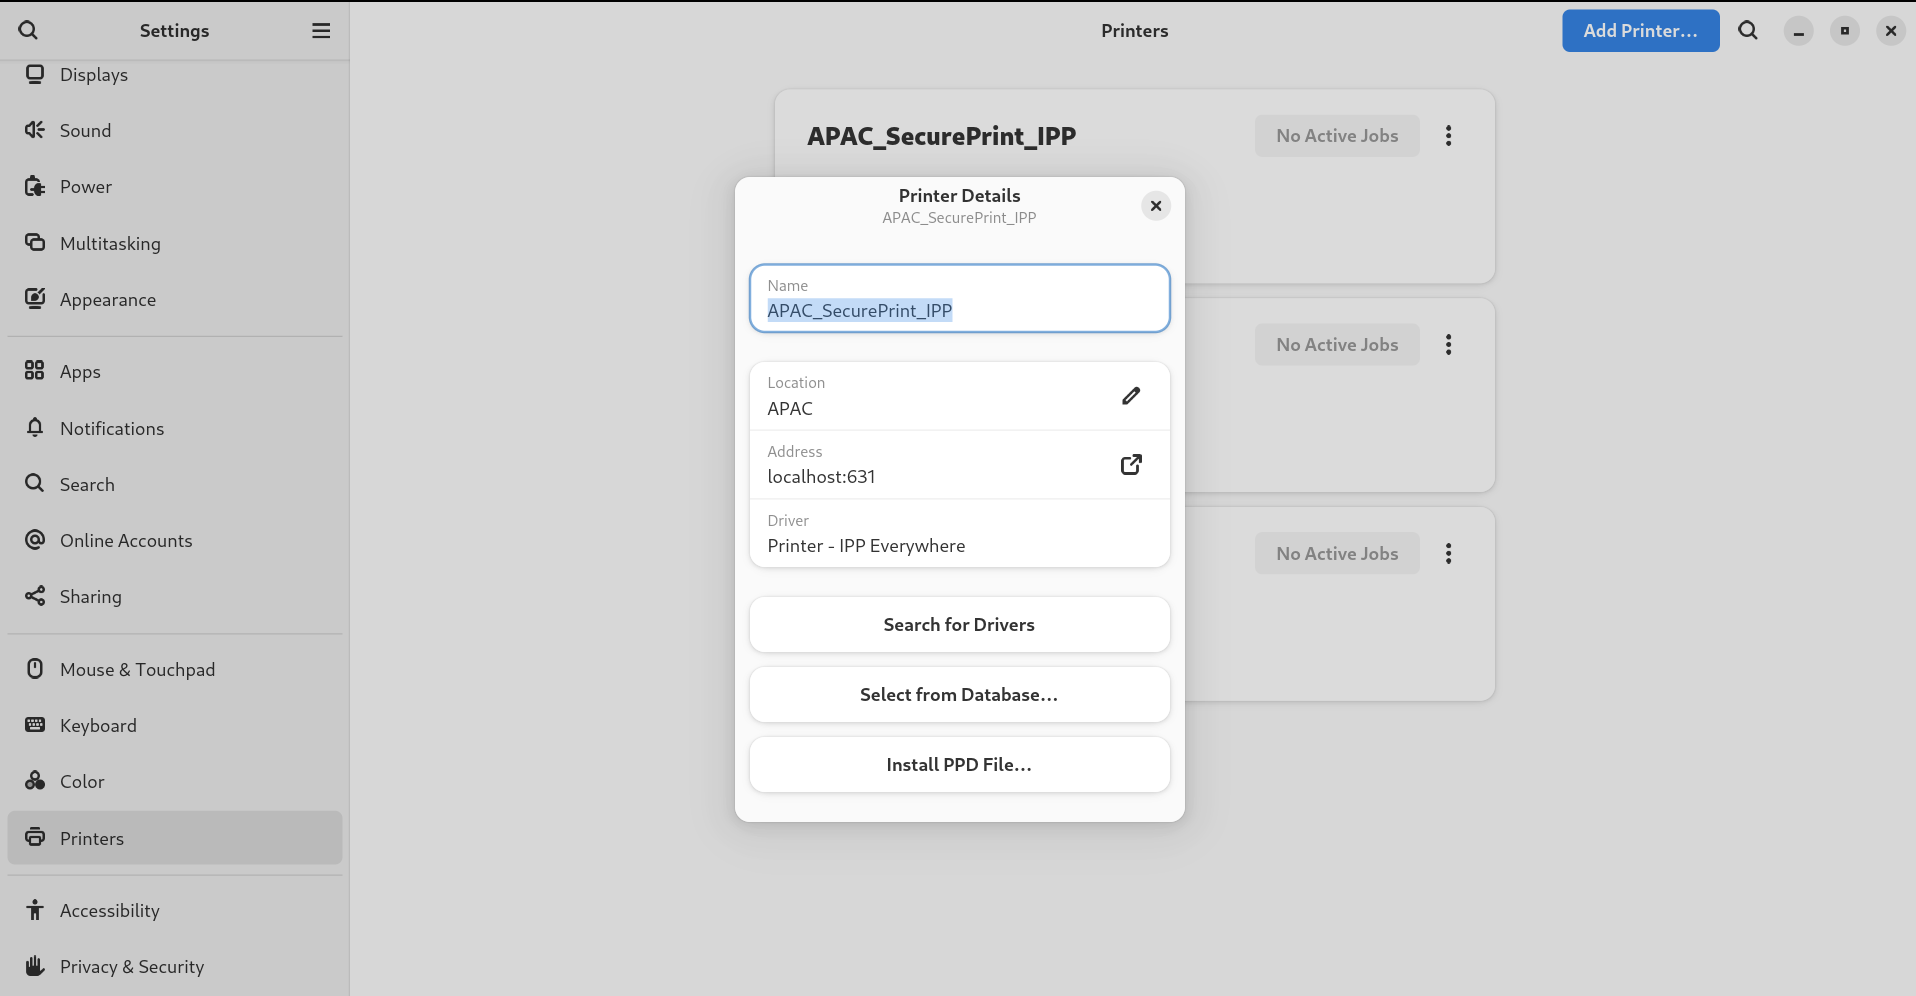
Click Printer Details to display and modify selected printer’s settings:
In this menu, you can select the following actions:
- Search for Drivers
- GNOME Control Center communicates with PackageKit that searches for a suitable driver suitable in available repositories.
- Select from Database
- This option enables you to select a suitable driver from databases that have already been installed on the system.
- Install PPD File
- This option enables you to select from a list of available postscript printer description (PPD) files that can be used as a driver for your printer.

13.4.2. Setting the default printer
You can set the selected printer as the default printer.
Procedure
Click the settings (⚙️) button on the right to display a settings menu for the selected printer:
Click Use Printer by Default to set the selected printer as the default printer:

13.4.3. Setting printing options
Procedure
Click the settings (⚙️) button on the right to display a settings menu for the selected printer:
- Click Printing Options.
13.4.4. Removing a printer
You can remove a printer by using the Settings application.
Procedure
Click the settings (⚙️) button on the right to display a settings menu for the selected printer:
Click Remove Printer to remove the selected printer:
