Questo contenuto non è disponibile nella lingua selezionata.
Chapter 8. Install the Compute Service
8.1. Install a Compute VNC Proxy
Copia collegamentoCollegamento copiato negli appunti!
8.1.1. Install the Compute VNC Proxy Packages
Copia collegamentoCollegamento copiato negli appunti!
The VNC proxy is available to users of the Compute service. Two types of VNC proxy server packages are available. The openstack-nova-novncproxy package provides VNC support to instances through a web browser (using Websockets), while the openstack-nova-console package provides access to instances through a traditional VNC client (through the
openstack-nova-xvpvncproxy service).
The console authentication service, also provided by the openstack-nova-console package, is used to authenticate the VNC connections. Typically the console authentication service and the proxy utilities are installed on the same host as the Compute API service.
The following steps must be performed while logged in as the
root user.
Procedure 8.1. Installing the Compute VNC proxy packages
- Install the VNC proxy utilities and the console authentication service:
- Install the openstack-nova-novncproxy package using the
yumcommand:yum install -y openstack-nova-novncproxy
# yum install -y openstack-nova-novncproxyCopy to Clipboard Copied! Toggle word wrap Toggle overflow - Install the openstack-nova-console package using the
yumcommand:yum install -y openstack-nova-console
# yum install -y openstack-nova-consoleCopy to Clipboard Copied! Toggle word wrap Toggle overflow
The VNC proxy packages and the console authentication service are now installed and ready for configuration.
8.1.2. Configure the Firewall to Allow Compute VNC Proxy Traffic
Copia collegamentoCollegamento copiato negli appunti!
The node that hosts VNC access to instances must be configured to allow VNC traffic through its firewall. By default, the
openstack-nova-novncproxy service listens on TCP port 6080 and the openstack-nova-xvpvncproxy service listens on TCP port 6081.
The following procedure allows traffic on TCP port 6080 to traverse through the firewall for use by the openstack-nova-novncproxy package:
The following steps must be performed while logged in as the
root user.
Procedure 8.2. Configuring the firewall to allow Compute VNC proxy traffic
- Edit the
/etc/sysconfig/iptablesfile and add the following on a new line underneath the -A INPUT -i lo -j ACCEPT line and before any -A INPUT -j REJECT rules:-A INPUT -m state --state NEW -m tcp -p tcp --dport 6080 -j ACCEPT
-A INPUT -m state --state NEW -m tcp -p tcp --dport 6080 -j ACCEPTCopy to Clipboard Copied! Toggle word wrap Toggle overflow - Save the file and exit the editor.
- Similarly, when using the
openstack-nova-xvpvncproxyservice, enable traffic on TCP port 6081 with the following on a new line in the same location:-A INPUT -m state --state NEW -m tcp -p tcp --dport 6081 -j ACCEPT
-A INPUT -m state --state NEW -m tcp -p tcp --dport 6081 -j ACCEPTCopy to Clipboard Copied! Toggle word wrap Toggle overflow
Once the file has been edited with the new firewall rule or rules, run the following commands as the
root user to apply the changes:
service iptables restart
# service iptables restartiptables-save
# iptables-save
The firewall is now configured to allow VNC proxy traffic.
8.1.3. Configure the VNC Proxy Service
Copia collegamentoCollegamento copiato negli appunti!
VNC access to instances is available over a web browser or with a traditional VNC client. The
/etc/nova/nova.conf file holds the following VNC options:
- vnc_enabled - Default is true.
- vncserver_listen - The IP address to which VNC services will bind.
- vncserver_proxyclient_address - The IP address of the compute host used by proxies to connect to instances.
- novncproxy_base_url - The browser address where clients connect to instance.
- novncproxy_port - The port listening for browser VNC connections. Default is 6080.
- xvpvncproxy_port - The port to bind for traditional VNC clients. Default is 6081.
As the
root user, use the service command to start the console authentication service:
#service openstack-nova-consoleauth start
#service openstack-nova-consoleauth start
Use the
chkconfig command to permanently enable the service:
#chkconfig openstack-nova-consoleauth on
#chkconfig openstack-nova-consoleauth on
As the
root user, use the service command on the nova node to start the browser-based service:
#service openstack-nova-novncproxy start
#service openstack-nova-novncproxy start
Use the
chkconfig command to permanently enable the service:
#chkconfig openstack-nova-novncproxy on
#chkconfig openstack-nova-novncproxy on
To control access to the VNC service that uses a traditional client (non browser-based), substitute openstack-nova-xvpvncproxy into the previous commands.
8.1.4. Configure Live Migration
Copia collegamentoCollegamento copiato negli appunti!
Red Hat OpenStack Platform supports live migration using either shared storage migration or block migration. The following sections provide general prerequisites for both types. For detailed configuration steps for both types, see "Migrate a Live (running) Instance".
8.1.4.1. General Requirements
Copia collegamentoCollegamento copiato negli appunti!
General requirements for migration include:
- Access to the cloud environment on the command line as an administrator (all steps in this procedure are carried out on the command line). To execute commands, first load the user's authentication variables:
source ~/keystonerc_admin
# source ~/keystonerc_adminCopy to Clipboard Copied! Toggle word wrap Toggle overflow - Both source and destination nodes must be located in the same subnet, and have the same processor type.
- All compute servers (controller and nodes) must be able to perform name resolution with each other.
- The UID and GID of the Compute service and libvirt users must be identical between compute nodes.
- The compute nodes must be using KVM with libvirt.
8.1.4.2. Multipathing Requirements
Copia collegamentoCollegamento copiato negli appunti!
When migrating an instance with multipathing configured, you need to ensure consistent multipath device naming between the source and destination nodes. The migration will fail if the instance cannot resolve multipath device names in the destination node.
You can ensure consistent multipath device naming by forcing both source and destination nodes to use device WWIDs. To do this, disable user-friendly names and restart
multipathd by running these commands on both source and destination nodes:
mpathconf --enable --user_friendly_names n
service multipathd restart
# mpathconf --enable --user_friendly_names n
# service multipathd restart
For more information, see Consistent Multipath Device Names in a Cluster from the DM Multipath guide.
8.1.5. Access Instances with the Compute VNC Proxy
Copia collegamentoCollegamento copiato negli appunti!
Browse to the novncproxy_base_url URL provided in the
/etc/nova/nova.conf file to access instance consoles.
The following image shows VNC access to a Fedora Linux instance with a web browser. It is provided only as an example, and settings such as IP addresses will be different in your environment.
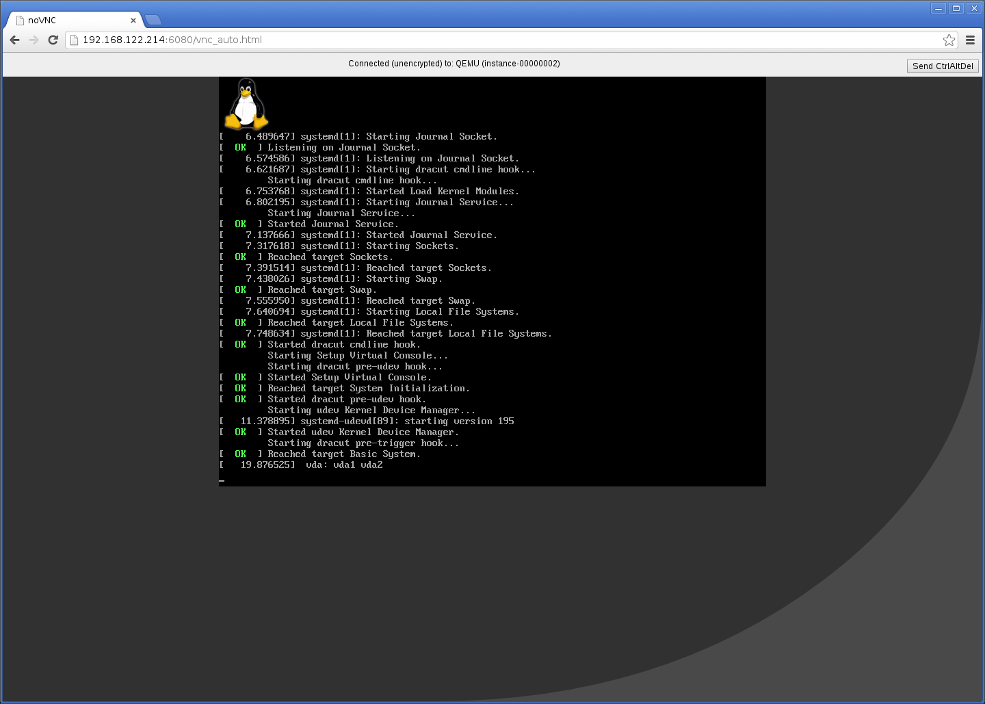
Figure 8.1. VNC instance access