このコンテンツは選択した言語では利用できません。
Chapter 4. Stripe Integration (recommended)
After completing these steps you will have configured Stripe as a payment gateway for your account. This will allow your developers to enter their credit card details, and you can automatically charge them through Stripe for access to your API, according to the calculated invoices.
If you enable credit card charging for your paid API, then one key step is to setup your payment gateway. There are a number of alternative payment gateways which you can use with your 3scale account. Here we cover the steps for Stripe.
4.1. Prerequisites
Before you start these steps, you will need to open an account with Stripe.
4.2. Step 1: Get your API keys from Stripe
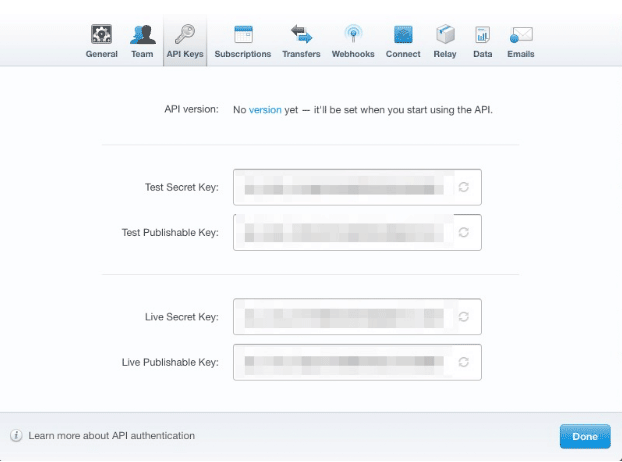
Log in to your Stripe account, and get your API keys at https://dashboard.stripe.com/account/apikeys. You will need two keys: a "secret" one, and a "publishable" one. Use the "test" set when you’re doing tests and the "live" ones when you are ready to start charging.
4.3. Configure settings in 3scale
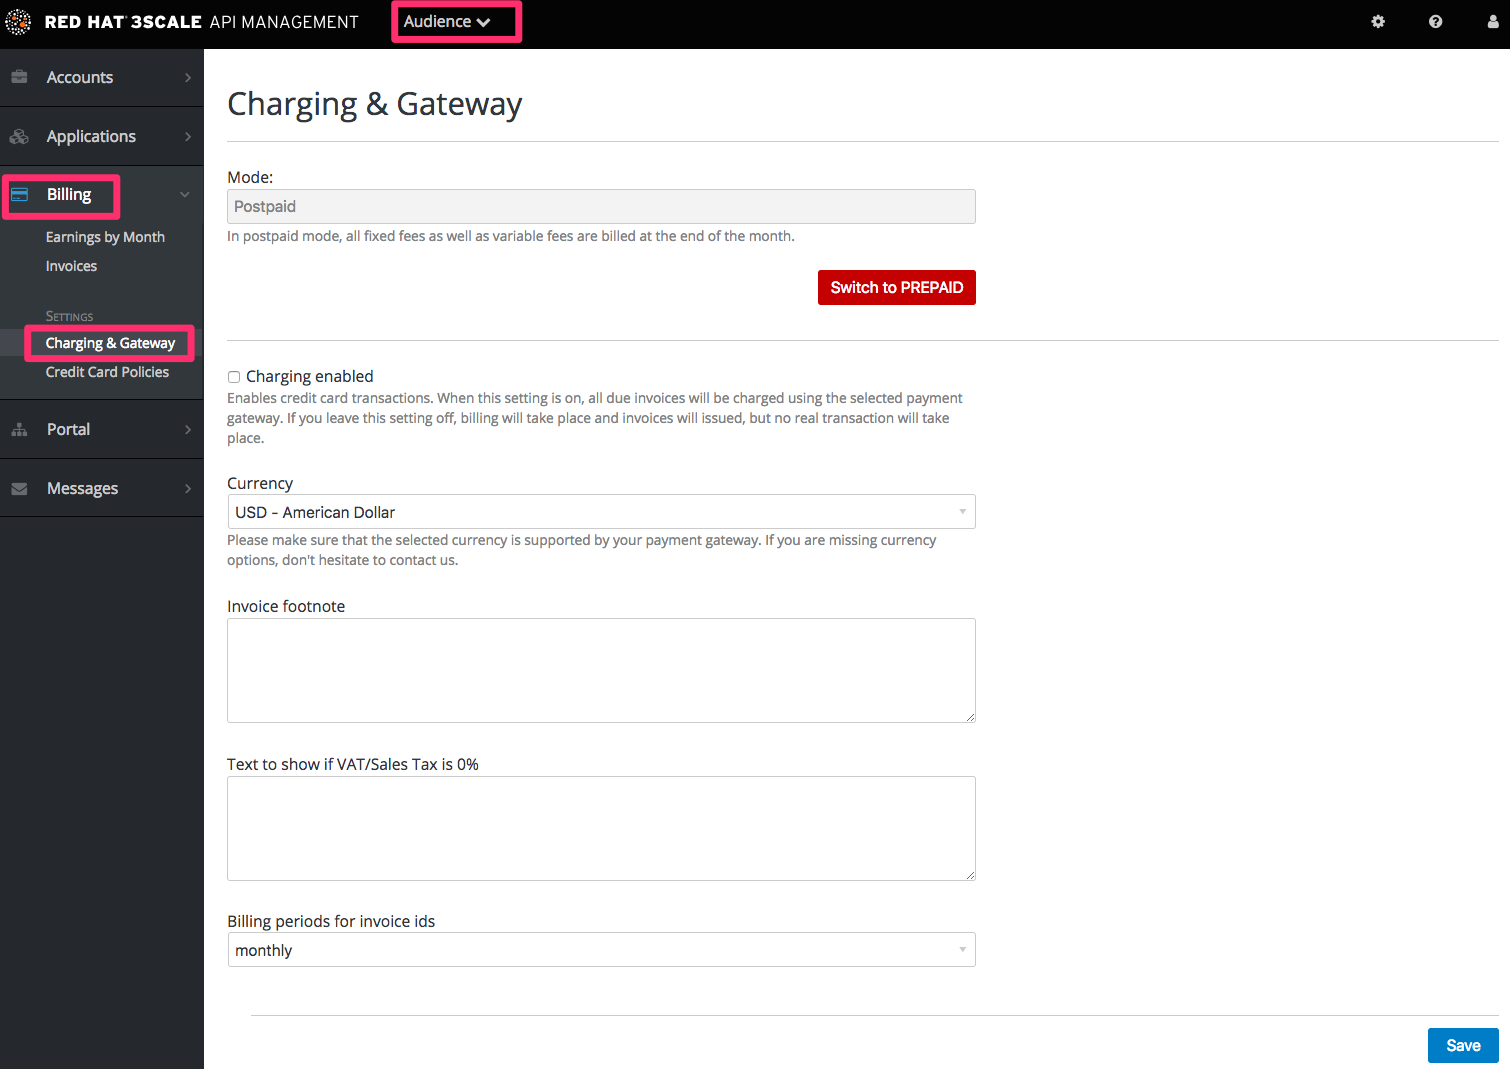
You need to tell 3scale to start using these API keys. To do this, log in to your 3scale admin portal and go to Audience > Billing > Charging & Gateway.
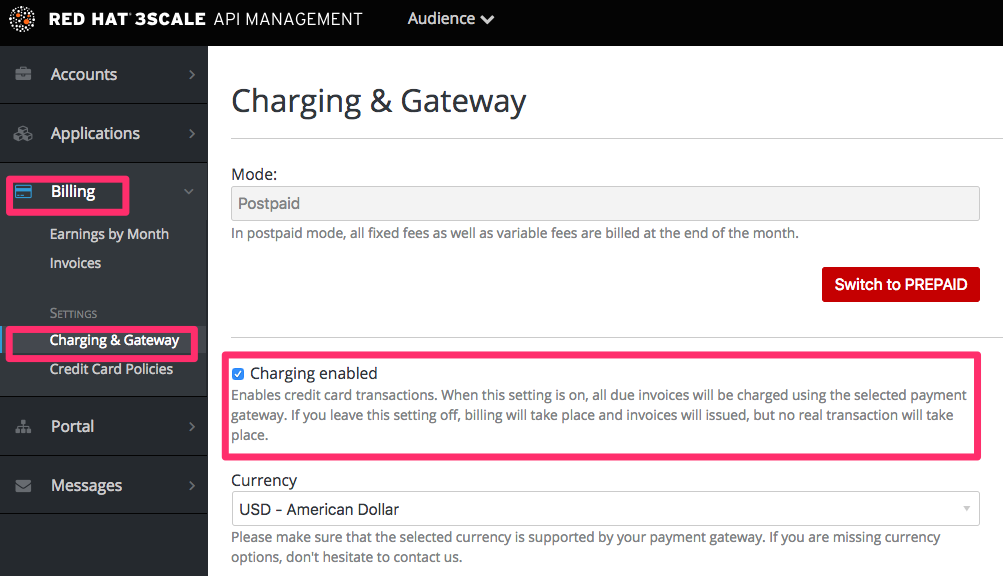
If the Charging Enabled flag is not active, enable it and click Save.
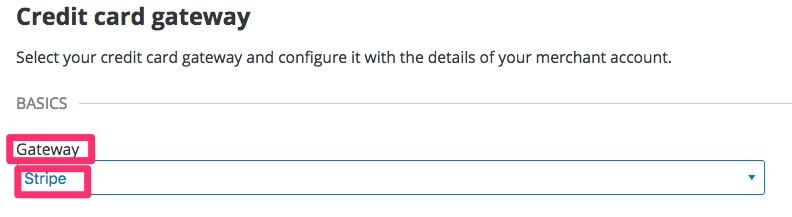
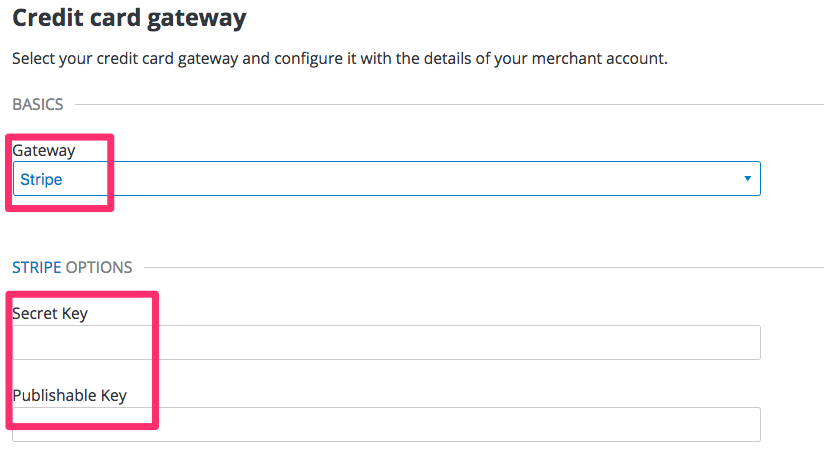
You should see a drop-down called Gateway near the bottom of the page. Change it to Stripe.
The form below the drop-down should change to show two fields. Insert your Stripe API keys and click Save.
You might see a couple of alerts when you change your payment gateway. This is expected. Read them and accept them if they appear.
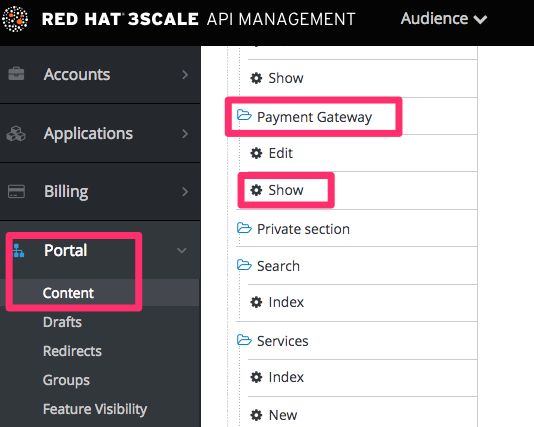
The payment gateway is now set up, but your users might not be able to use it yet since the it’s not configured in the CMS. Go to Developer portal, and click on the template called Payment Gateway / Show on the left navigation pane.
If it’s not there already, add the following code before {% when "braintree_blue" %}:
Finally click Save and Publish. Your users should now be able to pay you using the Stripe gateway.
4.3.1. Note
In order to map your data from Stripe with your data on 3scale, you can use the Stripe field called metadata.3scale_account_reference which is composed of 3scale-[PROVIDER_ID]-[DEVELOPER_ACCOUNT_ID]