このコンテンツは選択した言語では利用できません。
Chapter 4. Uninstalling CodeReady Studio
You may want to uninstall a specific version of CodeReady Studio if you have concluded development in one version, say 11.x, and you now want to install a newer version, say 12.x. However, you can have more than one version of Installer-installed CodeReady Studio or Eclipse-installed CodeReady Studio on your system, provided you have these versions located in different directories.
4.1. Uninstalling CodeReady Studio installed using the Installer
Procedure
To uninstall CodeReady Studio, take the following steps:
- Ensure that CodeReady Studio is not running.
- On the command line, navigate to path/to/CodeReady Studio/Uninstaller.
On the command line, type:
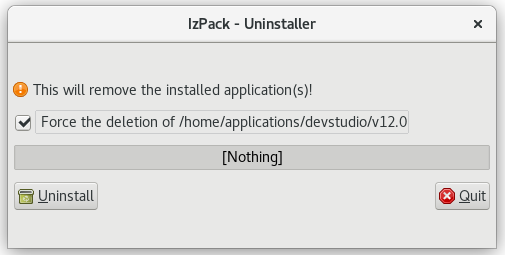
$ java -jar uninstaller.jarIn the IzPack Uninstaller dialog box:
- Click the Force the deletion of <path_to_CodeReady Studio_directory> check box, to remove the entire CodeReady Studio installation directory. If this is not selected, Red Hat CodeReady Studio will be uninstalled but some files will be left as is in the installation directory.
- Click Uninstall.
- After the progress bar shows Finished, click Quit to close the Uninstaller dialog box.
Figure 4.1. Uninstall CodeReady Studio
4.2. Uninstalling Red Hat CodeReady Studio installed in Eclipse
Procedure
CodeReady Studio can be uninstalled using the following steps regardless of whether it was installed via Eclipse Marketplace or the update .zip file.
To uninstall CodeReady Studio, take the following steps:
- Start Eclipse SimRel 2018-09 GA.
- Click Help > Eclipse Marketplace.
- In the Eclipse Marketplace window, Find field, type Red Hat CodeReady Studio and then click Go.
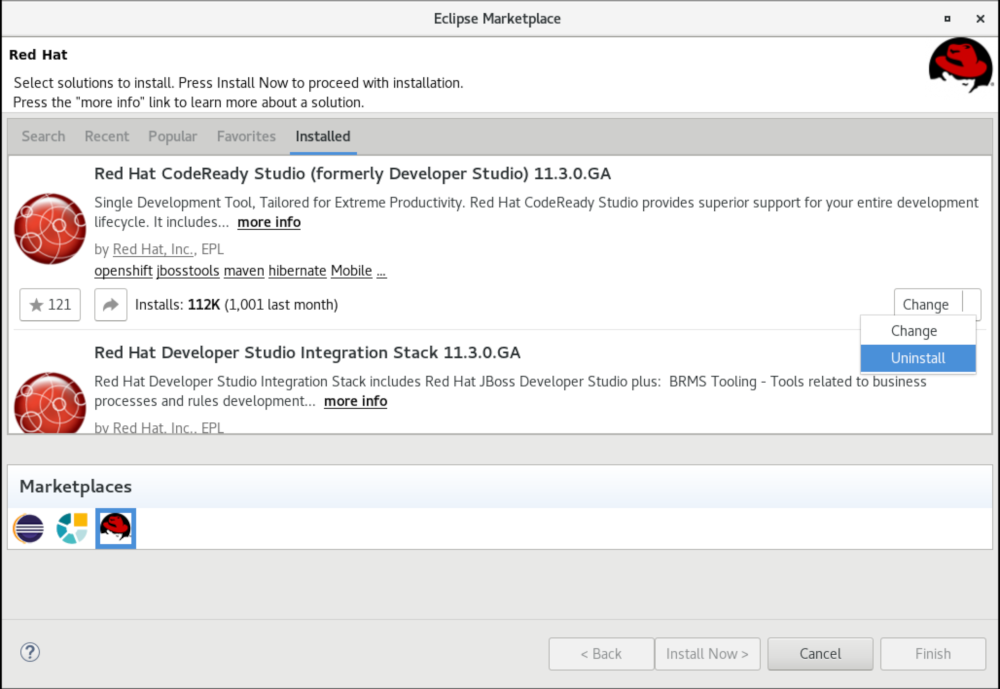
- Click Installed in the Red Hat CodeReady Studio <version> section.
Click the Update drop-down list to view the options available. Click Uninstall.
Figure 4.2. Uninstall Button
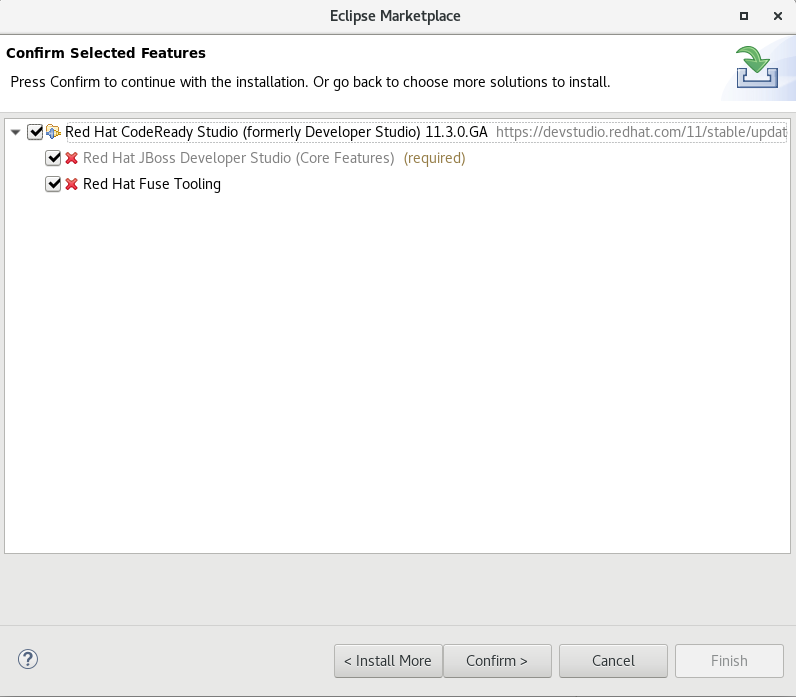
- In the Confirm Selected Features window, ensure that Red Hat CodeReady Studio <version> is selected and click Confirm.
Click Finish.
Figure 4.3. Confirm Selected Feature Deletion
- In the Software Updates dialog box, click Yes to restart Eclipse for the changes to take effect.