このコンテンツは選択した言語では利用できません。
3.3. Configuring the Server with the Web Installer
- Open the server UI at
http://localhost:7080/.
- Clicking the Click here to continue the installation link brings you to the main installer page.
- By default, the installer displays only the typical settings required for installation. For more custom environments, click the Show Advanced Settings check box to display the advanced settings in the next two sections.

Important
Do not unselect the advanced settings checkbox after setting advanced values, or the advanced settings will be reset to the default values. - Set the database connection properties. This should include the database type, the database hostname and port, and the name of the database created for JBoss ON (in this example,
rhq).The installation options are slightly different depending on the database configuration.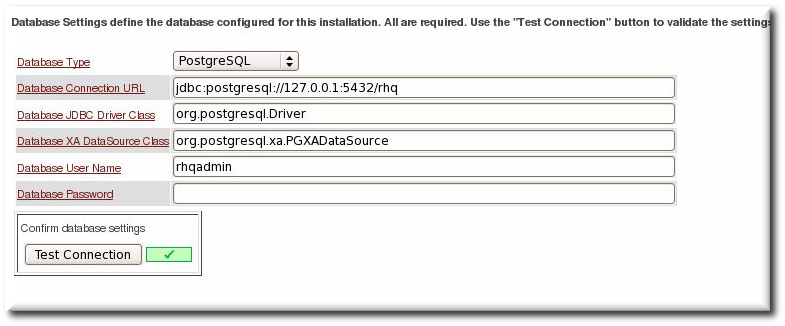
Important
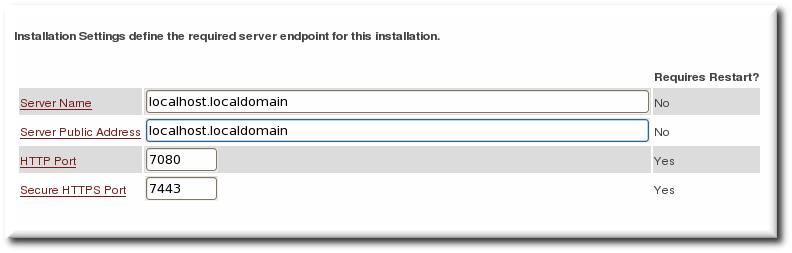
With Oracle, selecting the overwrite tables option when there is nothing to overwrite causes an error message withErrorCode=[2289]. This can be ignored. - Set the basic connection information for the new JBoss ON server, such as its HTTP and HTTP ports.
- Set preliminary notification information for the JBoss ON server for alerts to use for SNMP and email notifications.

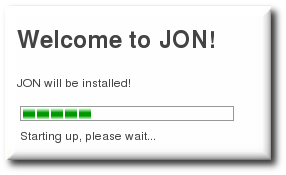
- Click the button to begin configuring the server. This can take several minutes, and a loading screen will be up until the server is configured and a redirect is available.
- When the server is configured, click the link to go to the UI.
- Log into the GUI using the user account with the default superuser and password,
rhqadmin/rhqadmin. The default username and password are predefined for the superuser; the password can be reset later.Note
Change the password for the superuser account,rhqadmin, when you first log in. Passwords are changed in the Administration > Users area. - Optional. Install any additional agent plug-ins, as in Chapter 5, Installing JBoss Agent Plug-in Packs.
- Optional. Install the JBoss ON CLI, as described in Chapter 6, Installing the JBoss ON CLI.
- Begin configuring JBoss ON agent and resources, as in Section 3.5, “Additional Post-Setup Checklist”.