이 콘텐츠는 선택한 언어로 제공되지 않습니다.
Chapter 1. Account Configuration
After creating your account, update basic information about your company. Set your location, contact information and add your company logo to the admin dashboard.
The account view is only visible to admins (and not to members).
The account view is only visible to admins (and not to members).1.1. Step 1: Add your company information
Once you’ve created your new account, click on the gear icon in the top navigation bar, and then on Account
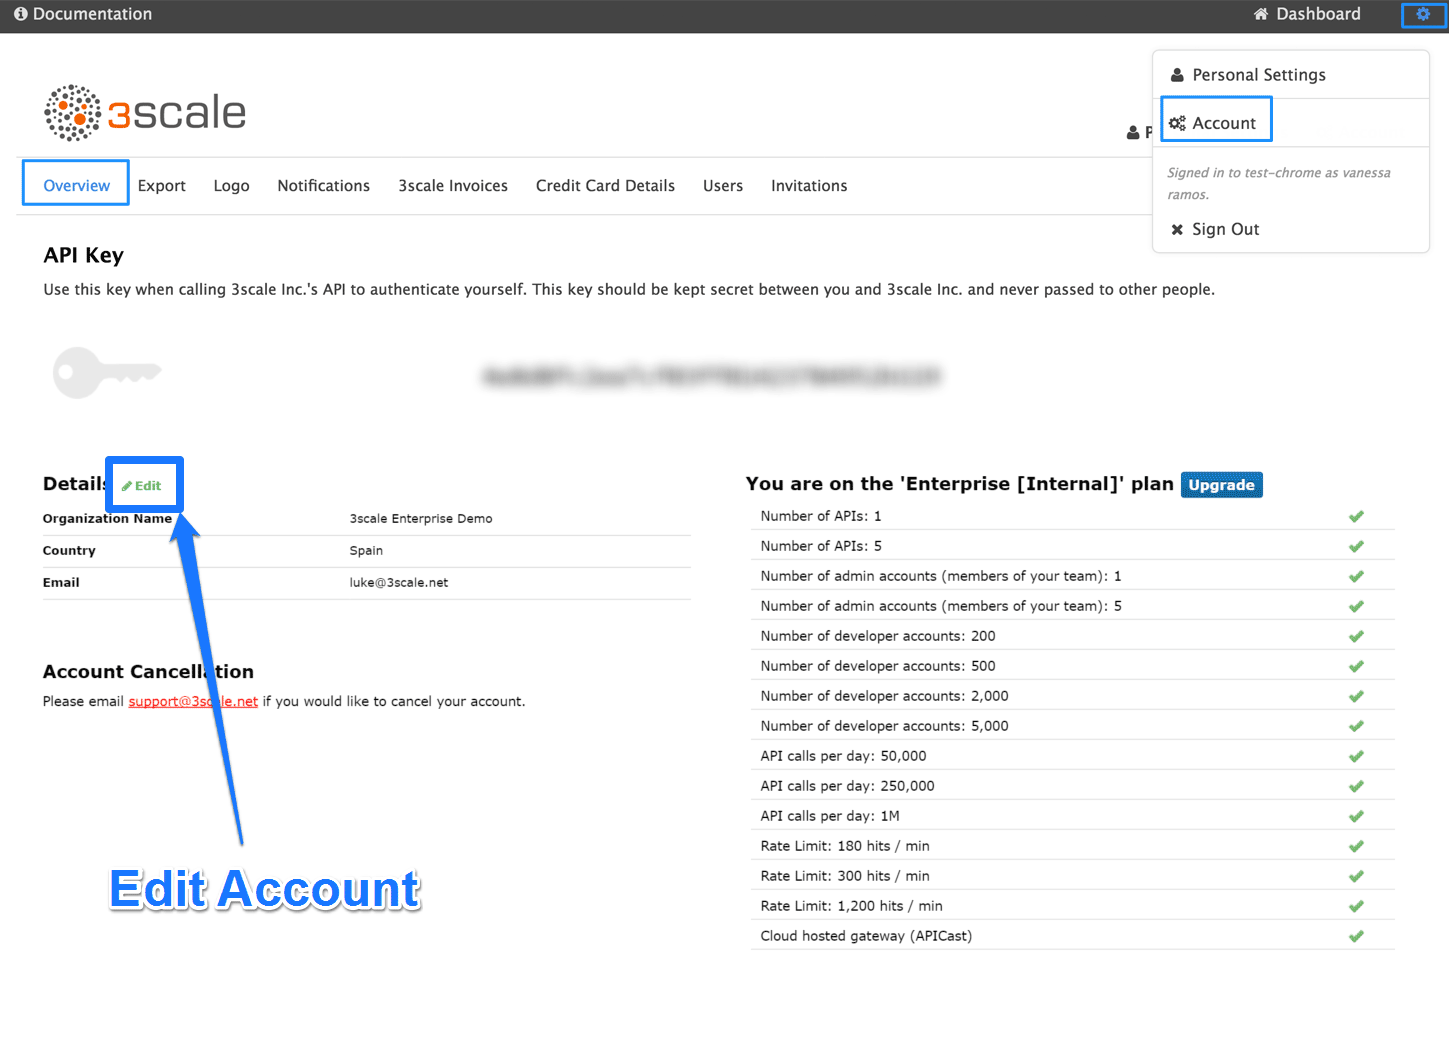
The address you write here is what we use for billing purposes (if you are on a paid plan) and also what your user will see on your invoices if you’re using the billing and payments modules.
1.2. Step 2: Select your preferred time zone
On the same page you can also select the time zone you’d like to use on all system displays. This setting affects analytics graphs. However, billing cycle calculations are made according to UTC time.
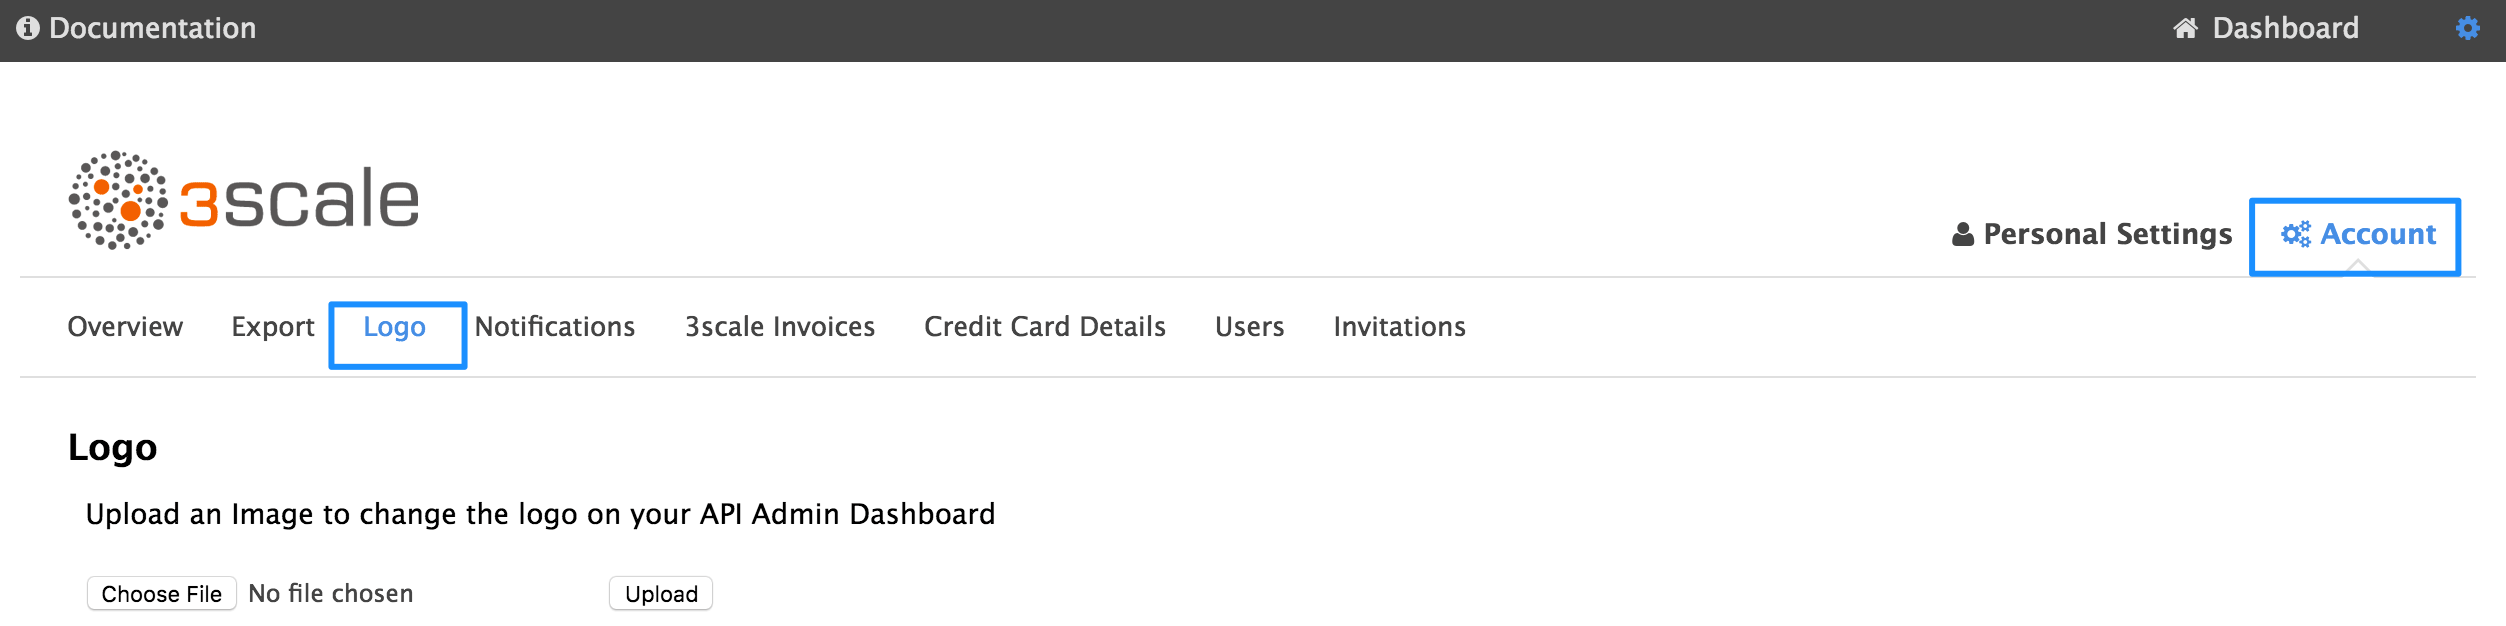
1.3. Step 3: Add your logo to the dashboard
To change the standard logo on the dashboard, head to the settings area of the portal. In the Logo section, upload a new file. This will be the logo that appears on your internal 3scale dashboard, but it will not affect the Developer Portal in any way, unless you use the "logo".