이 콘텐츠는 선택한 언어로 제공되지 않습니다.
Chapter 3. Getting started with Kaoto
This section describes how to:
- Setup a workspace in VS Code
- Access the important commands to create your integration
- Create your first Camel route
- Run your Camel route locally
- Get access to the source code of the Camel route
3.1. Preparing the Workspace
Visual Studio Code requires you to create a workspace for your project to access the full functionality of the environment.
-
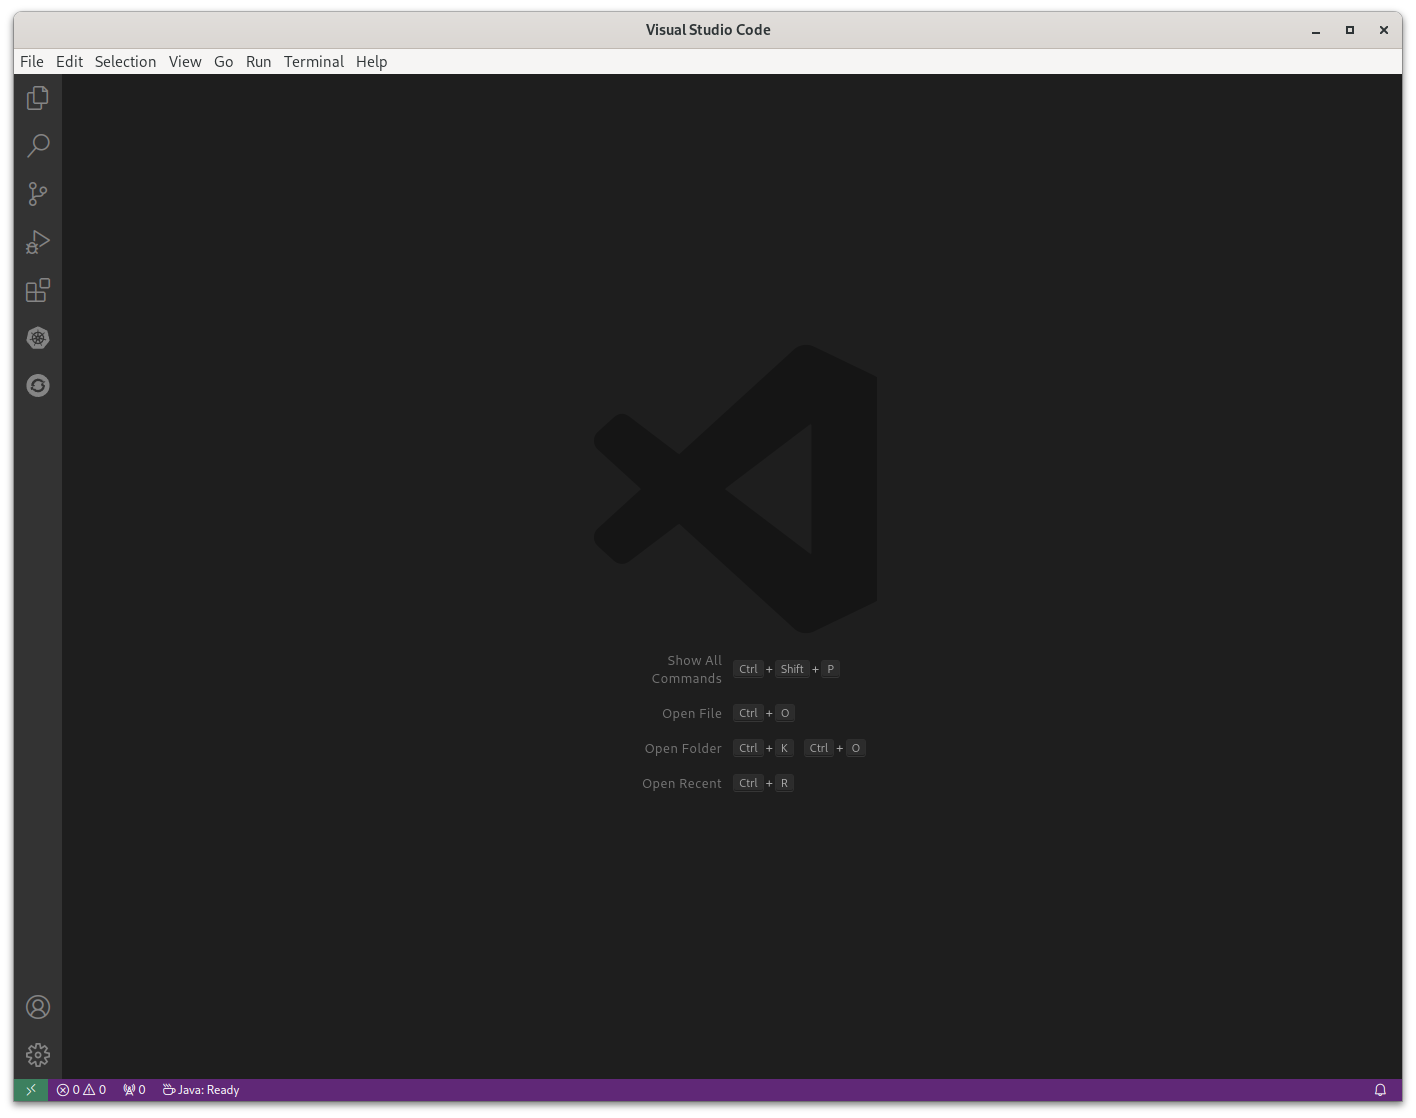
If you haven’t done so yet, open your Visual Studio Code instance. You can do that by finding the right launcher on your computer or by opening a command shell and executing
code. This should leave you with a window like the one below.
3.2. Executing VS Code Commands
The following procedure explains how to create and store integrations with Kaoto.
Select your workspace folder which will store your project files. Go to the
Filemenu and select the entryOpen Folder. In the following screen browse to the folder you would like to use and select it.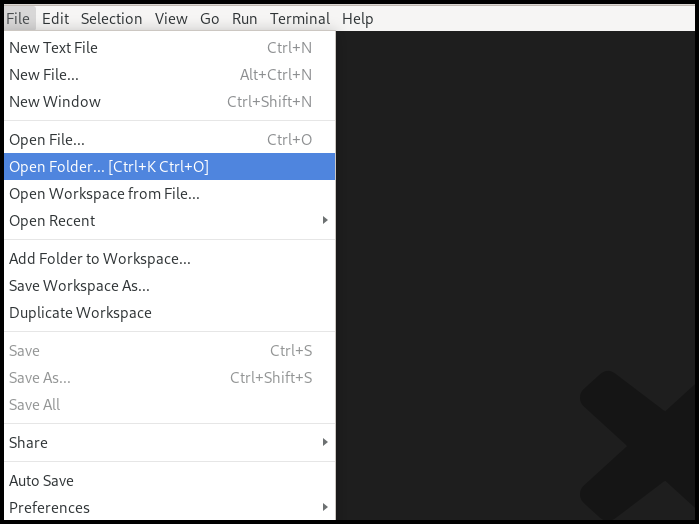 Note
NoteSome VS Code commands require a workspace to show up and function correctly. If you haven’t set one up and opened it you should check the Section 3.1, “Preparing the Workspace” section.
-
To access the VS Code command palette you have to press either
F1orCTRL+SHIFT+P. This will open up an entry field which you can use to filter for the commands you are interested in. In our case we are interested in the
Camelrelated commands, so lets typeCamelinto the field and check the filtered results.Create a Camel route using YAML DSL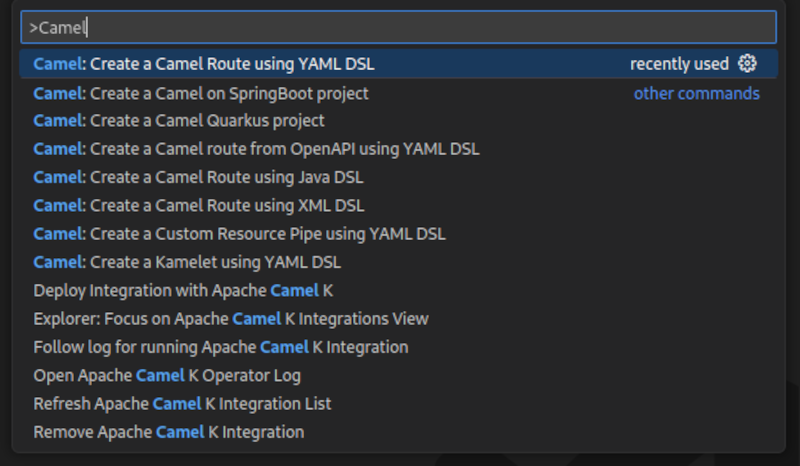
3.3. Creating Camel routes
-
If you followed the steps from Section 3.2, “Executing VS Code Commands” section, you should still see the filtered Camel commands. Select the command called
Camel: Create a Camel route using YAML DSLand hitEnter. Next you are asked to provide a name for the file to be created. Feel free to pick a name without stating a file extension (example:
simpleTest) and hitEnteragain.Note-
If all worked correctly you should now see your new file with the extension
`.camel.yamland the Kaoto Visual Designer should open up.
If the Kaoto editor doesn’t open check you followed the Installing Kaoto section and your file is named like filename.camel.yaml. If you named the file differently then rename it to match this naming rule.
You should now see a similar screen like the one below.

3.3.1. Launching the Camel route
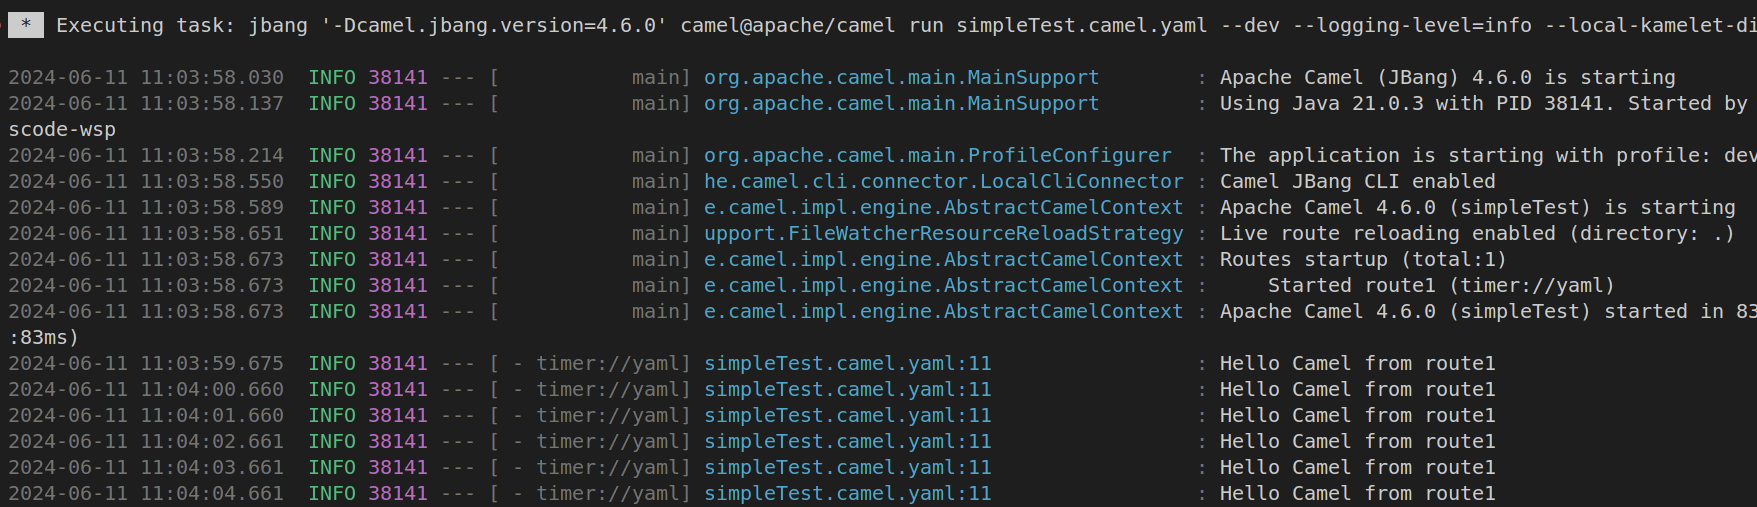
The Camel route we created in the previous chapter can already be launched. Let’s try to start the Route by clicking the
Run Camel Application with JBangbutton in the top right of the Kaoto Visual Editor.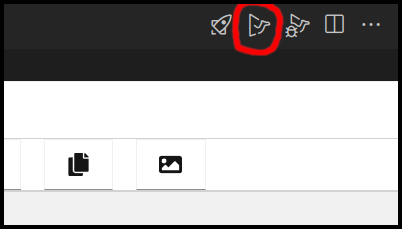
A terminal should open up and it will show you the output of your launched Camel route.
-
You can terminate the execution of your Camel route at any time by selecting the terminal window and pressing
CTRL+C.
3.3.2. Accessing the Source Code
You might wonder how the source of your new Camel route looks like. While Kaoto tries relief users from the burden of working with the source code, we still allow access to it via the default Visual Studio Code Text Editor.
To access your source code you can either right click the tab labeled with the filename and then select Reopen Editor with and then choosing Text Editor.
Another way of doing that is to right-click the file in the Explorer view on the left side of the window and then similarly selecting the menu item Open With and then choosing Text Editor.
If you want to revert back to the Kaoto Editor you can follow the same steps as above but instead of Text Editor you should then select Kaoto Editor.