Este conteúdo não está disponível no idioma selecionado.
Chapter 6. Getting Started with Fuse on OpenShift
Fuse on OpenShift (the name for Fuse Integration Services since 7.0) enables you to deploy Fuse applications on OpenShift Container Platform.
For Fuse Integration projects (Fuse on OpenShift projects), Fuse Tooling requires installation of the Red Hat Container Development Kit (CDK) v3.x. See the Getting Started Guide for instructions. In addition to the prerequisites specified in this guide, you need to establish a Red Hat account if you do not have one. Your Red Hat user name and password are required to start the virtual OpenShift instance provided in the Red Hat Container Development Kit.
You can easily get an account by registering on the Red Hat Customer Portal. Click
![]() in the upper right corner of the white banner, and then click
in the upper right corner of the white banner, and then click
 on the Login to Your Red Hat Account page.
Fuse Tooling enables you to develop and deploy Fuse Integration projects using the s2i binary workflow. In this workflow, the tooling builds your project locally, assembles it into an image stream, then pushes the image stream to OpenShift, where it is used to build the Docker container. Once the Docker container is built, OpenShift deploys it in a pod.
Fuse Tooling works only with the S2I binary workflow and only with projects based on the Spring Boot framework.
Although Fuse Tooling can deploy Fuse Integration projects created using the tooling to remote OpenShift servers, this chapter describes creating and deploying Fuse Integration projects to a virtual OpenShift instance, installed locally using the Red Hat Container Development Kit (CDK) v3.x.
The following sections describe how to create and deploy your first Fuse Integration project:
- Section 6.1, “Adding the Red Hat Container Development Kit server”
- Section 6.2, “Starting the Container Development Environment (CDE) and virtual OpenShift server”
- Section 6.3, “Creating a new OpenShift project”
- Section 6.4, “Creating a new Fuse Integration project”
- Section 6.5, “Deploying the Fuse Integration project to OpenShift”
You can also run a Fuse Integration project as a local Camel context, see Section 5.1, “Running routes as a local Camel context”, and then connect to it in the JMX Navigator view, where you can monitor and test the routing context. You can also run the Camel debugger on a Fuse Integration project (Part II, “Debugging Routing Contexts”) to expose and fix any logic errors in the routing context.
6.1. Adding the Red Hat Container Development Kit server
To add the Red Hat Container Development Kit to the Servers view:
If necessary, switch to the Fuse Integration perspective by selecting Window
Perspective Open Perspective Fuse Integration. NoteIf a view that is described in this procedure is not open, you can open it by selecting Window
Show View Other and then select the name of the view that you want to open. In the Servers view, click the link No servers are available. Click this link to create a new server… to open the Define a New Server wizard. This link appears only when the Servers view contains no server entry.
Otherwise, right-click in the Servers view to open the context menu, and then select New
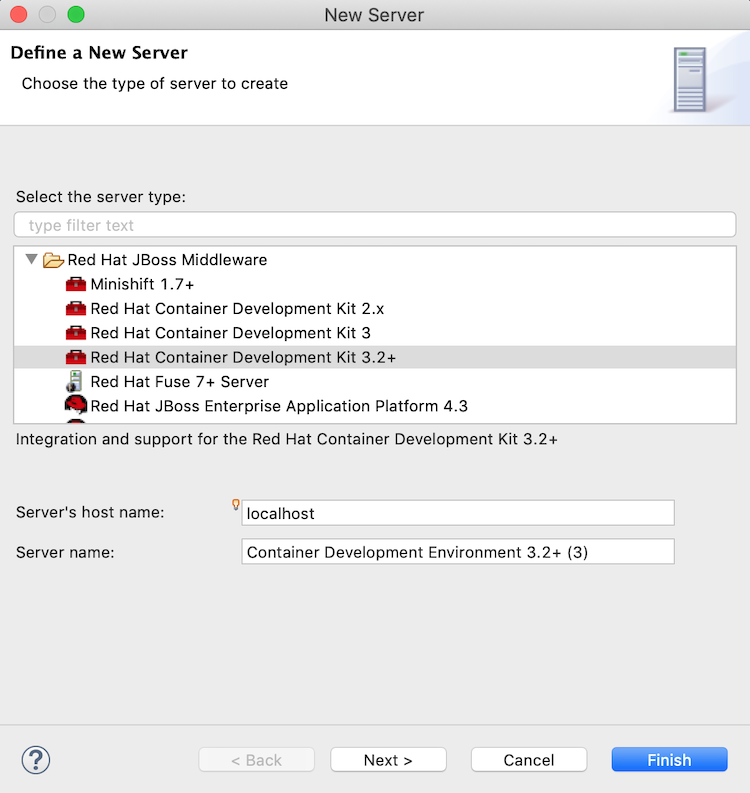
Server to open the Define a New Server wizard. Select Red Hat JBoss Middleware
Red Hat Container Development Kit 3.2+. Accept the defaults for:
-
Server’s hostname —
localhost -
Server name —
Container Development Environment
-
Server’s hostname —
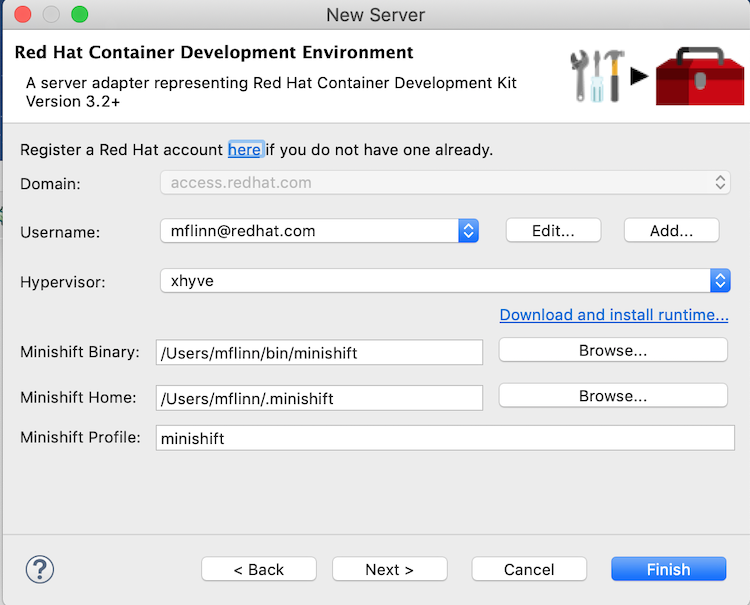
- Click Next to open the Red Hat Container Development Environment page.
- Next to MiniShift Binary, click Browse, navigate to the location where you installed the Red Hat Container Development Kit 3.x and then click Open.
- Next to Username, click Add to open the Add a Credential page.
Set the credentials this way:
- Username — Enter the name you use to log into your Red Hat account.
- Always prompt for password — Leave as is (disabled).
- Password — Enter the password you use to log into your Red Hat account.
Click OK to return to the Red Hat Container Development Environment page, which is now populated. For example:
- Click Finish. Container Development Environment 3.2+ [Stopped, Synchronized] appears in the Servers view. Container Development Environment 3.2+ is the default server name when you add a CDK 3.x server.
6.2. Starting the Container Development Environment (CDE) and virtual OpenShift server
Starting the Container Development Environment (CDE) also starts the virtual OpenShift server. Stopping the CDE also stops the virtual OpenShift server.
In the Servers view, select Container Development Environment 3 [stopped, Synchronized], and then click
 on the Servers menu bar.
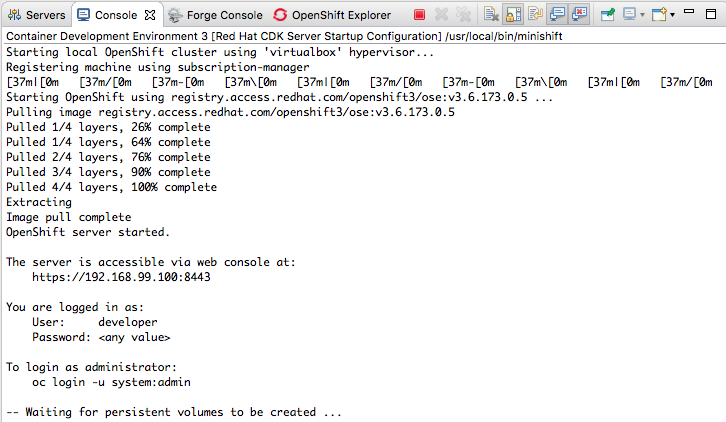
Console view opens and displays the status of the startup process:
NoteOn initial startup, the CDE asks whether you accept the untrusted SSL certificate. Click Yes.
When the startup process has finished, the Servers view displays:
Switch to the OpenShift Explorer view.
The virtual OpenShift server instance,
developer, is also running:https://192.168.99.100:8443is an example of a URL for the OpenShift developer web console. Your installation displays the URL for your instance. For more details, see Section 6.6, “Accessing the OpenShift web console”.
6.3. Creating a new OpenShift project
When you deploy your Fuse Integration project to OpenShift, it is published to the OpenShift project you create here.
- In the OpenShift Explorer view, right-click the developer entry, to open the context menu.
-
Select New
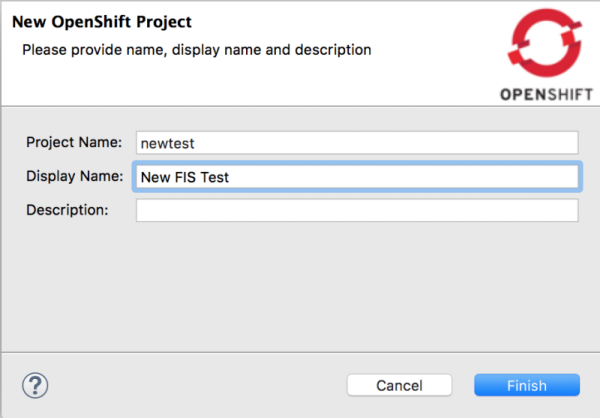
Project to open the New OpenShift Project wizard. Set the new project’s properties this way:
In the Project Name field, enter the name for the project’s namespace on the virtual OpenShift server.
Only lower case letters, numbers, and dashes are valid.
- In the Display Name field, enter the name to display on the virtual OpenShift web console’s Overview page.
Leave the Description field as is.
For example:
Click Finish.
The new OpenShift project (in this example, New FIS Test newtest) appears in the OpenShift Explorer tab, under, in this example, developer https://192.168.99.100:8443:
NoteMyProject myproject is an initial example project included with OpenShift.
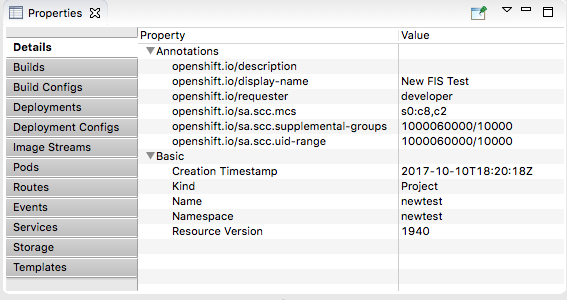
With New FIS Test newtest selected in the OpenShift Explorer view, the Properties view displays the project’s details. For example:
NoteWhen you deploy the project to OpenShift, the Properties view gathers and displays the same information about the project that the OpenShift web console does.
6.4. Creating a new Fuse Integration project
Before you create a new Fuse Integration project, you should enable staging repositories. This is needed because some Maven artifacts are not in default Maven repositories. To enable staging repositories, select Window
To create a Fuse Integration project, use the Spring Boot on OpenShift template:
In the Project Explorer view, right-click to open the context menu and then select New
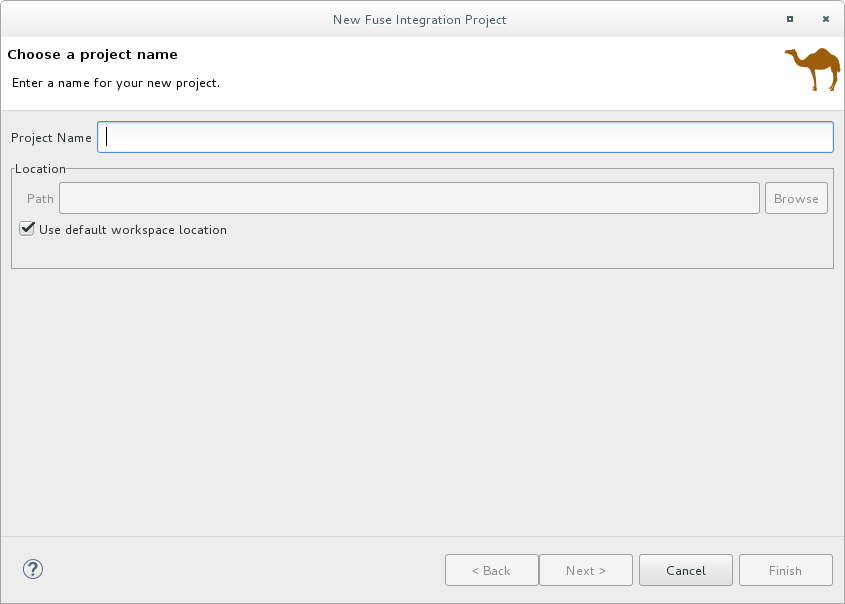
Fuse Integration Project to open the wizard’s Choose a project name page: In the Project Name field, type a name that is unique to the workspace you are using, for example, myFISproject.
Accept the defaults for the other options.
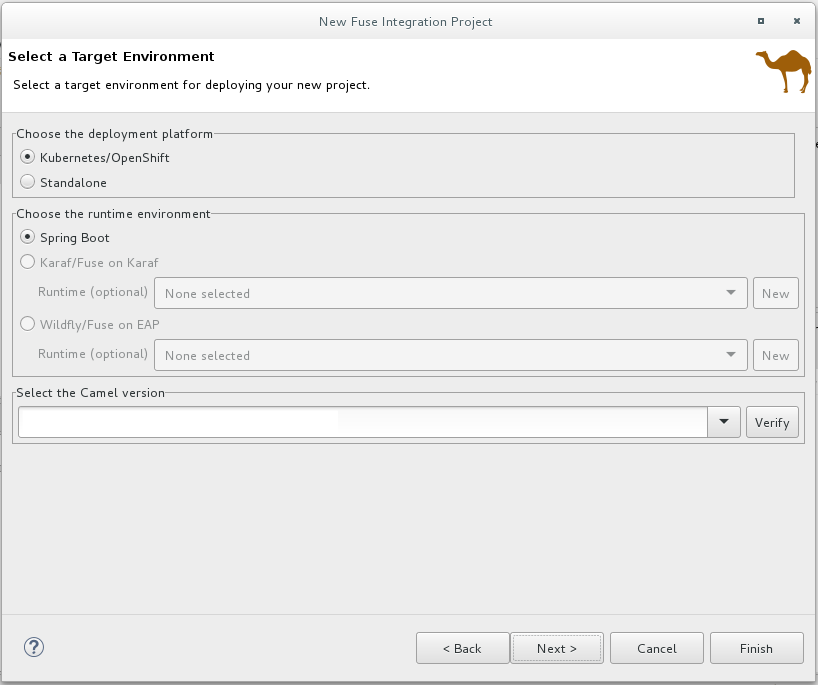
Click Next to open the Select a Target Runtime page:
Leave the defaults for Target Runtime (No Runtime selected) and Camel Version.
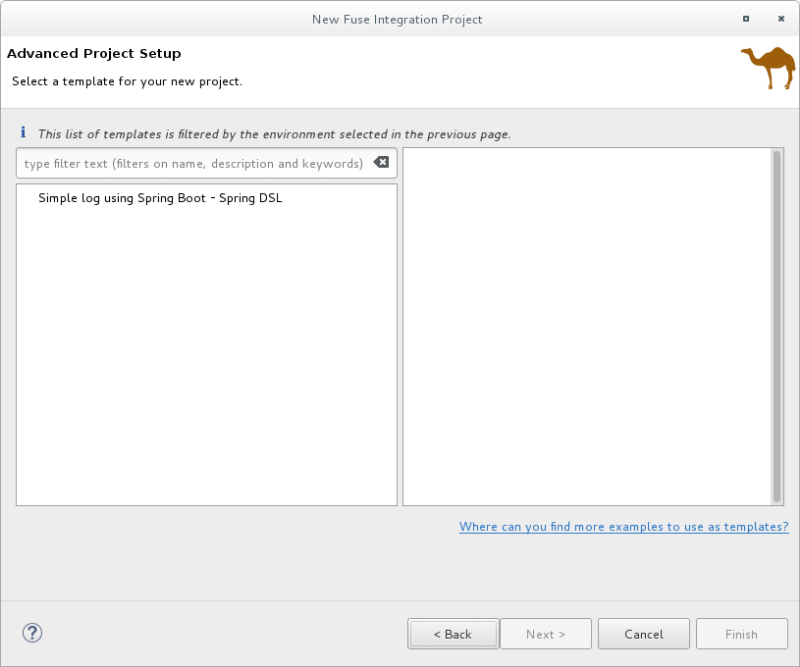
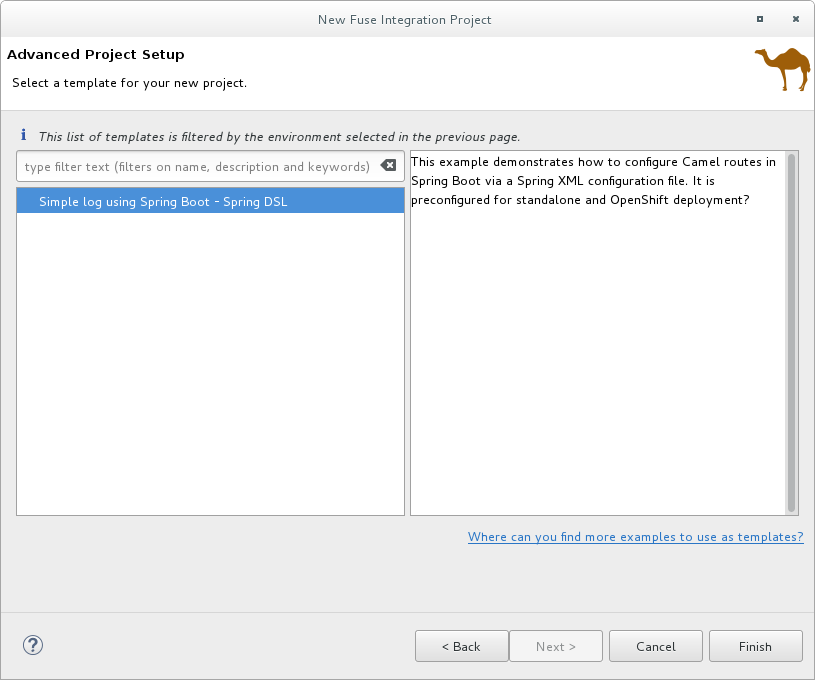
Click Next to open the Advanced Project Setup page:
Select the Simple log using Spring Boot - Spring DSL template.
Click Finish.
NoteBecause of the number of dependencies that are downloaded for a first-time Fuse Integration project, building it can take some time.
If the Fuse Integration perspective is not already open, Developer Studio prompts you to indicate whether you want to open it now. Click Yes.
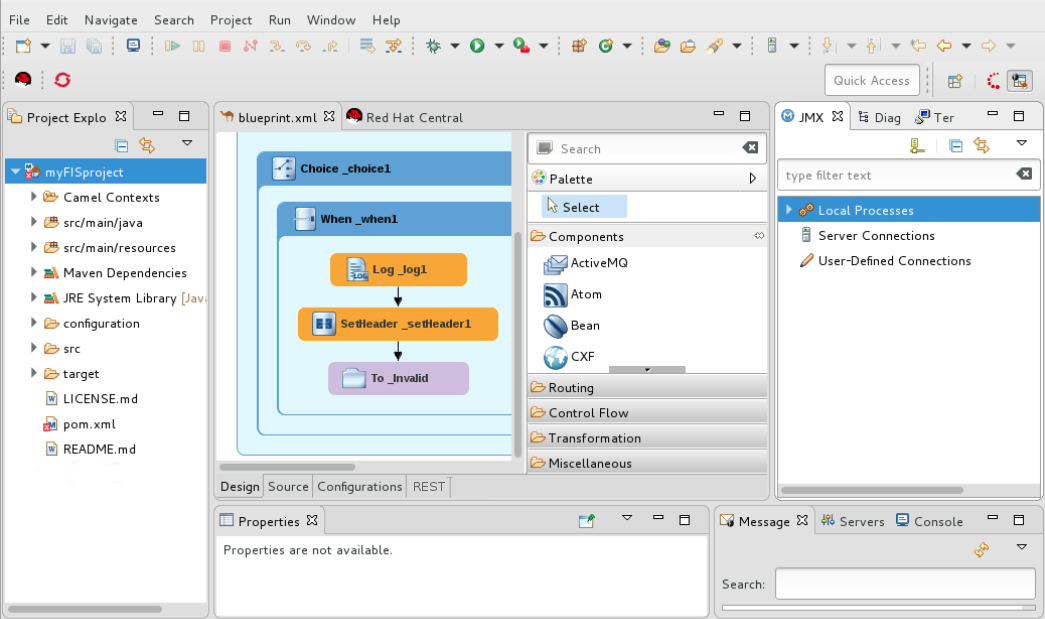
When the build is done the Fuse Integration perspective displays the project, for example:
At this point, you can:
- Deploy the project on OpenShift
Section 5.1, “Running routes as a local Camel context” to verify that the routing context runs successfully on your local machine
Connecting to the running context in the JMX Navigator view (see the section called “Viewing processes in a local JMX server”), you can monitor route components and test whether the route performs as expected:
- View a route component’s JMX statistics — see Chapter 20, Viewing a component’s JMX statistics.
- Edit the running route — see Chapter 24, Managing routing endpoints.
- Suspend/resume the running route — see Chapter 26, Managing routing contexts
- Start/stop tracing on the running route — see Chapter 22, Tracing Routes
-
Run the Camel debugger on the project’s
camel-context.xmlfile to discover and fix logic errors — see Part II, “Debugging Routing Contexts”
6.5. Deploying the Fuse Integration project to OpenShift
- In the Project Explorer view, right-click the project’s root (in this example, myFISproject) to open the context menu.
-
Select Run As
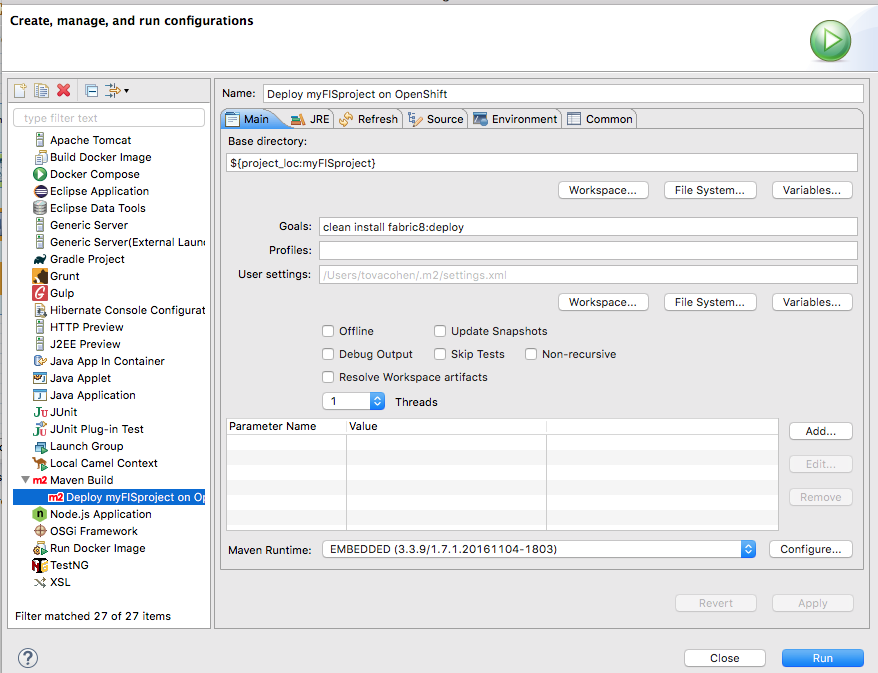
Run Configurations to open the Run Configurations wizard. In the sidebar menu, select Maven Build
Deploy <projectname> on OpenShift (in this example, Deploy myFISproject on OpenShift) to open the project’s default run configuration: Leave the default settings as they are on the Main tab.
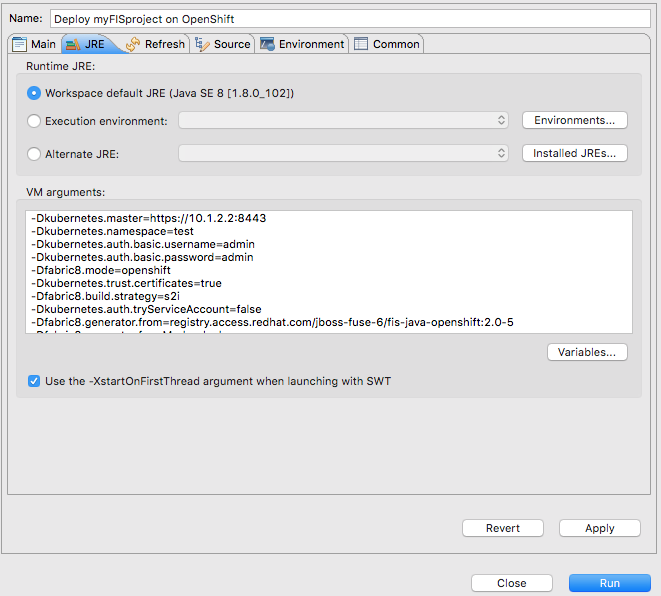
Open the JRE tab to access the VM arguments:
In the VM arguments pane, change the value of the
-Dkubernetes.namespace=testargument to match the project name that you used for the OpenShift project when you created it (OpenShift project name in Section 6.3, “Creating a new OpenShift project”.In this example, change the default value test to newtest:
Depending on your OpenShift configuration, you may need to modify other`VM arguments to support it:
-Dkubernetes.master=https://192.168.99.1:8443When running multiple OpenShift instances or using a remote instance, you need to specify the URL of the OpenShift instance targeted for the deployment. The URL above is an example.
-Dkubernetes.trust.certificates=true-
When using the CDK, this argument is required. Leave it set to
true. -
If you are using an OpenShift instance that has a valid SSL certificate, change the value of this argument to
false.
-
When using the CDK, this argument is required. Leave it set to
Click Apply and then click Run.
Because of the number of dependencies to download, first-time deployment can take some time. The speed of your computer and your internet connection are contributing factors. Typically, it takes 25 to 35 minutes to complete a first-time deployment.
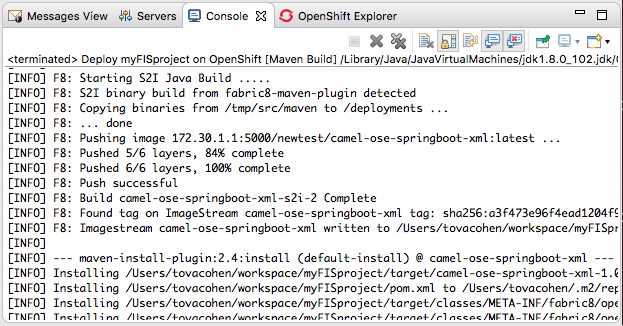
In the Console view, you can track the progress of the deploy process. In the following output, the entry *Pushing image 172.30.1 ….. * indicates that the project built successfully and the application images are being pushed to OpenShift, where they will be used to build the Docker container.
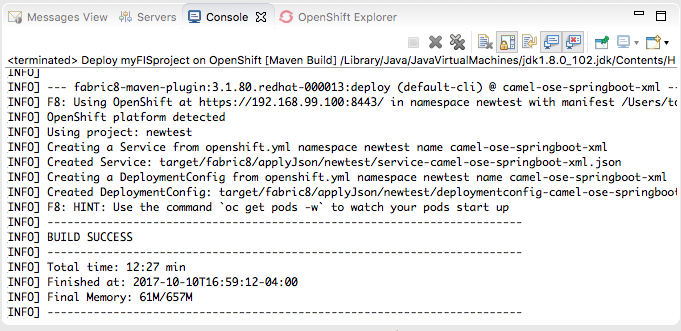
The Console view displays BUILD SUCCESS when deployment completes successfully:
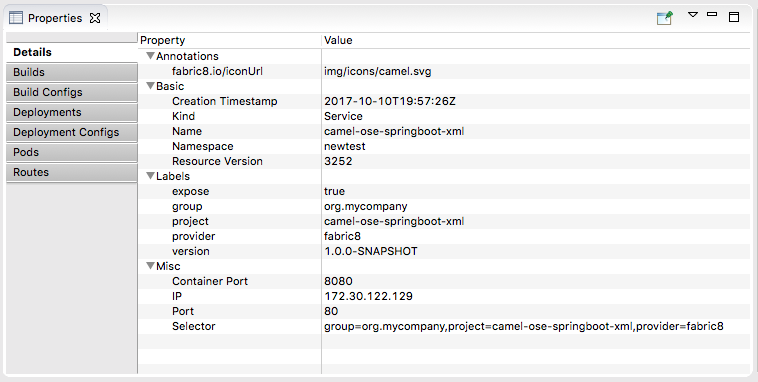
Switch to the OpenShift Explorer view and select New FIS Test newtest:
In the Properties view, the Details page displays all of the project’s property values.
Open the other tabs (Builds, Build Configs, Deployments,…) to view other properties of the project. The Properties view provides the same information as the OpenShift Web Console.
In the OpenShift Explorer view, select
camel-ose-springboot-xmlto view its details in the Properties view:Scroll through the other tabs to view other properties of the deployment configuration.
In the OpenShift Explorer view, select
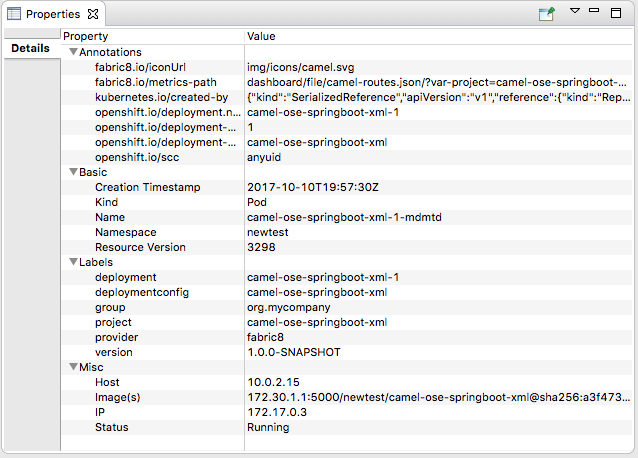
camel-ose-springboot-xml-1-mdmtd Pod Running, and then view the details of the running instance in the Properties view:In the OpenShift Explorer view, right-click
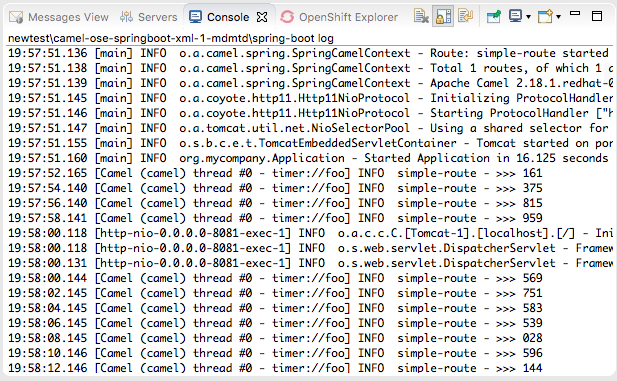
camel-ose-springboot-xml-1-mdmtd Pod Running, and then select Pod Logs….NoteIf prompted, enter the path to the installed
ocexecutable. It is required to retrieve pod logs.The Console view automatically opens, displaying the logs from the running pod:
Click
 in the Console view’s menu bar to terminate the session and clear console output.
6.6. Accessing the OpenShift web console
This information applies to Red Hat Container Development Kit installations only.
To access the OpenShift web console, open a browser and enter the OpenShift server’s URL, which is specific to your instance and your machine. For example, enter https://192.168.99.100:8443, in the browser’s address field.
You can log into the web console either as a developer or as an administrator, using the default credentials:
Default developer role
Developer users can view only their own projects and the supplied OpenShift sample project, which demonstrates OpenShift v3 features. Developer users can create, edit and delete any project that they own that is deployed on OpenShift.
-
Username -
developer -
Password -
developer
-
Username -
Default administrator role
An administrator user can view and access all projects on OpenShift (CDK). Administrator users can create, edit and delete, any project deployed on OpenShift.
-
Username -
admin -
Password -
admin
-
Username -
For more information on using the OpenShift web console, see Getting Started Guide.
