Este conteúdo não está disponível no idioma selecionado.
Chapter 4. Using SSL to protect connections to Red Hat Quay
4.1. Using SSL/TLS
To configure Red Hat Quay with a self-signed certificate, you must create a Certificate Authority (CA) and a primary key file named ssl.cert and ssl.key.
4.2. Creating a Certificate Authority
Use the following procedure to set up your own CA and use it to issue a server certificate for your domain. This allows you to secure communications with SSL/TLS using your own certificates.
Procedure
Generate the root CA key by entering the following command:
$ openssl genrsa -out rootCA.key 2048Generate the root CA certificate by entering the following command:
$ openssl req -x509 -new -nodes -key rootCA.key -sha256 -days 1024 -out rootCA.pemEnter the information that will be incorporated into your certificate request, including the server hostname, for example:
Country Name (2 letter code) [XX]:IE
State or Province Name (full name) []:GALWAY
Locality Name (eg, city) [Default City]:GALWAY
Organization Name (eg, company) [Default Company Ltd]:QUAY
Organizational Unit Name (eg, section) []:DOCS
Common Name (eg, your name or your server's hostname) []:quay-server.example.com
Generate the server key by entering the following command:
$ openssl genrsa -out ssl.key 2048Generate a signing request by entering the following command:
$ openssl req -new -key ssl.key -out ssl.csrEnter the information that will be incorporated into your certificate request, including the server hostname, for example:
Country Name (2 letter code) [XX]:IE
State or Province Name (full name) []:GALWAY
Locality Name (eg, city) [Default City]:GALWAY
Organization Name (eg, company) [Default Company Ltd]:QUAY
Organizational Unit Name (eg, section) []:DOCS
Common Name (eg, your name or your server's hostname) []:quay-server.example.com
Email Address []:
Create a configuration file
openssl.cnf, specifying the server hostname, for example:Example
openssl.cnffile[req] req_extensions = v3_req distinguished_name = req_distinguished_name [req_distinguished_name] [ v3_req ] basicConstraints = CA:FALSE keyUsage = nonRepudiation, digitalSignature, keyEncipherment subjectAltName = @alt_names [alt_names] DNS.1 = <quay-server.example.com> IP.1 = 192.168.1.112Use the configuration file to generate the certificate
ssl.cert:$ openssl x509 -req -in ssl.csr -CA rootCA.pem -CAkey rootCA.key -CAcreateserial -out ssl.cert -days 356 -extensions v3_req -extfile openssl.cnfConfirm your created certificates and files by entering the following command:
$ ls /path/to/certificatesExample output
rootCA.key ssl-bundle.cert ssl.key custom-ssl-config-bundle-secret.yaml rootCA.pem ssl.cert
openssl.cnf rootCA.srl  ssl.csr
4.3. Configuring custom SSL/TLS certificates by using the command line interface
SSL/TLS must be configured by using the command-line interface (CLI) and updating your config.yaml file manually.
Prerequisites
- You have created a certificate authority and signed the certificate.
Procedure
Copy the certificate file and primary key file to your configuration directory, ensuring they are named
ssl.certandssl.keyrespectively:cp ~/ssl.cert ~/ssl.key /path/to/configuration_directoryNavigate to the configuration directory by entering the following command:
$ cd /path/to/configuration_directoryEdit the
config.yamlfile and specify that you want Red Hat Quay to handle SSL/TLS:Example
config.yamlfile# ... SERVER_HOSTNAME: <quay-server.example.com> ... PREFERRED_URL_SCHEME: https # ...Optional: Append the contents of the
rootCA.pemfile to the end of thessl.certfile by entering the following command:$ cat rootCA.pem >> ssl.certStop the
Quaycontainer by entering the following command:$ sudo podman stop <quay_container_name>Restart the registry by entering the following command:
$ sudo podman run -d --rm -p 80:8080 -p 443:8443 \
  --name=quay \
  -v $QUAY/config:/conf/stack:Z \
  -v $QUAY/storage:/datastorage:Z \
  registry.redhat.io/quay/quay-rhel8:v3.13.9
4.4. Configuring SSL/TLS using the Red Hat Quay UI
Use the following procedure to configure SSL/TLS using the Red Hat Quay UI.
To configure SSL/TLS using the command line interface, see "Configuring SSL/TLS using the command line interface".
Prerequisites
- You have created a certificate authority and signed a certificate.
Procedure
Start the
Quaycontainer in configuration mode:$ sudo podman run --rm -it --name quay_config -p 80:8080 -p 443:8443 registry.redhat.io/quay/quay-rhel8:v3.13.9 config secret- In the Server Configuration section, select Red Hat Quay handles TLS for SSL/TLS. Upload the certificate file and private key file created earlier, ensuring that the Server Hostname matches the value used when the certificates were created.
- Validate and download the updated configuration.
Stop the
Quaycontainer and then restart the registry by entering the following command:$ sudo podman rm -f quay $ sudo podman run -d --rm -p 80:8080 -p 443:8443 \ --name=quay \ -v $QUAY/config:/conf/stack:Z \ -v $QUAY/storage:/datastorage:Z \ registry.redhat.io/quay/quay-rhel8:v3.13.9
4.5. Testing the SSL/TLS configuration using the CLI
Your SSL/TLS configuration can be tested by using the command-line interface (CLI). Use the following procedure to test your SSL/TLS configuration.
Use the following procedure to test your SSL/TLS configuration using the CLI.
Procedure
Enter the following command to attempt to log in to the Red Hat Quay registry with SSL/TLS enabled:
$ sudo podman login quay-server.example.comExample output
Error: error authenticating creds for "quay-server.example.com": error pinging docker registry quay-server.example.com: Get "https://quay-server.example.com/v2/": x509: certificate signed by unknown authorityBecause Podman does not trust self-signed certificates, you must use the
--tls-verify=falseoption:$ sudo podman login --tls-verify=false quay-server.example.comExample output
Login Succeeded!In a subsequent section, you will configure Podman to trust the root Certificate Authority.
4.6. Testing the SSL/TLS configuration using a browser
Use the following procedure to test your SSL/TLS configuration using a browser.
Procedure
Navigate to your Red Hat Quay registry endpoint, for example,
https://quay-server.example.com. If configured correctly, the browser warns of the potential risk: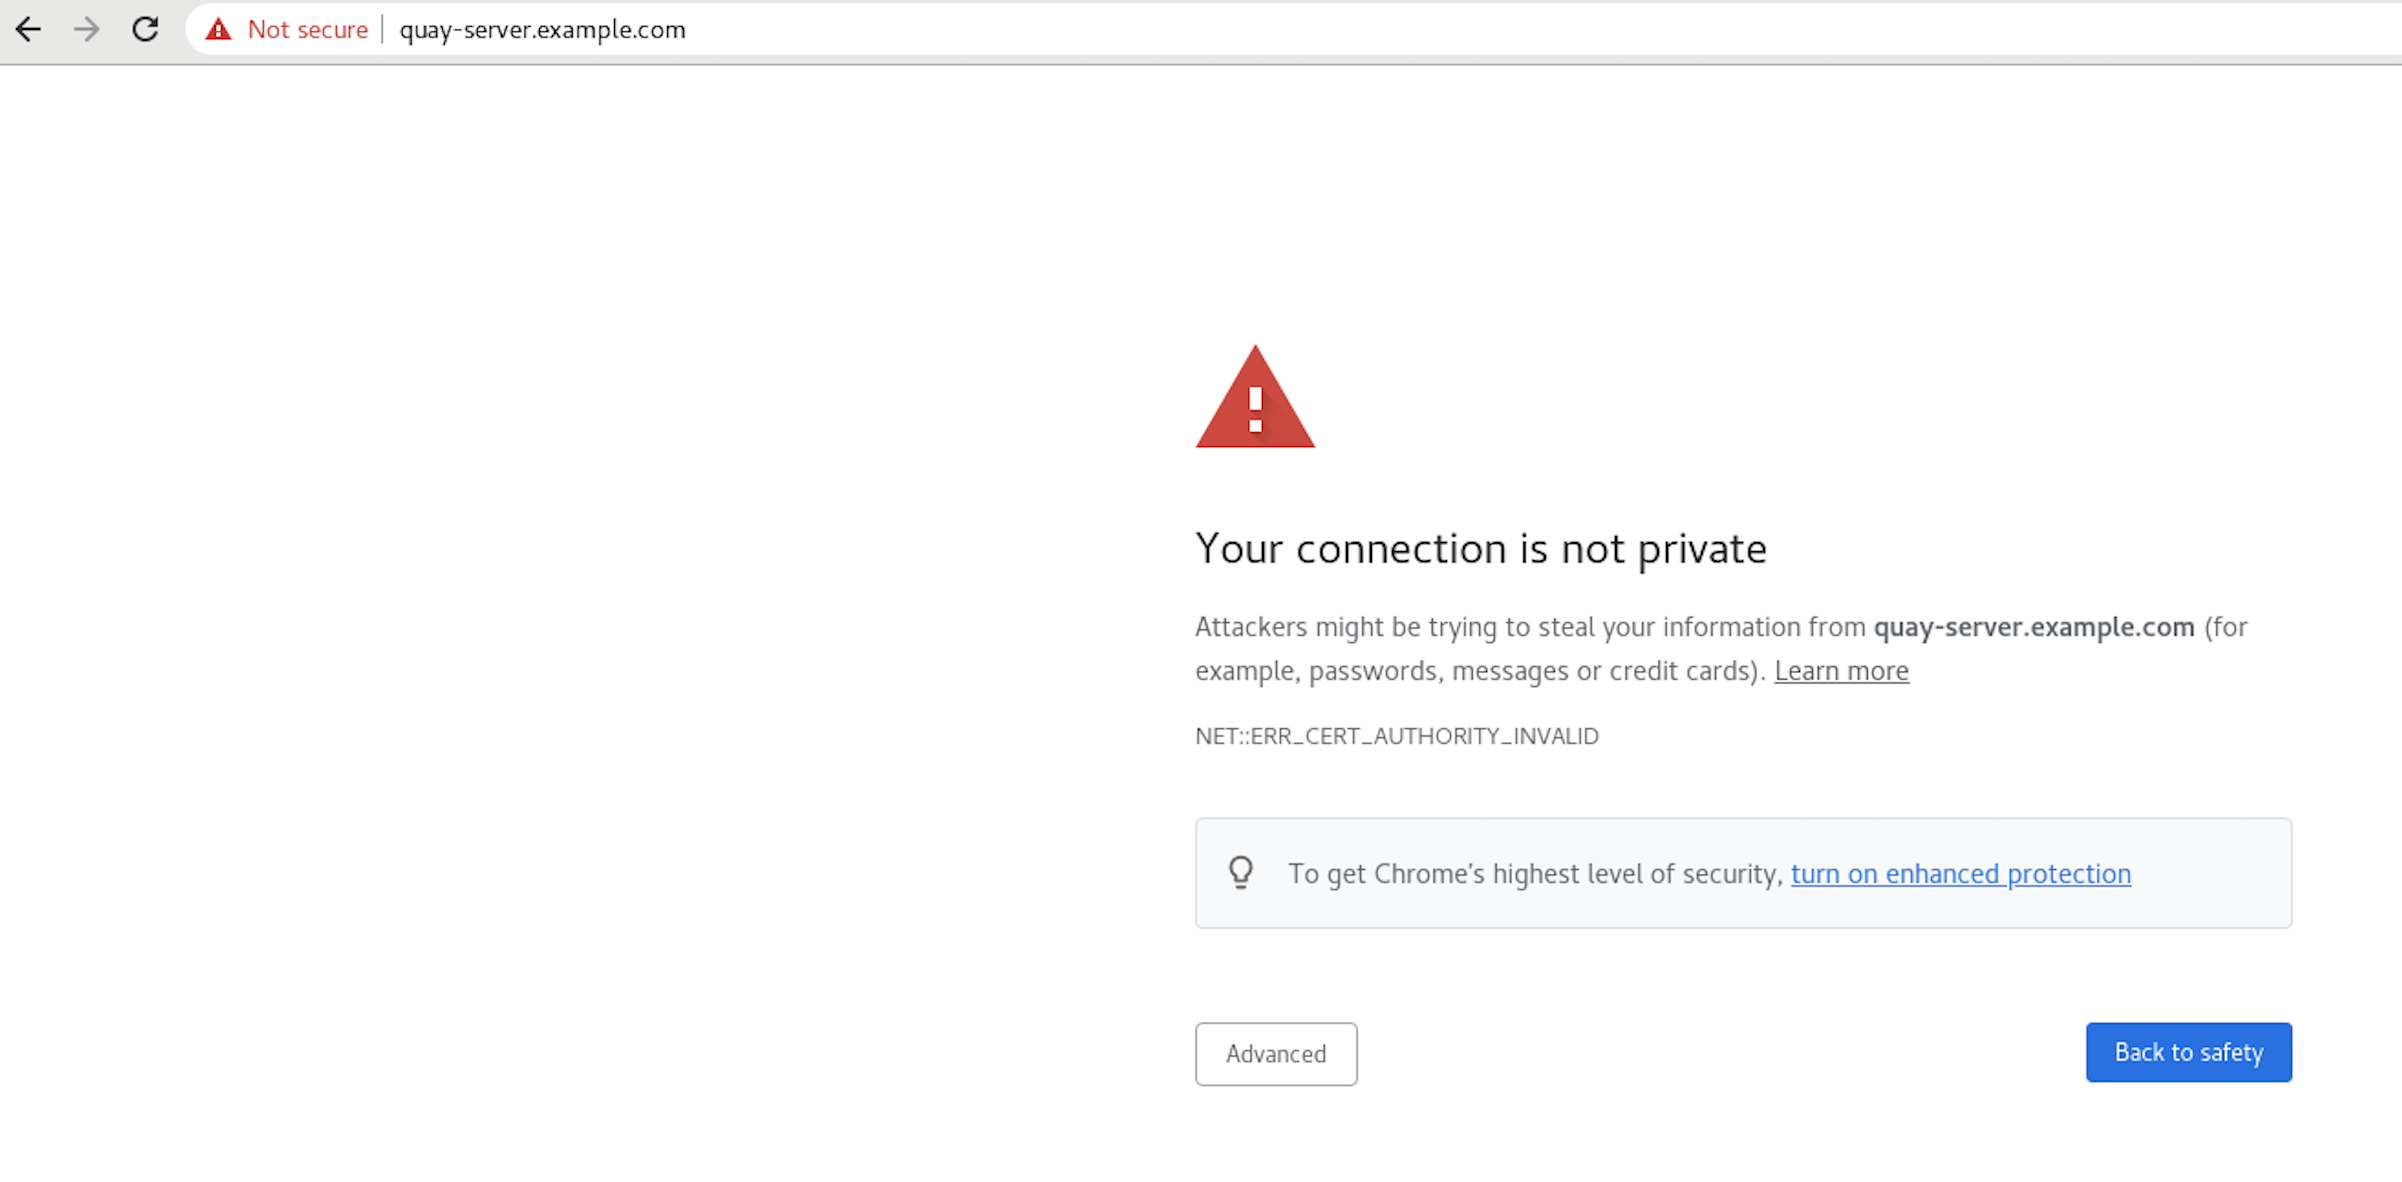
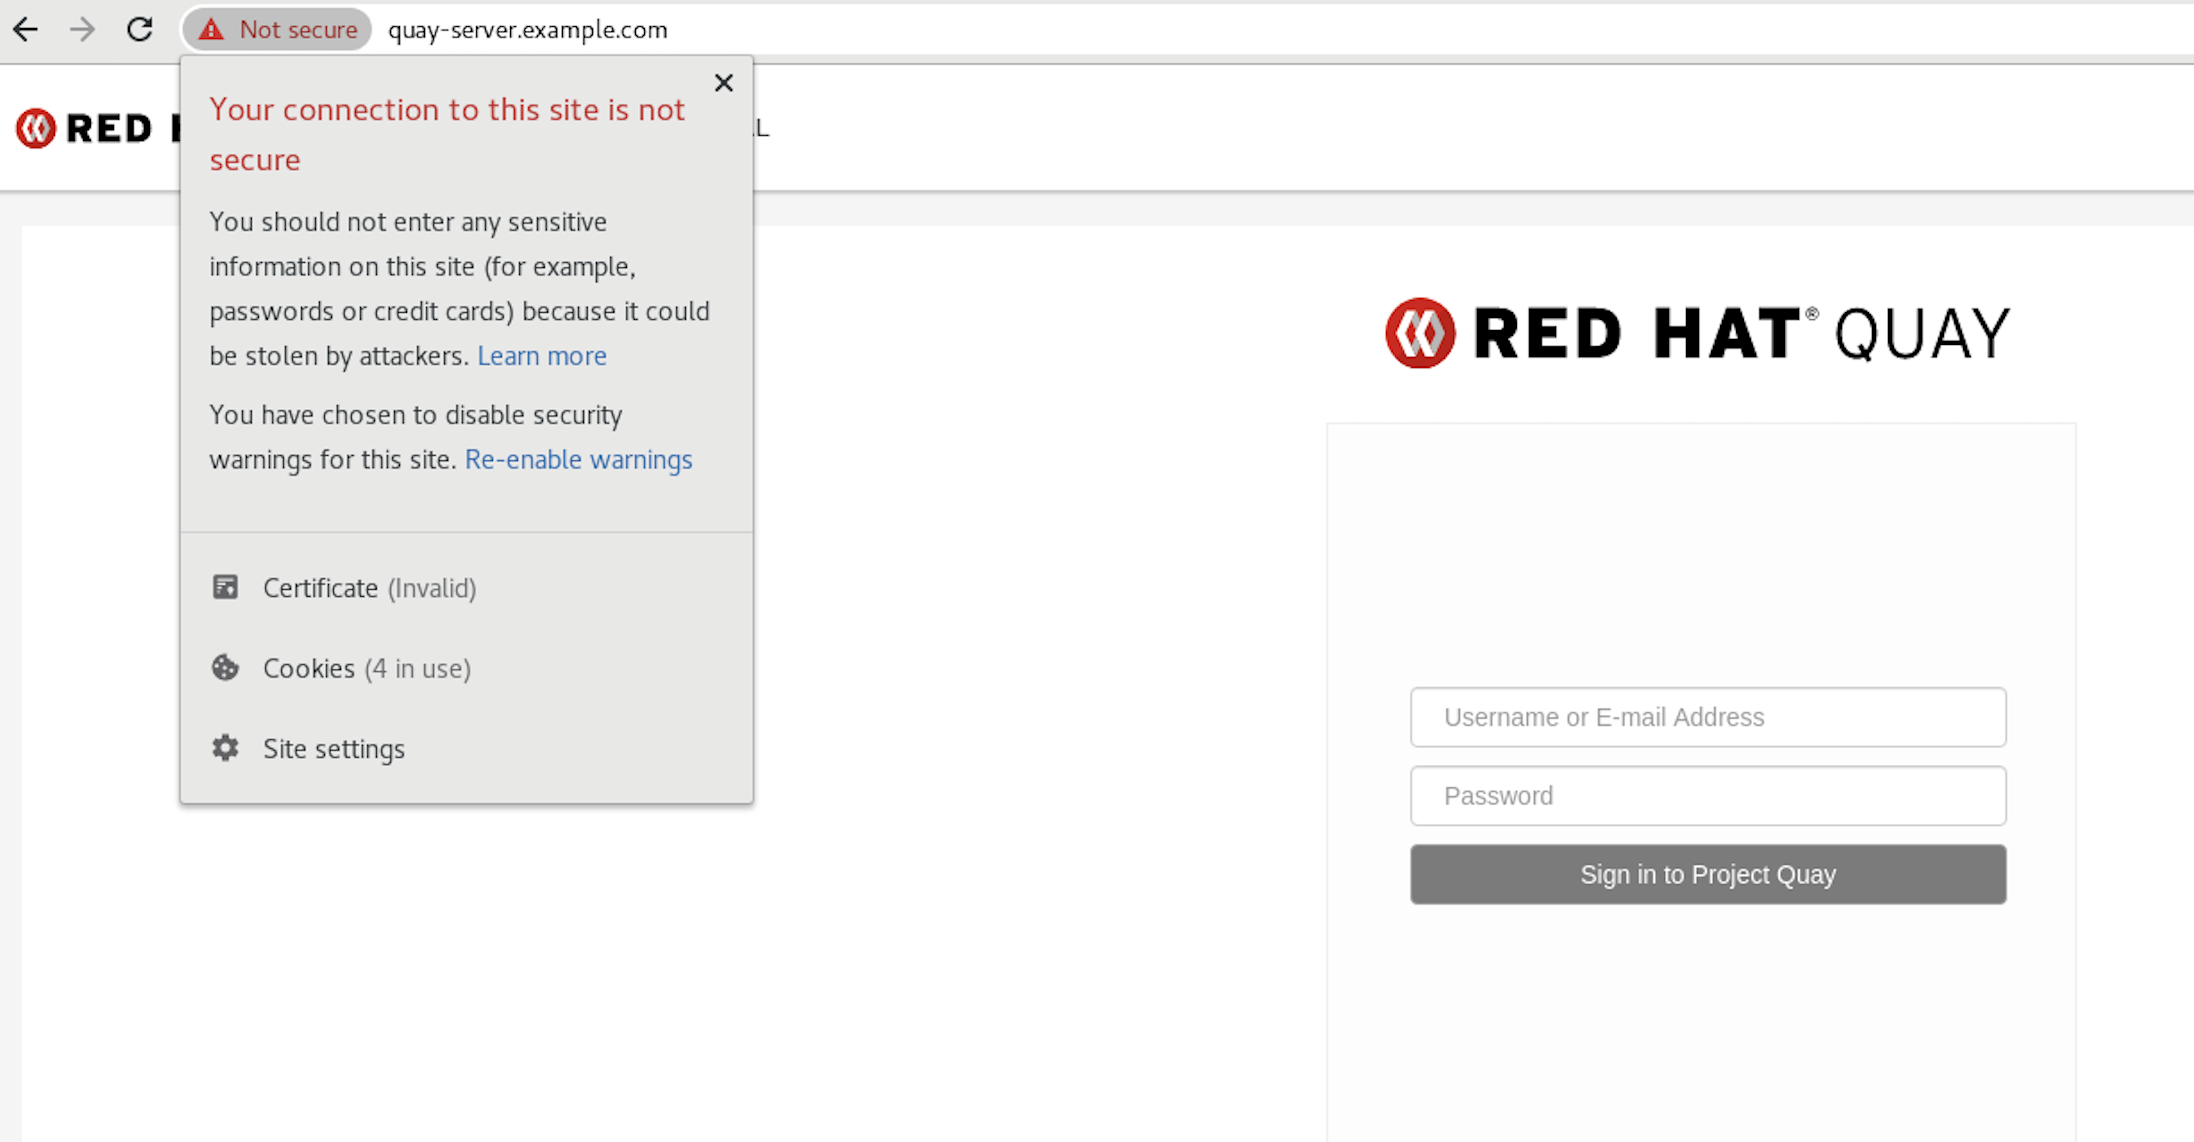
Proceed to the log in screen. The browser notifies you that the connection is not secure. For example:
In the following section, you will configure Podman to trust the root Certificate Authority.
4.7. Configuring Podman to trust the Certificate Authority
Podman uses two paths to locate the Certificate Authority (CA) file: /etc/containers/certs.d/ and /etc/docker/certs.d/. Use the following procedure to configure Podman to trust the CA.
Procedure
Copy the root CA file to one of
/etc/containers/certs.d/or/etc/docker/certs.d/. Use the exact path determined by the server hostname, and name the fileca.crt:$ sudo cp rootCA.pem /etc/containers/certs.d/quay-server.example.com/ca.crtVerify that you no longer need to use the
--tls-verify=falseoption when logging in to your Red Hat Quay registry:$ sudo podman login quay-server.example.comExample output
Login Succeeded!
4.8. Configuring the system to trust the certificate authority
Use the following procedure to configure your system to trust the certificate authority.
Procedure
Enter the following command to copy the
rootCA.pemfile to the consolidated system-wide trust store:$ sudo cp rootCA.pem /etc/pki/ca-trust/source/anchors/Enter the following command to update the system-wide trust store configuration:
$ sudo update-ca-trust extractOptional. You can use the
trust listcommand to ensure that theQuayserver has been configured:$ trust list | grep quay label: quay-server.example.comNow, when you browse to the registry at
https://quay-server.example.com, the lock icon shows that the connection is secure: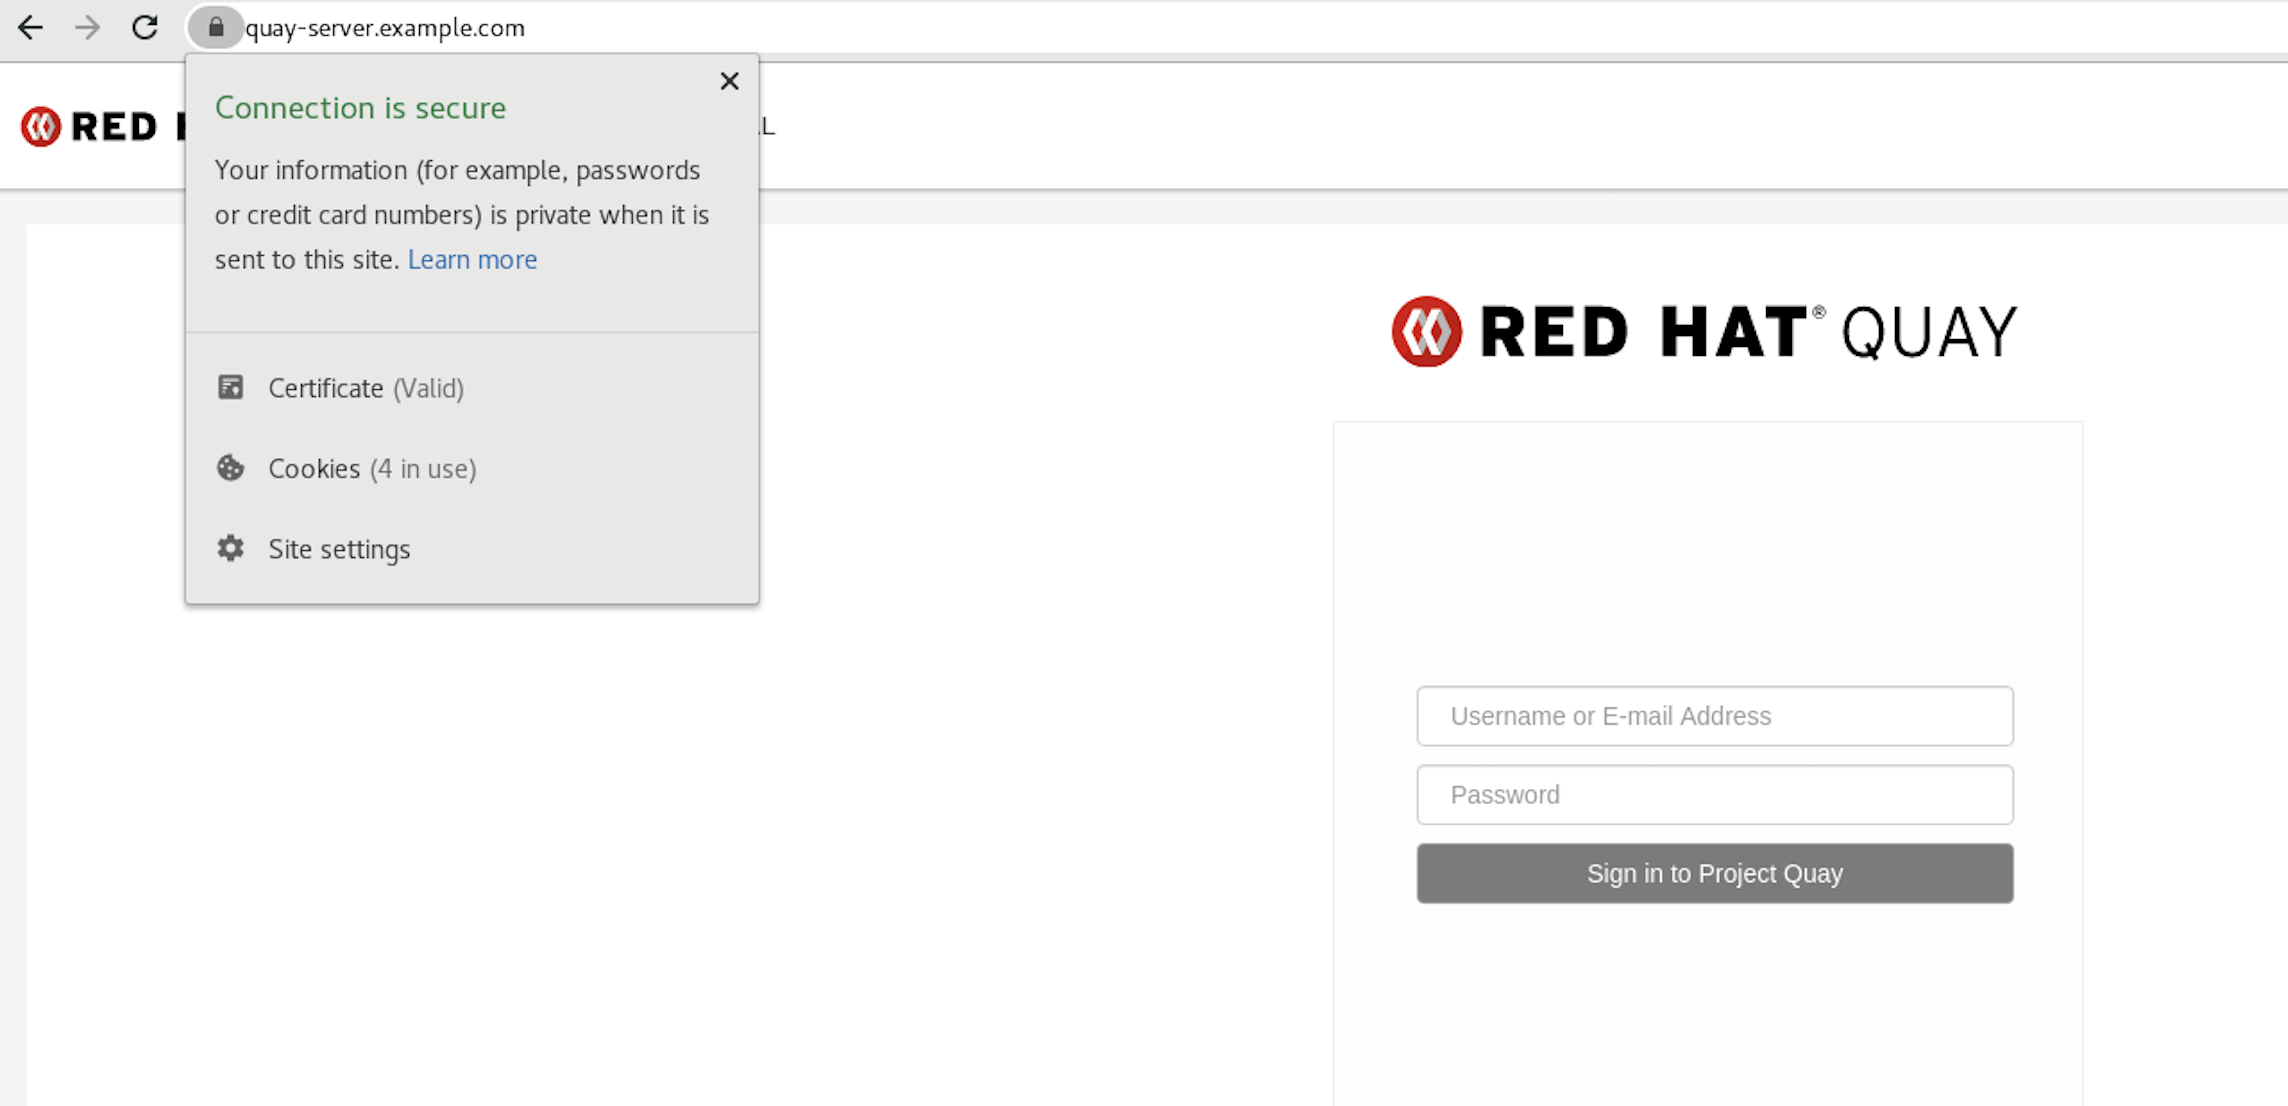
To remove the
rootCA.pemfile from system-wide trust, delete the file and update the configuration:$ sudo rm /etc/pki/ca-trust/source/anchors/rootCA.pem$ sudo update-ca-trust extract$ trust list | grep quay
More information can be found in the RHEL 9 documentation in the chapter Using shared system certificates.