此内容没有您所选择的语言版本。
Chapter 9. Multi-Service Signup
By the end of this section, you’ll be familiar with the procedure to create and customize a multiple-service signup page.
If you’re using the multiple services functionality, you’re able to customize the signup procedure to allow customers to subscribe to different services.
9.1. Prequisites
You should be familiar with layout and page creation procedures as well as with the basics of Liquid formatting tags. You can check our Liquid tags reference here. "Multiple Service" functionality must also be enabled on your account (available for Pro plan and up).
It’s strongly recommend that you read about signup workflows, so you’ll have the whole setup prepared and know how it works.
9.2. Introduction
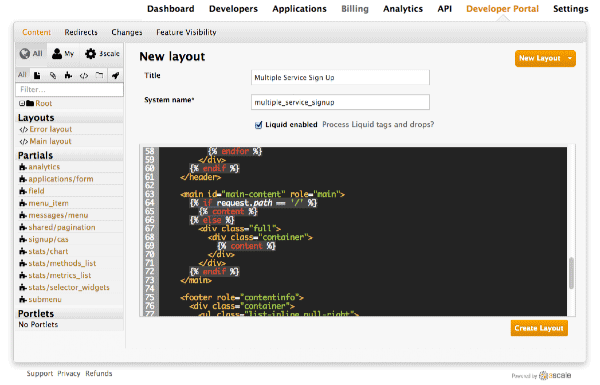
Start the process by creating a new layout, which will serve as the template for your multi-service signup page. Go into the Layouts section of the CMS system, and create the new layout. You can call it multipleservicesignup to be able to easily distinguish it from the other layouts. In the editor, paste the general structure of your standard layout (such as home or main layout). Now delete everything you don’t need – all the containers, sidebars, additional boxes, etc.
Having created the backbone of your layout, proceed to customizing the code for signup.
9.3. Step 1:The loop
In order to retrieve all the information about the services that you need to construct the proper signup link, you have to loop through the service objects. Services are a part of the model object.
{% for service in provider.services %}
  .
  .
  .
{% endfor %}
{% for service in provider.services %}
  .
  .
  .
{% endfor %}9.4. Step 2: Signup columns
You already have your layout and loop accessing the service objects. Now decide how you want to display information about the service and the signup link. For example, divide them into columns with a service description and a signup link at the bottom. Every column will be a div box with a service-column class to contain all the necessary information.
The container inside serves as a custom description field. service.name is the service name, which in this case will be the container’s name.
9.5. Step 3: Subscribe and links
Now the main part of your custom service signup – to create the signup link, extract the signup URL and the service ID. Take the signup URL from URL’s object and the service ID from your service object on which you iterate in the loop. The final link code will look like this:
<a href="{{ urls.signup }}?{{ service | toparam }}">Signup to {{ service.name }}</a>
<a href="{{ urls.signup }}?{{ service | toparam }}">Signup to {{ service.name }}</a>You also have to take into account that the user may already have signed up for some of your services. Create a conditional block to check.
{% unless service.subscribed? %}
  <a href="{{ urls.signup }}?{{ service | toparam }}">Signup to {{ service.name }}</a>
{% endunless %}
{% unless service.subscribed? %}
  <a href="{{ urls.signup }}?{{ service | toparam }}">Signup to {{ service.name }}</a>
{% endunless %}With this, you can generate the final code:
9.6. Step 4: Styling
Add some final touches to the generated markup, depending on the number of services you have. In the case of this example it’s two, so the CSS code for the service-column div will be:
In the example, we’ve used the percentage-based layout to dynamicaly assign the width of the column basic on the containing div’s dimensions.
Now you should have a properly working and good-looking multiple services subscripition page. Congratulations!
If you’d like to display the columns in a specific order, try using conditional expressions (if/else/case) conditioning the service name or another value you know.
