此内容没有您所选择的语言版本。
Chapter 2. Design and develop an API definition with Apicurito
You can use Apicurito to design and develop a REST API definition that complies with the OpenAPI 2.0 specification.
Prerequisites
- You created an OpenShift project.
- You added the Apicurito service to your OpenShift project.
2.1. Creating a REST API definition
The following steps describe how to create an example REST API definition for managing address data (including information such as street, city, state, zipcode, and so on). To implement the address example, you create two paths - one for addresses and one for a specific address. You then define operations to get a list of all addresses, add an address, update an address, get the details of an address, and delete an address.
Apicurito is stateless, meaning that it does not save your work between OpenShift sessions. You need to save the API to your local file system between sessions.
Prerequisites
- You created an OpenShift project.
- You added the Apicurito service to your OpenShift project.
-
You know the endpoints for the API that you want to create. For the Address example, there are two endpoints:
addressesandaddresses{addressId}.
Procedure
- Log in to your OpenShift web console and then open the project that contains Apicurito.
In the list of applications, click the URL for Apicurito, for example https://apicurito-myproject.192.168.64.43.nip.io
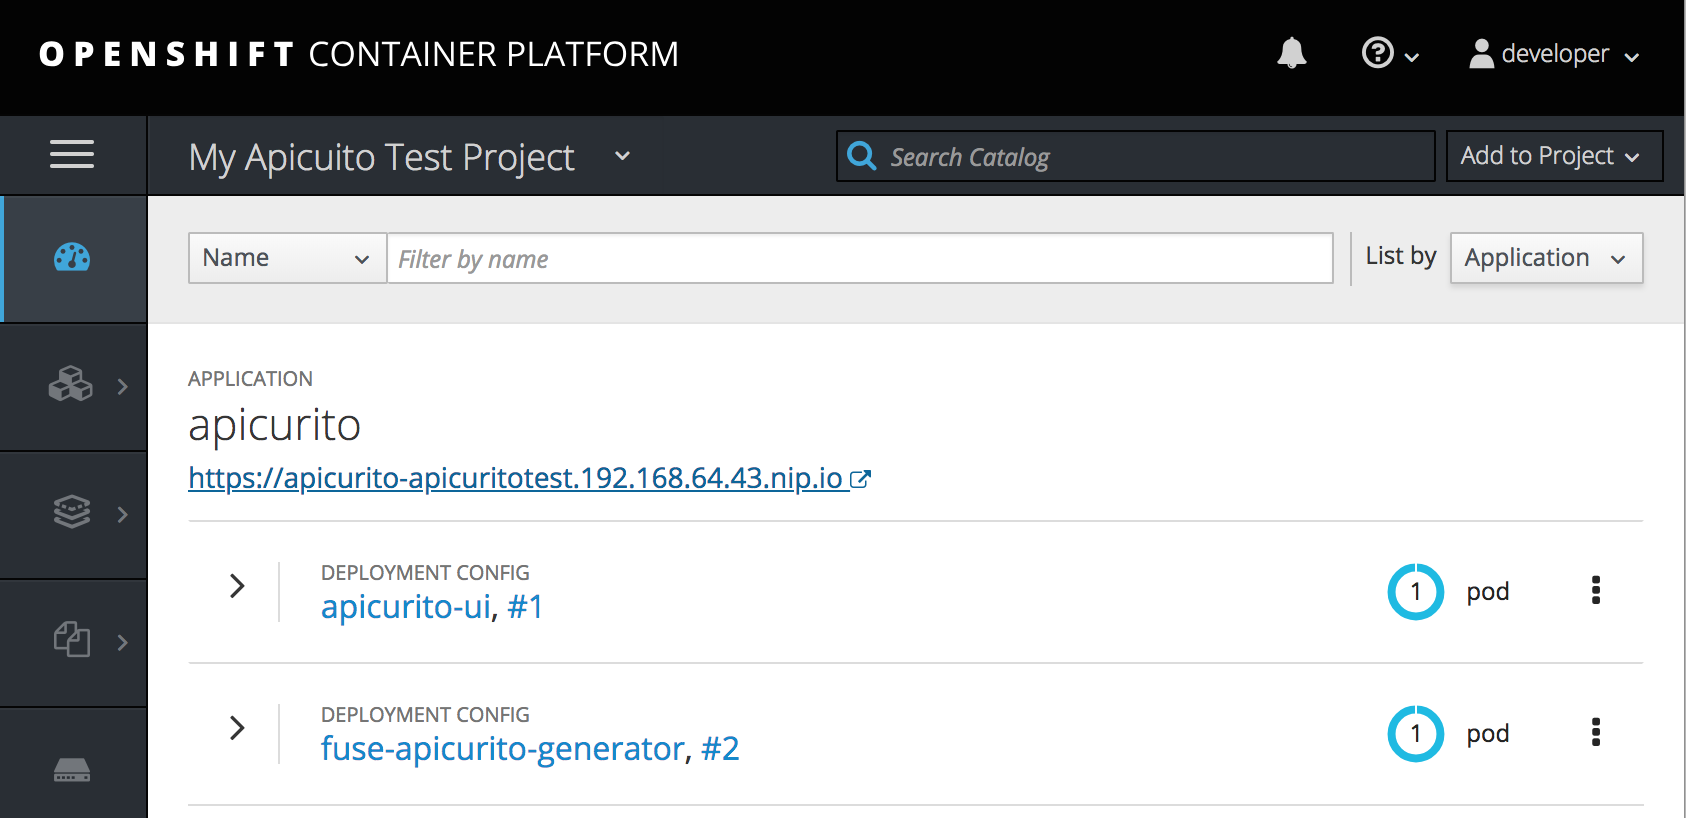
A new browser window or tab opens for Apicurito:
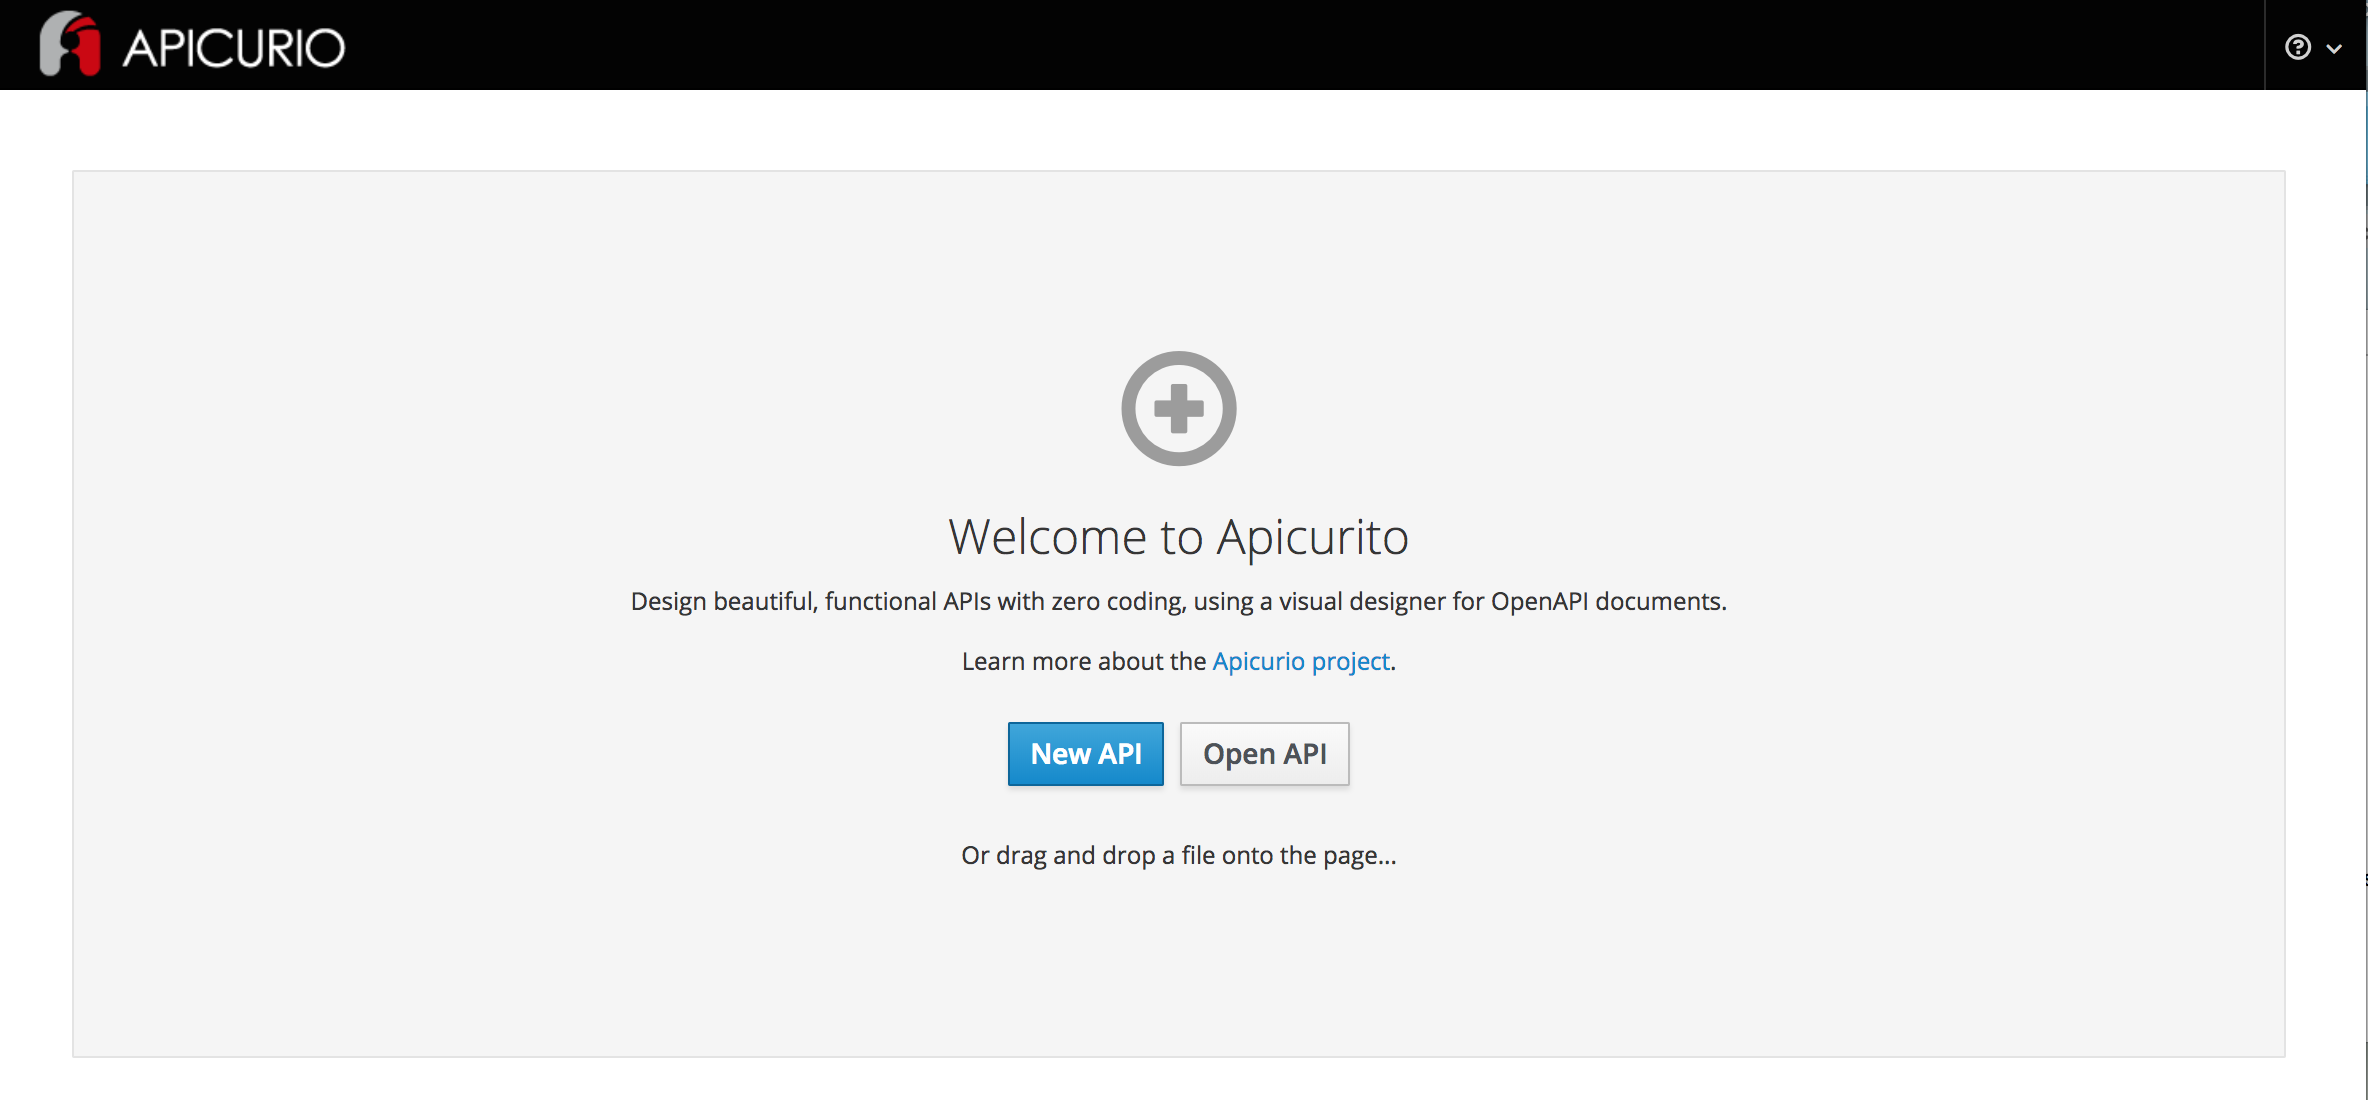 Note
NoteBecause Apicurito is a “light” version of the Apicurio Studio open source project, "Apicurio" shows in the Apicurito interface.
Click New API.
A new API page opens.
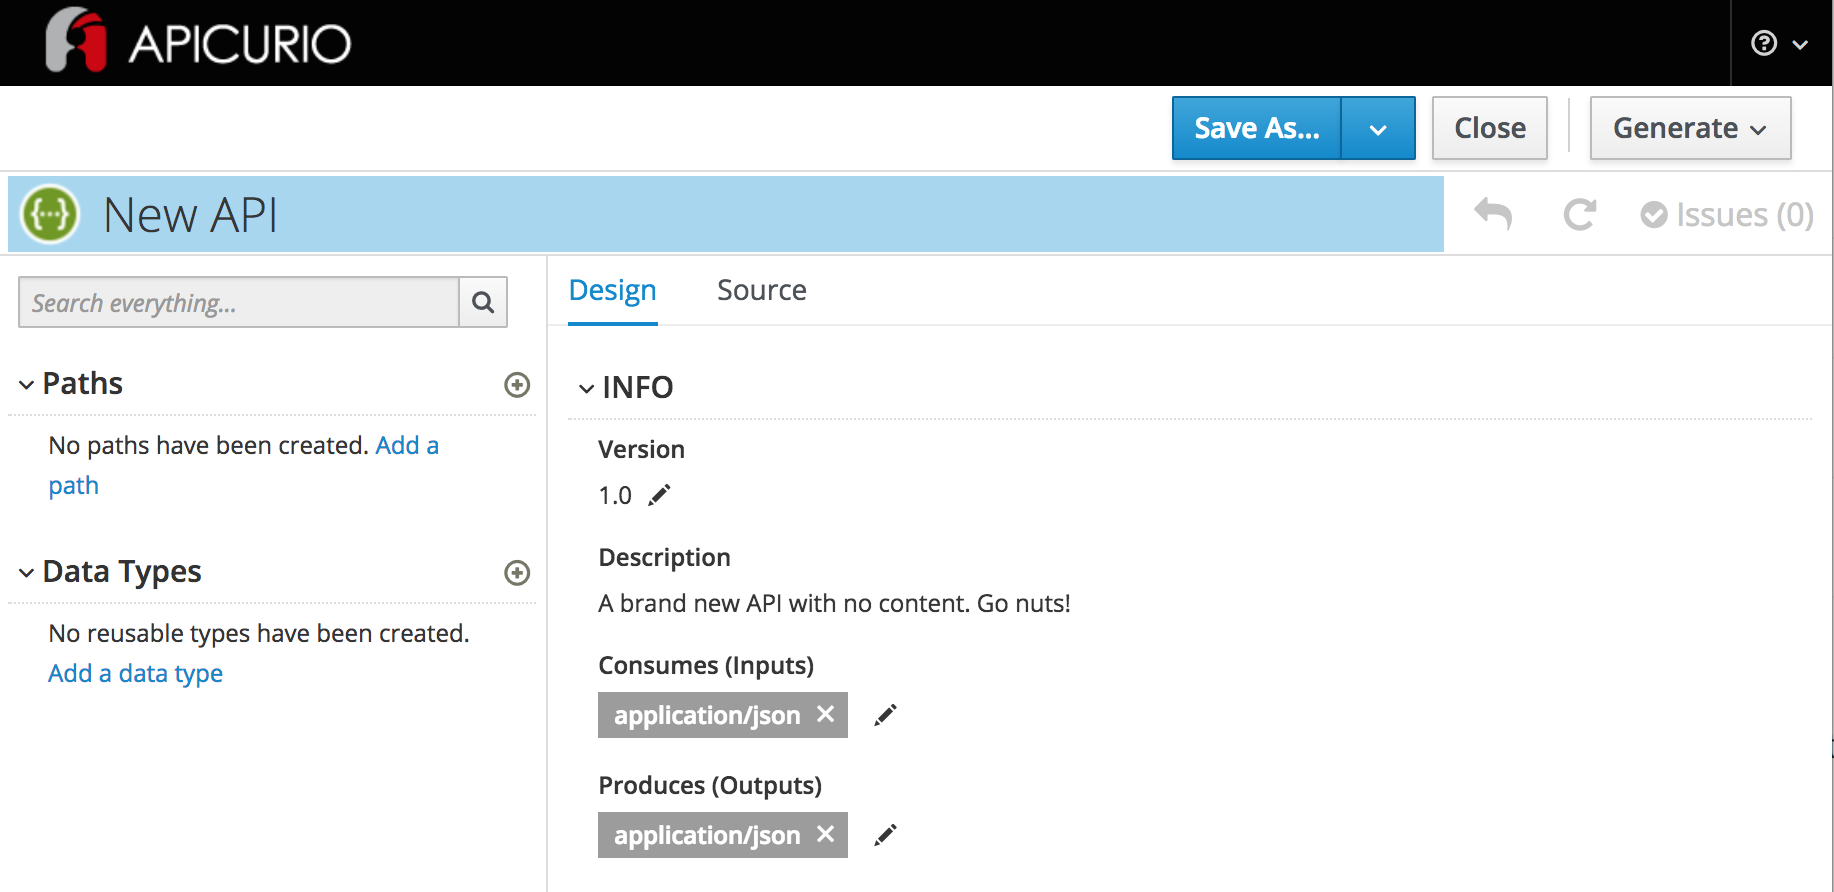
By default, the API name is New API, the version is 1.0, and the input and output types are
application/json.To change the API name:
-
Hover the cursor over the name and then click the edit icon (
 ) that appears.
- Edit the name. For example, type AddressBook API.
- Click Save.
-
Hover the cursor over the name and then click the edit icon (
Optionally:
- Add your contact information (name, email address, and URL).
- Select a license.
- Define tags.
- Select a security scheme.
- Specify security requirements.
Define a relative path to each individual endpoint of the API. The field name must begin with a slash (/).
For the AddressBook API example, create two paths:
-
A path for addresses:
/addresses A path for a specific address by ID:
/addresses/{addressId}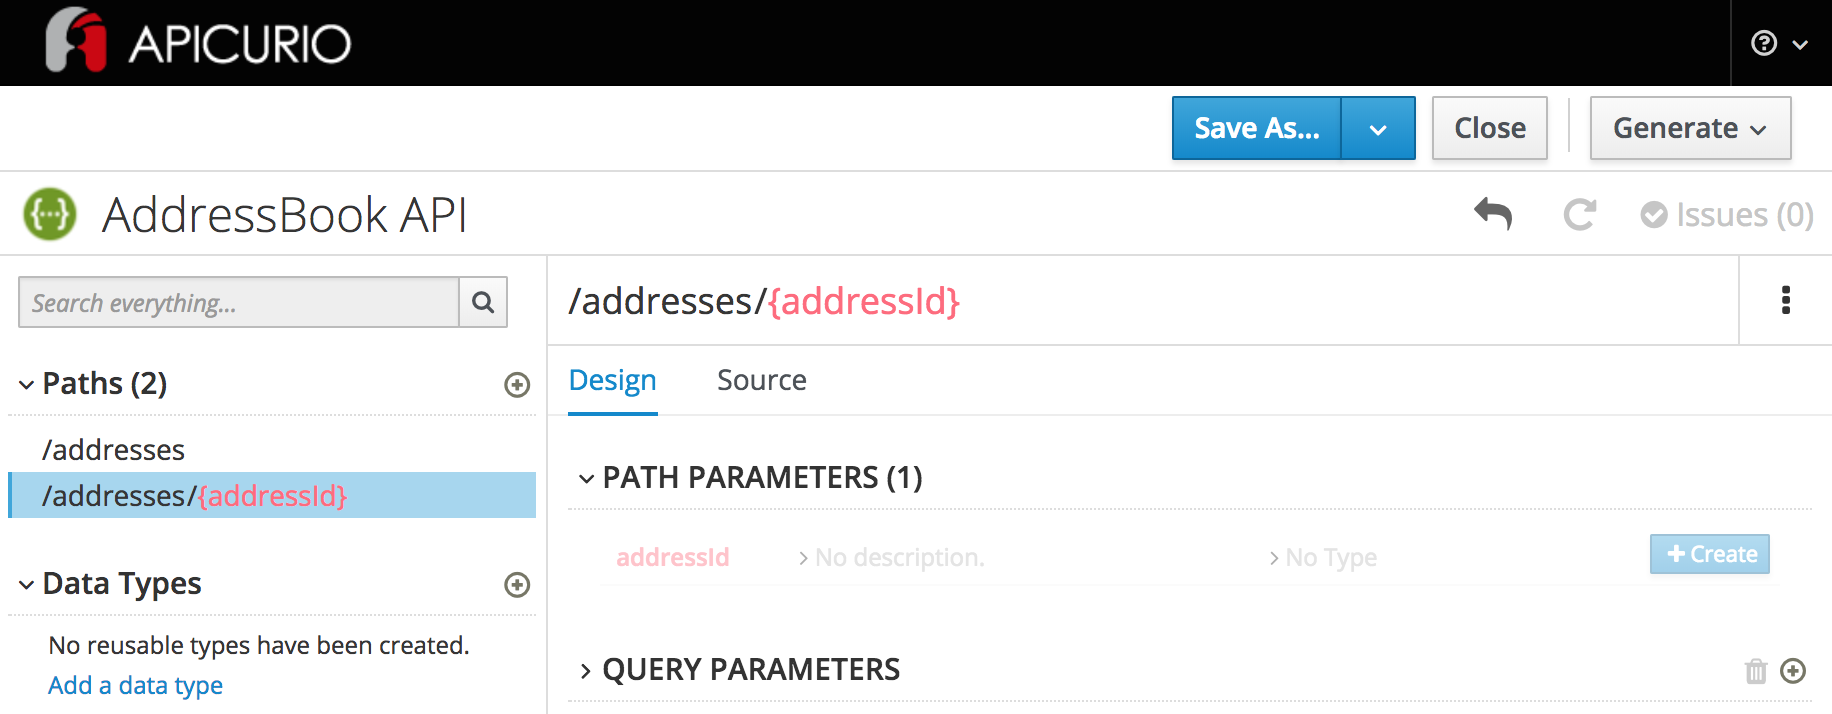
-
A path for addresses:
Specify the type of any path parameters.
For the
addressIDparameter example:In the Paths list, click
/addresses/{addressId}.The addressId parameter appears in the PATH PARAMETERS section.

- Click Create, and then click Edit.
- For the type, select string.
- Accept string for the format, and then click OK.
In the Data Types section, define reusable types for the API.
- Click Add a data type.
- In the Add Data Type dialog, type a name, for example Address.
Optionally, you can provide an example from which Apicurito creates the data type’s schema. You can then edit the generated schema.
For the AddressBook API example, start with the following JSON example:
{
"Id" : "12345",
"City" : "Boston",
"State" : "MA"
}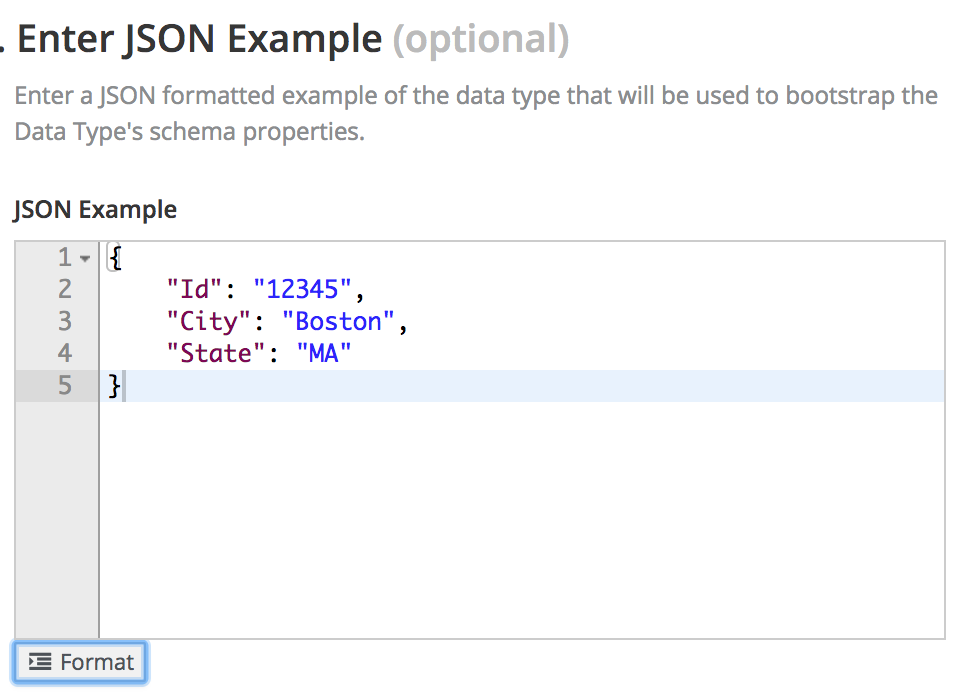
- Optionally, you can choose to create a REST Resource with the data type.
Click Save. If you provided an example, Apicurito generates a schema from the example:

You can add edit the properties and add new ones, for example street, zipcode, and country.
For each path, define operations (GET, PUT, POST, DELETE, OPTIONS, HEAD, and PATCH).
For the AddressBook API example, define the following operations:
/addressespath:- GET - Lists all addresses.
- POST - Adds an address.
/addresses/{addressId}path:- GET - Gets an address.
- PUT - Updates an address.
- DELETE - Deletes an address.
For each operation define a response.
For the AddressBook API example:
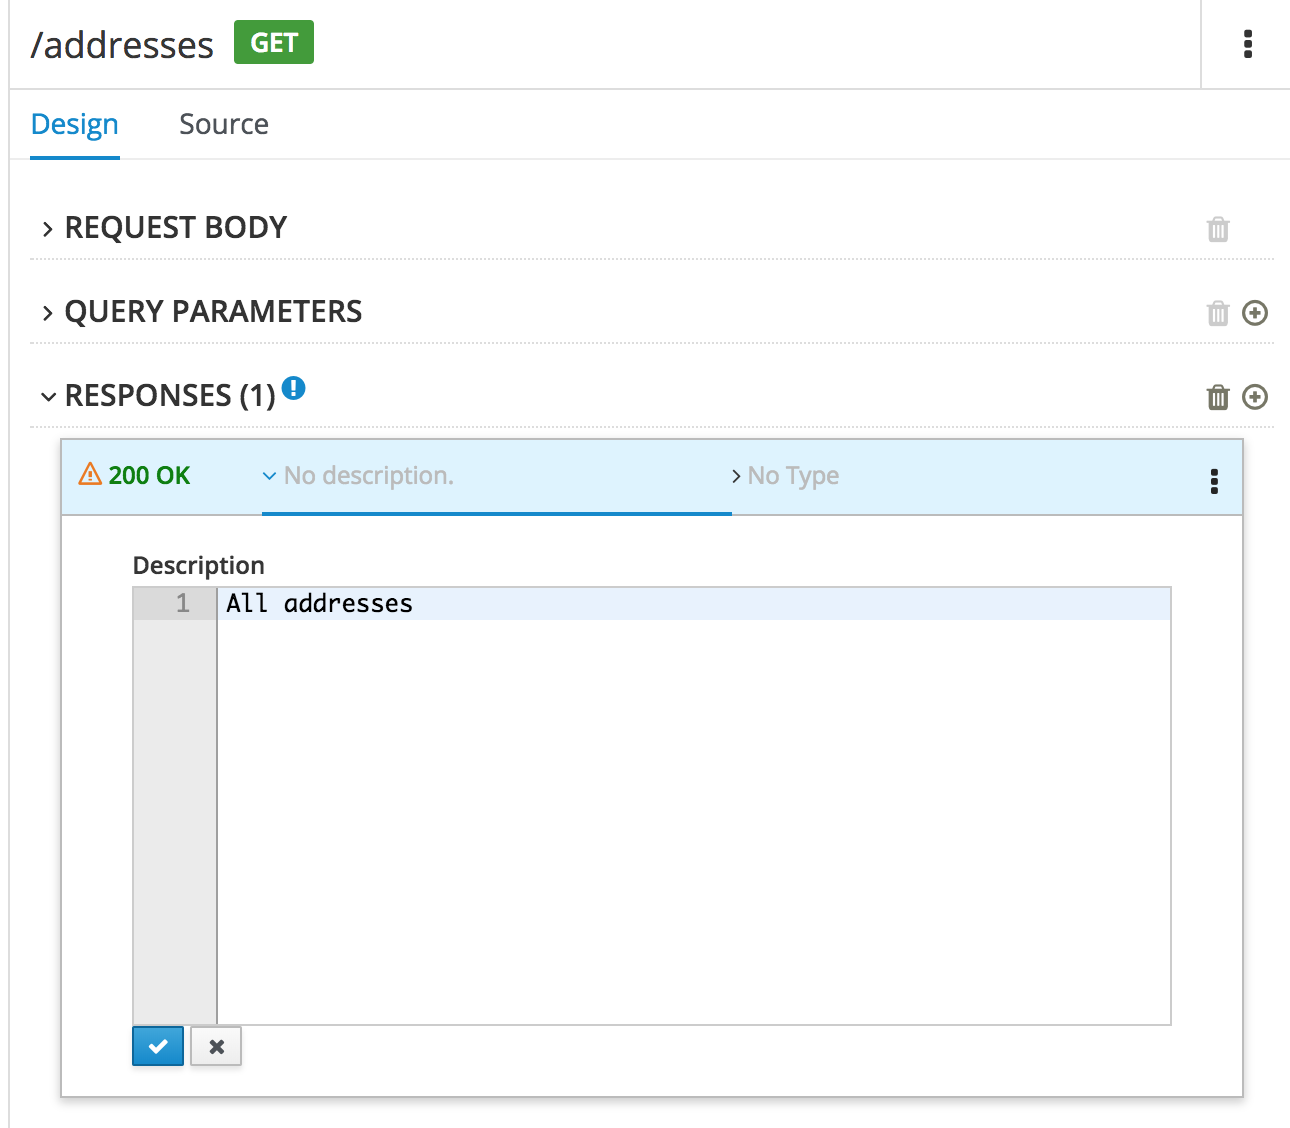
To define a response for the
/addressesGET operation:- Click the green GET button.
- Click Add a response.
- For Response Status Code, select 200 and then click Add.
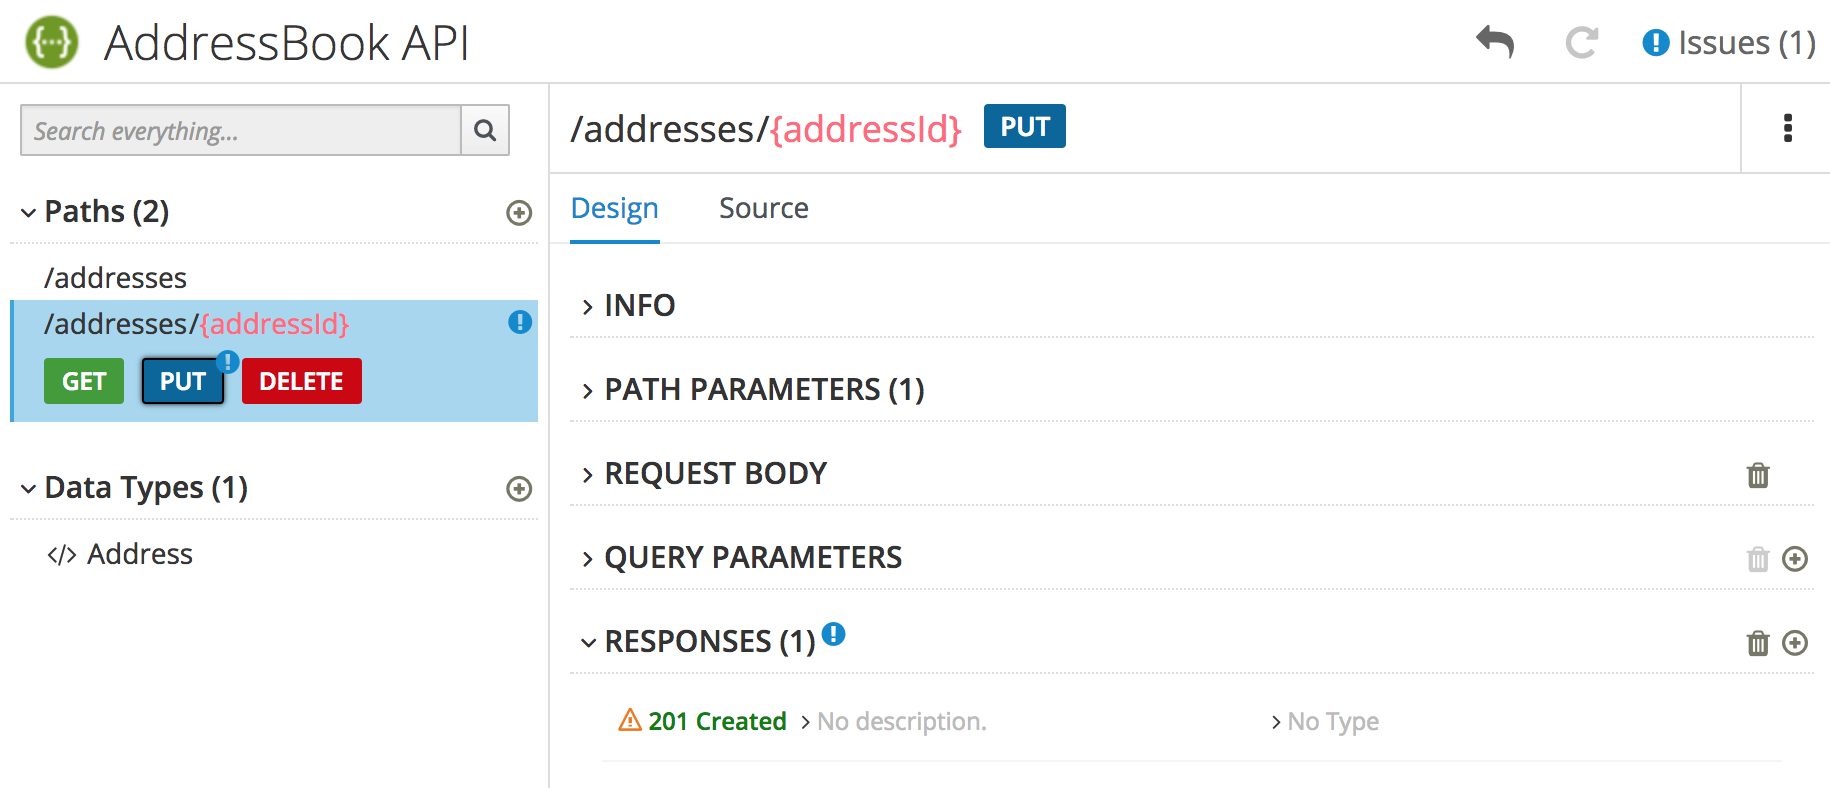
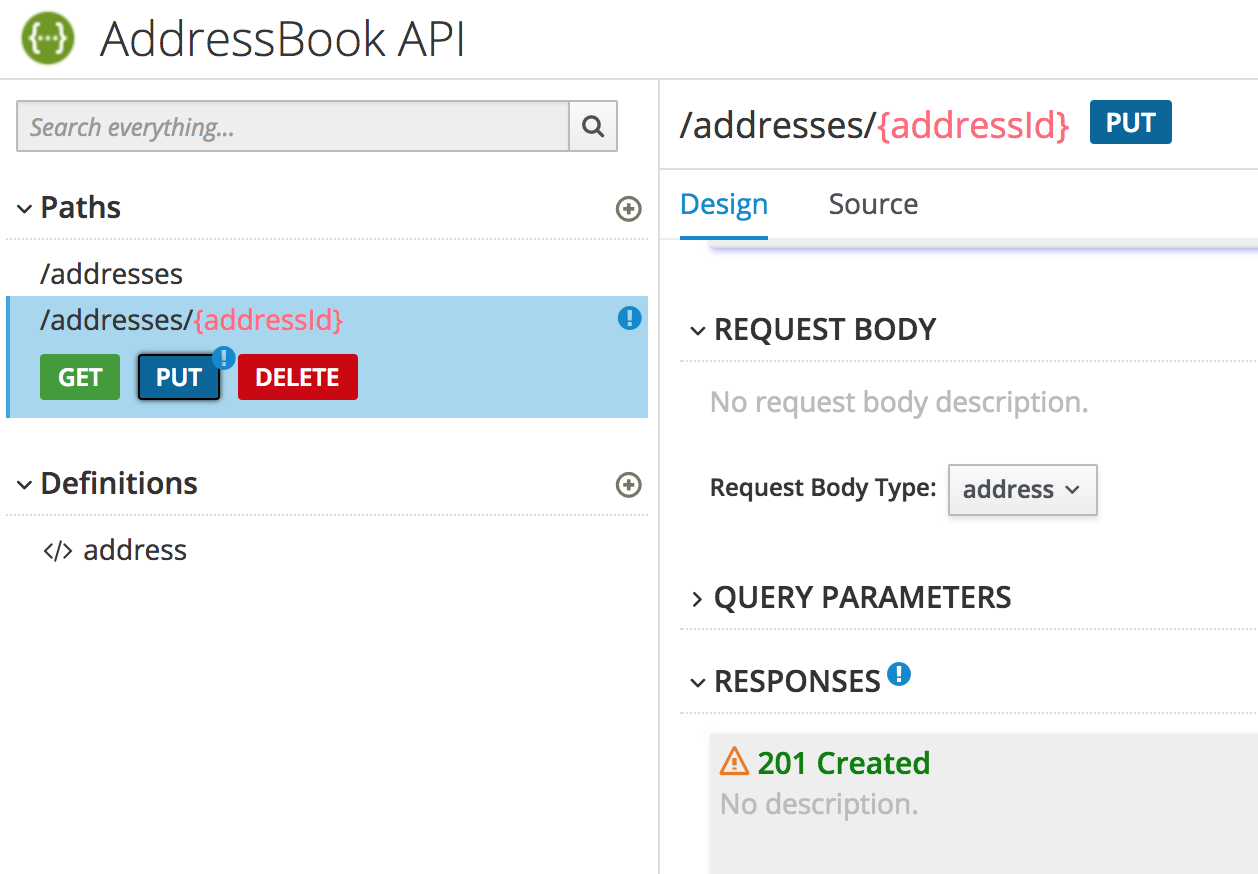
To define a response for the
/addressesPOST operation:- Click the POST button.
- For Request Body Type, select Address.
- For Response, click Add a response.
- For Response Status Code, select 201 Created and then click Add.
For each response, provide a description.
For example:
- Resolve any issues, as described in Section 2.2, “Resolving issues in Apicurito”.
Click Save As
Save as JSON. The JSON file is downloaded to your local download folder. The default filename is
openapi-spec.
Additional resources
- For information about the OpenAPI 2.0 Specification, go to: https://github.com/OAI/OpenAPI-Specification/blob/master/versions/2.0.md
2.2. Resolving issues in Apicurito
When you create and edit an API, Apicurito identifies issues that you must resolve with an exclamation (!) icon.
Prerequisites
- Open an API in Apicurito.
Procedure
Find an issue indicated by an exclamation (!) icon. For example:

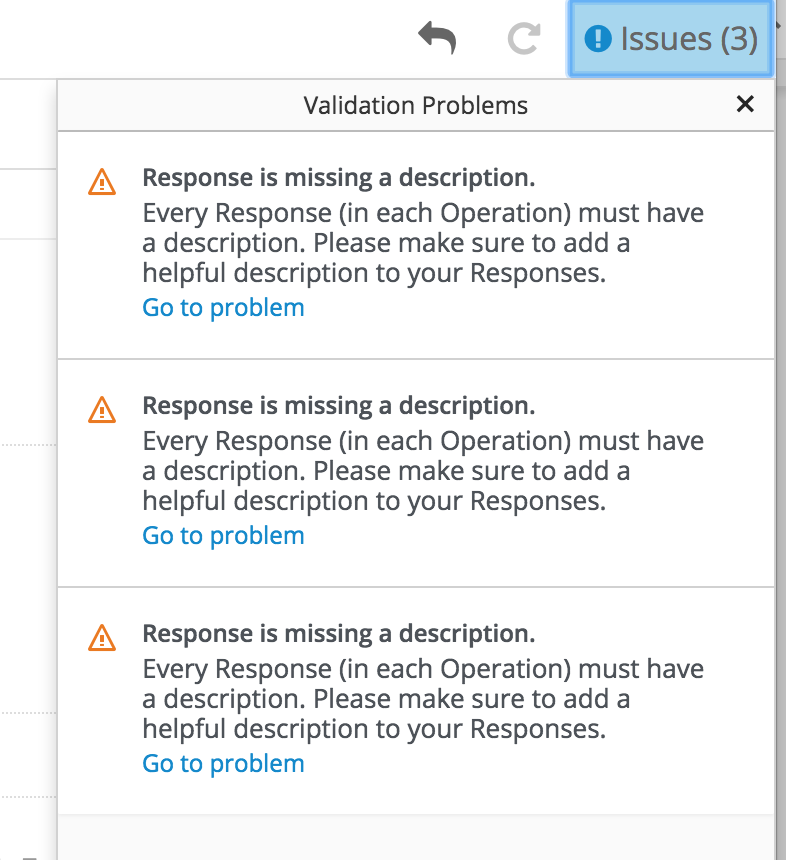
Click the exclamation icon to view a description of the issue. For example:

Based on the information provided by the issue description, navigate to the location of the issue and fix it.
For example, open the PUT operation and then add a description for the response.
After you add a description, the issue is resolved and the exclamation icon disappears:
For a summary of all issues:
Click the Issues link in the upper right corner.

Click Go to a problem for a specific issue to go to the location of the issue so that you can resolve it.