此内容没有您所选择的语言版本。
Chapter 2. Working with tags
Tags provide a way to identify the version of an image, as well as offering a means of naming the same image in different ways. Besides an image’s version, an image tag can identify its uses (such as devel, testing, or prod) or the fact that it is the most recent version (latest).
From the Tags tab of an image repository, you can view, modify, add, move, delete, and see the history of tags. You also can fetch command-lines you can use to download (pull) a specific image (based on its name and tag) using different commands.
2.1. Viewing and modifying tags
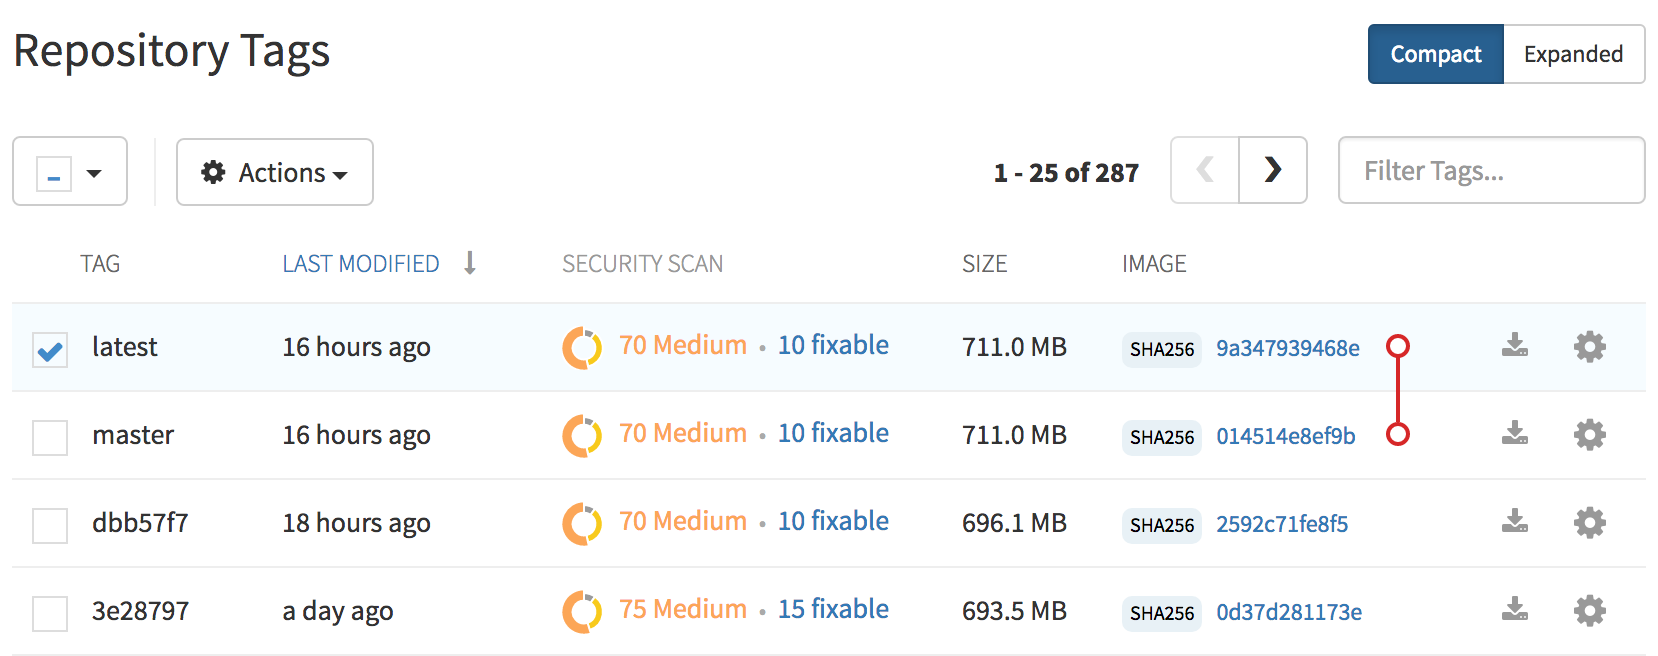
The tags of a repository can be viewed and modified in the tags panel of the repository page, found by clicking on the Tags tab.
2.1.1. Adding a new tag to a tagged image
A new tag can be added to a tagged image by clicking on the gear icon next to the tag and choosing Add New Tag. Quay.io will confirm the addition of the new tag to the image.
2.1.2. Moving a tag
Moving a tag to a different image is accomplished by performing the same operation as adding a new tag, but giving an existing tag name. Quay.io will confirm that you want the tag moved, rather than added.
2.1.3. Deleting a tag
A specific tag and all its images can be deleted by clicking on the tag’s gear icon and choosing Delete Tag. This will delete the tag and any images unique to it. Images will not be deleted until no tag references them either directly or indirectly through a parent child relationship.
2.1.4. Viewing tag history and going back in time
2.1.4.1. Viewing tag history
To view the image history for a tag, click on the View Tags History menu item located under the Actions menu. The page shown will display each image to which the tag pointed in the past and when it pointed to that image.
2.1.4.2. Going back in time
To revert the tag to a previous image, find the history line where your desired image was overwritten, and click on the Restore link.
2.1.5. Fetching an image by tag or digest
From the Tags tab, you can view different ways of pulling images from the clients that are ready to use those images.
- Select a particular repository/image
- Select Tags in the left column
- Select the Fetch Tag icon for a particular image/tag combination
- When the Fetch Tag pop-up appears, select the Image format box to see a drop-down menu that shows different ways that are available to pull the image. The selections offer full command lines for pulling a specific container image to the local system:

You can select to pull a regular of an image by tag name or by digest name using the docker command. You can pull a squashed version of the image with docker by selecting Squashed Docker Image. There is also an example for pulling the image using the rkt command. . Choose the type of pull you want, then select Copy Command. The full command-line is copied into your clipboard. These two commands show a docker pull by tag and by digest:
docker pull quay.io/cnegus/whatever:latest
docker pull quay.io/cnegus/whatever@sha256:e02231a6aa8ba7f5da3859a359f99d77e371cb47e643ce78e101958782581fb9
docker pull quay.io/cnegus/whatever:latest
docker pull quay.io/cnegus/whatever@sha256:e02231a6aa8ba7f5da3859a359f99d77e371cb47e643ce78e101958782581fb9Paste the command into a command-line shell on a system that has the docker command and service available, and press Enter. At this point, the container image is ready to run on your local system.
On most Red Hat systems, you can substitute podman for docker to pull and run the selected image.
2.2. Security scanning
By clicking the on the vulnerability or fixable count next to a tab you can jump into the security scanning information for that tag. There you can find which CVEs your image is susceptible to, and what remediation options you may have available.