此内容没有您所选择的语言版本。
12.2. Satellite Server Preparation/Configuration
You must configure the Satellite to support UNIX clients before the required files are available for deployment to the client systems. This can be accomplished in one of two ways, depending on whether you have yet installed your Satellite server:
- During the Satellite installation:Enable UNIX support on the Satellite by checking the "Enable Solaris Support" box during the installation process, as pictured:
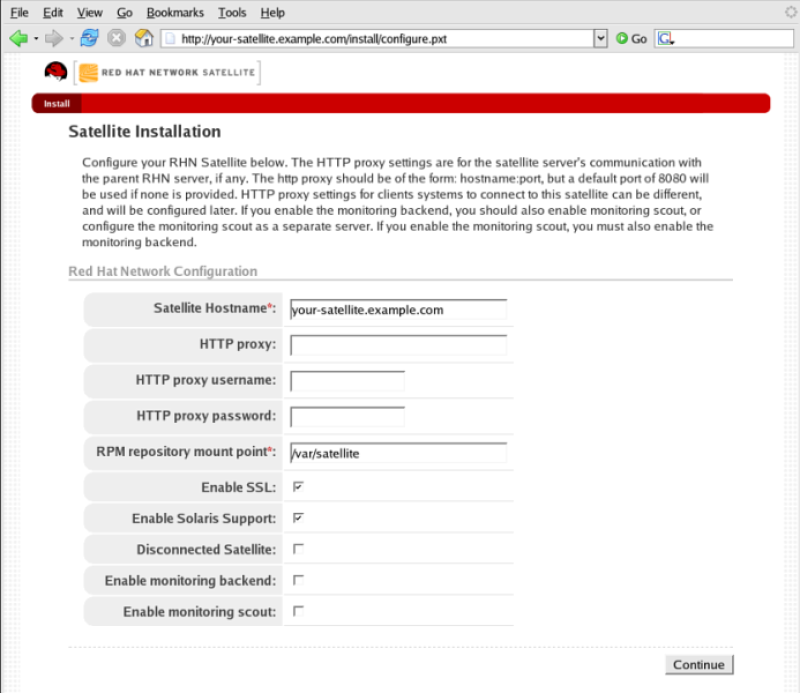
Figure 12.1. Enabling UNIX Support During Satellite Installation
- After the Satellite has been installed:Enable UNIX support by configuring the Satellite after it has been installed. To do so, select in the top menubar, then select in the left navigation bar. In the screen that follows, check the Enable Solaris Support box, as pictured:
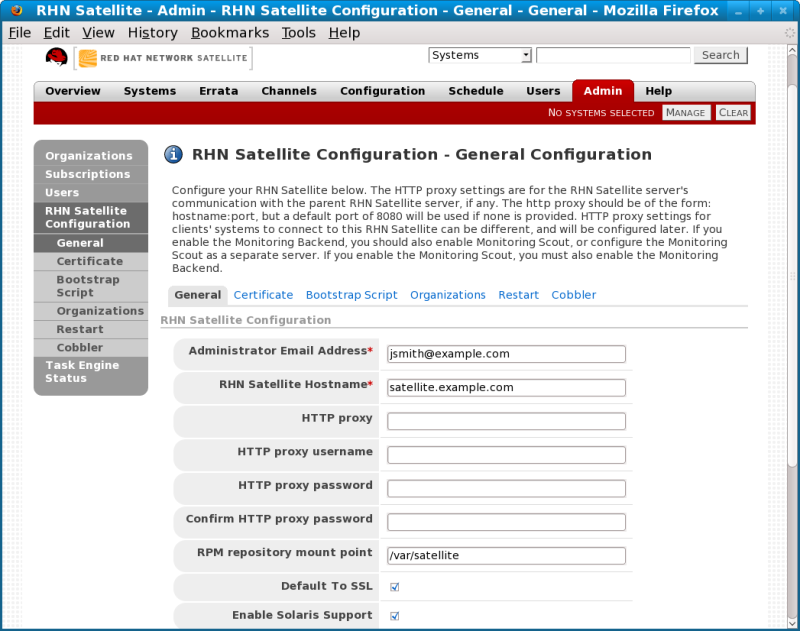
Figure 12.2. Enabling UNIX Support After Satellite Installation
Click the button to confirm the change. - Finally, you must create a base channel to which your client systems may subscribe. This is because RHN does not provide UNIX content; as a result, you cannot use
satellite-syncto create the channel.To create a Solaris channel, login to the web interface of the Satellite as either an Satellite Administrator or a certificate authority. Navigate to the Channel tab, followed by the Manage Software Channels from the left navigation bar. Click the create new channel link in the upper right of the resulting screen. Provide a name and label for your new channel, and select either Sparc Solaris or i386 Solaris as the architecture, depending on the architecture of your client.