此内容没有您所选择的语言版本。
9.2. Set-up a Directory Server and Console
Overview
This stage of the tutorial explains how to install the X.500 directory server and the management console from the Fedora 389 Directory Server project. If you already have access to a 389 Directory Server instance, you can skip the instructions for installing the 389 Directory Server and install the 389 Management Console instead.
Prerequisites
If you are installing on a Red Hat Enterprise Linux platform, you must first install the Extra Packages for Enterprise Linux (EPEL). See the installation notes under RHEL/Cent OS/ EPEL ( RHEL 6, RHEL 7, Cent OS 6, Cent OSý7) on the
fedoraproject.org site.
Install 389 Directory Server
If you do not have access to an existing 389 Directory Server instance, you can install 389 Directory Server on your local machine, as follows:
- On Red Hat Enterprise Linux and Fedora platforms, use the standard
yumpackage management utility to install 389 Directory Server. Enter the following command at a command prompt (you must have administrator privileges on your machine):sudo yum install 389-ds
NoteThe required389-dsand389-consoleRPM packages are available for Fedora, RHEL6+EPEL, and CentOS7+EPEL platforms. At the time of writing, the389-consolepackage is not yet available for RHEL 7. - After installing the 389 directory server packages, enter the following command to configure the directory server:
sudo setup-ds-admin.pl
The script is interactive and prompts you to provide the basic configuration settings for the 389 directory server. When the script is complete, it automatically launches the 389 directory server in the background. - For more details about how to install 389 Directory Server, see the Download page.
Install 389 Management Console
If you already have access to a 389 Directory Server instance, you only need to install the 389 Management Console, which enables you to log in and manage the server remotely. You can install the 389 Management Console, as follows:
- On Red Hat Enterprise Linux and Fedora platforms—use the standard
yumpackage management utility to install the 389 Management Console. Enter the following command at a command prompt (you must have administrator privileges on your machine):sudo yum install 389-console
Connect the console to the server
To connect the 389 Directory Server Console to the LDAP server:
- Enter the following command to start up the 389 Management Console:
389-console
- A login dialog appears. Fill in the LDAP login credentials in the User ID and Password fields, and customize the hostname in the Administration URL field to connect to your 389 management server instance (port
9830is the default port for the 389 management server instance).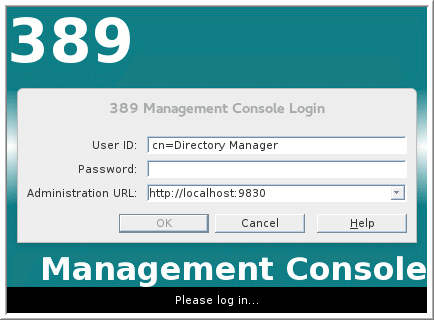
- The 389 Management Console window appears. Select the Servers and Applications tab.
- In the left-hand pane, drill down to the Directory Server icon.
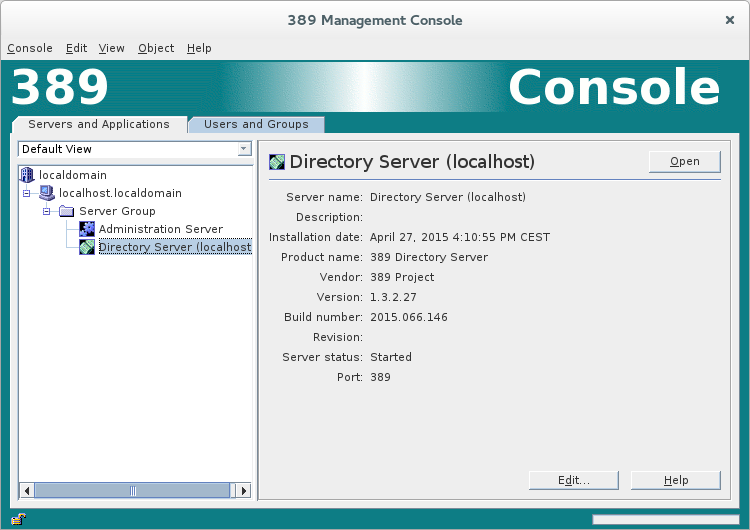
- Select the Directory Server icon in the left-hand pane and click Open, to open the 389 Directory Server Console.
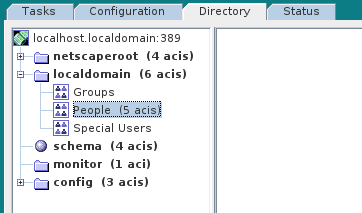
- In the 389 Directory Server Console, click the Directory tab, to view the Directory Information Tree (DIT).
- Expand the root node,
YourDomain(usually named after a hostname, and shown aslocaldomainin the following screenshot), to view the DIT.