Dieser Inhalt ist in der von Ihnen ausgewählten Sprache nicht verfügbar.
2.2. Installing Client Tools
2.2.1. Installing on Windows
Link kopierenLink in die Zwischenablage kopiert!
This section describes how to install the OpenShift Enterprise client tools on Windows operating systems. Instructions are also provided to install the necessary software that is required before the client tools can be installed.
Supported Windows Operating Systems
- Windows 7
- Windows Vista
- Windows XP
- Windows 2000
2.2.1.1. Prerequisites
Link kopierenLink in die Zwischenablage kopiert!
Sufficient privileges are required to install software on Windows systems. Depending on specific user permissions, disabling the User Account Control (UAC) on Windows Vista or Windows 7 operating systems may be necessary.
2.2.1.2. Installing Required Software
Link kopierenLink in die Zwischenablage kopiert!
Before installing the OpenShift Enterprise client tools on Windows operating systems, you must download and install the following software:
- RubyInstaller
Git: software version control system.
Instructions to install the required software are provided in the subsequent sections.
2.2.1.2.1. Installing RubyInstaller
Link kopierenLink in die Zwischenablage kopiert!
Follow the instructions below to install RubyInstaller for Windows.
- From rubyinstaller.org, download and save the latest RubyInstaller package for Windows to your desired directory.
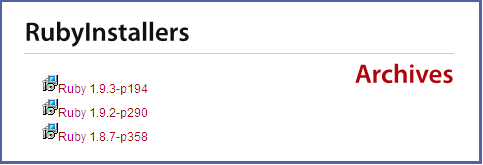
Figure 2.1. Select RubyInstaller Package
- Double-click the executable RubyInstaller file downloaded in the previos step to launch the RubyInstaller installation wizard. Accept the Ruby License Agreement and click Next.
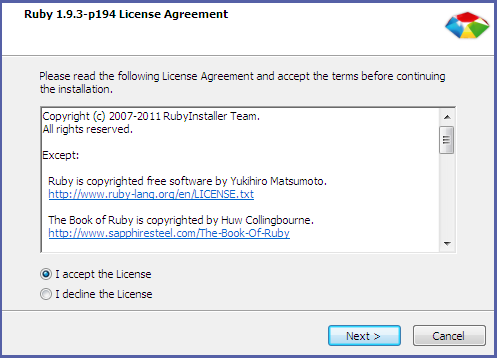
Figure 2.2. Accept License Agreement
- Select the Add Ruby executables to your PATH check box, and click Install to begin the installation.
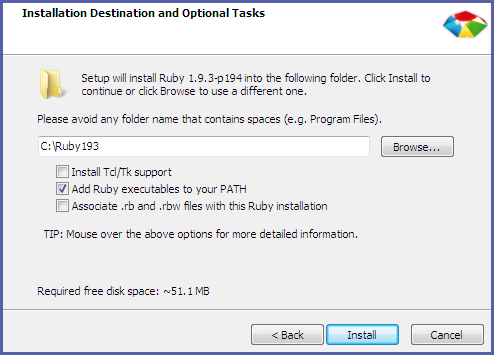
Figure 2.3. Select PATH
- Click Finish when the install completes.
2.2.1.2.2. Installing Git Version Control
Link kopierenLink in die Zwischenablage kopiert!
After installing RubyInstaller, follow the instructions below to install Git version control for Windows.
- From http://msysgit.github.com/, download and save the latest version of Git for Windows to your desired directory.
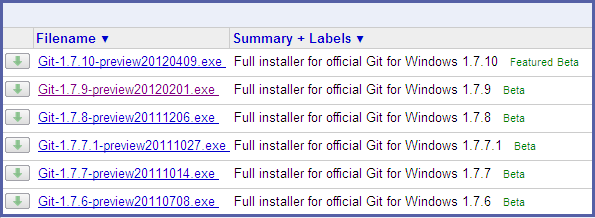
Figure 2.4. Select Git Package
- Double-click the executable Git file downloaded in the previous step to launch the Git installation wizard. Click Next until you are prompted to adjust the PATH environment.
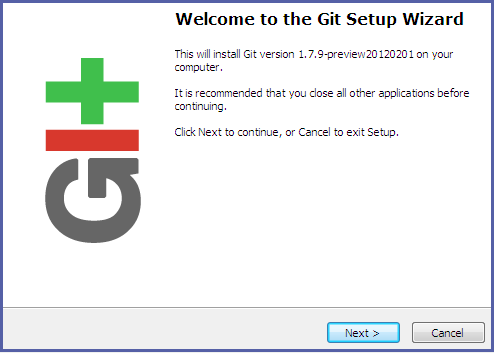
Figure 2.5. Git Setup Wizard
- Select the Run Git and included UNIX tools from the Windows Command Prompt check box and click Next. This is so that you can use the default Windows command prompt for Git and SSH operations.
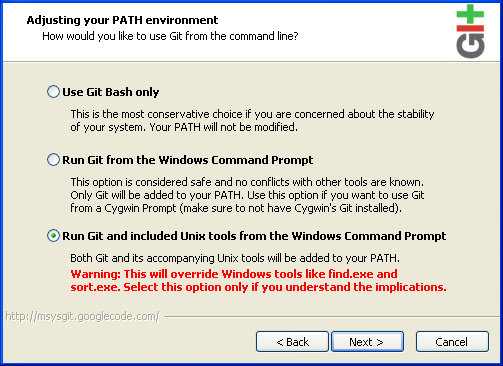
Figure 2.6. Select Git PATH
- Select the Checkout Windows-style, commit Unix-style line endings check box, and click Next.
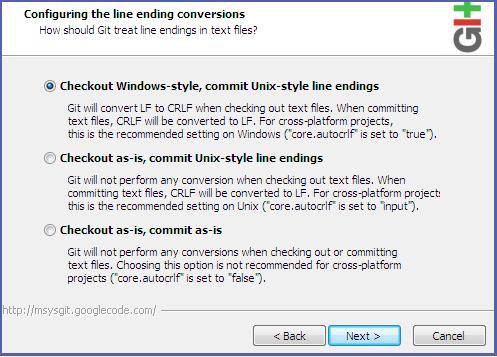
Figure 2.7. Select Line Ending
- Click Finish when the install completes.
2.2.1.3. Installing Client Tools
Link kopierenLink in die Zwischenablage kopiert!
When
RubyInstaller and Git have been successfully installed, use the following instructions to install the client tools.
- Open Windows Command Prompt.
- Click
Start, typecmdin the Start Search text box, and then clickcmd.
- Run the following command to install the client tools:
$ gem install rhcWhen the installation completes, proceed to Section 2.3, “Configuring Client Tools” to configure the client tools using the interactive setup wizard.