8.9. Configure a Network Team Using the Text User Interface, nmtui
~]$ nmtui
The text user interface appears. Any invalid command prints a usage message.
- From the starting menu, select Edit a connection. Select Add, the New Connection screen opens.
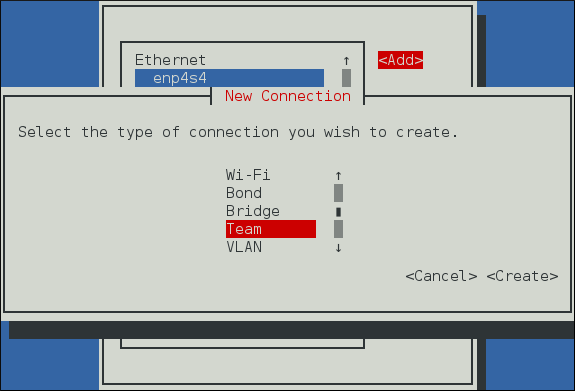
Figure 8.1. The NetworkManager Text User Interface Add a Team Connection menu
- Select Team, the Edit connection screen opens.
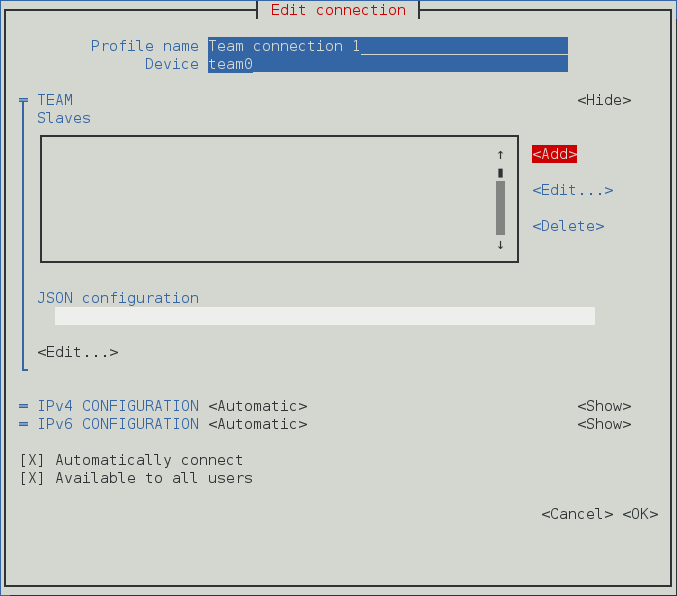
Figure 8.2. The NetworkManager Text User Interface Configuring a Team Connection menu
- To add port interfaces to the team select Add, the New Connection screen opens. Once the type of Connection has been chosen select the Create button to cause the team's Edit Connection display to appear.
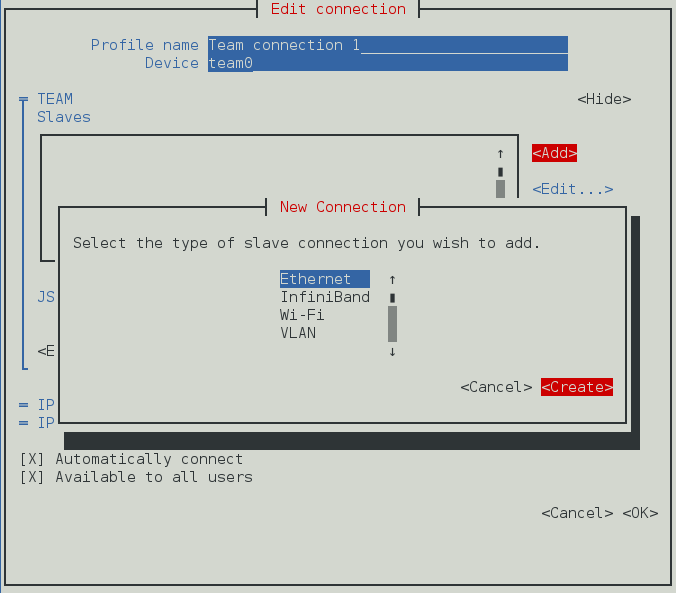
Figure 8.3. The NetworkManager Text User Interface Configuring a new Team Port Interface Connection menu
- Enter the required port's device name or MAC address in the Device section. If required, enter a clone MAC address to be used as the team's MAC address by selecting Show to the right of the Ethernet label. Select the OK button.
Note
If the device is specified without a MAC address the Device section will be automatically populated once the Edit Connection window is reloaded, but only if it successfully finds the device.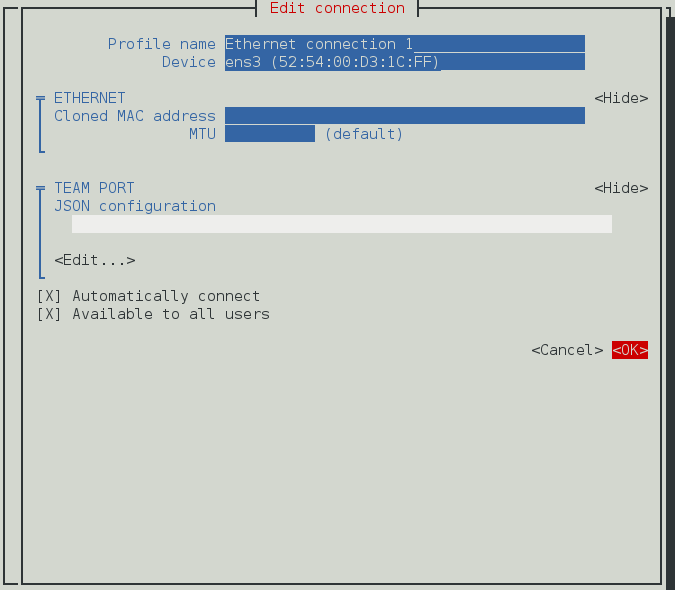
Figure 8.4. The NetworkManager Text User Interface Configuring a Team's Port Interface Connection menu
- The name of the teamed port appears in the Slaves section. Repeat the above steps to add further port connections.
- If custom port settings are to be applied select the Edit button under the JSON configuration section. This will launch a vim console where changes may be applied. Once finished write the changes from vim and then confirm that the displayed JSON string under JSON configuration matches what is intended.
- Review and confirm the settings before selecting the OK button.
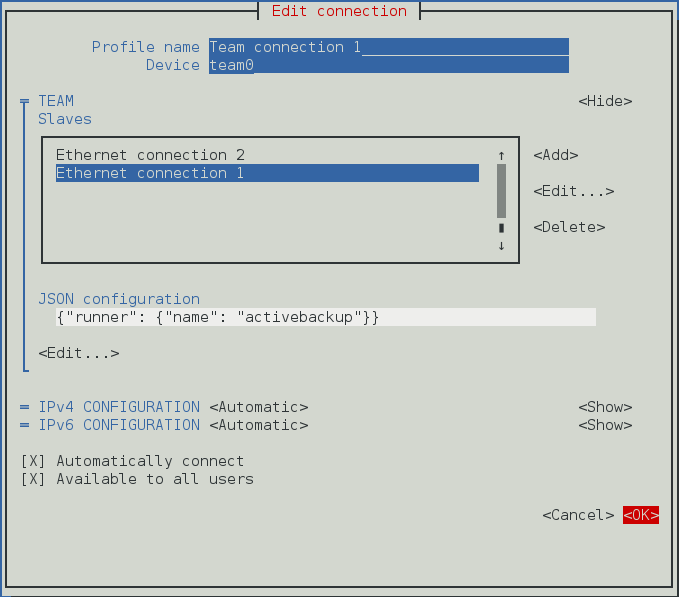
Figure 8.5. The NetworkManager Text User Interface Configuring a Team Connection menu