Fuse 6 is no longer supported
As of February 2025, Red Hat Fuse 6 is no longer supported. If you are using Fuse 6, please upgrade to Red Hat build of Apache Camel.Chapter 19. Patching a Fabric
Overview
Copy linkLink copied to clipboard!
This section explains how to apply patches to a fabric. In a fabric, patches are applied to individual containers, so you can choose whether you want to apply a given patch to just some or all containers in a fabric.
Creating a Version
Copy linkLink copied to clipboard!
You may want to create a new version before patching a fabric. This will enable you to have multiple versions of a fabric container available, and make them easier to manage. To create a new version:
- Go to the Wiki tab. Click the version number on the action bar. Select Create Version from the drop-down menu.
- On the Create new Version pop-up window, enter a version name and a description. Click to complete the version creation process. The version name must be composed of lowercase letters, numbers, and any of the following symbols:
-_.
Patching a fabric
Copy linkLink copied to clipboard!
To patch a fabric container (or containers) from the Management Console, perform the following steps:
- Go to the Wiki tab. Click the version number on the action bar. Select Patch Version from the drop-down menu.
- Select the version that you want to apply the patch to. Click .
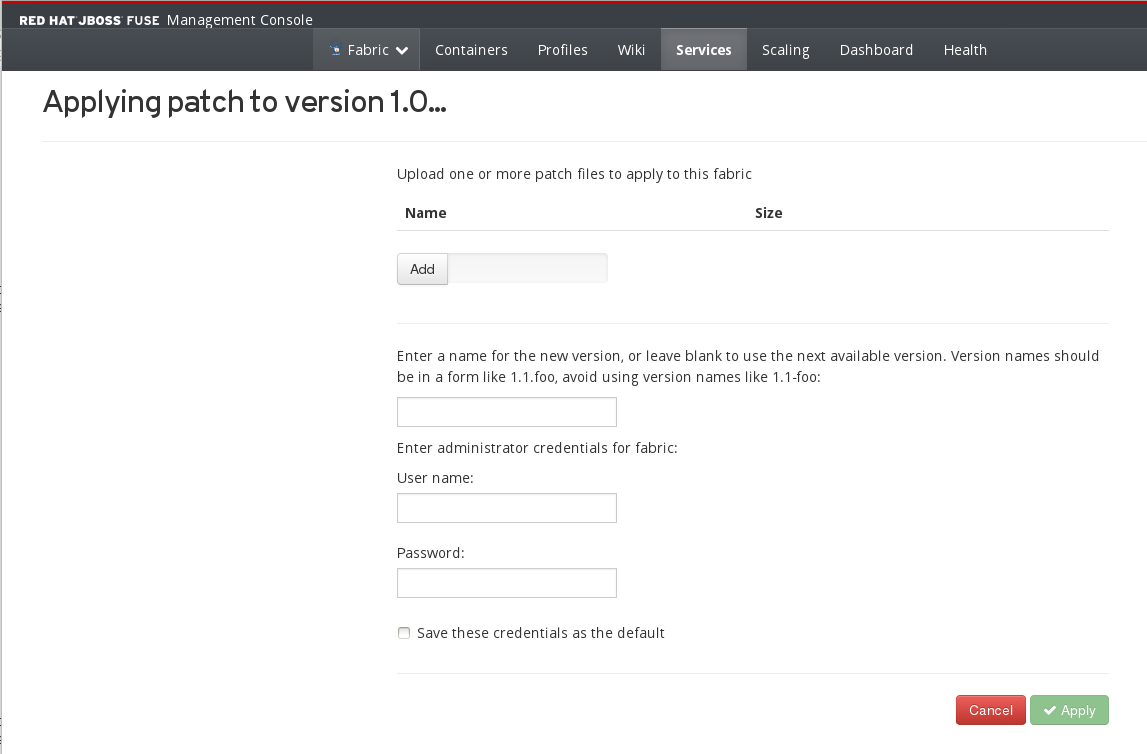
- Fill in the fields on the Applying Patch to Version .... page as follows:
- Use the Add button to add one or more patch files.
- (Optional) Enter a name for the new version (to which the patch will be applied).
- Enter the administrator credentials, User Name and Password.
- Click Apply.
- Apply the patched version to one or more containers from the Containers page.Perform the following steps:
- Select one or more containers to migrate, by selecting the line in the list. Hold down
ctrland select the line to select more than one container. - Click the Migrate X Containers to: label to show a dropdown list of available versions. Select the patched version that you wish to migrate to.
- A log message will appear to show that action is being taken, and that it might take a while.
If the migration is successful, you will see the changed version of the container on the Containers page.


