Este contenido no está disponible en el idioma seleccionado.
Chapter 1. Managing Bricks
1.1. Creating a brick using the Administration Portal
This process creates a new thinly provisioned logical volume on a specified storage device, for use as a brick in a Gluster volume.
- Log in to the Administration Portal.
-
Click Compute
Hosts and select the host for the brick. Click Storage Devices.
If no storage devices are visible, try synchronizing the volume: Section 2.9, “Synchronizing volume state using the Administration Portal”.
Select a storage device and click Create Brick. The Create Brick window appears.

- Specify the Brick Name.
- Specify the Mount Point for the brick.
(Optional) To create a RAID array, specify the following:
- No. of physical disks in the RAID array
- RAID Type
- (Optional) To assign a logical volume cache for this brick, specify a Device under Cache Device. This is recommended when your main storage device is not a solid state disk.
- Click OK.
1.2. Resetting a brick using the Administration Portal
Resetting a brick lets you reconfigure a brick as though you are adding it to the cluster for the first time, using the same UUID, hostname, and path. See the Red Hat Gluster Storage Administration Guide for more information.
- Log in to the Administration Portal.
-
Click Storage
Volumes. - Click the name of the volume that runs on the brick you want to reset.
- Click Bricks.
Click Reset Brick. The Reset Brick window opens.
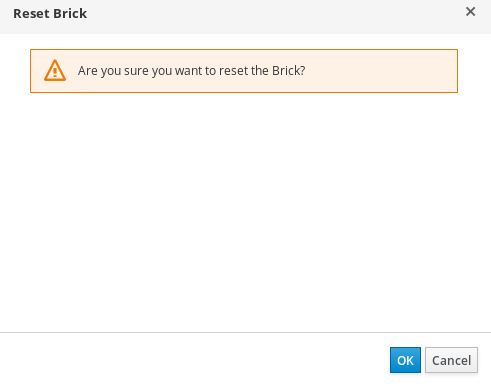
- Click OK to confirm the operation.
1.3. Replacing a brick using the Administration Portal
- Log in to the Administration Portal.
-
Click Storage
Volumes. - Click the name of the volume that runs on the brick you want to reset.
- Click Bricks.
Click Replace Brick. The Replace Brick window opens.
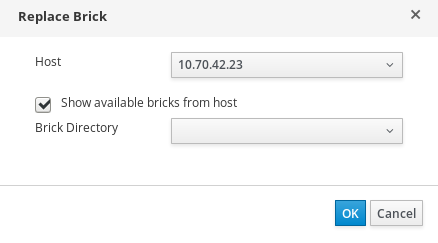
- Select the Host of the replacement brick.
- Select the Brick Directory of the replacement brick.
- Click OK.
1.4. Deleting a brick using the Administration Portal
- Log in to the Administration Portal.
-
Click Storage
Volumes. - Select the volume you want to delete.
- Click Stop and confirm that the volume should be stopped.
- Click Bricks.
- Select the brick to remove.
- Click Remove and confirm that the brick should be removed.