Ce contenu n'est pas disponible dans la langue sélectionnée.
Chapter 2. Archive JFR recordings
You can archive active JFR recordings to avoid potential data loss from JFR recordings. You can download or upload the archived JFR recording, so that you can analyze the recording to suits your needs.
You can find archived JFR recordings from the Archives menu in chronological order under one of three headings: All Targets, All Archives, and Uploads. Depending on what actions you performed on a JFR recording, the recording might display under each table.
2.1. Archiving JDK Flight Recorder (JFR) recordings
You can archive active JFR recordings to avoid potential data loss from JFR recordings. Data loss might occur when Cryostat replaces legacy JFR recording data with new data to save storage space or when a target JVM abruptly stops or restarts.
When you create an archived recording, Cryostat copies the active JFR recording’s data and stores the data in a persistent storage location on your Cryostat instance. The Red Hat build of Cryostat Operator builds this persistent storage location onto the associated persistent volume claim (PVC) on the Red Hat OpenShift cluster.
You can archive any JFR recording, regardless of its configuration. Additionally, you can archive snapshots from a JFR recording.
Prerequisites
- Entered your authentication details for your Cryostat instance.
- Created a target JVM recording and entered your authenticated details to access the Recordings menu. See Creating a JDK Flight Recorder (JFR) recording (Creating a JFR recording with Cryostat).
Procedure
On the Active Recordings tab, select the checkbox for your JFR recording. The Archive button is activated in the Active Recordings toolbar.
Figure 2.1. Archive button for your JFR recording
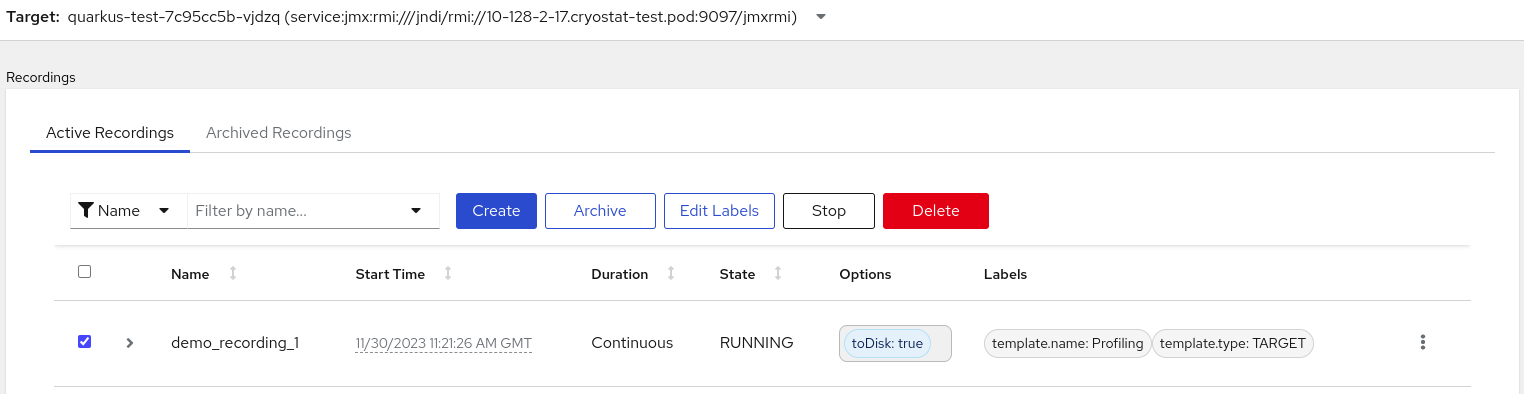
Click the Archive button. Cryostat creates an archived recording of your JFR recording.
You can view your archived recording from under the Archived Recordings tab along with any other recording that relates to your selected target JVM.
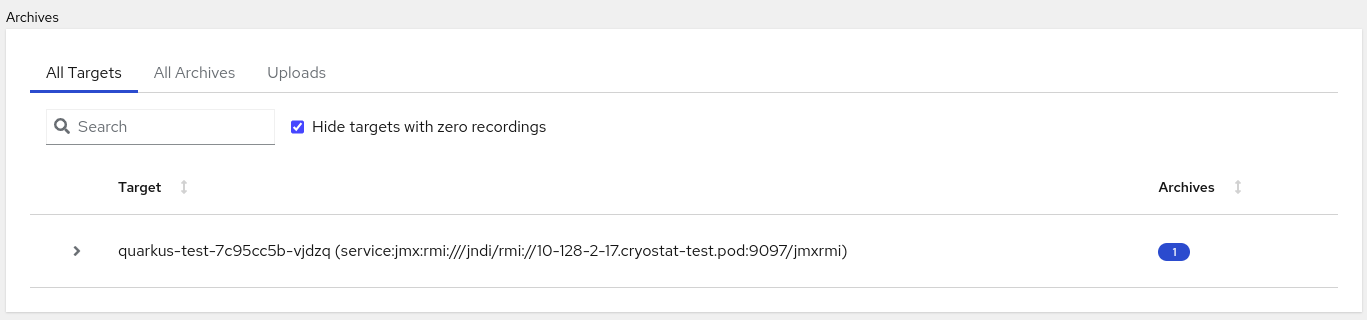
Alternatively, you can view your archived recording from under the All Targets table.
Figure 2.2. Example of a listed target JVM application that is under the All Targets table
 Tip
TipTo remove a target JVM entry that does not have an archived recording, select the Hide targets with zero recordings checkbox.
After you click on the twistie (v) beside the JVM target entry, you can access a filter function, where you can edit labels to enhance your filter or click the Delete button to remove the filter.
- From the All Targets table, select the checkbox beside each target JVM application that you want to review. The table lists each archived recording and its source location.
Go to the All Archives table. This table looks similar to the All Targets table, but the All Archives table lists target JVM applications from files that Cryostat archived inside Cryostat.
NoteIf an archived file has no recognizable JVM applications, it is still listed on the All Archives table but opens within a nested table under the heading
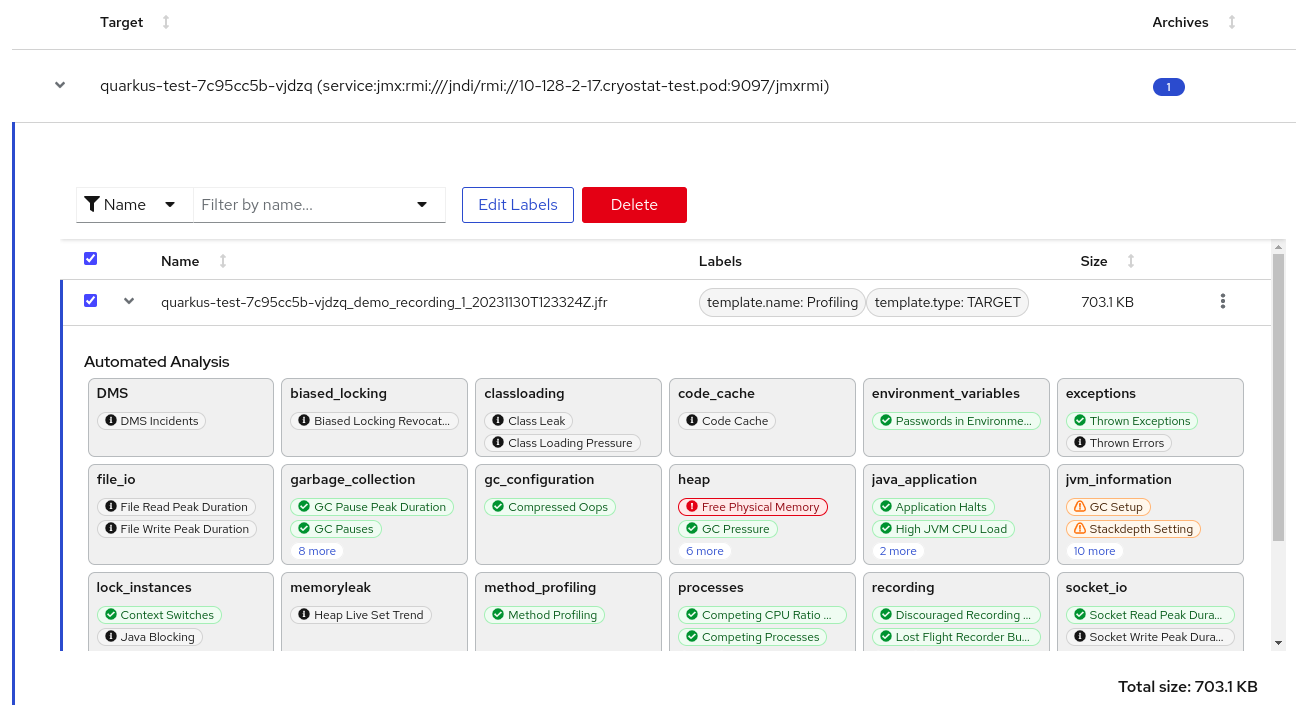
lost.Optional: To delete an archived recording, select the checkbox next to the specific archived JFR recording item, and click Delete when prompted.
Figure 2.3. Deleting an archived JFR recording
 Note
NoteCryostat assigns names to archived recordings based on the address of the target JVM’s application, the name of the active recording, and the timestamp of the created archived recordings.
Additional resources
2.2. Downloading an active recording or an archived recording
You can use Cryostat to download an active recording or an archived recording to your local system.
Prerequisites
- Entered your authentication details for your Cryostat instance.
- Created a JFR recording. See Creating a JDK Flight Recorder (JFR) recording (Creating a JFR recording with Cryostat).
- Optional: Uploaded an SSL certificate or provided your credentials to the target JVM.
- Optional: Archived your JFR recording. See Archiving JDK Flight Recorder (JFR) recordings (Using Cryostat to manage a JFR recording).
Procedure
Navigate to the Recordings menu or the Archives menu on your Cryostat instance.
NoteThe remaining steps use the Recordings menu as an example, but you can follow similar steps on the Archives menu.
- Determine the recording you want by clicking either the Active Recordings tab or the Archived Recordings tab.
Locate your listed JFR recording and then select its overflow menu.
Figure 2.4. Viewing a JFR recording’s overflow menu
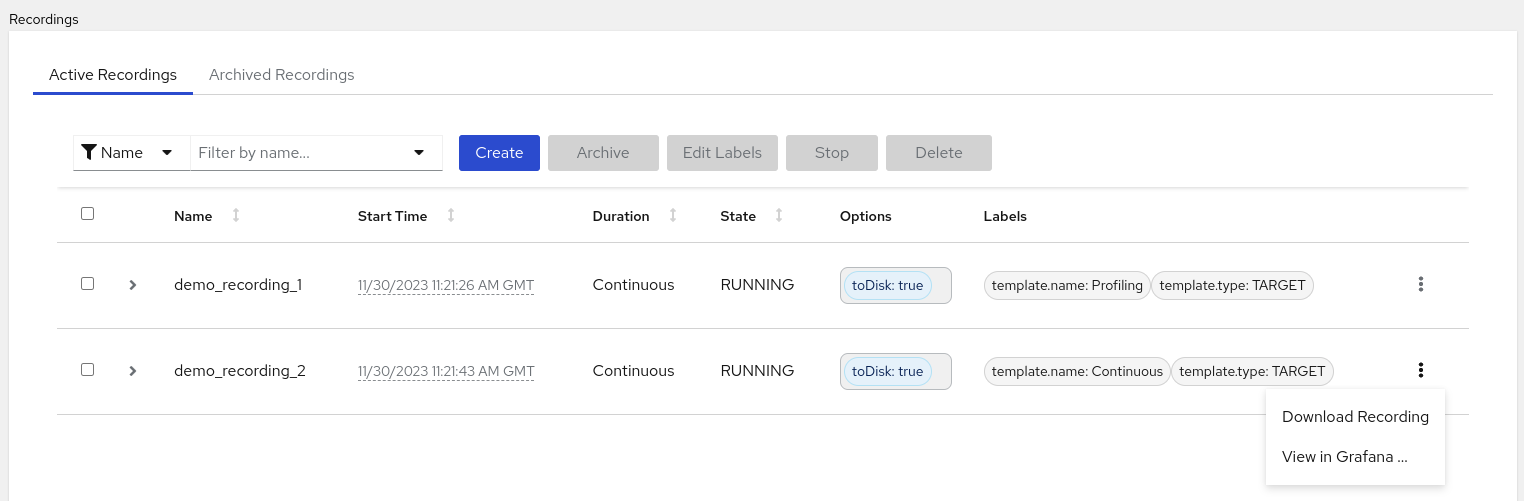
Choose one of the following options:
- From the overflow menu, click Download Recording. Depending on how you configured your operating system, a file-save dialog opens. Save the JFR binary file and the JSON file to your preferred location.
- From the All Targets table, select the overflow menu for your listed JFR recordings. Click Download to save the archived file along with its JSON file, which contains metadata and label information, to your local system.
Optional: View the downloaded file with the Java Mission Control (JMC) desktop application.
NoteIf you do not want to download the
.jfrfile, but instead want to view the data from your recording on the Cryostat application, you can click the View in Grafana option.
2.3. Uploading a JFR recording to the Cryostat archives location
You can upload a JFR recording from your local system to the archives location of your Cryostat.
To save Cryostat storage space, you might have scaled down or removed your JFR recording. If you downloaded a JFR recording, you can upload it to your Cryostat instance when you scale up or redeploy the instance.
Additionally, you can upload a file from a previous Cryostat instance to a new Cryostat instance. Cryostat analysis tools work on the recording uploaded to the new Cryostat instance.
Prerequisites
- Entered your authentication details for your Cryostat instance.
- Created a JFR recording. See Creating a JDK Flight Recorder (JFR) recording (Creating a JFR recording with Cryostat).
- See Downloading an active recording or an archived recordings (Using Cryostat to manage a JFR recording).
Procedure
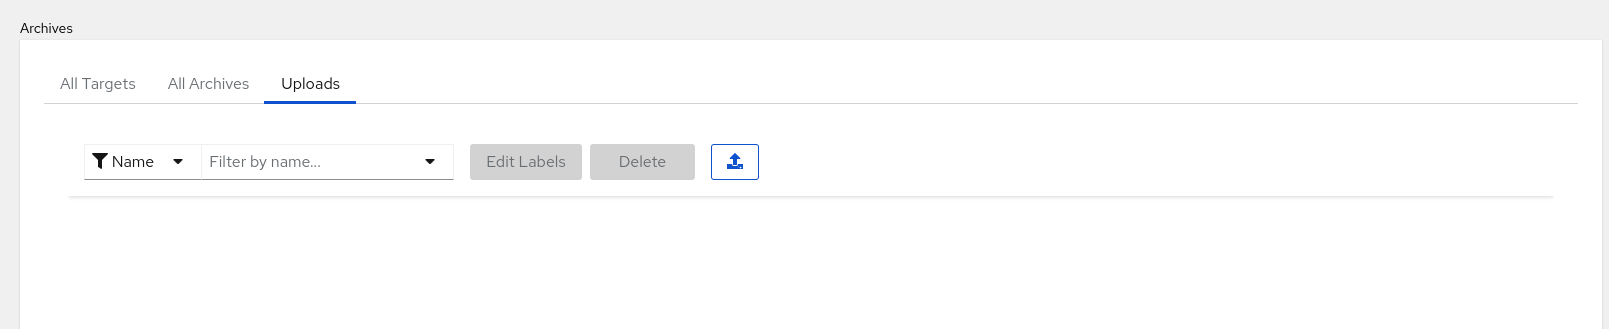
Go to the Archives menu on your Cryostat instance.
Figure 2.5. Archives menu on the Cryostat web console

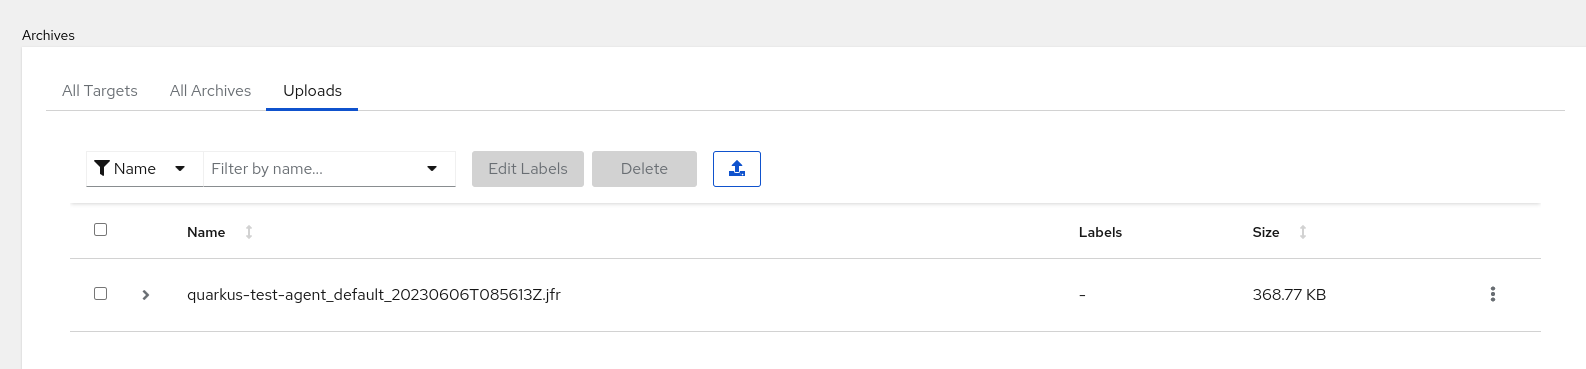
Optional: From the Uploads table, you can view all of your uploaded JFR recordings. The Uploads table also includes a filtering mechanism similar to other tables, such as the All Targets table, and other output. You can also use the filtering mechanism on the Archives menu to find an archived file that might have no recognizable target JVM application.
Figure 2.6. The Uploads table in the Archives menu
Click the upload icon. A Re-Upload Archived Recording window opens in your Cryostat web console:
Figure 2.7. Re-Upload Archived Recording window
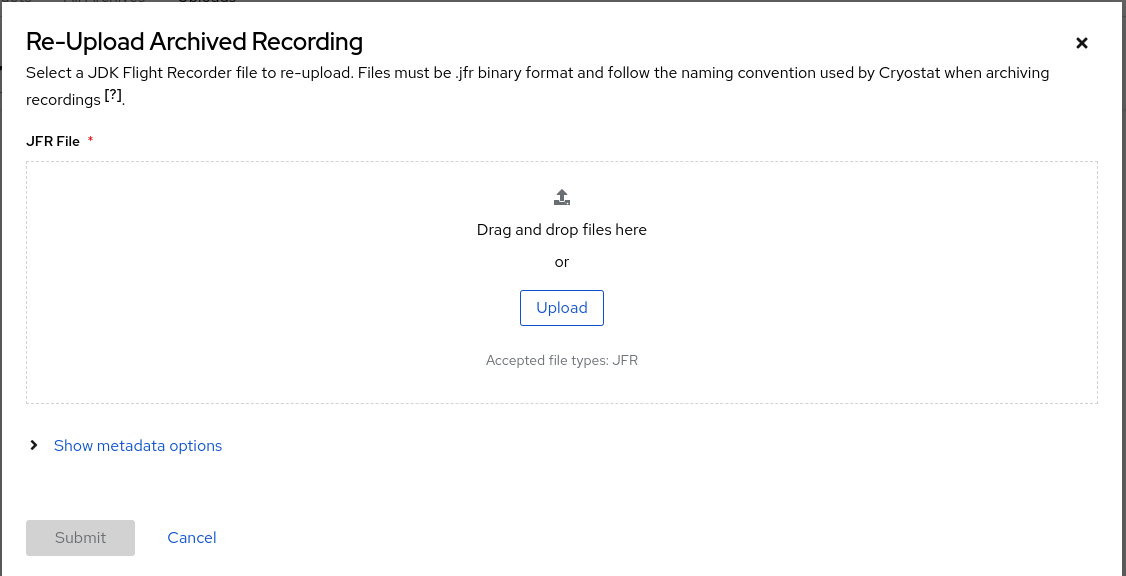
- In the JFR File field, click Upload.
Locate the JFR recording files, which are files with a
.jfrextension, and then click Submit.NoteAlternatively, you can drag and drop
.jfrfiles into the JFR File field.
Your JFR recording files open in the Uploads table.
Figure 2.8. Example of a JFR recording that is in the Uploads table