Ce contenu n'est pas disponible dans la langue sélectionnée.

24.6. Cache Container Configuration


The JBoss Data Grid Administration Console allows users to view and set Cache Container level settings such as transport, thread pools, security, cache templates, deployment of remote Executables/Scripts. Each cache container is associated with a cluster.
The following procedure outlines the steps to aceess the Cache Container Configuration settings:

Procedure 24.10. Accessing Cache Container Configuration Settings

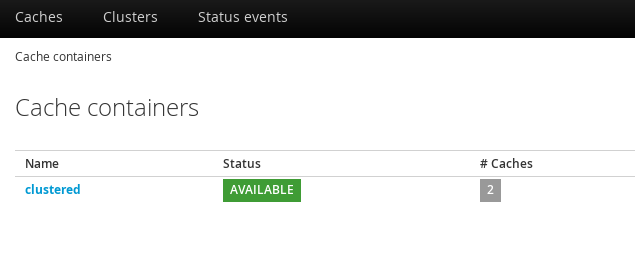
  1. In the Cache Container View, click on the name of the cache container.

    Figure 24.50. Cache Container View

  2. Click Configuration setting button at the top right hand side of the interface.

    Figure 24.51. Configuration

The Cache Container Configuration interface is displayed.

Figure 24.52. Cache Container Configuration

24.6.1. Defining Protocol Buffer Schema

A Protocol Buffer Schema is defined in the Cache Container Configuration interface.
The following procedure outlines the steps to define a protobuf schema:

Procedure 24.11. Defining a Protobuf Schema

  1. Click Add at the right hand side of the Schema tab to launch the create schema window.
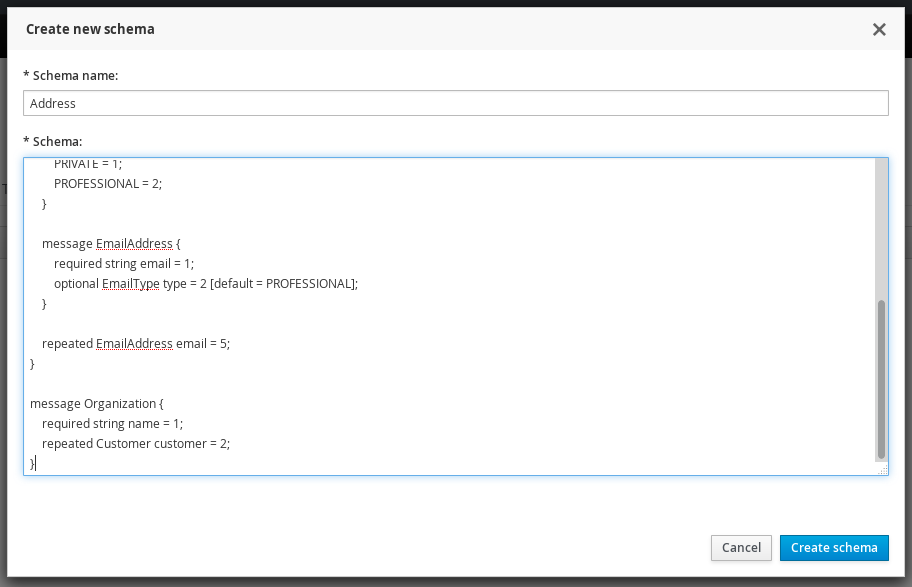
  2. Enter the schema name and the schema in the respective fields and click Create Schema.

    Figure 24.53. New Schema

  3. The protocol buffer schema is added.

    Figure 24.54. Protocol Buffer

24.6.2. Transport Setting

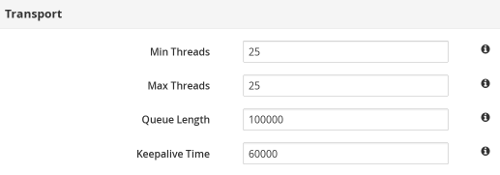
To access the Transport setting, click on the Transport tab in the Cache Container Configuration interface. Enter the Transport settings and click Save.

Figure 24.55. Transport Setting

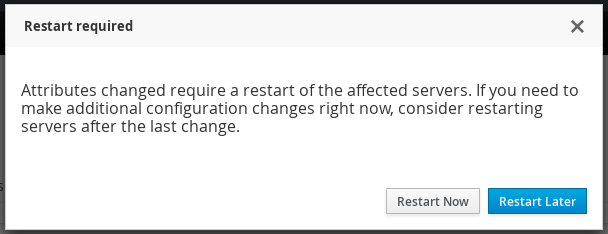
A dialog box will prompt to restart the server due to configuration changes. Restart to apply the changes.

Figure 24.56. Restart Confirmation

24.6.3. Defining Thread Pools

To define thread pools for different cache related operations, click on the Thread Pools tab in the Cache Container Configuration interface.
The JBoss Data Grid Administration Console allows administrators to set Thread Pool values for the following cache level operations:
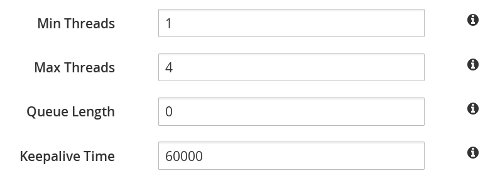
Async Operations

Figure 24.57. Async Operations

The default value for each parameter is set by the console. Hover the cursor over the information icon to view the parameter description in form of a tooltip. To change a thread pool value, enter the new value in the parameter field and click Save. A server restart is needed after every change of values.
Expiration
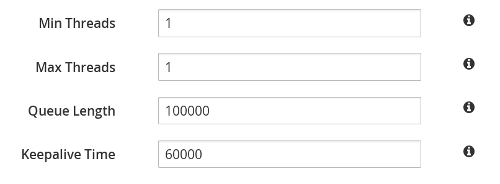
For Expiration settings, the user can set values for the following parameters:

Figure 24.58. Expiration Values

Listener
For Listener settings, the user can set values for the following parameters:

Figure 24.59. Listener Values

Persistence
For Persistence settings, the user can set values for the following parameters:

Figure 24.60. Persistence Values

Remote Commands
For Remote Commands settings, the user can set values for the following parameters:

Figure 24.61. Remote Commands

Replication Queue
For Replication Queue settings, the user can set values for the following parameters:

Figure 24.62. Replication Queue Values

State Transfer
For Listener settings, the user can set values for the following parameters:

Figure 24.63. State Transfer Values

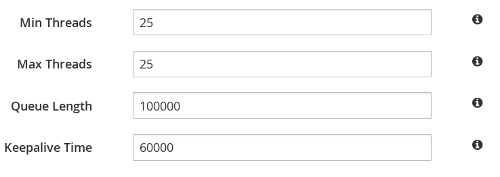
Transport
For Transport settings, the user can set values for the following parameters:

Figure 24.64. Transport Values

24.6.4. Adding New Security Role

The following procedure outlines the steps to add a new security role:

Procedure 24.12. Adding a Security Role

  1. Click on the Security tab. If authorization is not defined for a cache container, click Yes to define.

    Figure 24.65. Define Authorization

  2. Select the Role Mapper from the drop-down menu. Click Add to launch the permissions window.

    Figure 24.66. Role Mapper Selection

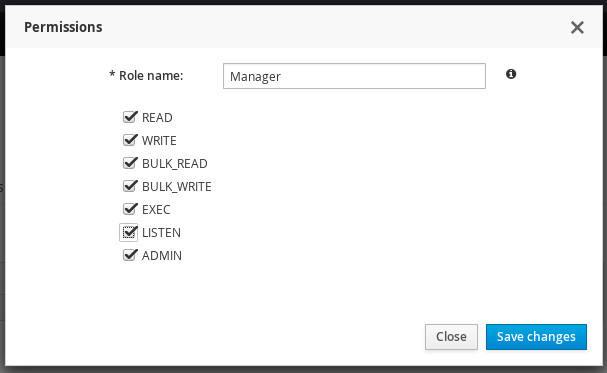
  3. In the Permissions window, enter the name of the new role and assign the permissions by checking the required check-boxes. Click Save changes to save the role.

    Figure 24.67. Role Permissions

  4. The new security role is added.

    Figure 24.68. New Security Role

24.6.5. Creating Cache Configuration Template

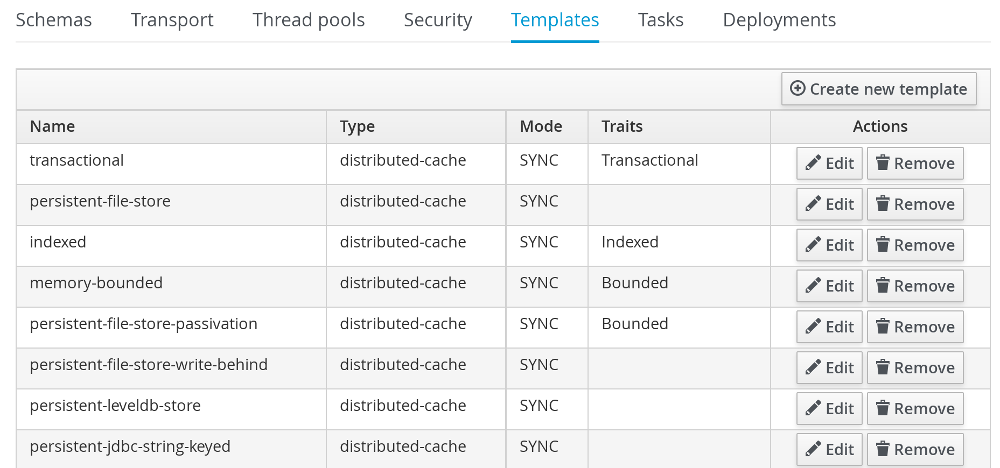
The Templates tab in the Cache Container Configuration interface lists all the configured and available cache templates.

Figure 24.69. Cache Templates View

The following procedure outlines the steps to create a new Cache configuration template :

Procedure 24.13. Creating New Cache Configuration Template

  1. Click Create new Template on the right hand side of the templates list.
  2. Enter the cache configuration template name and select the base configuration from the drop-down and click Next.

    Figure 24.70. Cache Configuration Template

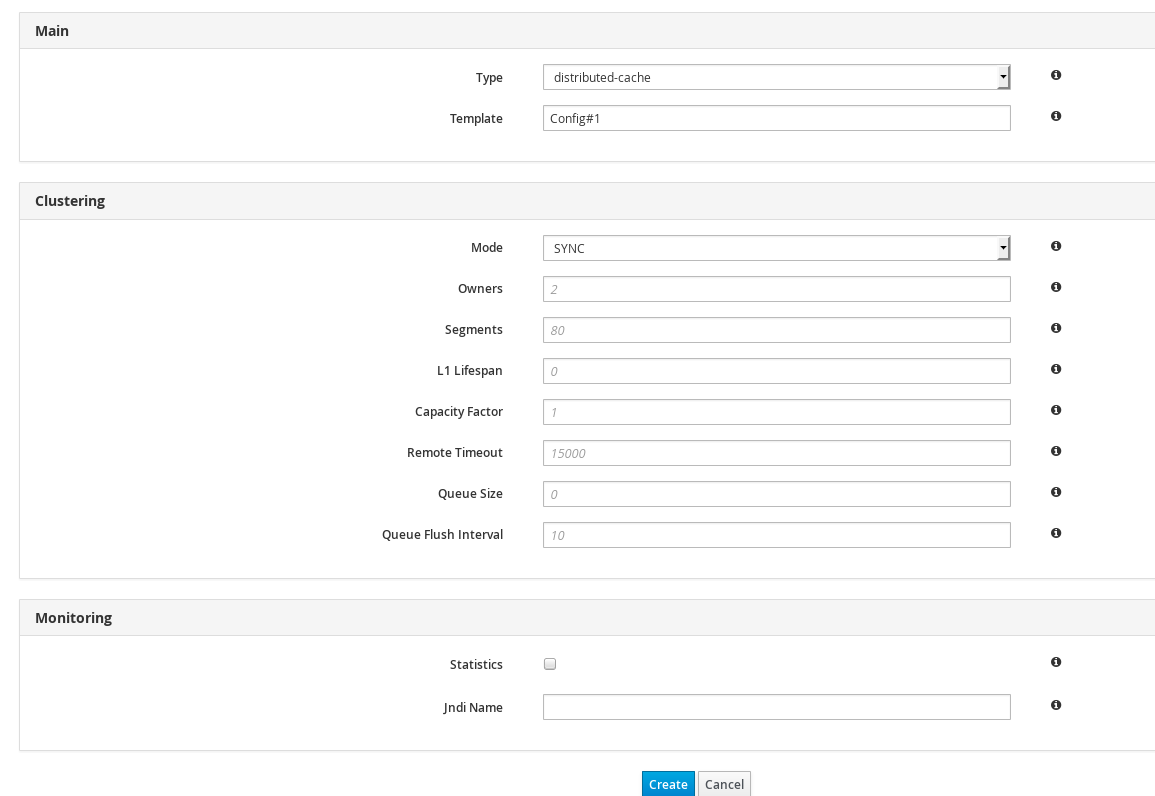
  3. Set the cache template attributes for the various cache operations such as Locking, Expiration, Indexing and others.

    Figure 24.71. Cache Configuration Template

  4. After entering the values, click Create to create the Cache Template.
Retour au début
Red Hat logoGithubredditYoutubeTwitter

Apprendre

Essayez, achetez et vendez

Communautés

À propos de la documentation Red Hat

Nous aidons les utilisateurs de Red Hat à innover et à atteindre leurs objectifs grâce à nos produits et services avec un contenu auquel ils peuvent faire confiance. Découvrez nos récentes mises à jour.

Rendre l’open source plus inclusif

Red Hat s'engage à remplacer le langage problématique dans notre code, notre documentation et nos propriétés Web. Pour plus de détails, consultez le Blog Red Hat.

À propos de Red Hat

Nous proposons des solutions renforcées qui facilitent le travail des entreprises sur plusieurs plates-formes et environnements, du centre de données central à la périphérie du réseau.

Theme

© 2025 Red Hat