Ce contenu n'est pas disponible dans la langue sélectionnée.
7.3. Add User Entries to the Directory Server
Overview
Copier lienLien copié sur presse-papiers!
The basic prerequisite for using LDAP authentication with the OSGi container is to have an X.500 directory server running and configured with a collection of user entries. For many use cases, you will also want to configure a number of groups to manage user roles.
Goals
Copier lienLien copié sur presse-papiers!
In this portion of the tutorial you will
Adding user entries
Copier lienLien copié sur presse-papiers!
Perform the following steps to add user entries to the directory server:
- Ensure that the LDAP server and console are running. See Section 7.2, “Set-up a Directory Server and Console”.
- In the Directory Server Console, click on the Directory tab, and drill down to the People node, under the
YourDomainnode (whereYourDomainis shown aslocaldomainin the following screenshots).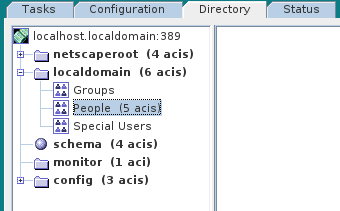
- Right-click the People node, and select
from the context menu, to open the Create New User dialog. - Select the tab in the left-hand pane of the Create New User dialog.
- Fill in the fields of the User tab, as follows:
- Set the First Name field to
John. - Set the Last Name field to
Doe. - Set the User ID field to
jdoe. - Enter the password,
secret, in the Password field. - Enter the password,
secret, in the Confirm Password field.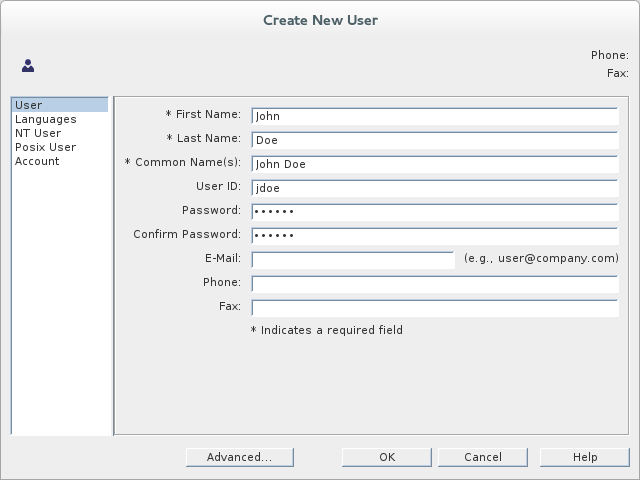
- Click .
- In Step 5.e, use
janedoefor the new user's User ID and use the password,secret, for the password fields. - In Step 5.e, use
criderfor the new user's User ID and use the password,secret, for the password fields.
Adding groups for the roles
Copier lienLien copié sur presse-papiers!
To add the groups that define the roles:
- In the Directory tab of the Directory Server Console, drill down to the Groups node, under the
YourDomainnode. - Right-click the Groups node, and select
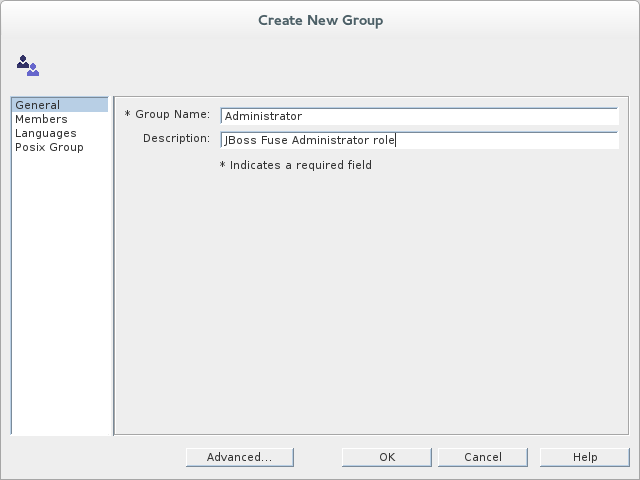
from the context menu, to open the Create New Group dialog. - Select the tab in the left-hand pane of the Create New Group dialog.
- Fill in the fields of the General tab, as follows:
- Set the Group Name field to
Administrator. - Optionally, enter a description in the Description field.
- Select the tab in the left-hand pane of the Create New Group dialog.
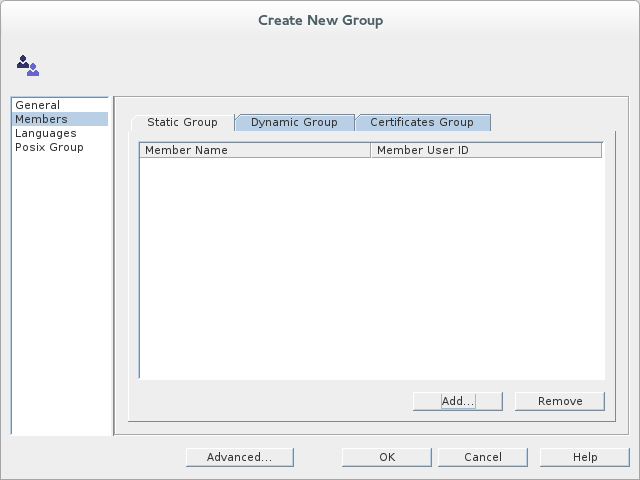
- Click Add to open the Search users and groups dialog.
- In the Search field, select
Usersfrom the drop-down menu, and click the Search button.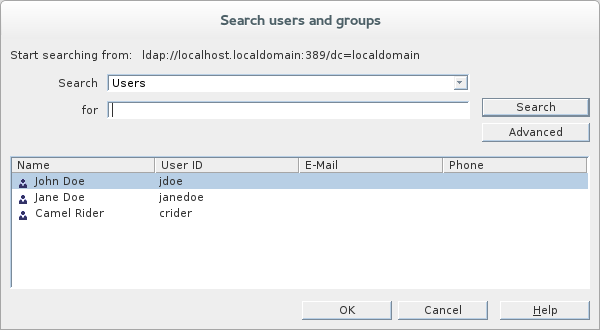
- From the list of users that is now displayed, select
John Doe. - Click , to close the Search users and groups dialog.
- Click , to close the Create New Group dialog.
- In Step 8, select
Jane Doe. - In Step 8, select
Camel Rider.