このコンテンツは選択した言語では利用できません。
Chapter 3. Red Hat Quay Security Scanning with Clair
Red Hat Quay supports scanning container images for known vulnerabilities with a scanning engine such as Clair. This document explains how to configure Clair with Quay.
3.1. Visit the management panel
Sign in to a superuser account from the Red Hat Quay login screen. For example, if the host were reg.example.com, you would go to http://reg.example.com/superuser to view the management panel:

3.2. Enable Security Scanning
-
Click the configuration tab () and scroll down to the section entitled Security Scanner.

- Check the "Enable Security Scanning" box
3.3. Enter a security scanner
In the "Security Scanner Endpoint" field, enter the HTTP endpoint of a Red Hat Quay-compatible security scanner such as Clair.

3.4. Generate an auth key
To connect Red Hat Quay securely to the scanner, click "Create Key >" to create an authentication key between Quay and the Security Scanner.
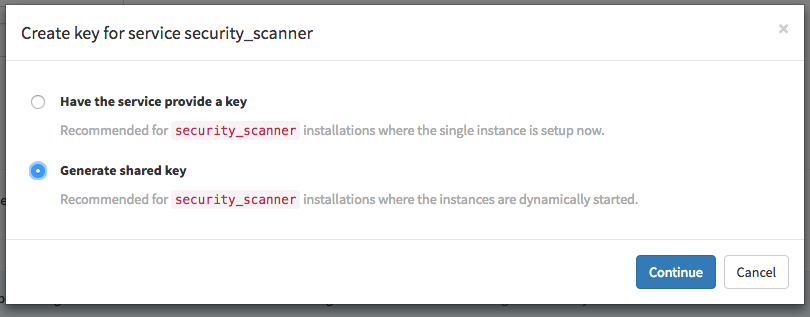
3.4.1. Authentication for high-availability scanners
If the security scanning engine is running on multiple instances in a high-availability setup, select "Generate shared key":
Enter an optional expiration date, and click "Generate Key":
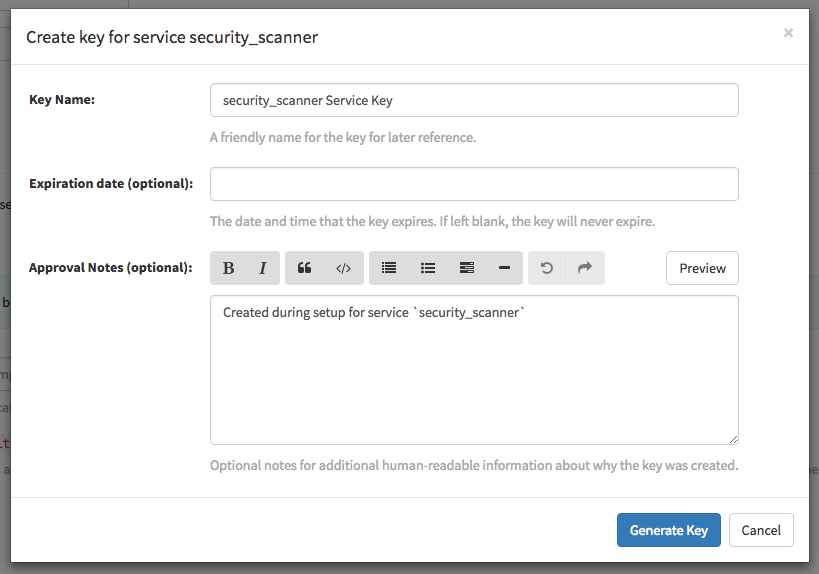
Save the key ID and download the preshared private key into the configuration directory for the security scanning engine. 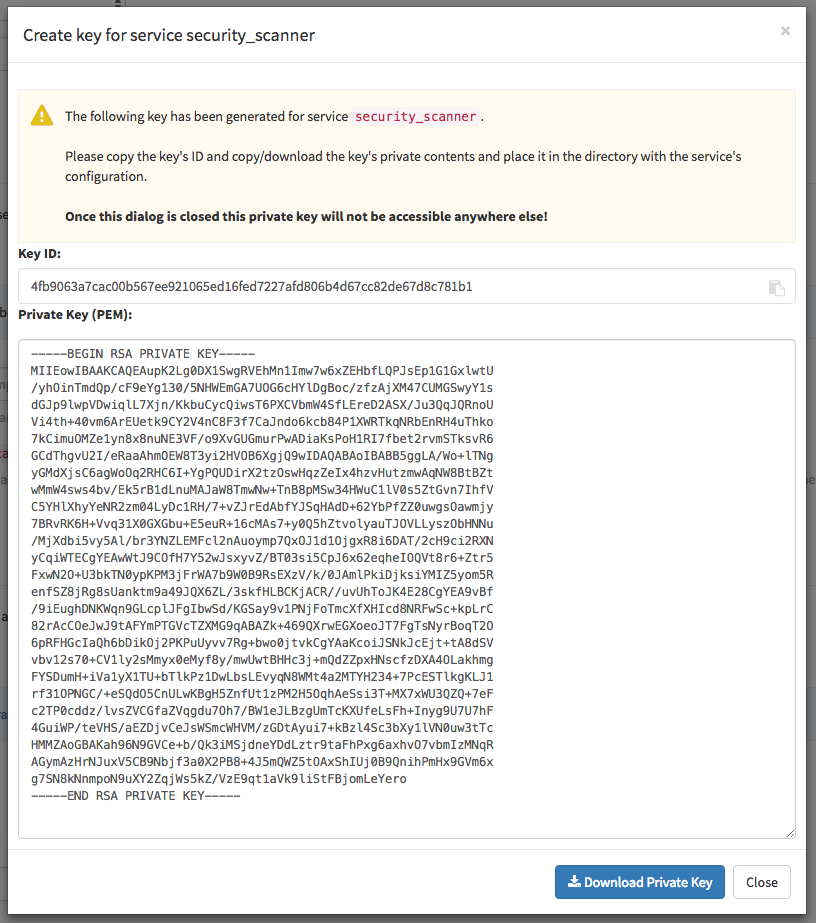
3.4.2. Authentication for single-instance scanners
If the security scanning engine is being run on a single instance, select "Have the service provide a key":
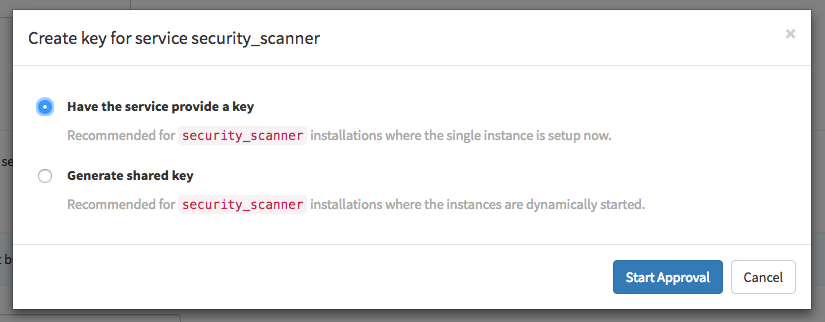
Once the following dialog is visible, run the security scanning engine:
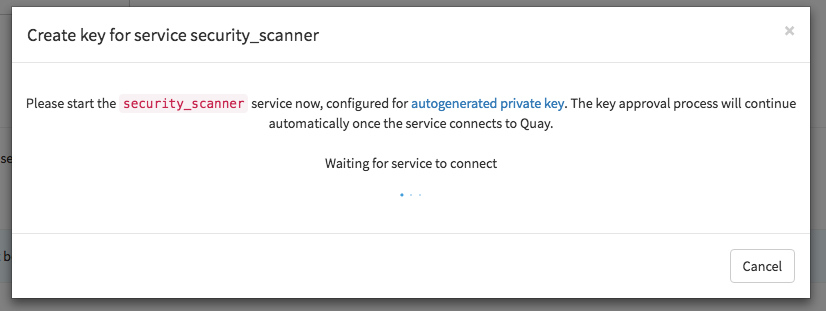
When the security scanning engine connects, the key will be automatically approved.
3.5. Save configuration
- Click "Save Configuration Changes"
- Restart the container (you will be prompted)