이 콘텐츠는 선택한 언어로 제공되지 않습니다.
Chapter 17. Launching Red Hat Storage Server for Public Cloud
Red Hat Storage Server for Public Cloud is a pre-integrated, pre-verified and ready to run Amazon Machine Image (AMI) that provides a fully POSIX compatible highly available scale-out NAS and object storage solution for the Amazon Web Services (AWS) public cloud infrastructure.
Important
The following features of Red Hat Storage Server is not supported on Amazon Web Services:
- Red Hat Storage Console and Nagios Monitoring
- NFS and CIFS High Availability with CTDB
- Volume Snapshots
Note
For information on obtaining access to AMI, see https://access.redhat.com/knowledge/articles/145693.
This chapter describes how to launch Red Hat Storage instances on Amazon Web Services.
17.1. Launching Red Hat Storage Instances
링크 복사링크가 클립보드에 복사되었습니다!
This section describes how to launch Red Hat Storage instances on Amazon Web Services.
To launch the Red Hat Storage Instance
- Navigate to the Amazon Web Services home page at http://aws.amazon.com. The Amazon Web Services home page appears.
- Login to Amazon Web Services. The Amazon Web Services main screen is displayed.
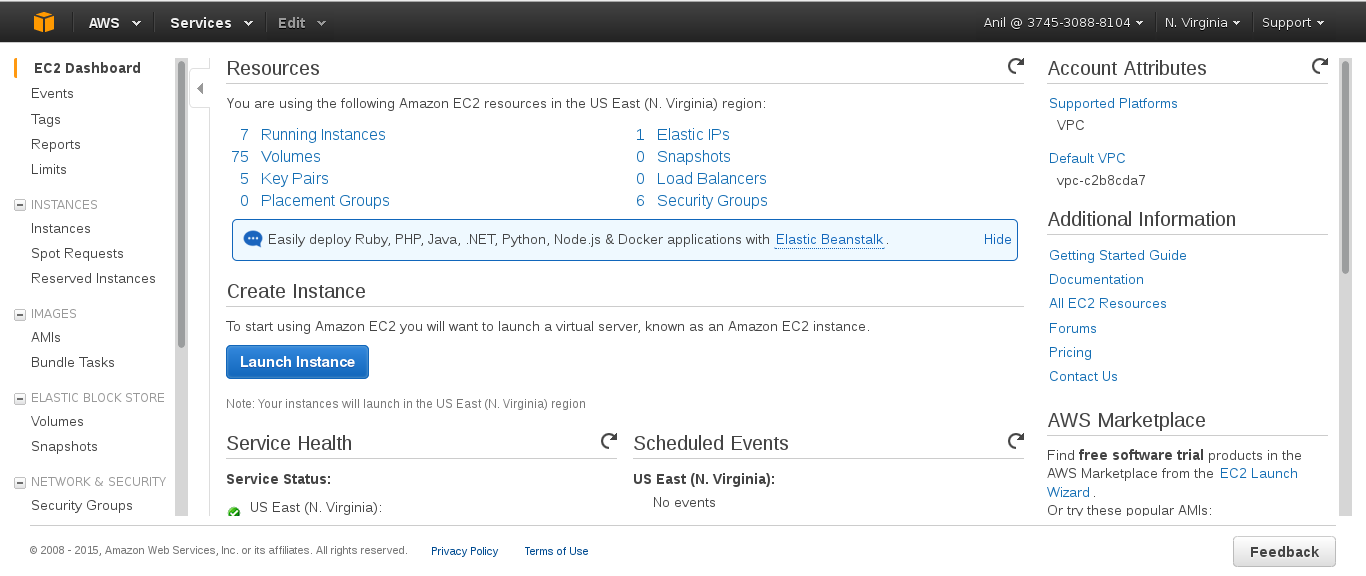
- Click the Amazon EC2 tab. The Amazon EC2 Console Dashboard is displayed.
- Click Launch Instance.The Step 1: Choose an AMI screen is displayed.
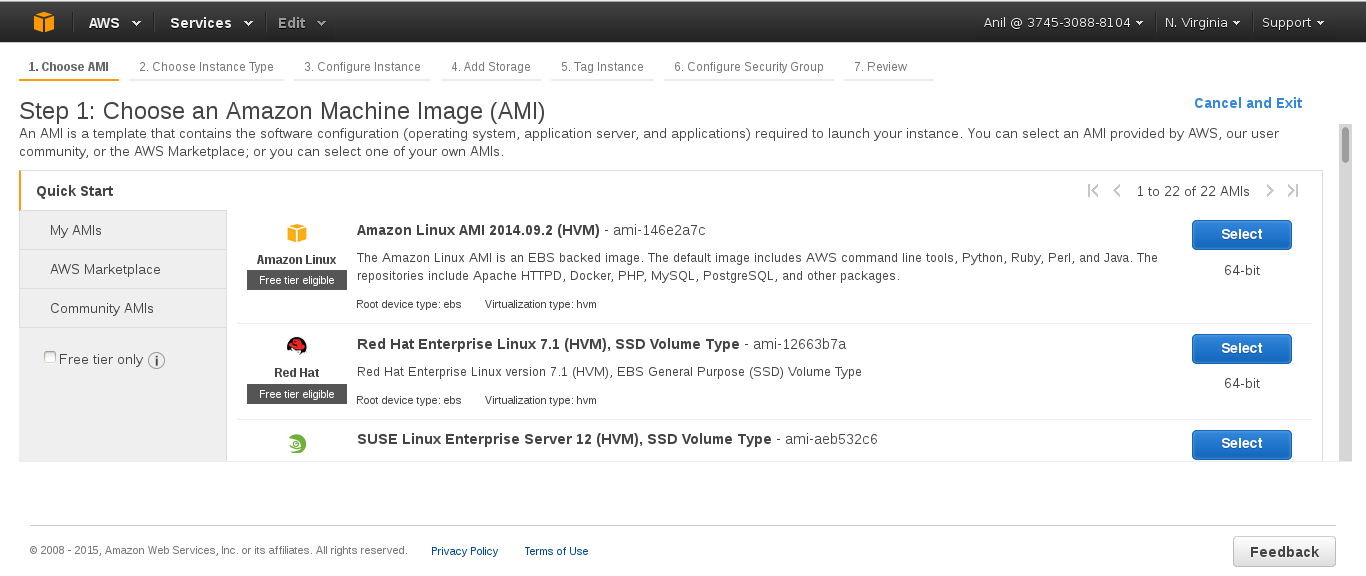
- Click Select for the corresponding AMI and click Next: Choose an Instance Type. The Step 2: Choose an Instance Type screen is displayed.

- Select Large as the instance type, and click Next: Configure Instance Details . The Step 3: Configure Instance Details screen displays.
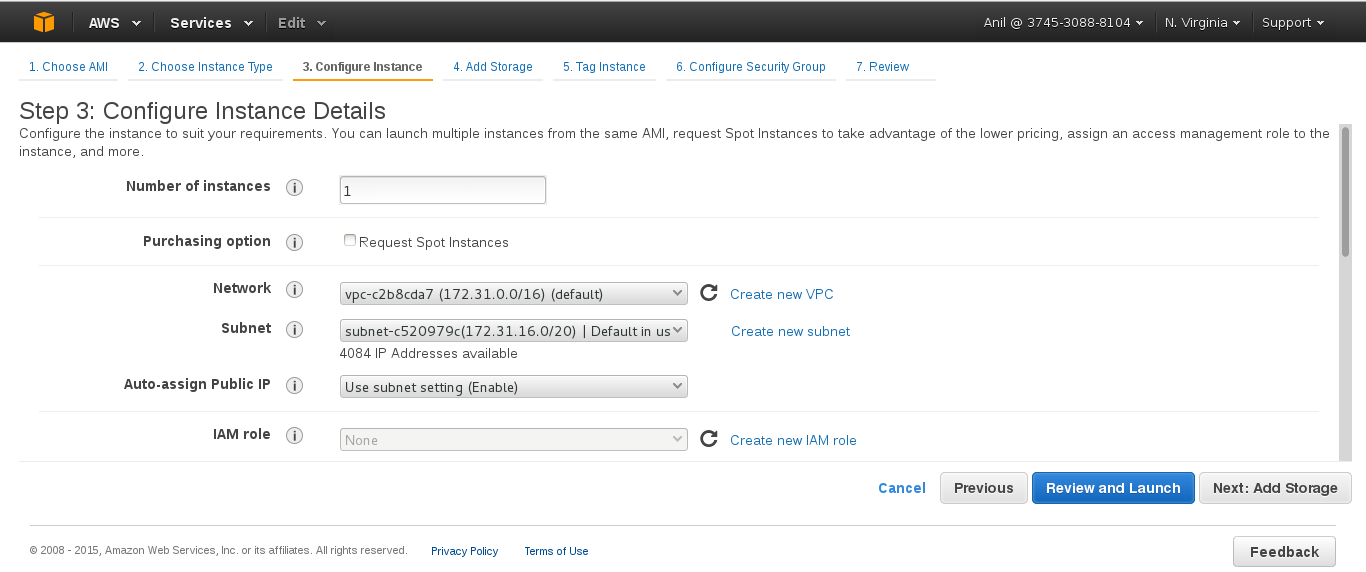
- Specify the configuration for your instance or continue with the default settings, and click Next: Add Storage The Step 4: Add Storage screen displays.

- In the Add Storage screen, specify the storage details and click Next: Tag Instance. The Step 5: Tag Instance screen is displayed.

- Enter a name for the instance in the Value field for Name, and click Next: Configure Security Group. You can use this name later to verify that the instance is operating correctly. The Step 6: Configure Security Group screen is displayed.

- Select an existing security group or create a new security group and click Review and Launch.You must ensure to open the following TCP port numbers in the selected security group:
- 22
- 6000, 6001, 6002, 443, and 8080 ports if Red Hat Storage for OpenStack Swift is enabled
- Choose an existing key pair or create a new key pair, and click Launch Instance.

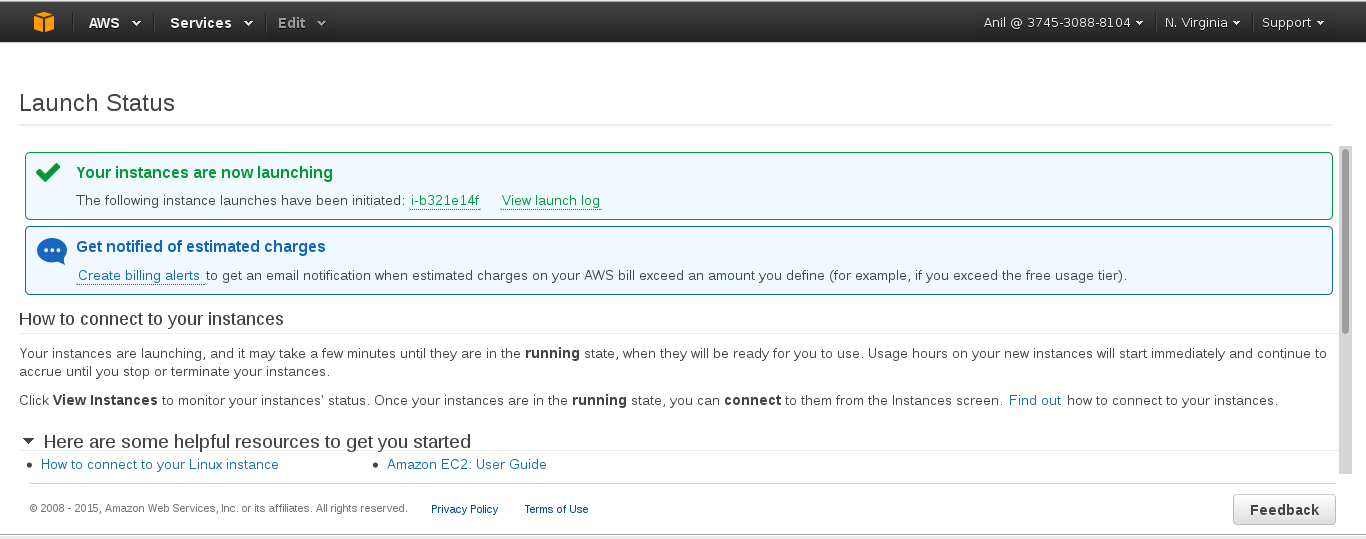
The Launch Status screen is displayed indicating that the instance is launching.