이 콘텐츠는 선택한 언어로 제공되지 않습니다.
Chapter 1. Installing a sample instance of Red Hat Single Sign-On
This section describes how to install and start a Red Hat Single Sign-On server in standalone mode, set up the initial admin user, and log in to the Red Hat Single Sign-On Admin Console.
Additional Resources
This installation is intended for practice use of Red Hat Single Sign-On. For instructions on installation in a production environment and full details on all product features, see the other guides in the Red Hat Single Sign-On documentation.
1.1. Installing the Red Hat Single Sign-On server
For this sample instance of Red Hat Single Sign-On, this procedure involves installation in standalone mode. The server download ZIP file contains the scripts and binaries to run the Red Hat Single Sign-On server. You can install the server on Linux or Windows.
Procedure
- Go to the Red Hat customer portal.
- Download the Red Hat Single Sign-On Server: rh-sso-7.4.0.zip
- Place the file in a directory you choose.
Unpack the ZIP file using the appropriate
unziputility, such as unzip, or Expand-Archive.Linux/Unix
unzip rhsso-7.4.0.zip
$ unzip rhsso-7.4.0.zipCopy to Clipboard Copied! Toggle word wrap Toggle overflow Windows
> Expand-Archive -Path 'C:Downloads\rhsso-7.4.0.zip' -DestinationPath 'C:\Downloads'
> Expand-Archive -Path 'C:Downloads\rhsso-7.4.0.zip' -DestinationPath 'C:\Downloads'Copy to Clipboard Copied! Toggle word wrap Toggle overflow
1.2. Starting the Red Hat Single Sign-On server
You start the server on the system where you installed it.
Prerequisites
- You saw no errors during the Red Hat Single Sign-On server installation.
Procedure
-
Go to the
bindirectory of the server distribution. Run the
standaloneboot script.Linux/Unix
cd bin
./standalone.sh
$ cd bin
$ ./standalone.sh
Copy to Clipboard Copied! Toggle word wrap Toggle overflow Windows
> ...\bin\standalone.bat
> ...\bin\standalone.batCopy to Clipboard Copied! Toggle word wrap Toggle overflow
1.3. Creating the admin account
Before you can use Red Hat Single Sign-On, you need to create an admin account which you use to log in to the Red Hat Single Sign-On admin console.
Prerequisites
- You saw no errors when you started the Red Hat Single Sign-On server.
Procedure
Open http://localhost:8080/auth in your web browser.
The welcome page opens, confirming that the server is running.
Welcome page

- Enter a username and password to create an initial admin user.
1.4. Logging into the admin console
After you create the initial admin account, you can log in to the admin console. In this console, you add users and register applications to be secured by Red Hat Single Sign-On.
Prerequisites
- You have an admin account for the admin console.
Procedure
Click the Administration Console link on the Welcome page or go directly to http://localhost:8080/auth/admin/ (the console URL).
NoteThe Administration Console is generally referred to as the admin console for short in Red Hat Single Sign-On documentation.
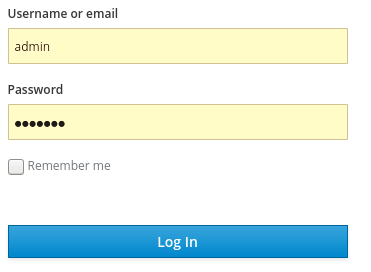
Enter the username and password you created on the Welcome page to open the admin console.
Admin console login screen
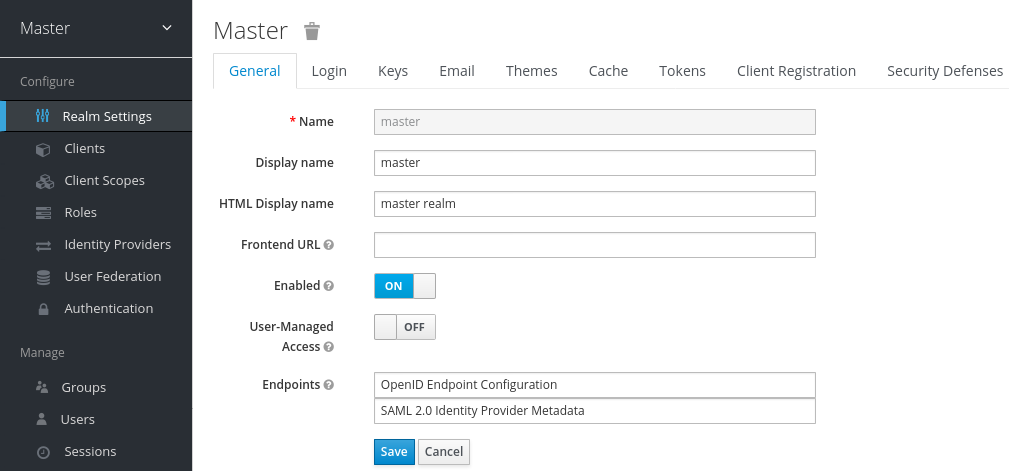
The initial screen for the admin console appears.
Admin console
Next steps
Now that you can log into the admin console, you can begin creating realms where administrators can create users and give them access to applications. For more details, see Creating a realm and a user.