Este conteúdo não está disponível no idioma selecionado.
Chapter 5. Managing volume groups using Cockpit
5.1. Creating a volume group using Cockpit
- Log in to Cockpit.
-
Click the hostname
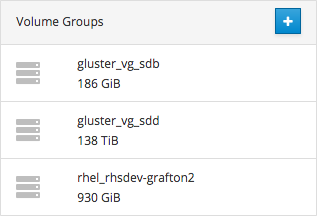
Storage. Click the + button beside Volume Groups.
Figure 5.1. Volume Groups section
The Create Volume Group window opens.
- Specify a Name for the volume group.
- Check the Disks to use for the volume group.
- Click Create.
5.2. Adding physical volumes to a volume group using Cockpit
Follow these instructions to expand a volume group using Cockpit.
- Log in to Cockpit.
-
Click the hostname
Storage. - Click the volume group. The Volume Group Overview page opens.
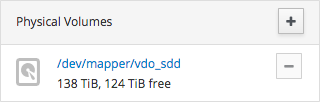
Click the + button beside Physical Volumes.
Figure 5.2. Physical Volumes
The Add Disks window opens.
- Check the Disks you want to add to the volume group.
- Click Add.
The capacity of the volume group is extended automatically.
Now that you’ve added new storage to the volume group, you may want to grow your thin pool or grow your logical volume.
5.3. Renaming a volume group using Cockpit
Follow these instructions to rename a volume group using Cockpit.
- Log in to Cockpit.
-
Click the hostname
Storage. - Click the volume group. The Volume Group Overview page opens.
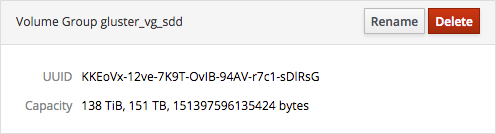
Click Rename.
Figure 5.3. Volume group summary
The Rename Volume Group window opens. .. Specify a new Name. .. Click Rename.
The volume group is renamed, and the change is propagated to all logical volumes in the volume group. This does not affect the naming of thin pools.
5.4. Deleting a volume group using Cockpit
Follow these instructions to delete a volume group using Cockpit.
- Log in to Cockpit.
-
Click the hostname
Storage. - Click the volume group. The Volume Group Overview page opens.
In the Volume Group summary, click Delete.
Figure 5.4. Volume group summary
The confirmation window opens.
- Click Delete to confirm deletion.