此内容没有您所选择的语言版本。
3.2. Creating a BPEL Process
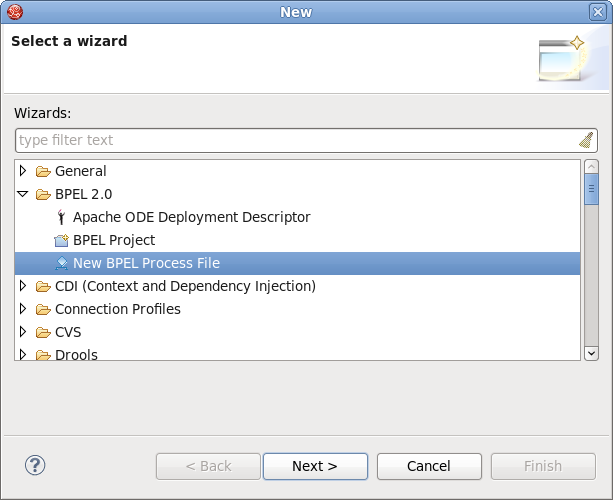
- First, select
and click . Figure 3.4. Diagram 1
- From here you can choose to create a BPEL process from a template or a service description. The former is recommended.
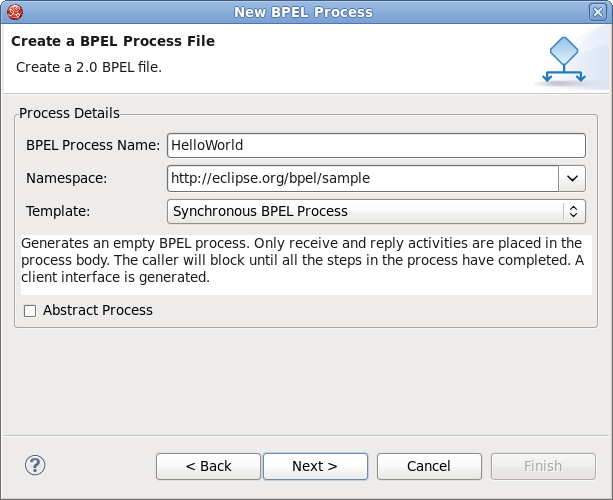
- Enter the following information:
Expand Table 3.1. Fields and Values Field Value BPEL Process NameEnter a process name. For example, HelloWorld.NamespaceEnter or select a namespace for the BPEL process.TemplateSelect the appropriate template for the BPEL process. When you select the template, you will see information about it. Select Synchronous BPEL Process.Figure 3.5. Diagram 2
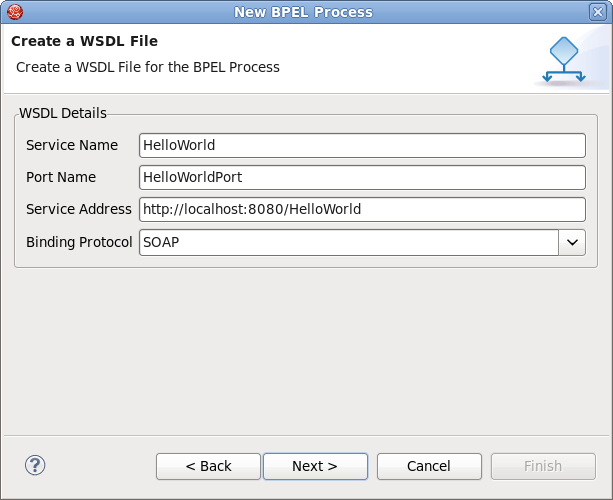
- Click . On this page, you can customize your WSDL service details using a template. Enter the following information:
Expand Table 3.2. Fields and Values Field Value Service NameA WSDL service name for the BPEL process. The default name is HelloWorld.Port NameA WSDL port name for the BPEL process. The default name is HelloWorldPort.Service AddressAn address of the WSDL service for the BPEL process. The default value is http://localhost:8080/HelloWorld.Binding ProtocolThe binding protocol that you use in the WSDL. You can choose SOAP or HTTP. The default value is SOAP.Figure 3.6. Diagram 3
- Click the button. On the this page, you can select a folder for the process file from the projects in your workspace. If a folder is not selected, the default folder
HelloWorld/bpelContentwill be used. - Click the button. The process is complete.
Note
All of the files used in your BPEL project must be under thebpelContentfolder of a BPEL project.