此内容没有您所选择的语言版本。
Chapter 7. Hibernate Tools basics in CodeReady Studio
Hibernate Tools is a collection of tools for projects related to Hibernate version 5 and earlier. The tools provide Eclipse plugins for reverse engineering, code generation, visualization, and interaction with Hibernate.
7.1. Creating a new JPA project
The following section describes how to create a new JPA project in CodeReady Studio.
Prerequisites
You need to start the Sakila database server before you can create a new JPA project in CodeReady Studio.
- Download the h2 version of the Sakila database.
-
Navigate to the directory that contains the
runh2.shfile. Execute the
runh2.shfile:./runh2.sh
$ ./runh2.shCopy to Clipboard Copied! Toggle word wrap Toggle overflow
Procedure
- Start CodeReady Studio.
Press Ctrl+N.
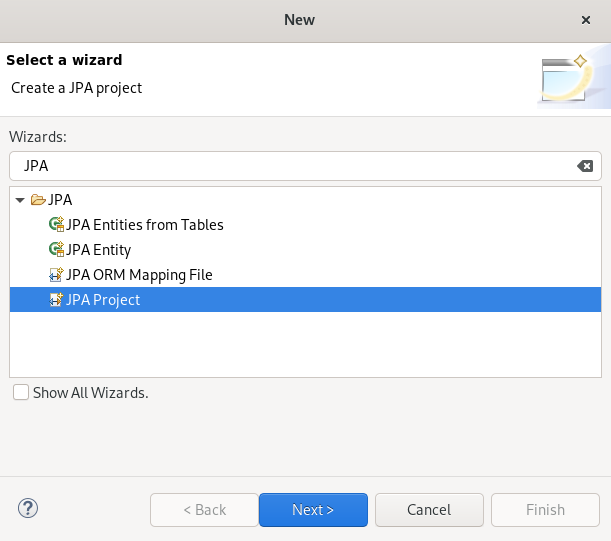
The Select a Wizard window appears.
- Enter JPA in the search field.
- Select JPA Project.
Click .
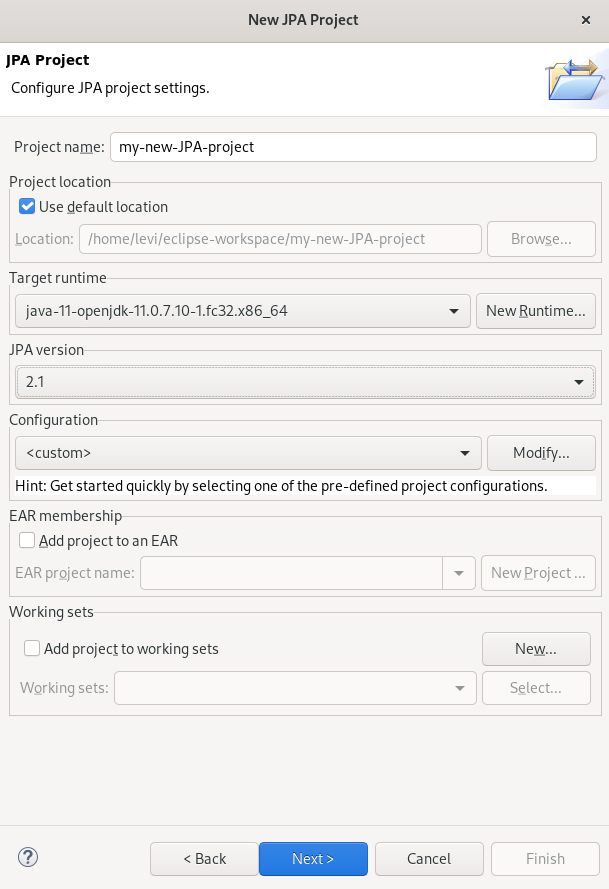
The New JPA Project window appears.
- Name your project.
- Select the location for your project.
- Click the down-arrow in the Target runtime field to select the runtime server.
- Set the JPA version to 2.1.
Click .
The Java window appears.
- Select the source folder.
Click .
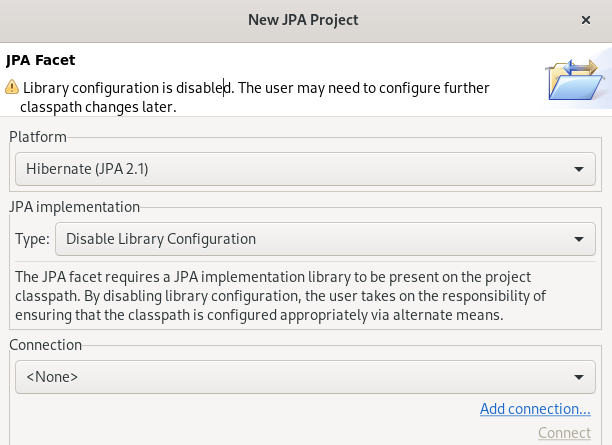
The JPA Facet window appears.
- Click the down-arrow in the Platform field and select Hibernate (JPA 2.1).
Add user libraries or set the JPA Implementation Type to Disable Library Configuration.
For more information on how to set up user libraries, see Section 7.2, “Adding libraries”.
Click .
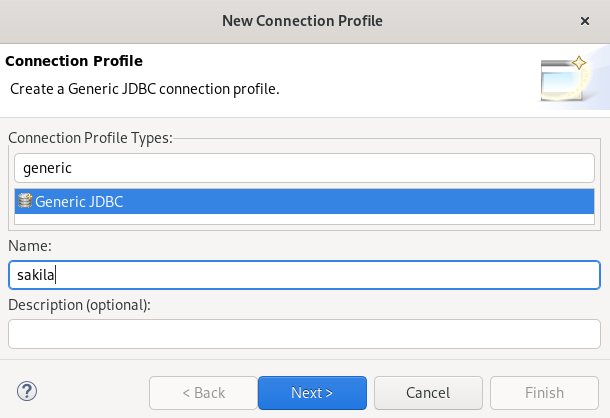
The Connection Profile window appears.
- Enter Generic in the search field.
- Select Generic JDBC.
- Enter Sakila in the Name field.
Click .
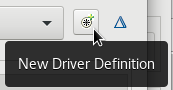
The Specify a Driver and Connection Details window appears.
Click the icon.
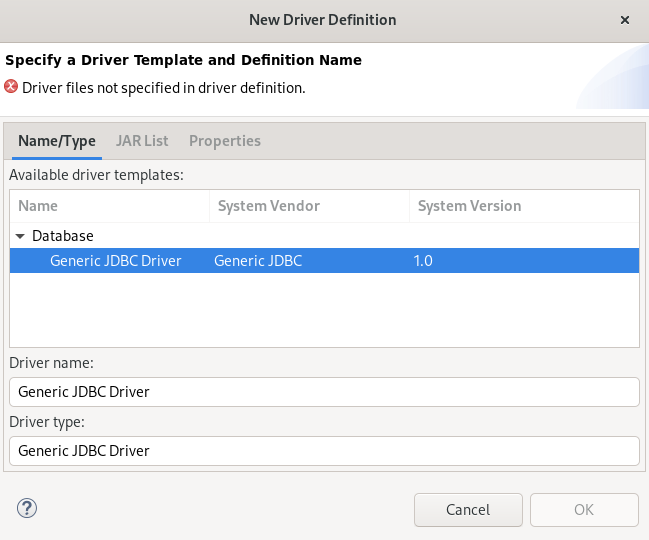
The New Driver Definition window appears.
- Select the Generic JDBC Driver.
Click the JAR List tab.
- Click the button.
-
Select the
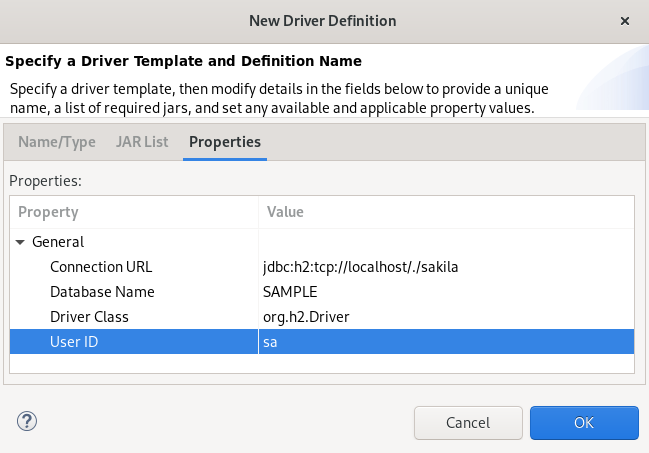
.jarfile for the Sakila database. Click the Properties tab.
-
Add
jdbc:h2:tcp://localhost/./sakilato the Connection URL field. - Click the Driver Class field.
Click the three dots icon at the end of the Driver Class field.
The Available Classes from Jar List window appears.
- Select the Browse for Class option.
- Select org.h2.Driver.
- Click .
Enter
sain the User ID field.-
Click
.


Your newly created JPA project is now listed in the Project Explorer view.
7.2. Adding libraries
The following section describes how to add libraries to your Hibernate project in CodeReady Studio.
Procedure
- Download Hibernate ORM.
- Extract the files.
- Start CodeReady Studio.
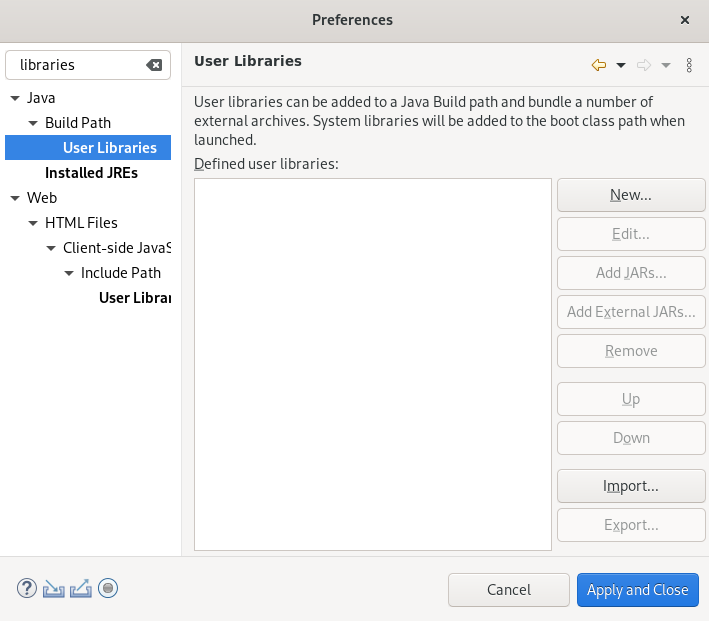
Click
. The Preferences window appears.
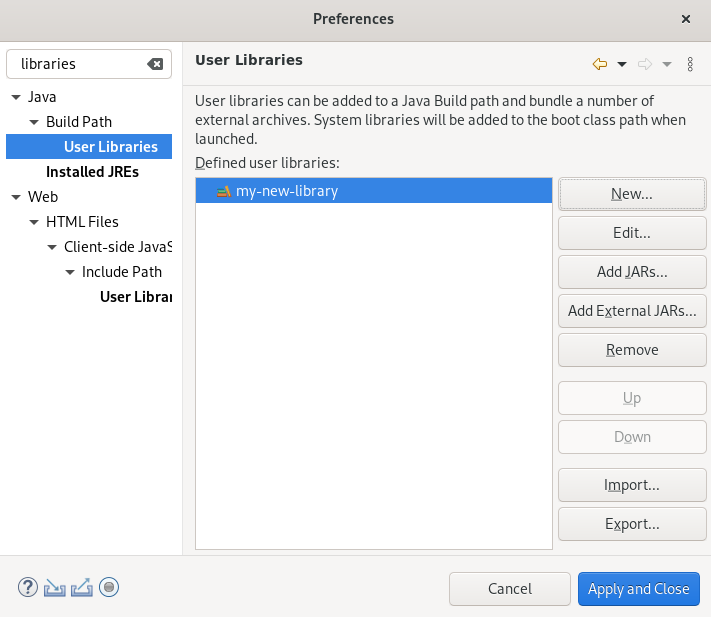
- Enter Libraries in the search field.
- Select User Libraries under Java.
Click the button.
The New User Library window appears.
- Name your user library.
- Click .
Select your new user library.
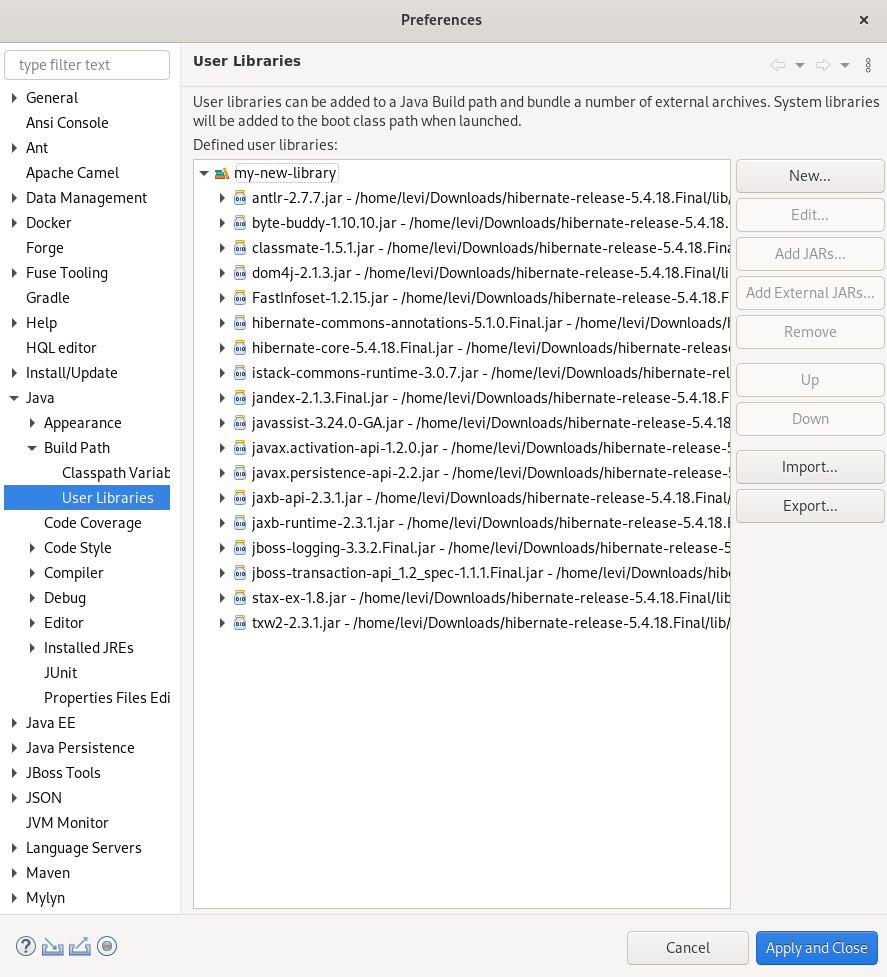
- Click the button.
- Select the directory you extracted the Hibernate ORM files into.
-
Navigate to the
/lib/required/directory. -
Select a
.jarfile. Click .
Your selected
.jarfile appears under your user library.- Click .

7.3. Generating tables from entities
The following section describes how to generate tables from entities for your Hibernate project in CodeReady Studio.
Procedure
- Start CodeReady Studio.
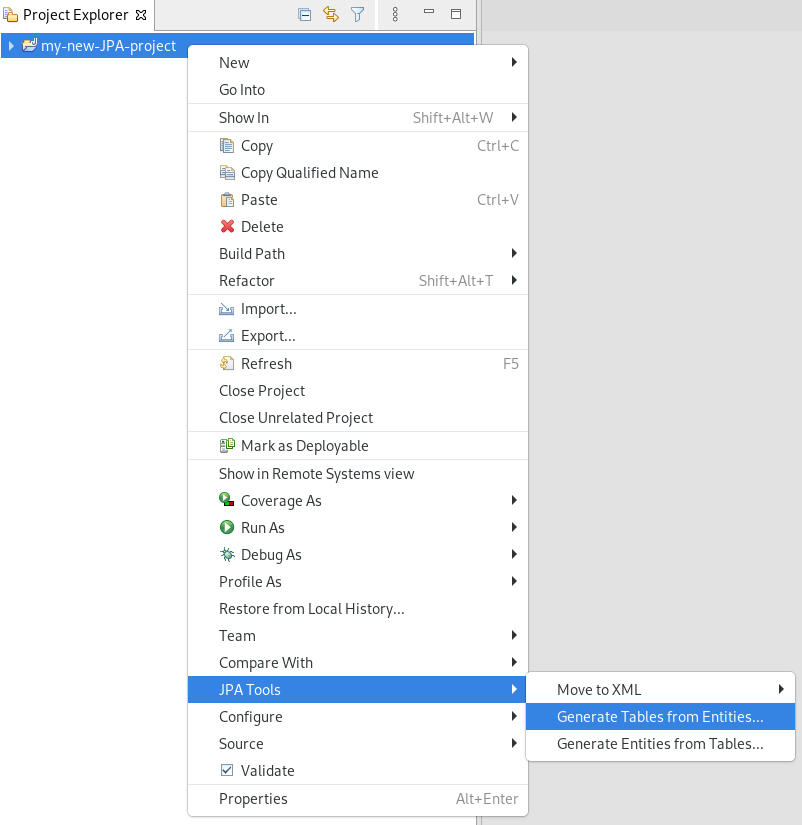
- Open Project Explorer.
Right-click your
. The Generate Tables from Entities window appears.
- Select the Use Console Configuration check box.
- Click .

7.4. Creating a Hibernate mapping file
Hibernate mapping files specify how your objects relate to the database tables.
The following section describes how to create a Hibernate mapping file in CodeReady Studio.
Procedure
- Start CodeReady Studio.
Press Ctrl+N.
The Select a wizard window appears.
- Enter Hibernate in the search field.
- Select Hibernate XML Mapping file (hbm.xml).
Click .
The Create Hibernate XML Mapping file window appears.
- Click the button to add classes.
Click the button to add packages.
Alternatively, you can create an empty
.hbm.xmlfile by not selecting any packages or classes.- Select the depth control check box to define the dependency depth used when choosing classes.
Click .
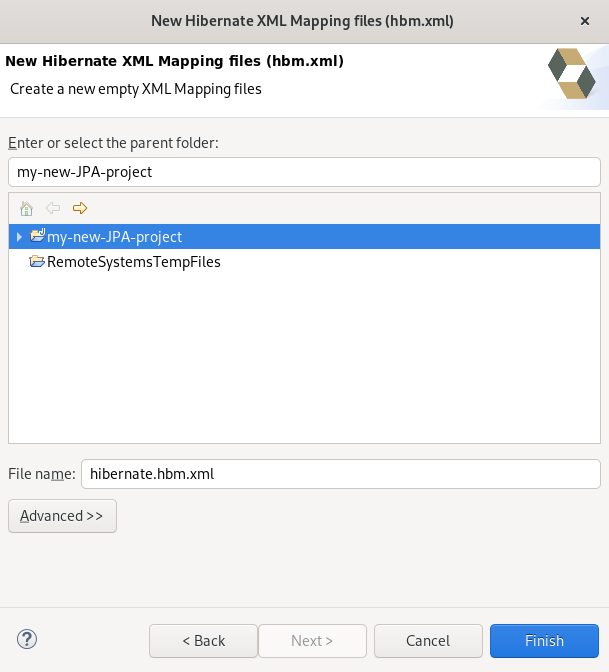
The New Hibernate XML Mapping files window appears.
- Select the parent directory.
-
Name your
.hbm.xmlfile . - Click .


7.5. Creating a Hibernate configuration file
For reverse engineering, prototype queries, or Hibernate Core usage, a hibernate.properties or a hibernate.cfg.xml file is required. CodeReady Studio provides a wizard to generate the configuration file hibernate.cfg.xml.
The following section describes how to create a Hibernate configuration file in CodeReady Studio.
Procedure
- Start CodeReady Studio.
Press Ctrl+N.
The Select a wizard window appears.
- Enter Hibernate in the search field.
- Select Hibernate Configuration file (cfg.xml).
Click .
The Create Hibernate Configuration file (cfg.xml) window appears.
- Select the parent directory.
Click .
The Hibernate Configuration File (cfg.xml) window appears.
- Click the down-arrow in the Database dialect field to select the database.
- Click the down-arrow in the Driver class field to select the driver.
- Click the down-arrow in the Connection URL field to select the URL.
- Click .


7.6. Creating a Hibernate console configuration file
A console configuration file describes how the Hibernate plugin configures Hibernate. It also describes the configuration files and classpaths needed to load the POJOs, JDBC drivers, and so on. It is required to make use of query prototyping, reverse engineering and code generation. You can have multiple console configurations per project, however, one configuration is sufficient.
The following section describes how to create a Hibernate console configuration file in CodeReady Studio.
Procedure
- Start CodeReady Studio.
Press Ctrl+N.
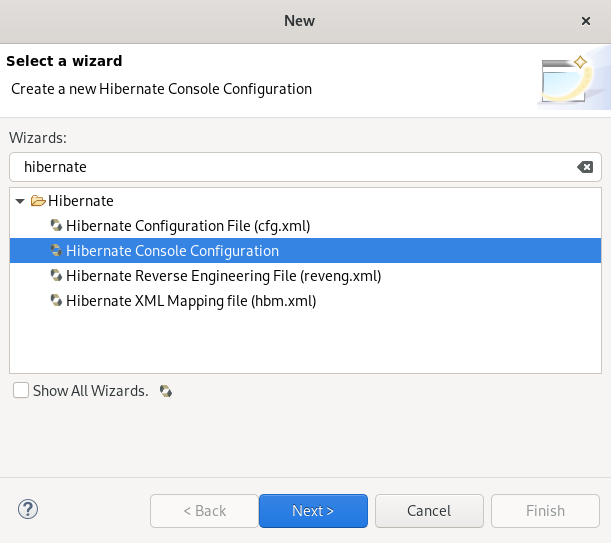
The Select a wizard window appears.
- Enter Hibernate in the search field.
- Select Hibernate Console Configuration.
Click .
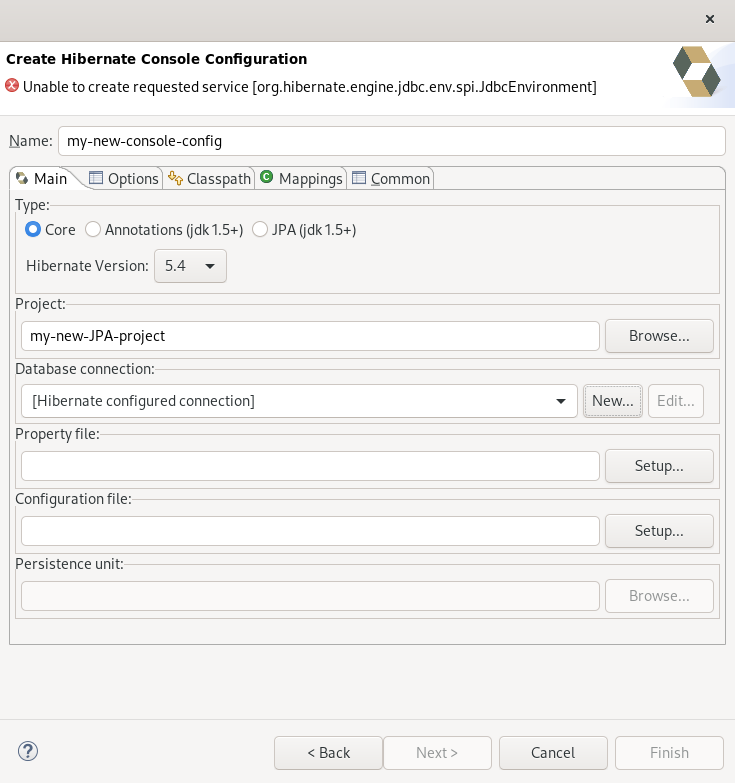
The Create Hibernate Console Configuration window appears.
- Name your configuration file .
- Ensure that the Type is set to Core.
- Select the correct Hibernate version.
- Click to locate your project.
Click to configure a new Database connection.
The New Connection Profile window appears.
- Select the Database Connection or create a new one.
Click to set up the Property file.
The Setup property file window appears.
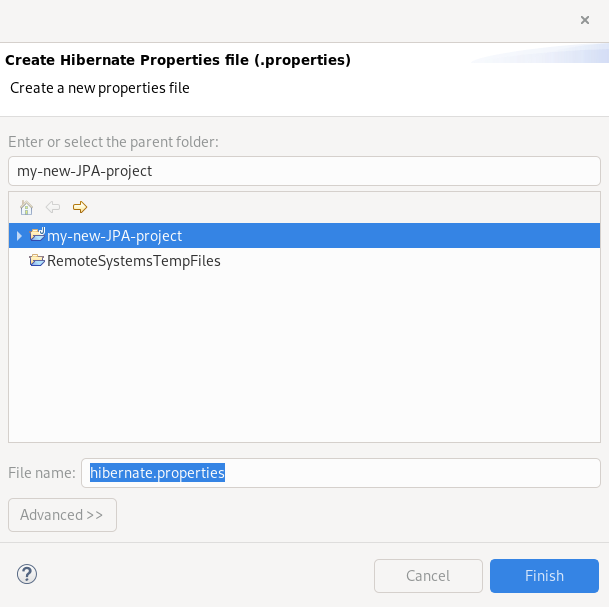
Click .
The Create Hibernate Properties file (.properties) window appears.
- Select the parent directory.
-
Name your
.propertiesfile. - Click .
- Click to set up the Configuration file.
Select the path to the target
.cfg.xmlfile.The Setup configuration file window appears.
Click .
The Create Hibernate Configuration file (cfg.xml) window appears.
- Select the parent directory.
Click .
The Hibernate Configuration File (cfg.xml) window appears.
- Click the down-arrow in the Database dialect field to select the database.
- Click the down-arrow in the Driver class field to select the driver.
- Click the down-arrow in the Connection URL field to select the URL.
Click .
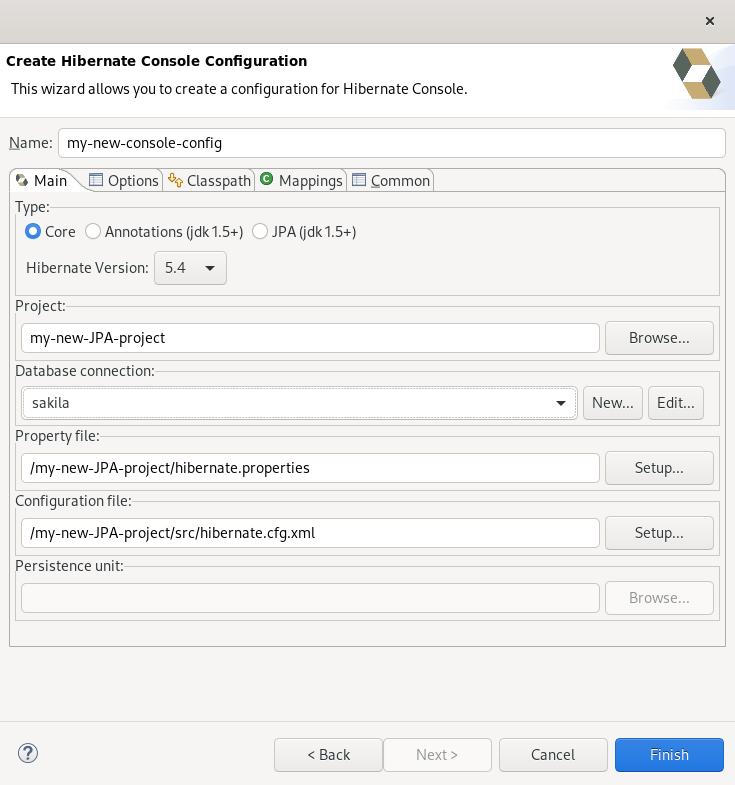
The Create Hibernate Console Configuration window appears.
-
Set the database connection to
sakila. - Click .
7.7. Editing Hibernate project configurations
The following section describes how to edit configurations for your Hibernate project in CodeReady Studio.
Procedure
- Start CodeReady Studio.
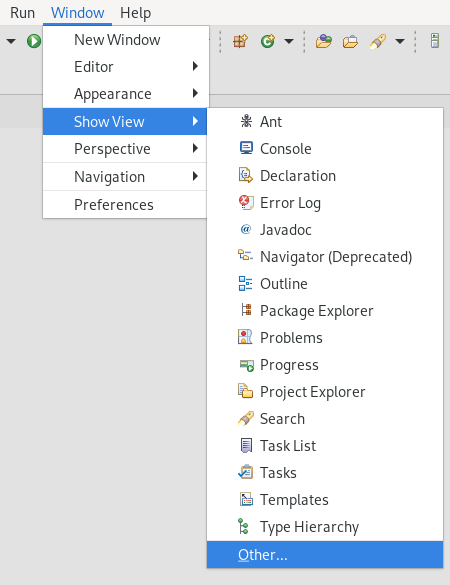
Click
. The Show View window appears.
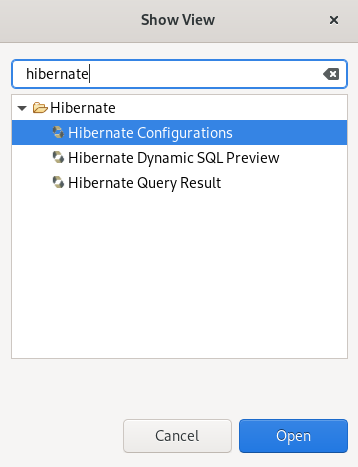
- Enter Hibernate in the search field.
- Select Hibernate Configurations.
Click .
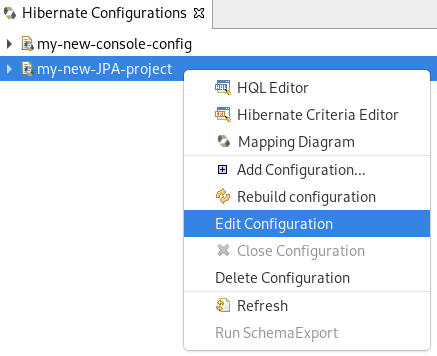
The Hibernate Configurations view appears.
Right-click your
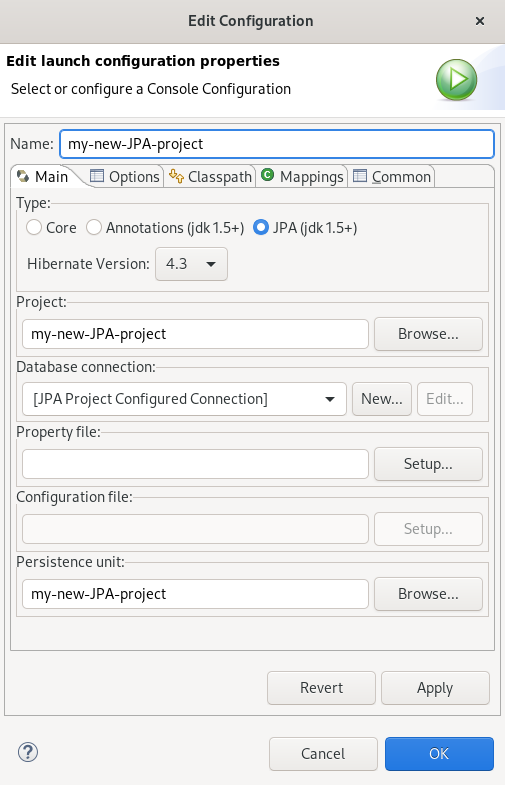
. The Edit Configuration window appears.
- Edit your configurations.
- Click .
- Click .