4.2. Demonstration: Creating and Managing a Guest with Command-line Utilities
To show how virtualization tasks are performed in the CLI, this section provides a demonstration where a new guest virtual machine is created, an OS is installed on it, and the guest is afterwards interacted with and managed using CLI commands.
4.2.1. Installation
Copy linkLink copied to clipboard!
The following creates a new guest, here named
guest1-rhel7, and starts an OS installation from a Red Hat Enterprise Linux 7 Workstation ISO image. This image is obtainable on the Customer Portal and in this example, it is currently located in your ~/Downloads/ folder. The guest is allocated with two virtual CPUs, 2048 MB RAM, and 8 GB of disk space.
# virt-install --name guest1-rhel7 --memory 2048 --vcpus 2 --disk size=8 --cdrom /home/username/Downloads/rhel-workstation-7.4-x86_64-dvd.iso --os-variant rhel7

Starting install...
Allocating 'guest1-rhel7.qcow2'                                                   | 8.0 GB  00:00:00
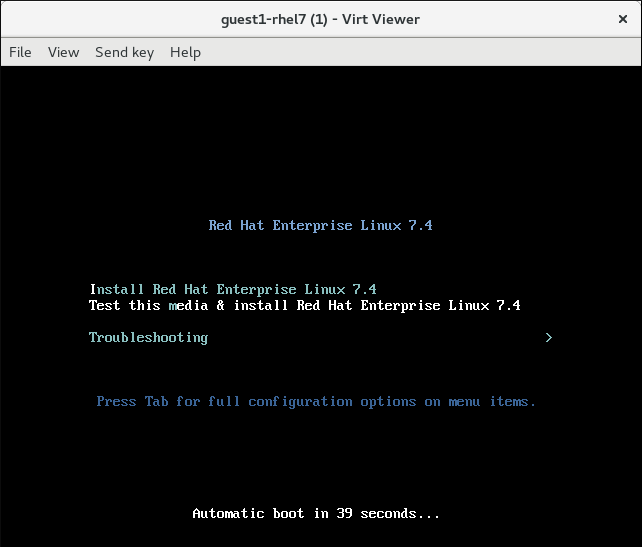
This launches a graphical Anaconda installer in the virt-viewer application. For more information on the installation, see the Installation Guide.
Note
On host systems without access to a graphical interface, it is possible to install the guest OS using text-based Anaconda, using a
virt-install command similar to the following:
# virt-install -name rhel7anaconda-guest -r 1024 --location=/home/jherrman/Downloads/rhel-workstation-7.4-x86_64-dvd.iso --disk size=8 --nographics --extra-args="console=tty0 console=ttyS0,115200n8"
If the installation completes successfully, the command line displays the following:
Domain creation completed.
Restarting guest.
It is now possible to make any desirable configuration to the guest. However, to manage the guest settings safely, it is advisable to shut down the guest first.
# virsh shutdown guest1-rhel7
Domain guest1-rhel7 is being shutdown
4.2.2. Attaching a Device
Copy linkLink copied to clipboard!
To make the guest detect and use a USB device connected to the host, a Samsung mobile phone in this example, start by using the
lsusb command on the host to retrieve the device's IDs.
# lsusb

[...]
Bus 003 Device 007: ID 04e8:6860 Samsung Electronics Co., Ltd Galaxy (MTP)
Afterwards, use your text editor of choice on the host to create an XML file for the device,
samsung_USB_device.xml in this example, where you will input the vendor and product IDs.
# vim samsung_USB_device.xml<hostdev mode='subsystem' type='usb' managed='yes'>
<source>
<vendor id='0x04e8'/>
<product id='0x6860'/>
</source>
</hostdev>
Finally, use the
virsh attach-device command to attach the device to the guest.
# virsh attach-device guest1-rhel7 --file samsung_USB_device.xml --config
Device attached successfully
Note
It is possible to attach devices to a running guest as well. To do so, use the
--live option.
4.2.3. Interacting with the Guest
Copy linkLink copied to clipboard!
To begin using the guest1-rhel7 guest, start it first.
# virsh start guest1-rhel7
Domain guest1-rhel7 started
Depending on whether your host system has a graphical display, you can either interact with the guest using the virt-viewer application, or using an SSH shell.
- On systems with a graphical display, use virt-viewer:
# virt-viewer guest1-rhel7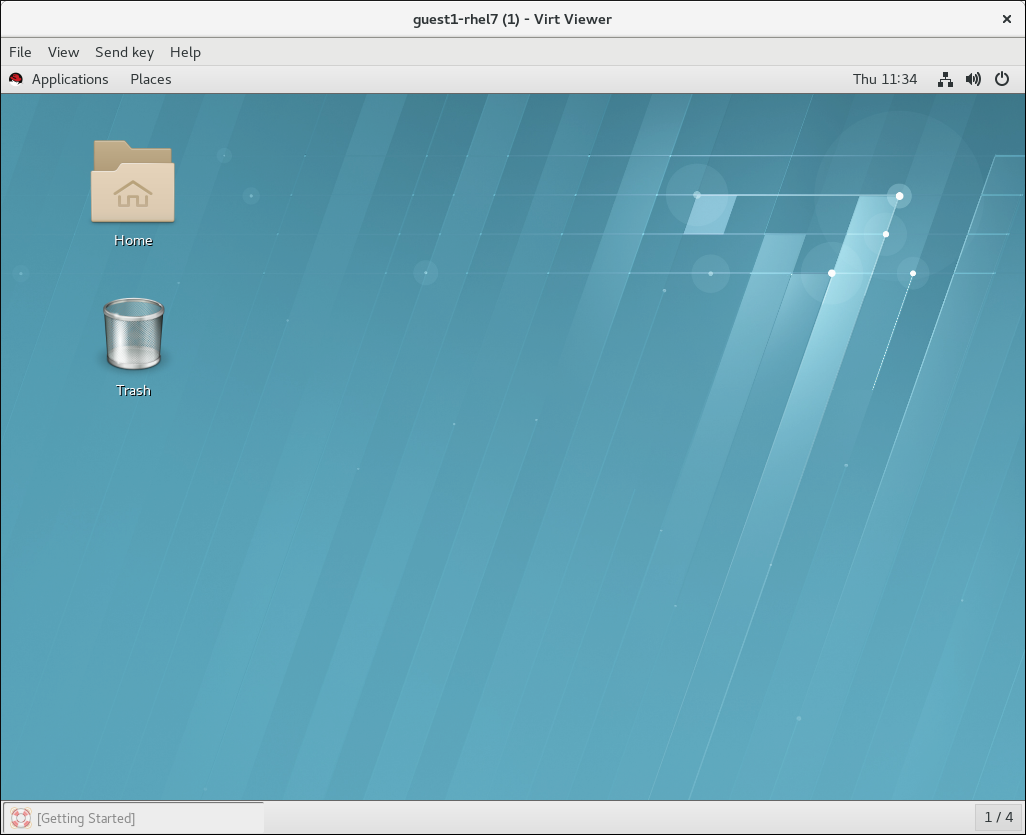 Afterwards, you can interact with the screen output in the virt-viewer window like with an OS GUI on a physical machine. For example, you can use the Subscription Manager application to register your Red Hat Enterprise Linux guest OS:
- If the host or guest has a text-only interface, use SSH. This requires knowing the IP address of the guest. If you do not know the IP address, it can be obtained using the
virsh domifaddrcommand.# virsh domifaddr guest1-rhel7 Name MAC address Protocol Address ------------------------------------------------------------------------------- vnet0 52:54:00:65:29:21 ipv4 10.34.3.125/24 # ssh root@10.34.3.125 root@10.34.3.125's password: Last login: Wed Jul 19 18:27:10 2017 from 192.168.122.1 [root@localhost ~]#Note
Forvirsh domifaddrto work, the guest must be running, reachable on a network, and may require the QEMU guest agent to be activated.Afterwards, you can interact with the host terminal as if using a terminal on the guest machine. For example, you can use the subscription-manager utility to register your Red Hat Enterprise Linux guest OS:[root@localhost ~]# subscription-manager register Registering to: subscription.rhsm.redhat.com:443/subscription Username: username@sample.com Password: The system has been registered with ID: 30b5e666-67f9-53bb-4b90-c2a88e5be789
4.2.4. Diagnostics
Copy linkLink copied to clipboard!
Display general information about the state of the guest:
# virsh dominfo guest1-rhel7
Id:             1
Name:           guest1-rhel7
UUID:           ec0c0122-fb63-4a54-b602-5cf84f5e2dfd
OS Type:        hvm
State:          running
CPU(s):         2
CPU time:       33.4s
Max memory:     2097152 KiB
Used memory:    2097152 KiB
Persistent:     yes
Autostart:      disable
Managed save:   no
Security model: selinux
Security DOI:   0
Security label: unconfined_u:unconfined_r:svirt_t:s0:c102,c792 (enforcing)
4.2.5. Creating Snapshots
Copy linkLink copied to clipboard!
To back up the state of the guest, you can use the
virsh snapshot-create command.
# virsh snapshot-create guest1-rhel7
Domain snapshot 1500563241 created
You can display your current snapshots and the XML setting of each one.
# virsh snapshot-list guest1-rhel7
Name                 Creation Time             State
------------------------------------------------------------
1500563241           2017-07-20 17:07:21 +0200 shutoff

# virsh snapshot-dumpxml guest1-rhel7 1500563241
<domainsnapshot>
  <name>1500563241</name>
  <state>shutoff</state>
  <creationTime>1500563241</creationTime>
  <memory snapshot='no'/>
  <disks>
    <disk name='vda' snapshot='internal'/>
[...]
This snapshot can later be loaded to revert the guest to the state saved in the snapshot.
# virsh snapshot-revert guest1-rhel7 --snapshotname 150056324