Chapter 2. Setting up a project and storage
2.1. Navigating to the OpenShift AI dashboard
Procedure
How you open the OpenShift AI dashboard depends on your OpenShift environment:
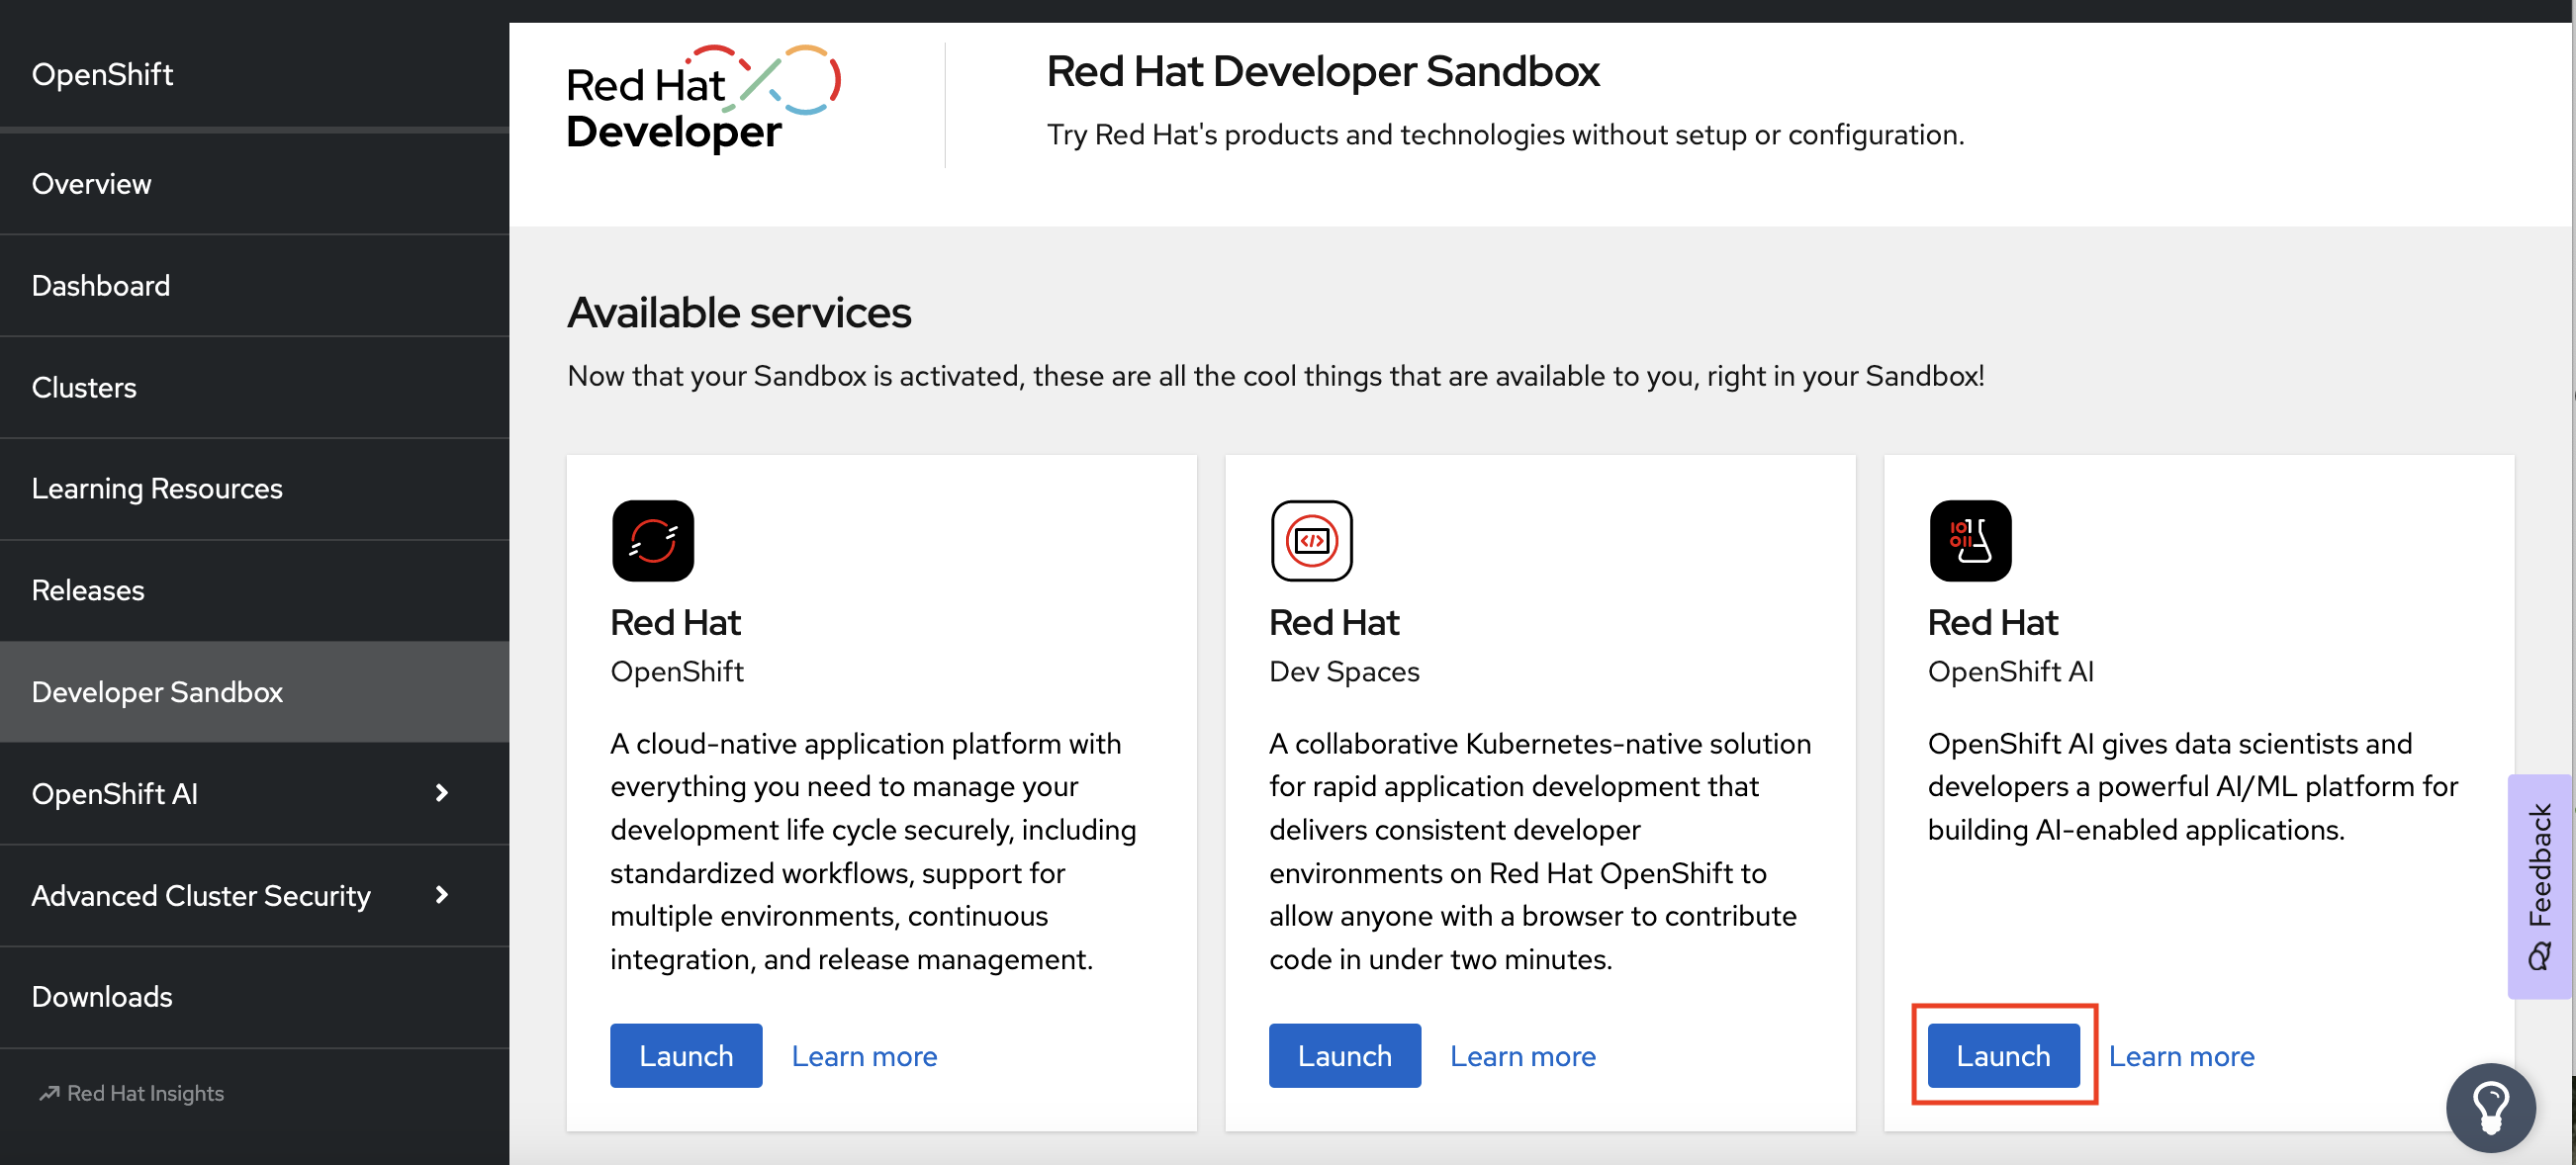
If you are using the Red Hat Developer Sandbox:
After you log in to the Sandbox, under Available services, in the Red Hat OpenShift AI card, click Launch.
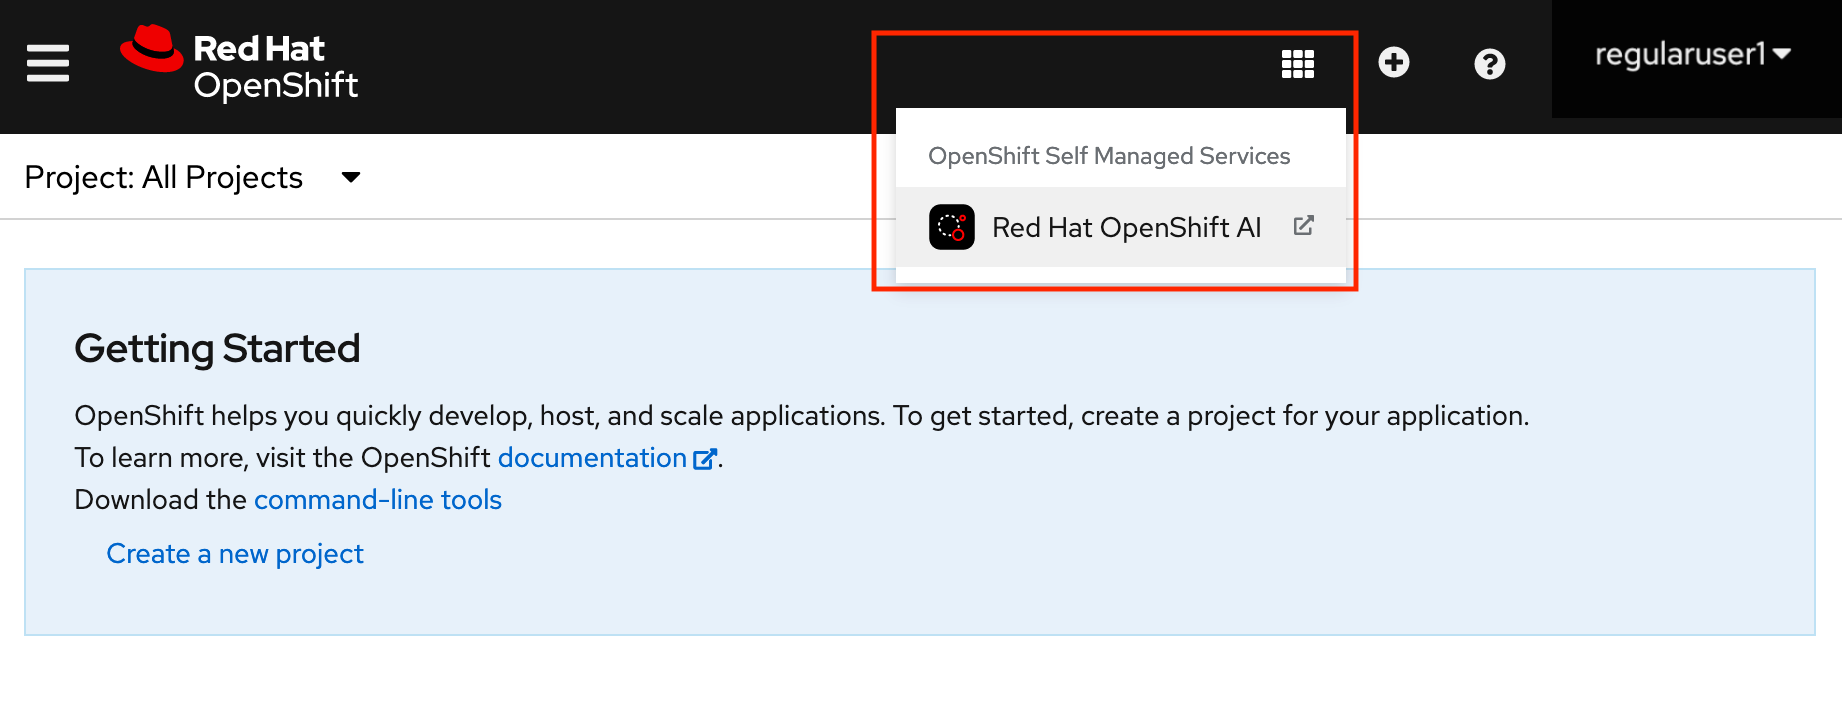
If you are using your own OpenShift cluster:
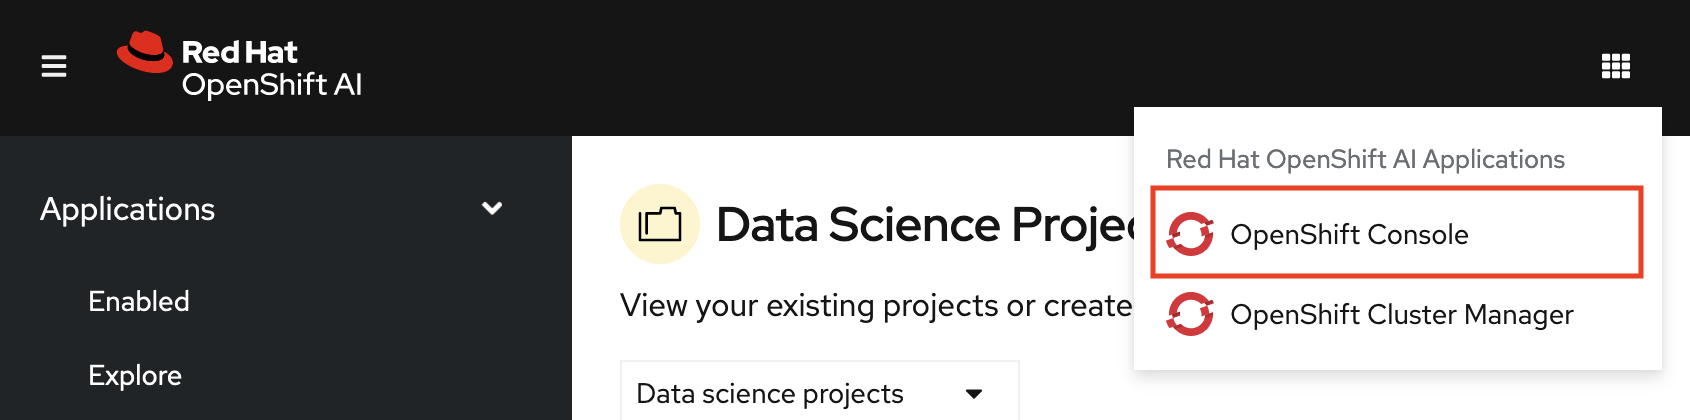
After you log in to the OpenShift console, click the application launcher icon on the header.
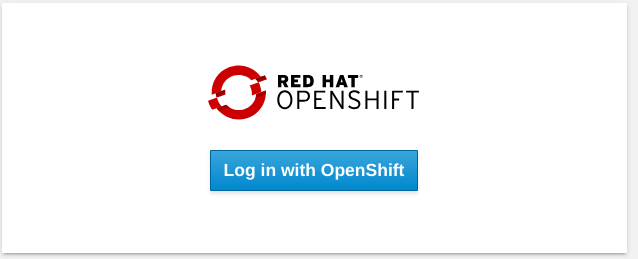
When prompted, log in to the OpenShift AI dashboard by using your OpenShift credentials. OpenShift AI uses the same credentials as OpenShift for the dashboard, notebooks, and all other components.
The OpenShift AI dashboard shows the Home page.
Note: You can navigate back to the OpenShift console by clicking the application launcher to access the OpenShift console.
For now, stay in the OpenShift AI dashboard.
Next step
2.2. Setting up your data science project
Before you begin, make sure that you are logged in to Red Hat OpenShift AI.
Procedure
On the navigation menu, select Data Science Projects. This page lists any existing projects that you have access to. From this page, you can select an existing project (if any) or create a new one.
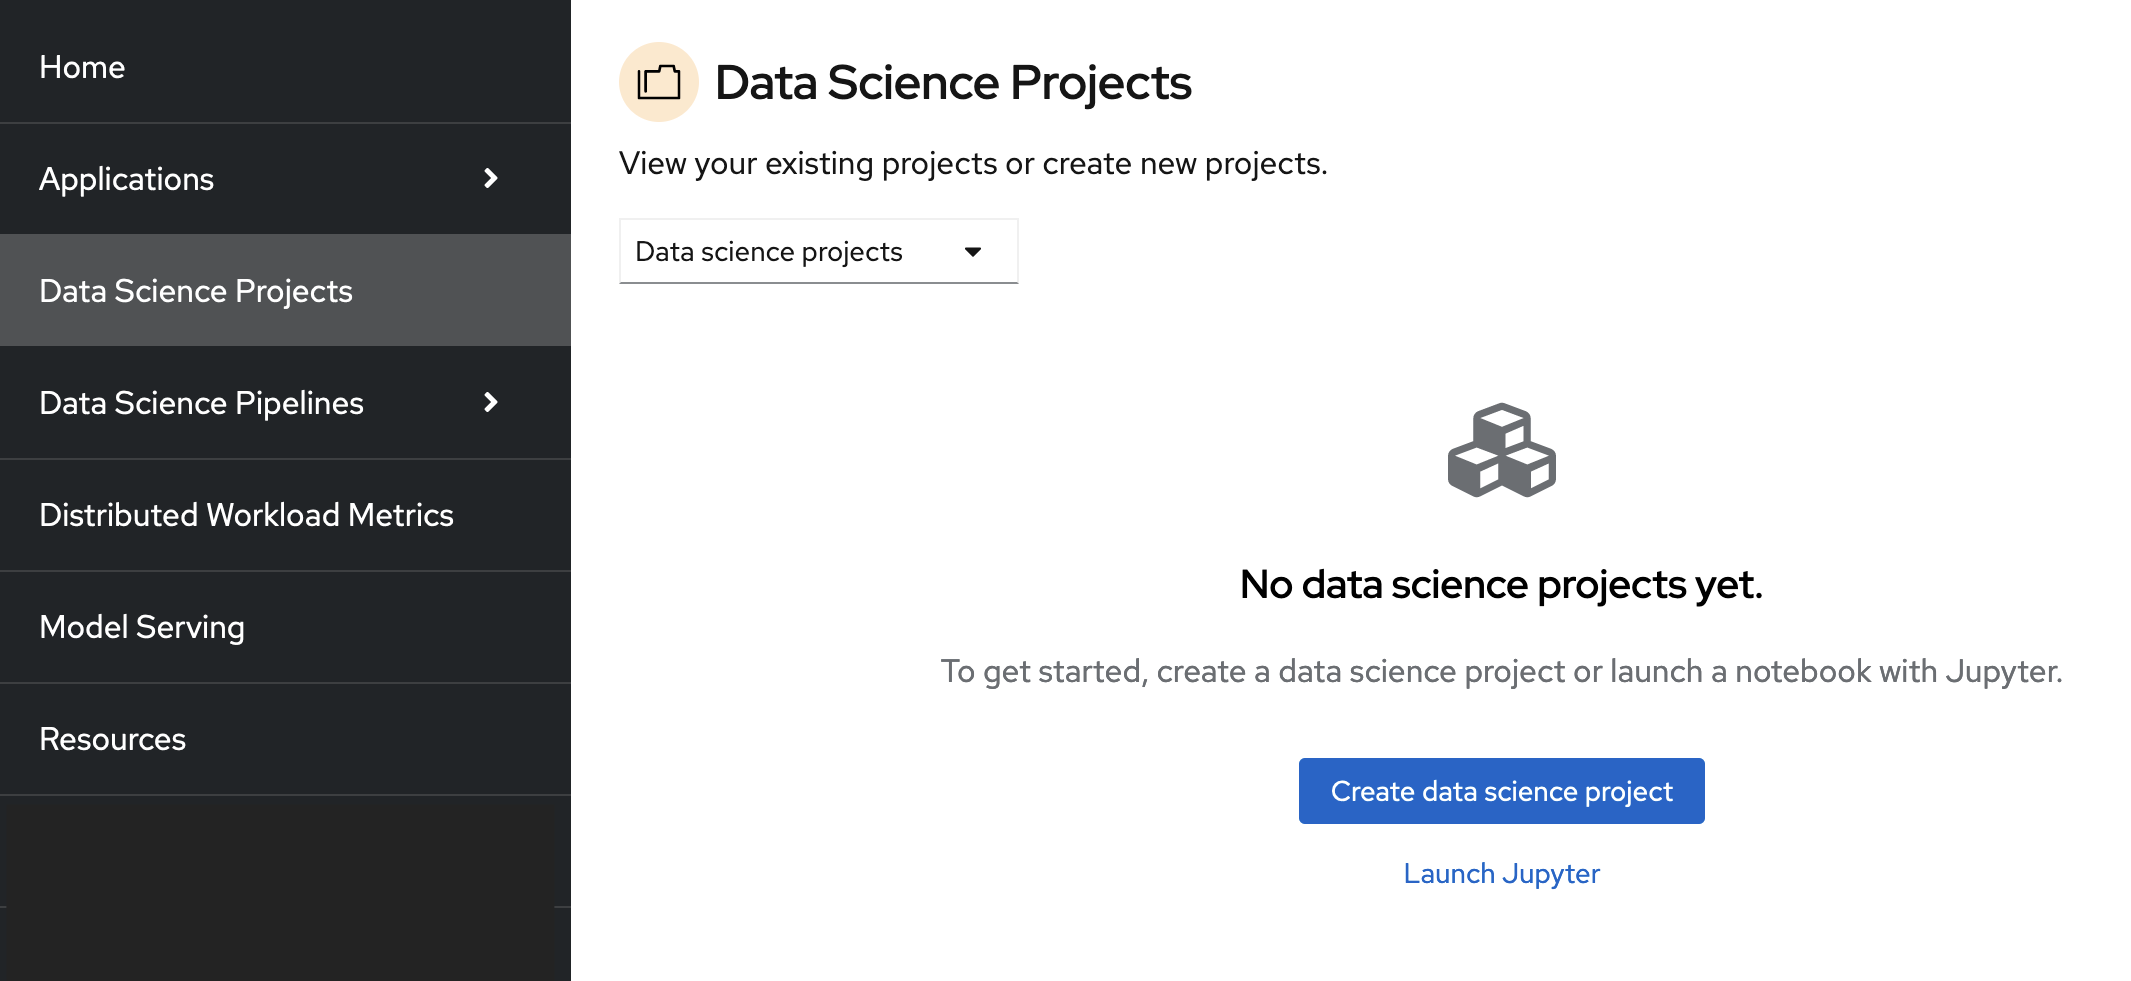
Note that it is possible to start a Jupyter notebook by clicking the Launch Jupyter link. However, it would be a one-off Jupyter notebook run in isolation. To implement a data science workflow, you must create a data science project (as described in the following procedure). Projects allow you and your team to organize and collaborate on resources within separated namespaces. From a project you can create multiple workbenches, each with their own IDE environment (for example, JupyterLab), and each with their own data connections and cluster storage. In addition, the workbenches can share models and data with pipelines and model servers.
If you are using the Red Hat Developer Sandbox, you are provided with a default data science project (for example,
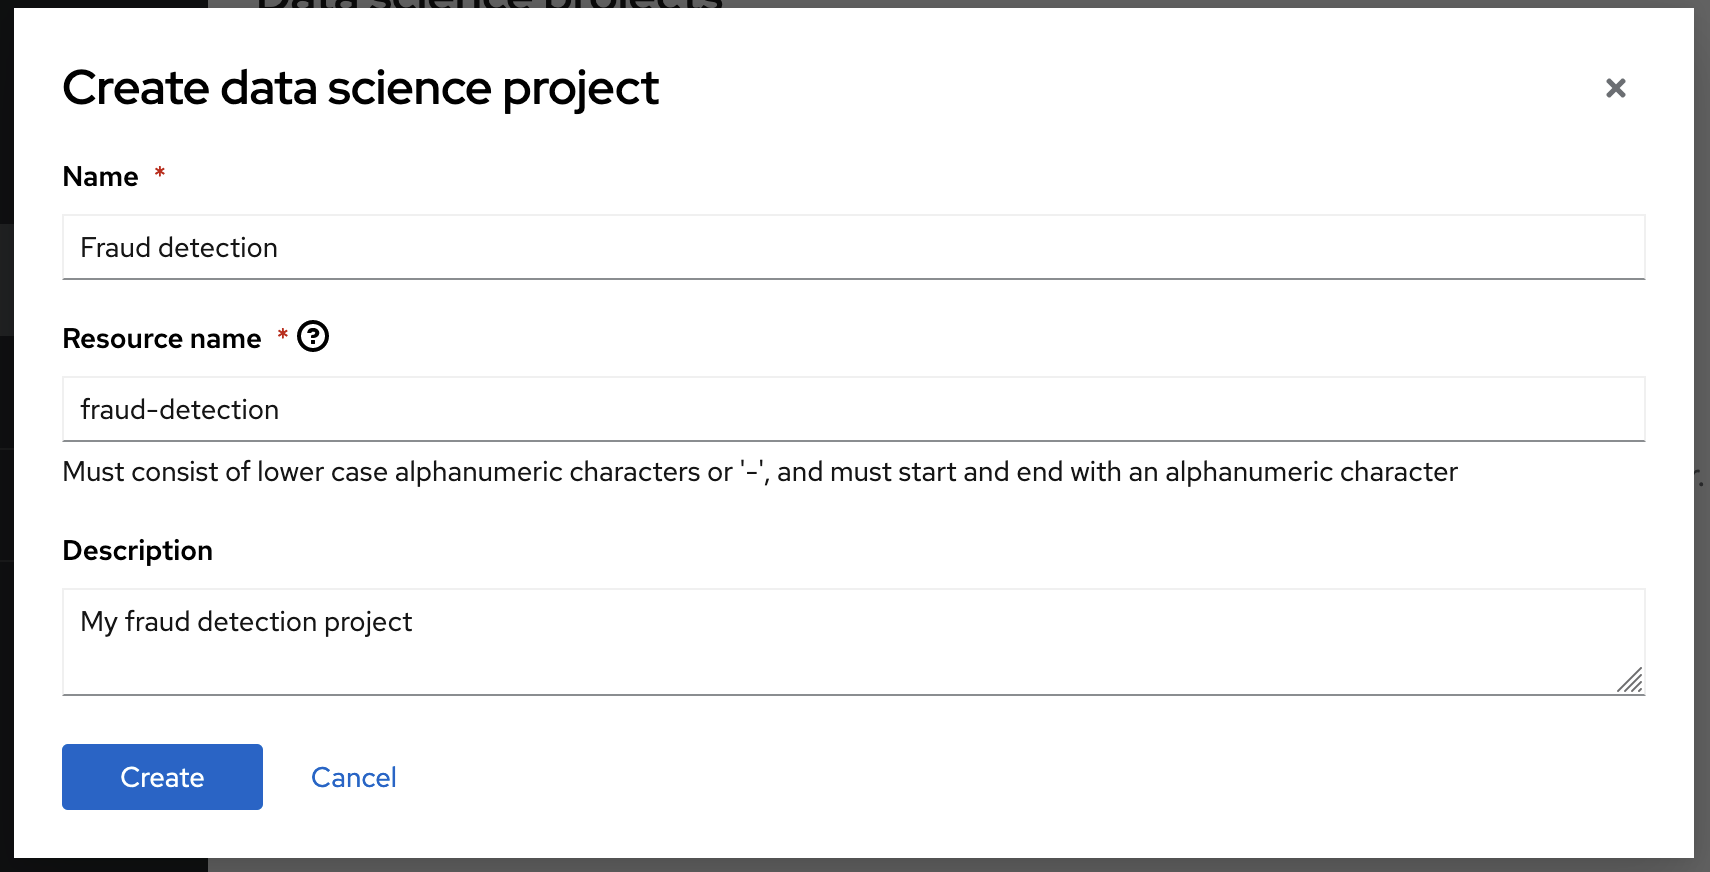
myname-dev). Select it and skip over the next step to the Verification section.If you are using your own OpenShift cluster, click Create data science project.
Enter a display name and description. Based on the display name, a resource name is automatically generated, but you can change it if you prefer.
Verification
You can now see your project’s initial state. Individual tabs provide more information about the project components and project access permissions:

- Workbenches are instances of your development and experimentation environment. They typically contain IDEs, such as JupyterLab, RStudio, and Visual Studio Code.
- Pipelines contain the data science pipelines that are executed within the project.
- Models allow you to quickly serve a trained model for real-time inference. You can have multiple model servers per data science project. One model server can host multiple models.
- Cluster storage is a persistent volume that retains the files and data you’re working on within a workbench. A workbench has access to one or more cluster storage instances.
- Data connections contain configuration parameters that are required to connect to a data source, such as an S3 object bucket.
- Permissions define which users and groups can access the project.
Next step
2.3. Storing data with data connections
For this tutorial, you need two S3-compatible object storage buckets, such as Ceph, Minio, or AWS S3:
- My Storage - Use this bucket for storing your models and data. You can reuse this bucket and its connection for your notebooks and model servers.
- Pipelines Artifacts - Use this bucket as storage for your pipeline artifacts. A pipeline artifacts bucket is required when you create a pipeline server. For this tutorial, create this bucket to separate it from the first storage bucket for clarity.
You can use your own storage buckets or run a provided script that creates local Minio storage buckets for you.
Also, you must create a data connection to each storage bucket. A data connection is a resource that contains the configuration parameters needed to connect to an object storage bucket.
You have two options for this tutorial, depending on whether you want to use your own storage buckets or use a script to create local Minio storage buckets:
- If you want to use your own S3-compatible object storage buckets, create data connections to them as described in Creating data connections to your own S3-compatible object storage.
- If you want to run a script that installs local Minio storage buckets and creates data connections to them, for the purposes of this tutorial, follow the steps in Running a script to install local object storage buckets and create data connections.
2.3.1. Creating data connections to your own S3-compatible object storage
If you do not have your own s3-compatible storage, or if you want to use a disposable local Minio instance instead, skip this section and follow the steps in Running a script to install local object storage buckets and create data connections.
Prerequisite
To create data connections to your existing S3-compatible storage buckets, you need the following credential information for the storage buckets:
- Endpoint URL
- Access key
- Secret key
- Region
- Bucket name
If you don’t have this information, contact your storage administrator.
Procedures
Create data connections to your two storage buckets.
Create a data connection for saving your data and models
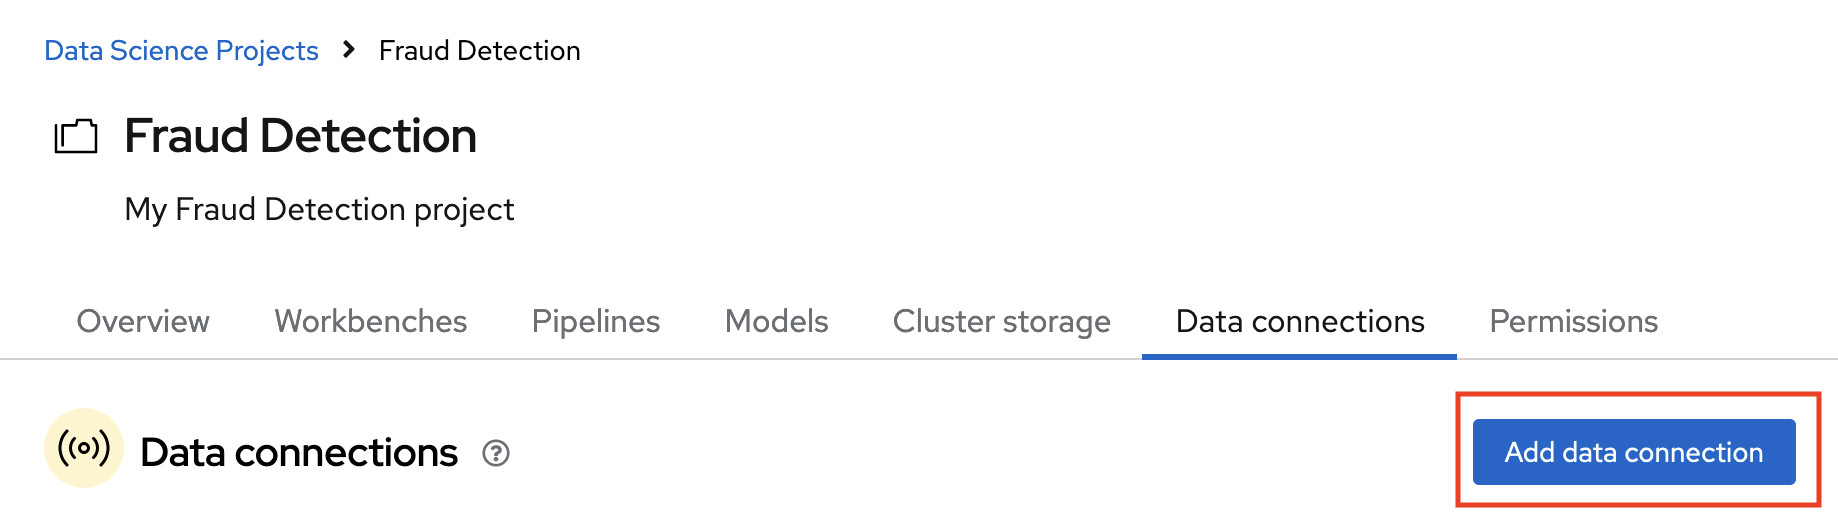
- In the OpenShift AI dashboard, navigate to the page for your data science project.
Click the Data connections tab, and then click Add data connection.
Fill out the Add data connection form and name your connection My Storage. This connection is for saving your personal work, including data and models.

- Click Add data connection.
Create a data connection for saving pipeline artifacts
If you do not intend to complete the pipelines section of the tutorial, you can skip this step.
- Click Add data connection.
Fill out the form and name your connection Pipeline Artifacts.
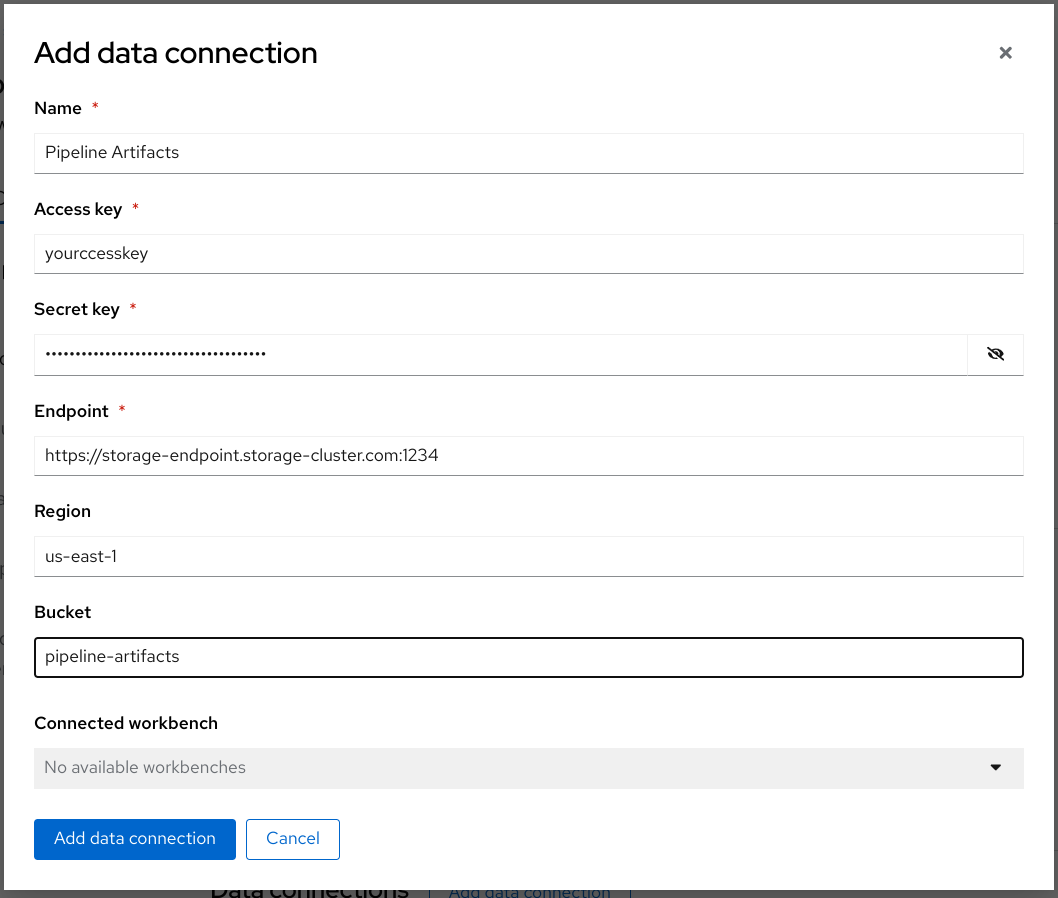
- Click Add data connection.
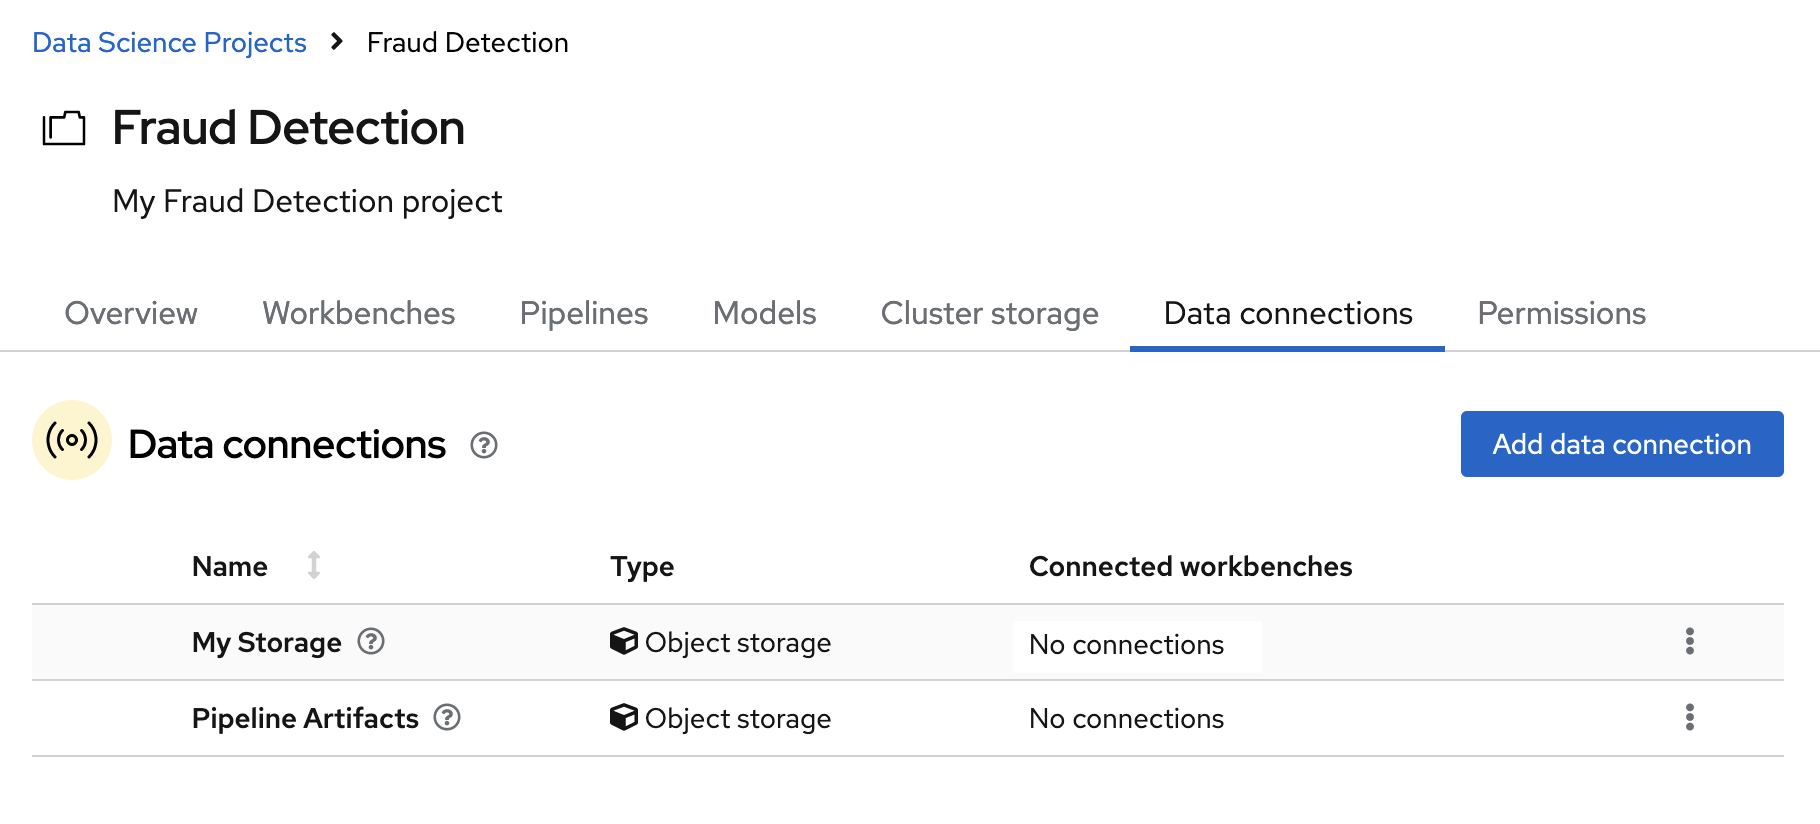
Verification
In the Data connections tab for the project, check to see that your data connections are listed.
Next steps
- Configure a pipeline server as described in Enabling data science pipelines
- Create a workbench and select a notebook image as described in Creating a workbench
2.3.2. Running a script to install local object storage buckets and create data connections
For convenience, run a script (provided in the following procedure) that automatically completes these tasks:
- Creates a Minio instance in your project.
- Creates two storage buckets in that Minio instance.
- Generates a random user id and password for your Minio instance.
- Creates two data connections in your project, one for each bucket and both using the same credentials.
- Installs required network policies for service mesh functionality.
The script is based on a guide for deploying Minio.
The Minio-based Object Storage that the script creates is not meant for production usage.
If you want to connect to your own storage, see Creating data connections to your own S3-compatible object storage.
Prerequisite
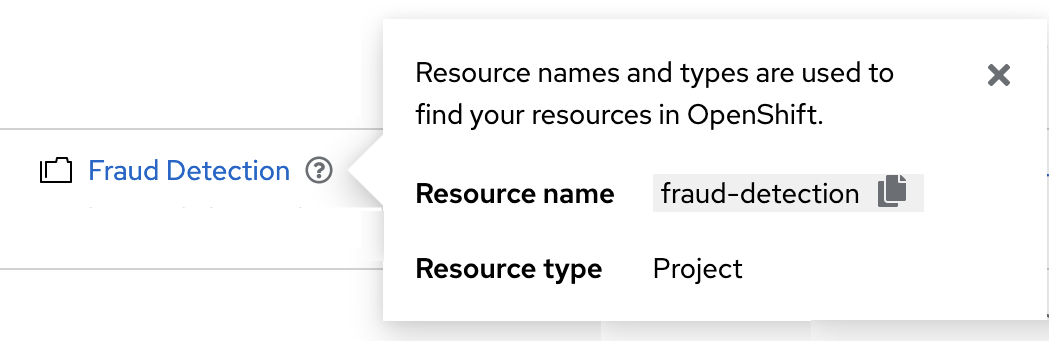
You must know the OpenShift resource name for your data science project so that you run the provided script in the correct project. To get the project’s resource name:
In the OpenShift AI dashboard, select Data Science Projects and then click the ? icon next to the project name. A text box appears with information about the project, including its resource name:
The following procedure describes how to run the script from the OpenShift console. If you are knowledgeable in OpenShift and can access the cluster from the command line, instead of following the steps in this procedure, you can use the following command to run the script:
oc apply -n <your-project-name/> -f https://github.com/rh-aiservices-bu/fraud-detection/raw/main/setup/setup-s3.yaml
Procedure
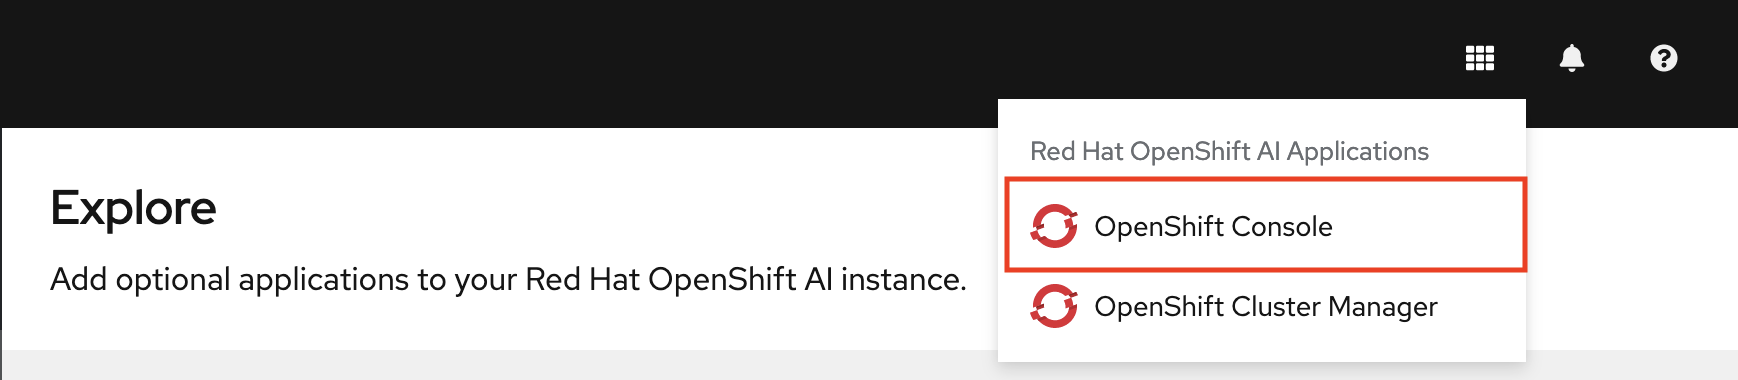
In the OpenShift AI dashboard, click the application launcher icon and then select the OpenShift Console option.
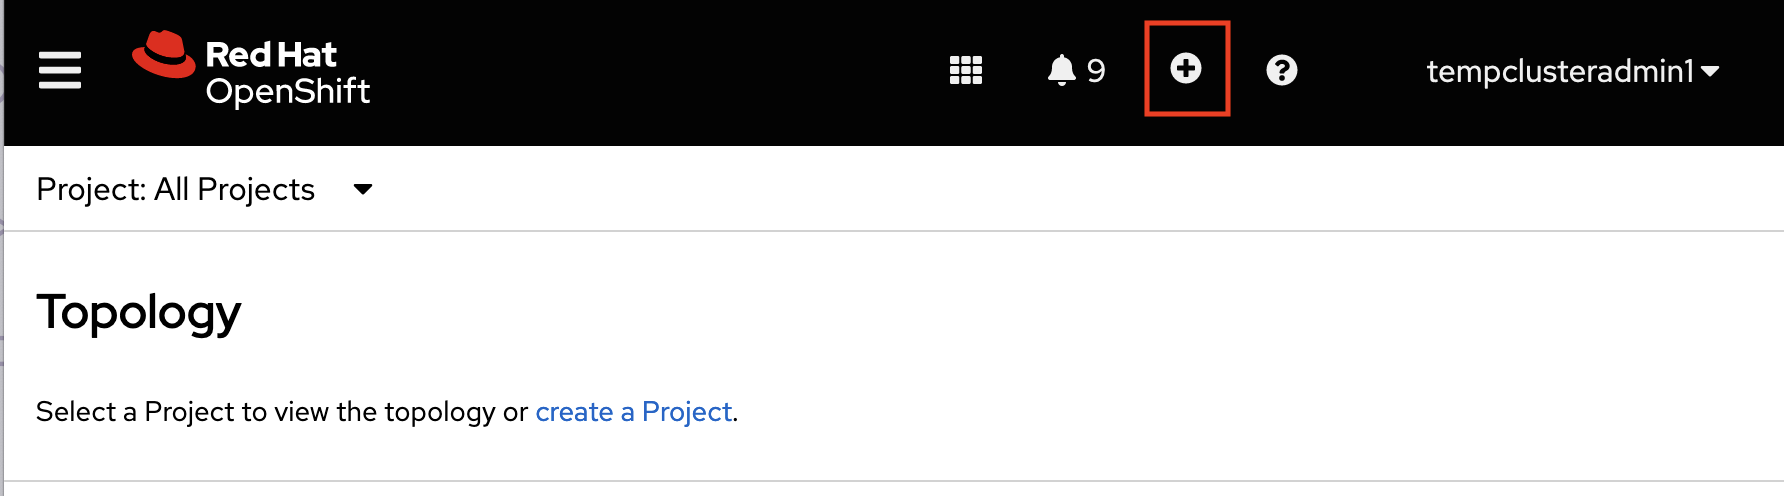
In the OpenShift console, click + in the top navigation bar.
Select your project from the list of projects.
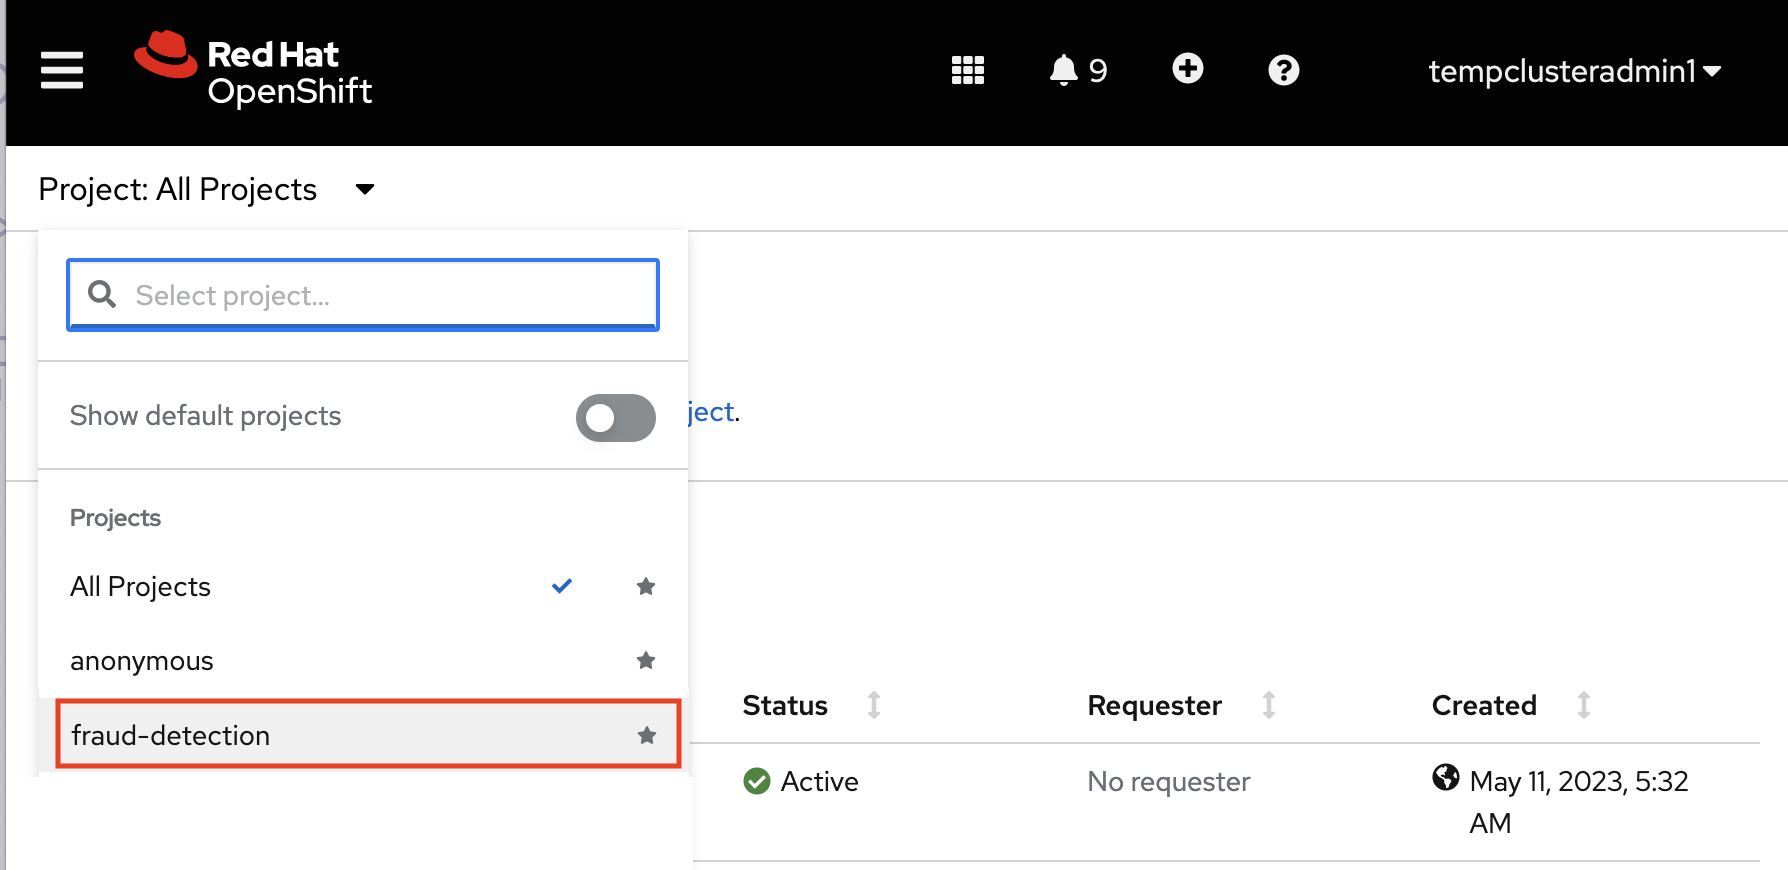
Verify that you selected the correct project.
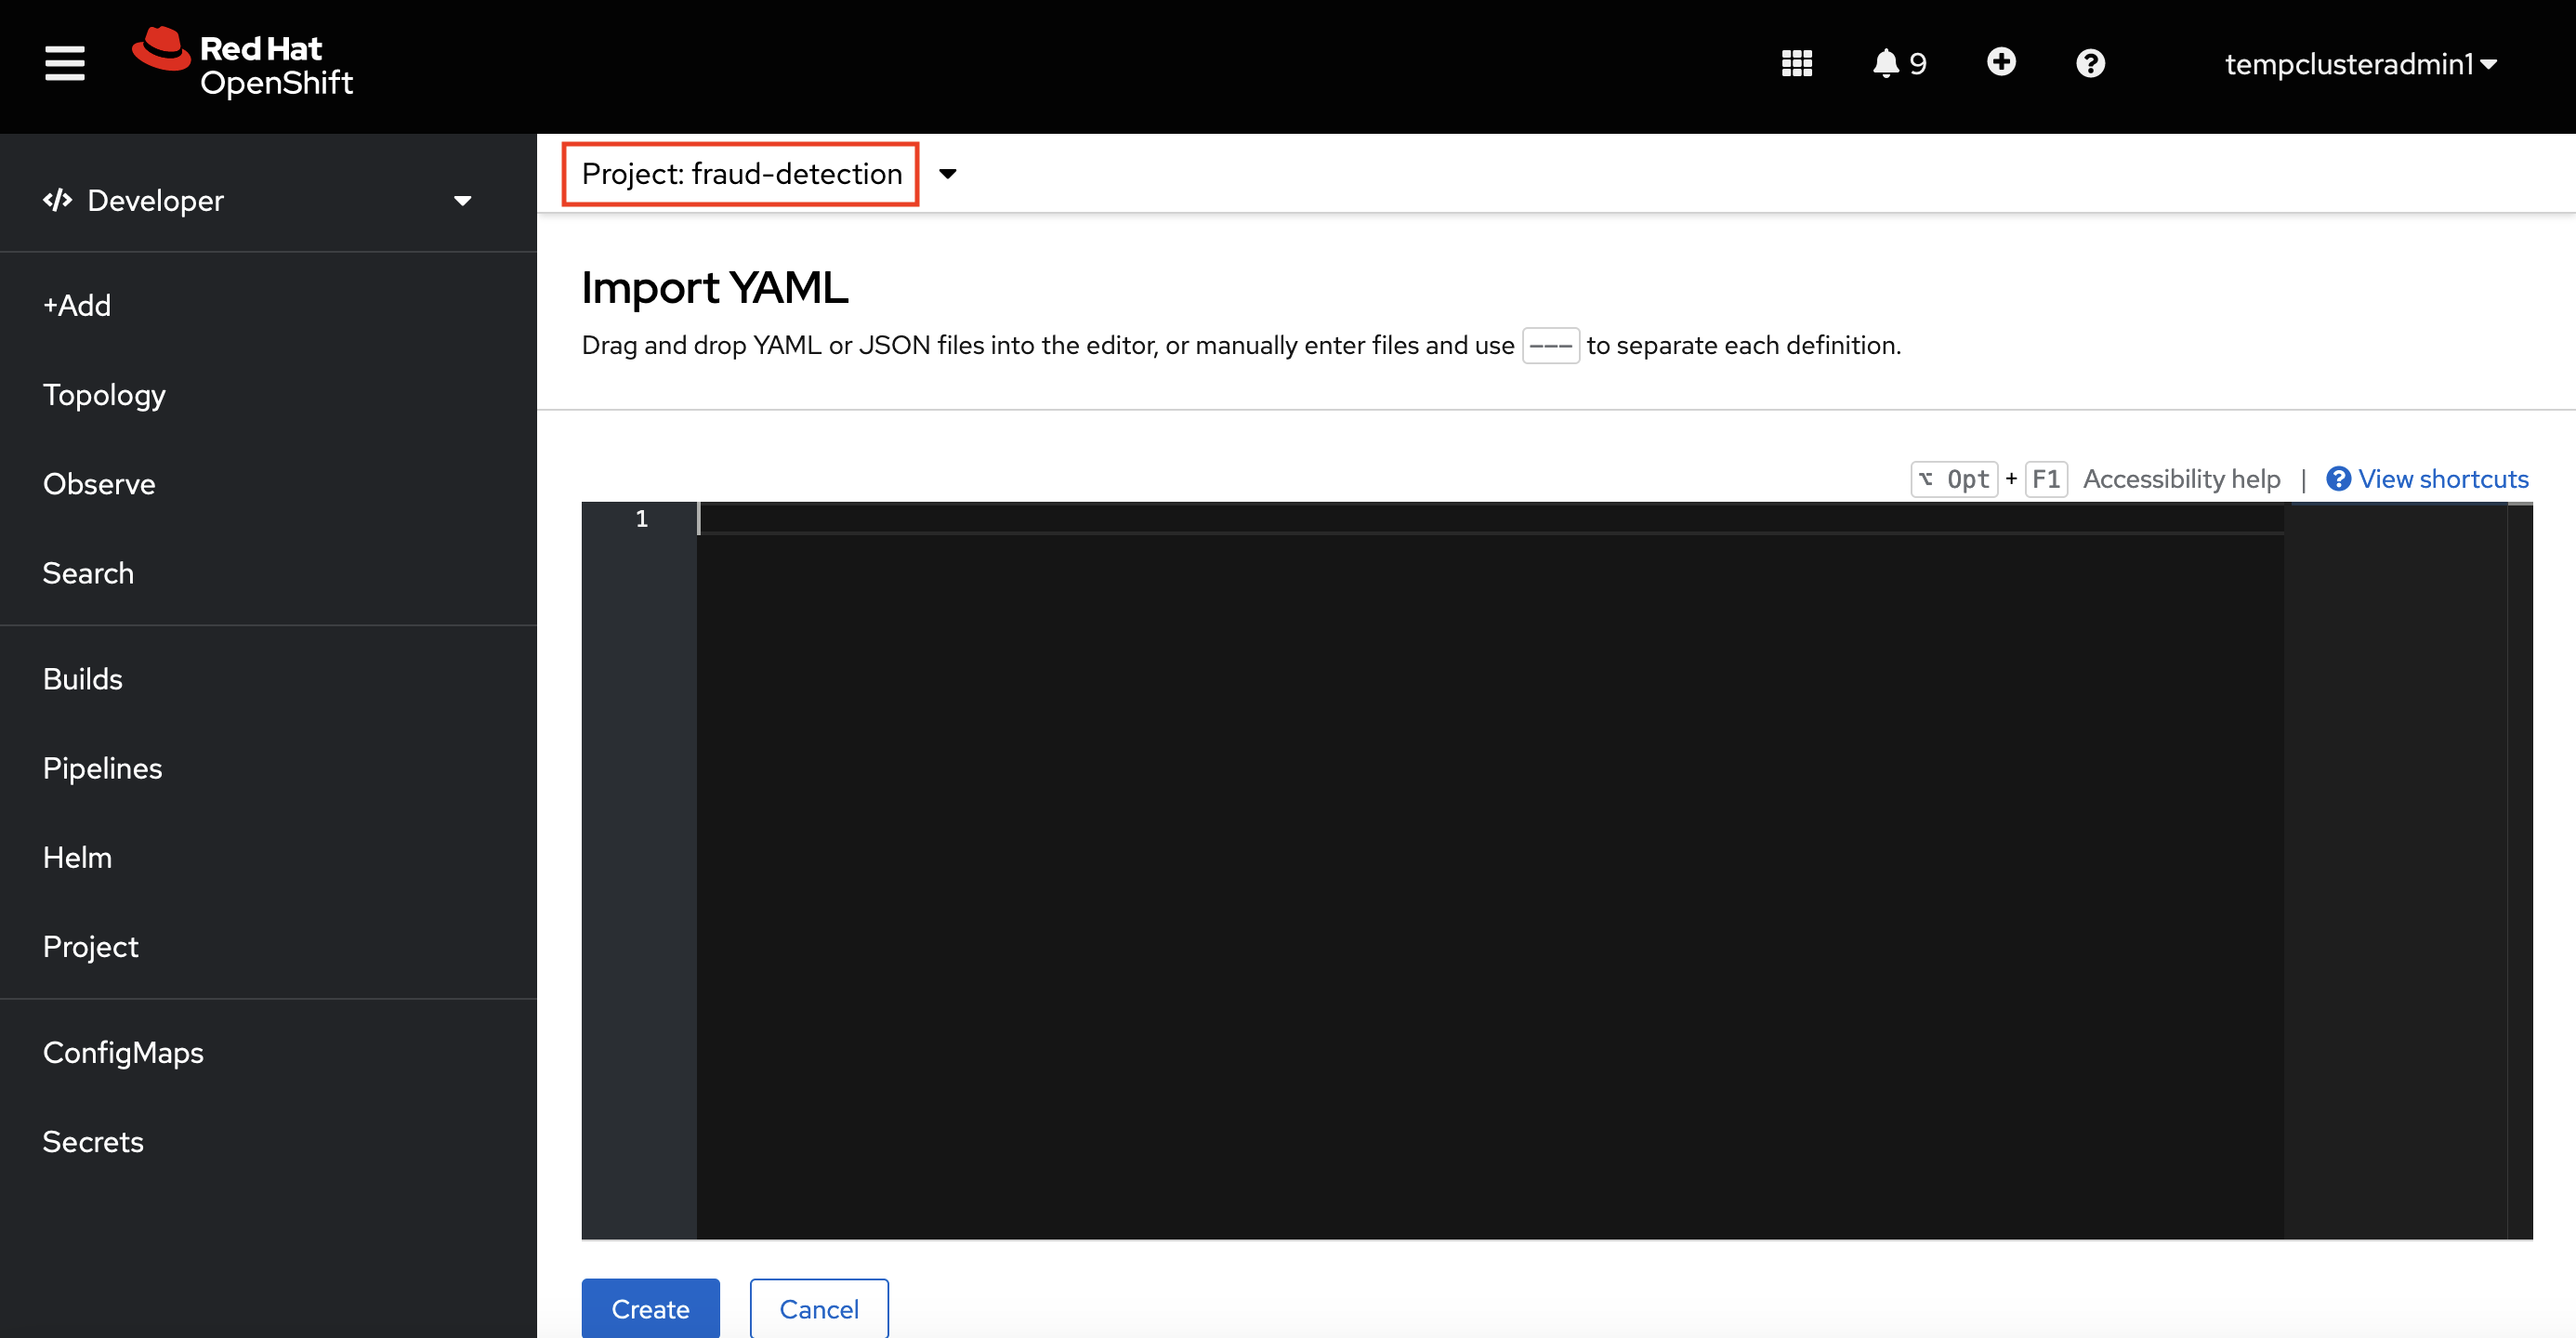
Copy the following code and paste it into the Import YAML editor.
Note: This code gets and applies the
setup-s3-no-sa.yamlfile.--- apiVersion: v1 kind: ServiceAccount metadata: name: demo-setup --- apiVersion: rbac.authorization.k8s.io/v1 kind: RoleBinding metadata: name: demo-setup-edit roleRef: apiGroup: rbac.authorization.k8s.io kind: ClusterRole name: edit subjects: - kind: ServiceAccount name: demo-setup --- apiVersion: batch/v1 kind: Job metadata: name: create-s3-storage spec: selector: {} template: spec: containers: - args: - -ec - |- echo -n 'Setting up Minio instance and data connections' oc apply -f https://github.com/rh-aiservices-bu/fraud-detection/raw/main/setup/setup-s3-no-sa.yaml command: - /bin/bash image: image-registry.openshift-image-registry.svc:5000/openshift/tools:latest imagePullPolicy: IfNotPresent name: create-s3-storage restartPolicy: Never serviceAccount: demo-setup serviceAccountName: demo-setup- Click Create.
Verification
You should see a "Resources successfully created" message and the following resources listed:
-
demo-setup -
demo-setup-edit -
create-s3-storage
Next steps
- Configure a pipeline server as described in Enabling data science pipelines
- Create a workbench and select a notebook image as described in Creating a workbench
2.4. Enabling data science pipelines
If you do not intend to complete the pipelines section of the workshop you can skip this step and move on to the next section, Create a Workbench.
In this section, you prepare your tutorial environment so that you can use data science pipelines.
In this tutorial, you implement an example pipeline by using the JupyterLab Elyra extension. With Elyra, you can create a visual end-to-end pipeline workflow that can be executed in OpenShift AI.
Prerequisite
- You have installed local object storage buckets and created data connections, as described in Storing data with data connections.
Procedure
- In the OpenShift AI dashboard, click Data Science Projects and then select Fraud Detection.
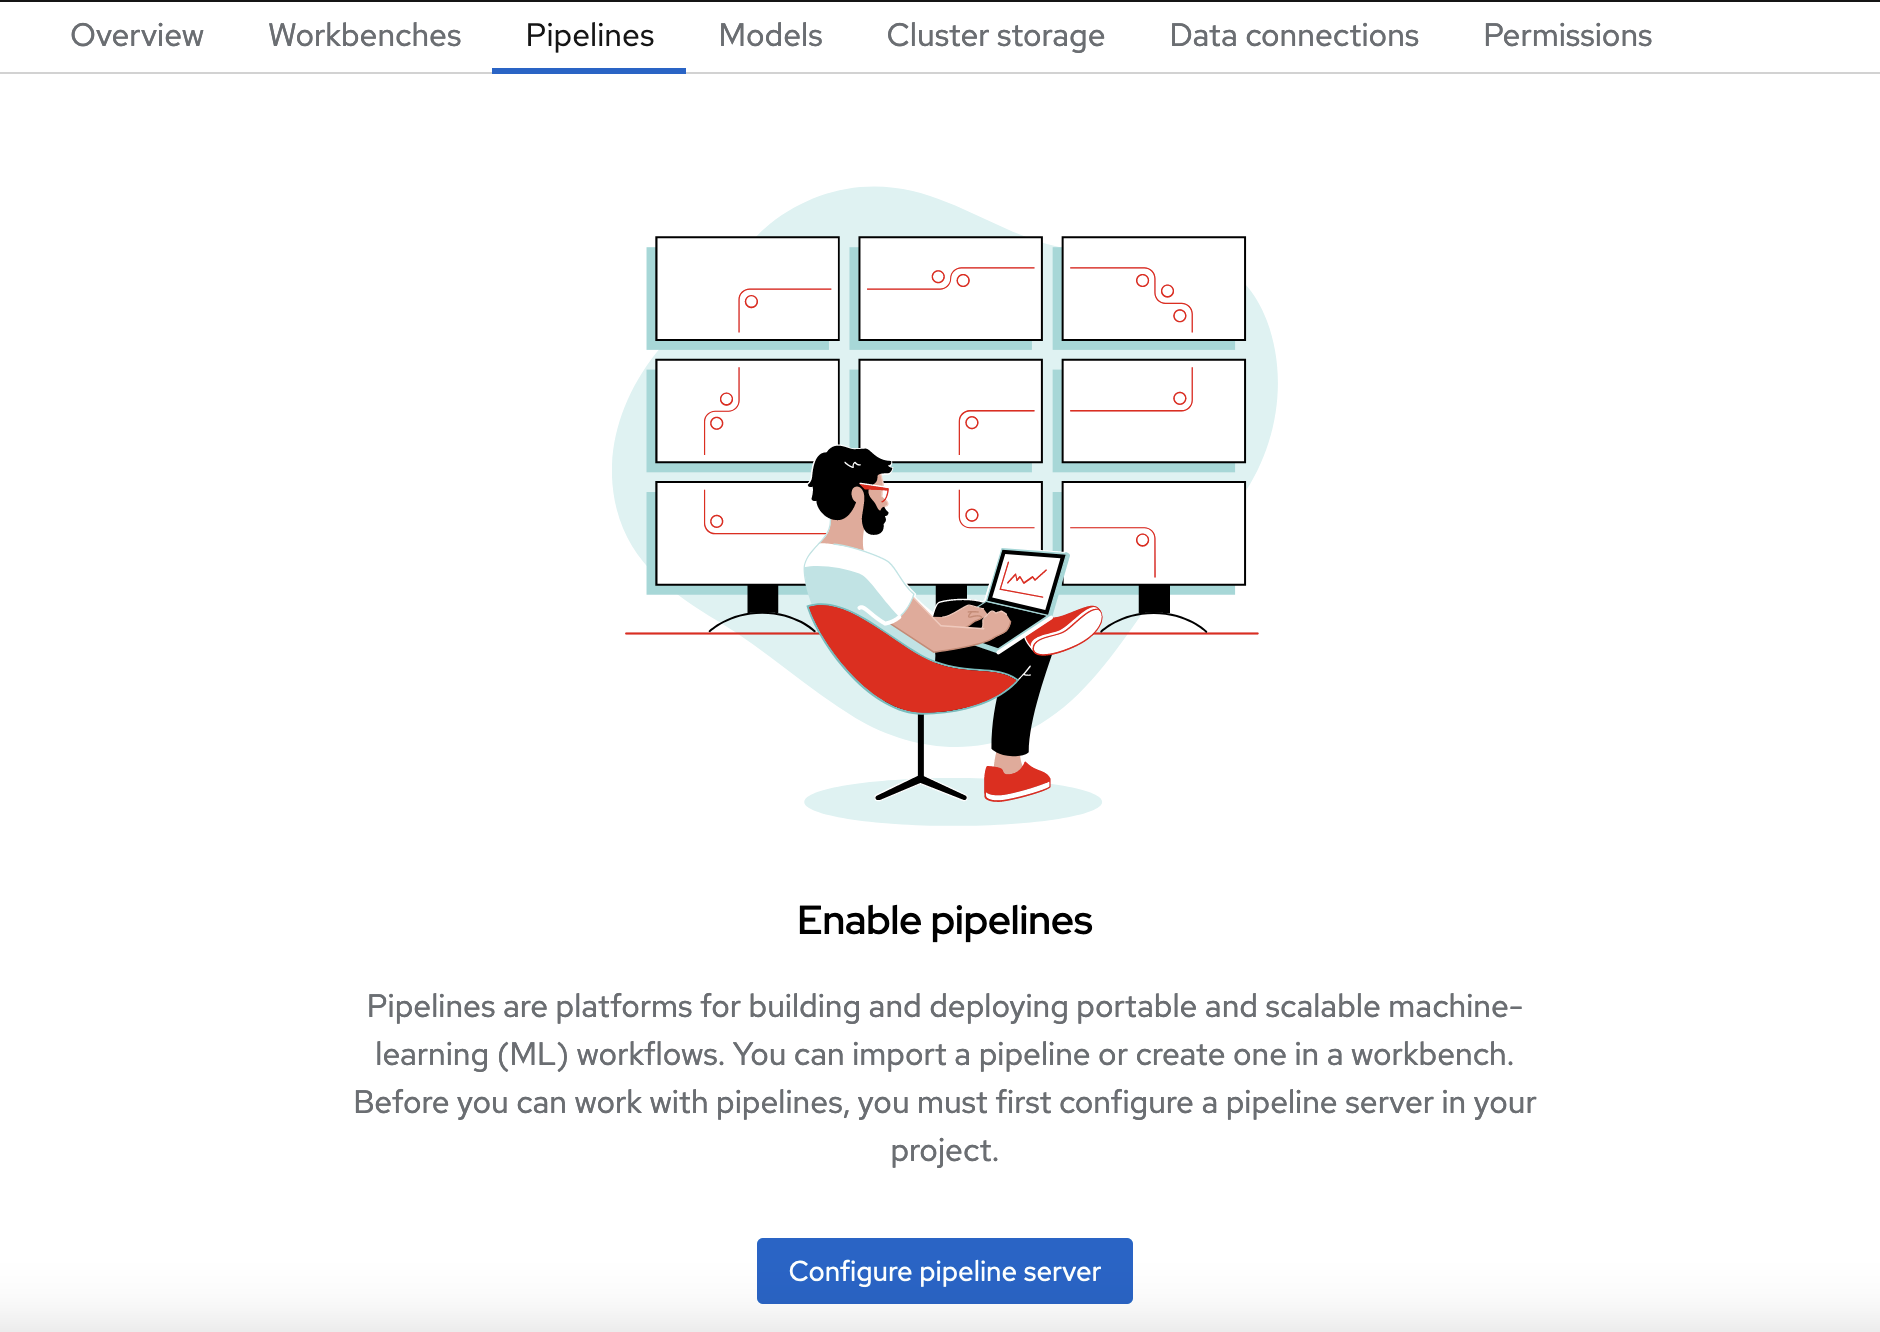
- Click the Pipelines tab.
Click Configure pipeline server.
In the Configure pipeline server form, in the Access key field next to the key icon, click the dropdown menu and then click Pipeline Artifacts to populate the Configure pipeline server form with credentials for the data connection.
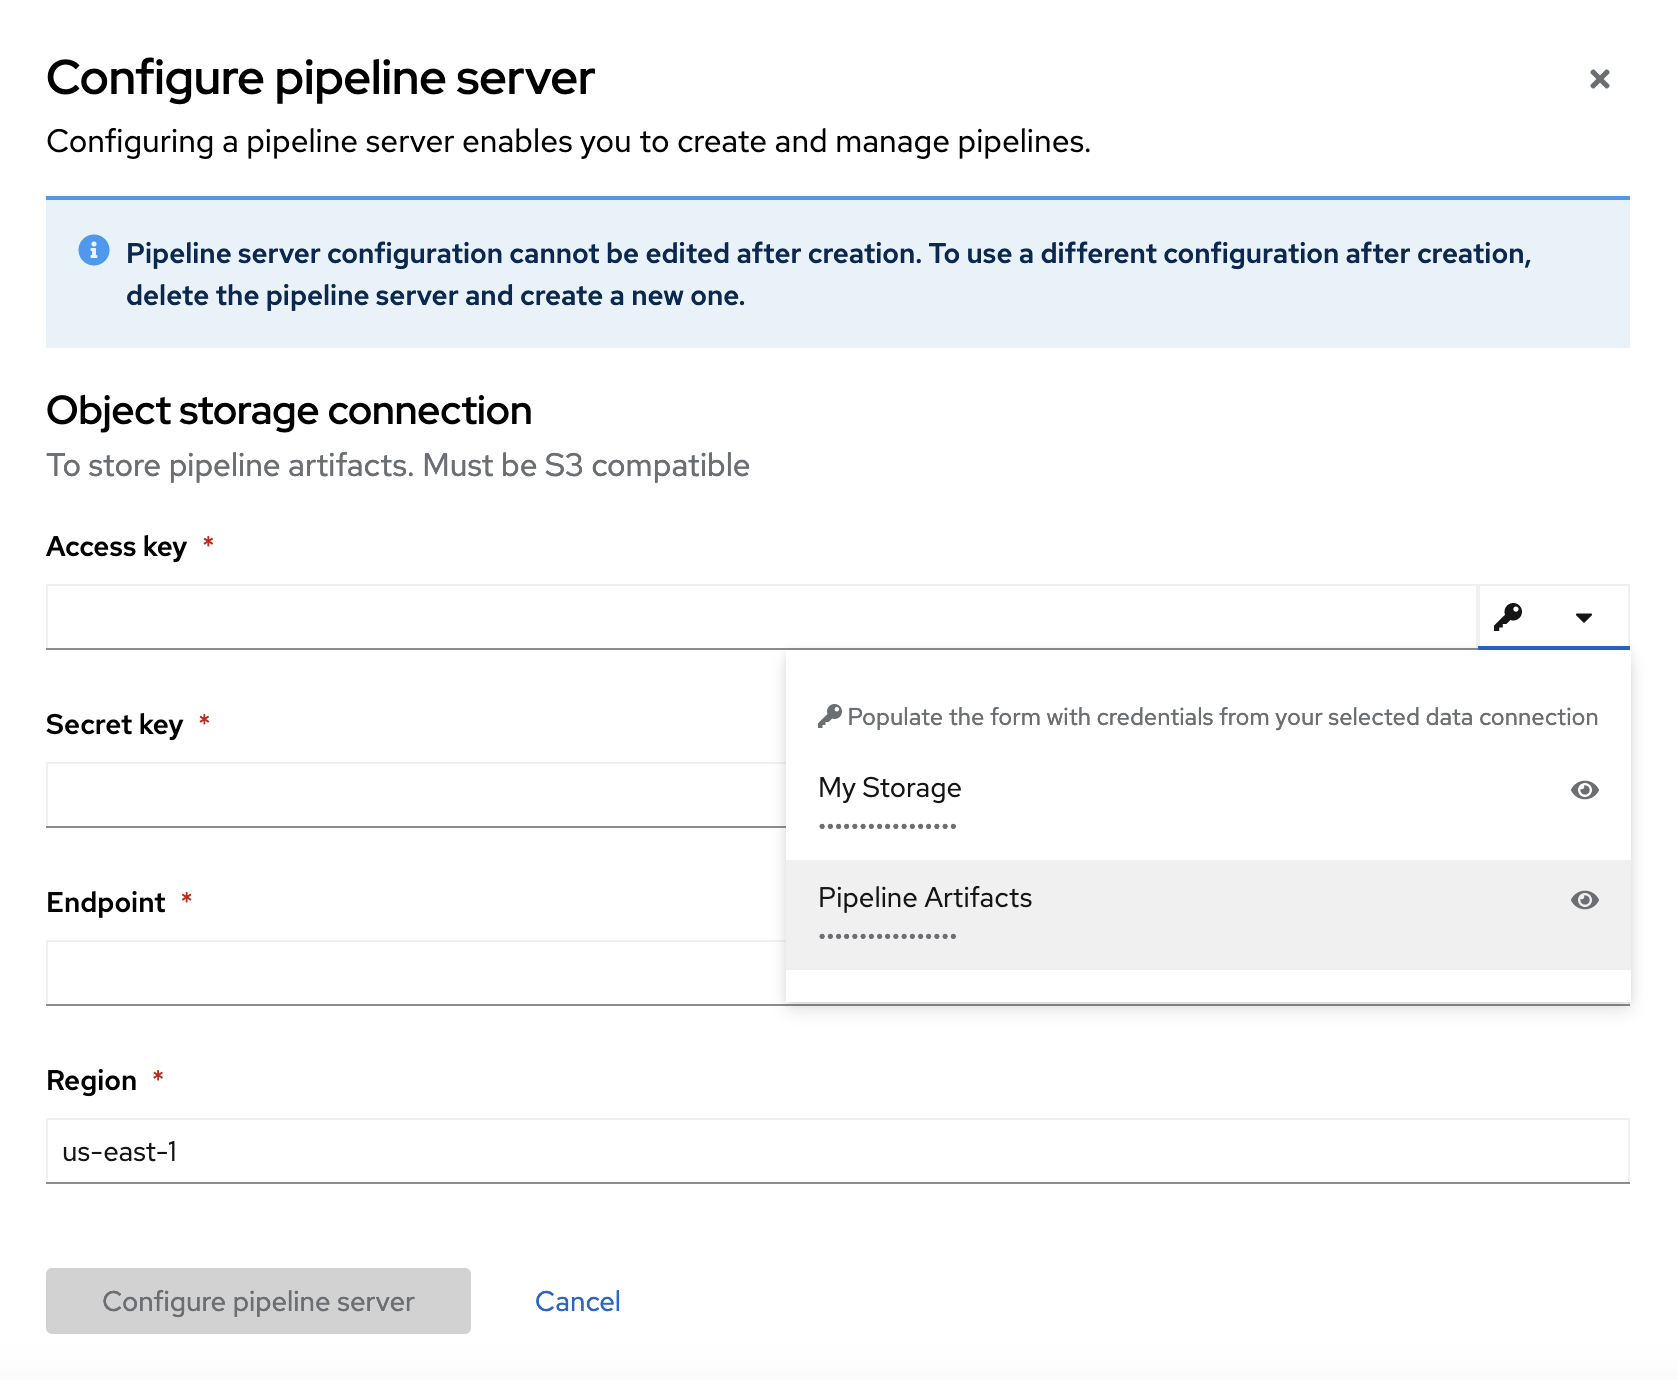
- Leave the database configuration as the default.
- Click Configure pipeline server.
Wait until the spinner disappears and No pipelines yet is displayed.
ImportantYou must wait until the pipeline configuration is complete before you continue and create your workbench. If you create your workbench before the pipeline server is ready, your workbench will not be able to submit pipelines to it.
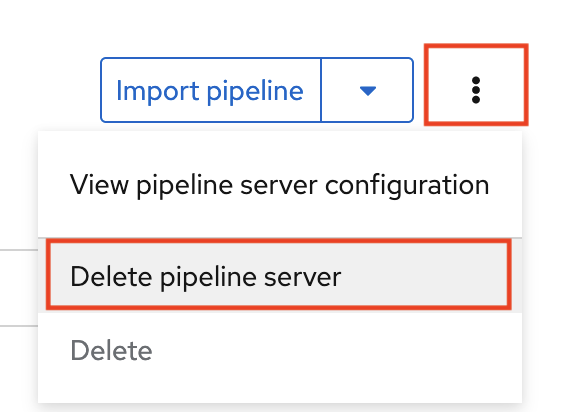
If you have waited more than 5 minutes, and the pipeline server configuration does not complete, you can try to delete the pipeline server and create it again.
You can also ask your OpenShift AI administrator to verify that self-signed certificates are added to your cluster as described in Working with certificates.
Verification
- Navigate to the Pipelines tab for the project.
Next to Import pipeline, click the action menu (⋮) and then select View pipeline server configuration.
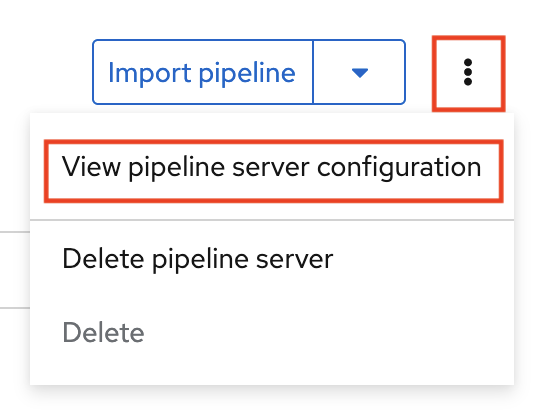
An information box opens and displays the object storage connection information for the pipeline server.