このコンテンツは選択した言語では利用できません。
Chapter 2. Installing and Enabling Cockpit
2.1. Setting up a Cockpit server
A Cockpit server is the machine that is running the cockpit service and exposes the user interface. Depending on the operating system, you need to install the cockpit packages or the cockpit-ws container. You can then open the interface in a browser by typing localhost:9090, or use any other machine and type in the IP address of the Cockpit server. Through Cockpit, you can also add more secondary hosts to this primary server. They need to have the cockpit packages installed on them. This document refers to the Cockpit server as the primary server and the added hosts as secondary.
2.1.1. Installing Cockpit
A. On Red Hat Enterprise Linux Atomic Host
Run the cockpit-ws image. Use this command:
-bash-4.2# atomic run rhel7/cockpit-ws
Afterwards, you can log into Cockpit. Go to Opening The Interface
B. On Red Hat Enterprise Linux
Once you have Red Hat Enterprise Linux installed and with enabled networking, you need to register the system and enable the Extras and Optional repositories:
# subscription-manager register --auto-attach --username=<rhnuser> --password=<rhnpasswd>
# subscription-manager repos --enable=rhel-7-server-extras-rpms
# subscription-manager repos --enable=rhel-7-server-optional-rpms
Allow external connections to port 9090 through the firewall:
#  firewall-cmd --add-port=9090/tcp
#  firewall-cmd --permanent --add-port=9090/tcp
Install the cockpit packages:
$ sudo yum install cockpit
Enable and start the cockpit.socket service:
$ sudo systemctl enable cockpit.socket
$ sudo systemctl start cockpit.socket
2.1.2. Opening The Interface
Open a web browser and enter the server’s IP address with port 9090 in the address bar. If the web browser is on the Cockpit server, open localhost:9090 or hostname:9090. If you get a security warning by the browser, you will need to add this connection to the security exceptions. Click Advanced
Add Exception Confirm Security Exception. After that, you will see the login screen: 
- Log into the Cockpit interface with the same user name and password that you would use to log into the Atomic system.
2.1.3. Changing Expired Passwords
If there is an account on your Atomic system that has an expired password, you can change it from Cockpit. For example, if you have provisioned your system using cloud-init to set up an expired password, you will be prompted to change it the first time you log into the system. It can also be used by system administrators who want to make sure the user changes his password on the first login.
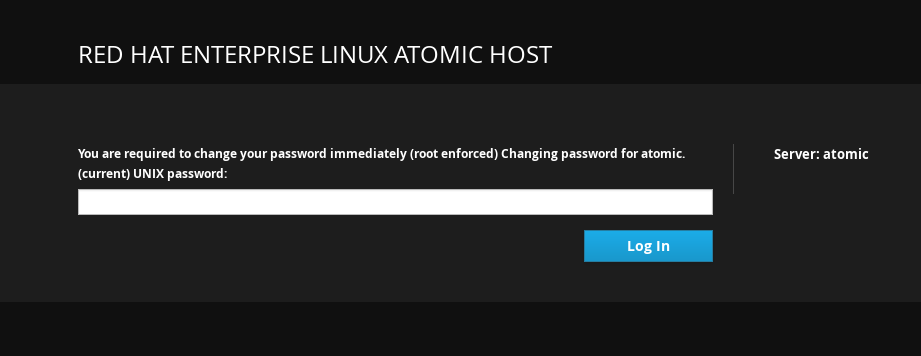
When you try to log in with the usual password and that password has expired, Cockpit will prompt you to enter the current password again. Enter your current password and click Login.
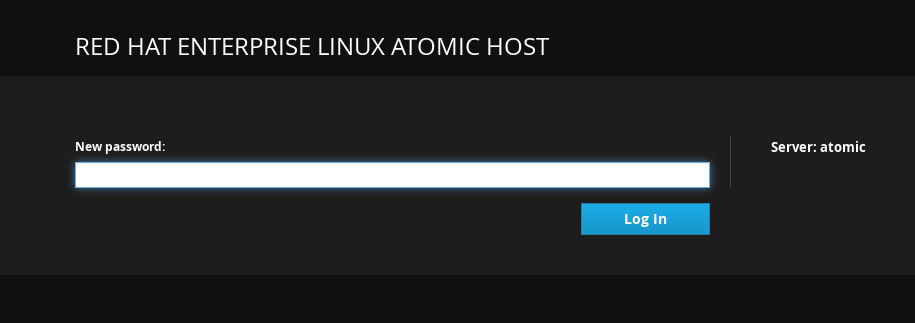
Choose a new password and click Login.
If you can’t log into Cockpit and you are not redirected to the changing password screen, check the /etc/ssh/sshd_config file on the Cockpit Server and make sure the ChallengeResponseAuthentication line is set to yes. After that, restart sshd with the systemctl restart sshd command.
2.1.4. SSH two-factor authentication with Cockpit
Cockpit now supports two-factor authentication so if you have protected your SSH server with such configuration, the Cockpit login screen will prompt you to enter your password and PIN pair. To set up SSH for two-factor authentication you need two components:
-
Your company’s authenticator application that provides one-time passwords or PIN numbers. An example application is the
Google Authenticator, which also has its own PAM (Pluggable Authentication Module). - A server that validates the PINs from your dongle.
These two components can be built in many different ways depending on the infrastructure of your particular company. When you have these two set up, you will need to do the following things:
Enter the following line in the
/etc/pam.d/sshdfile as the lastauthline:auth required <your_PAM_module>
-
Edit the
/etc/ssh/sshd_configfile so that theChallengeResponseAuthenticationline is set toyes. -
Restart the
sshdservice with thesystemctl restart shhdcommand.
When you open Cockpit’s interface, and enter your password, you will then be prompted to enter your Verification code: