이 콘텐츠는 선택한 언어로 제공되지 않습니다.
8.3.2. Running SCAP Workbench
After a successful installation of both, the SCAP Workbench utility and SCAP content, you can start using SCAP Workbench on your systems. For running SCAP Workbench from the GNOME Classic desktop environment, press the Super key to enter the Activities Overview, type
scap-workbench, and then press Enter. The Super key appears in a variety of guises, depending on the keyboard and other hardware, but often as either the Windows or Command key, and typically to the left of the Spacebar key.
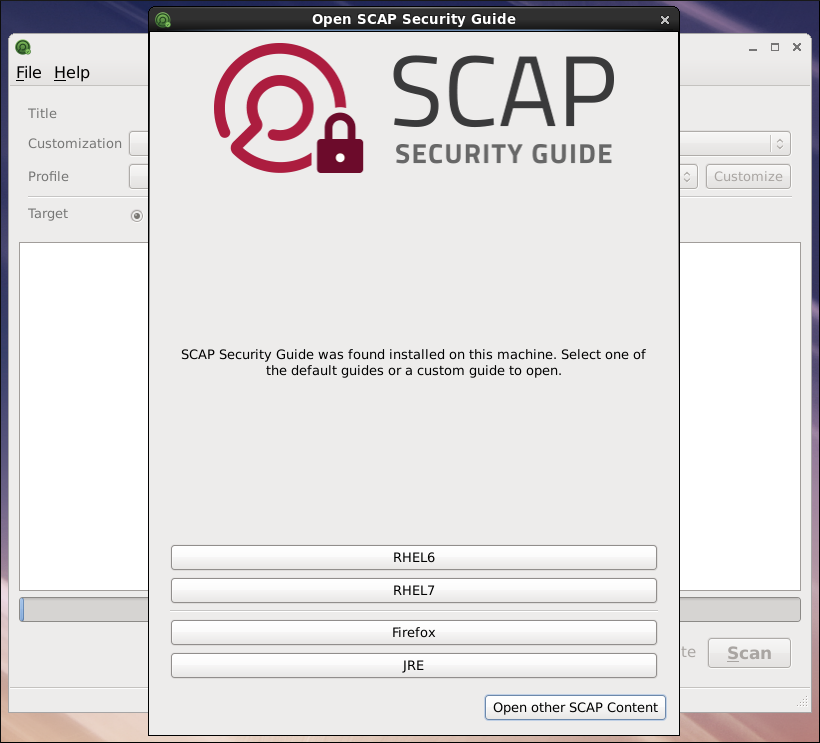
Figure 8.1. Open SCAP Security Guide Window
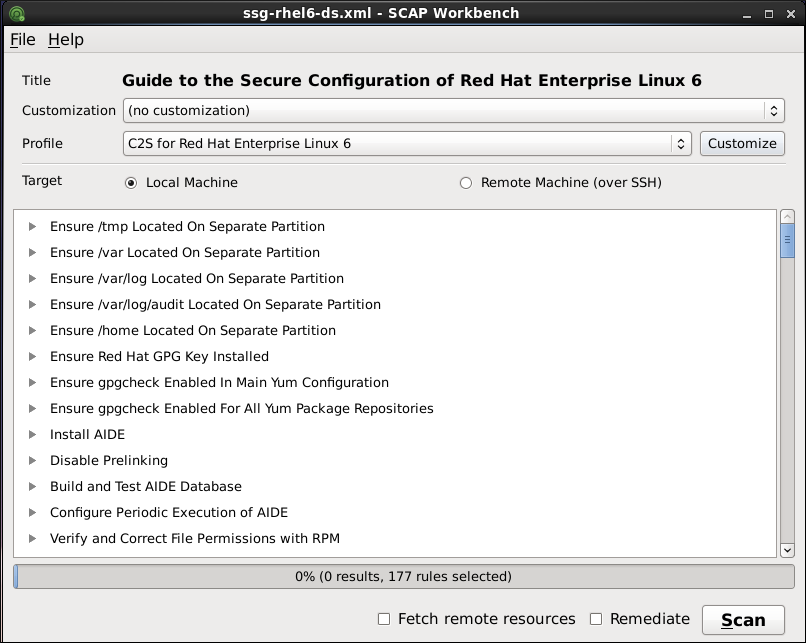
As soon as you start the utility, the Open SCAP Security Guide window appears. After a selection one of the guides, the SCAP Workbench window appears. This window consists of several interactive components, which you should become familiar with before you start scanning your system:
- File
- This menu list offers several options to load or save a SCAP-related content. To show the initial Open SCAP Security Guide window, click the menu item with the same name. Alternatively, load another customization file in the XCCDF format by clicking Open Other Content. To save your customization as an XCCDF XML file, use the Save Customization Only item. The Save All allows you to save SCAP files either to the selected directory or as an RPM package.
- Customization
- This combo box informs you about the customization used for the given security policy. You can select custom rules that will be applied for the system evaluation by clicking this combo box. The default value is (no customization), which means that there will be no changes to the used security policy. If you made any changes to the selected security profile, you can save those changes as an XML file by clicking the Save Customization Only item in the File menu.
- Profile
- This combo box contains the name of the selected security profile. You can select the security profile from a given XCCDF or data-stream file by clicking this combo box. To create a new profile that inherits properties of the selected security profile, click the button.
- Target
- The two radio buttons enable you to select whether the system to be evaluated is a local or remote machine.
- Selected Rules
- This field displays a list of security rules that are subject of the security policy. Expanding a particular security rule provides detailed information about that rule.
- Status bar
- This is a graphical bar that indicates status of an operation that is being performed.
- Fetch remote resources
- This check box allows to instruct the scanner to download a remote OVAL content defined in an XML file.
- Remediate
- This check box enables the remediation feature during the system evaluation. If you check this box, SCAP Workbench will attempt to correct system settings that would fail to match the state defined by the policy.
- Scan
- This button allows you to start the evaluation of the specified system.
Figure 8.2. SCAP Workbench Window

