Este conteúdo não está disponível no idioma selecionado.
24.7. Cluster Administration
24.7.1. Cluster Nodes View
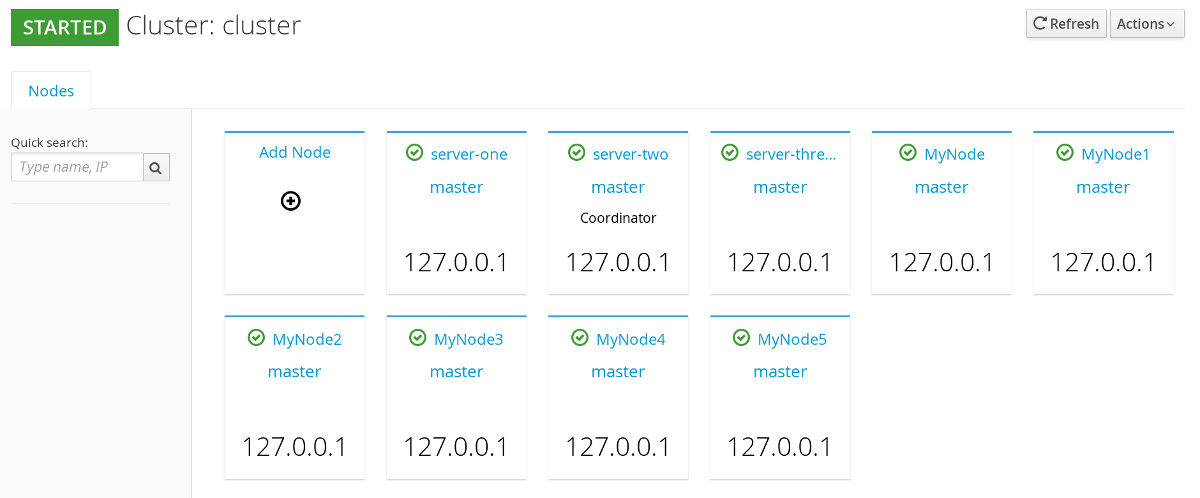
Figure 24.72. Nodes View
24.7.2. Cluster Nodes Mismatch
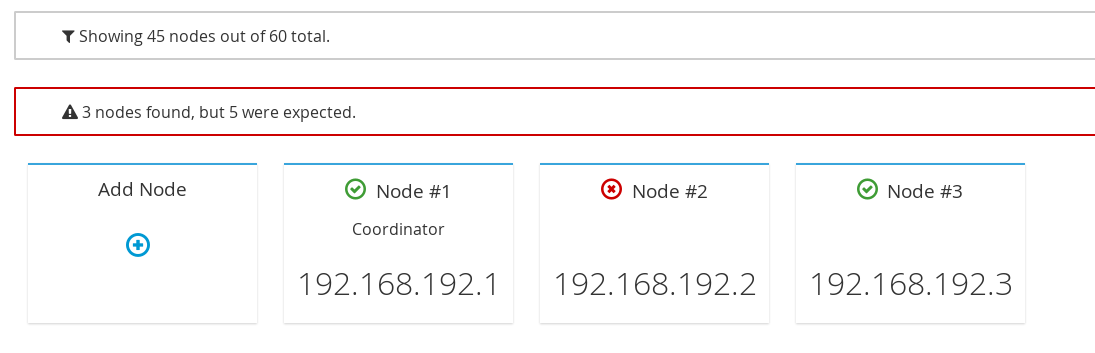
Figure 24.73. Cluster Nodes Mismatch
24.7.3. Cluster Rebalancing
Note
Procedure 24.14. Enable and Disable Rebalancing
- From the cache container view, click on the name of the cache container.
- In the caches view, at the right hand side, click on .
Figure 24.74.
- A callout menu is opened. Click .
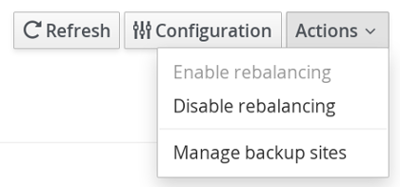
Figure 24.75.
- A confirmation dialogue box appears. Click .
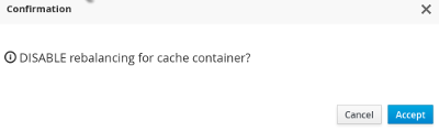
Figure 24.76.
- Cluster rebalancing is successfully disabled.
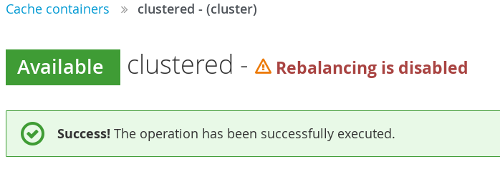
Figure 24.77.
- To enable rebalancing, click Actions > Enable Rebalancing.
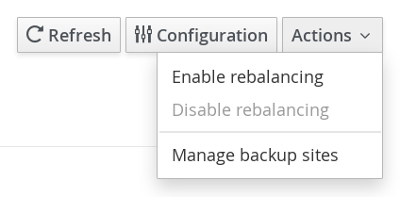
Figure 24.78.
- A confirmation dialogue box appears. Click .
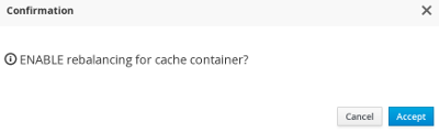
Figure 24.79.
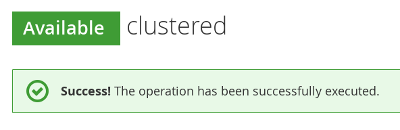
Figure 24.80.
Procedure 24.15. Enable and Disable Rebalancing
- From the cache container view, click on the name of the cache container.
- In the caches view, click on a specific cache.
- The cache statistics page is displayed. At the right hand side, click .
Figure 24.81.
- From the callout menu, click .
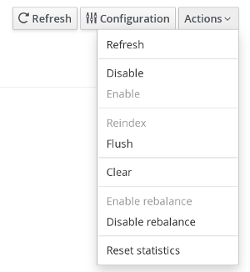
Figure 24.82.
- A confirmation dialogue box appears. Click .
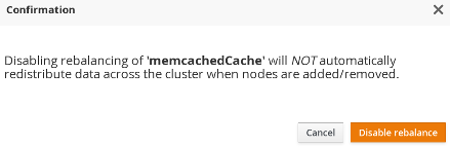
Figure 24.83.
- The rebalancing for the cache is successfully disabled.
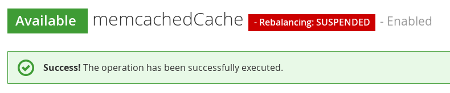
Figure 24.84.
- To enable cache level rebalancing, click from the menu.
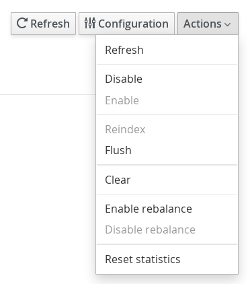
Figure 24.85.
- A confirmation dialogue box appears. Click .
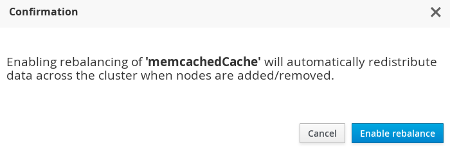
Figure 24.86.

Figure 24.87.
24.7.4. Cluster Partition Handling
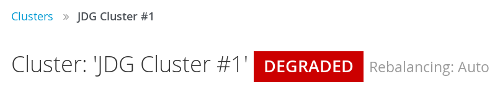
Figure 24.88. Network Partition Warning
24.7.5. Cluster Events
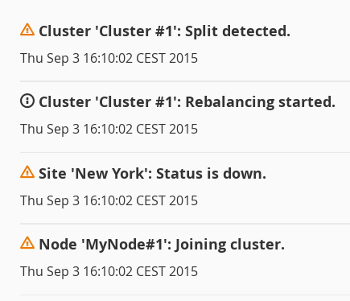
Figure 24.89.
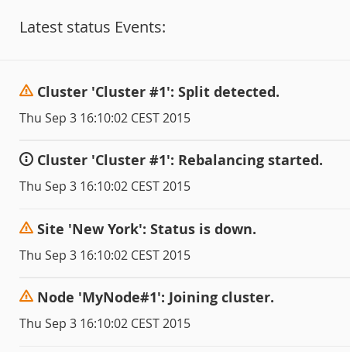
Figure 24.90.
24.7.6. Adding Node
Procedure 24.16. Adding a New Node
- In the Dashboard view, click tab.

Figure 24.91. Clusters Tab
- Click on the name of the cluster where the new node has to be added.
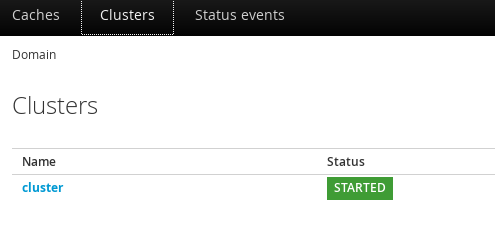
Figure 24.92. Cluster Selection
- Click .
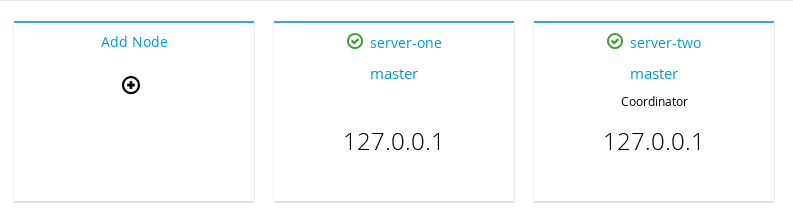
Figure 24.93. Add Node Created
- The node configuration window is opened. Enter the node properties in the respective fields and click
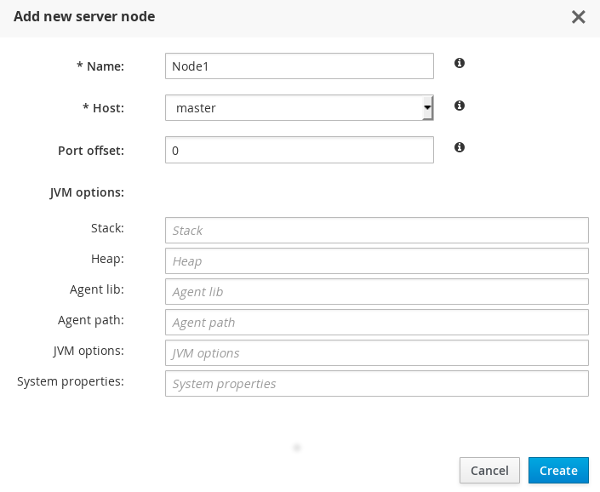
Figure 24.94. Node Properties
- The system boots up.
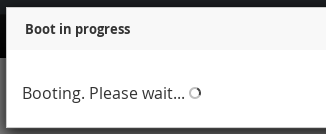
Figure 24.95. System Boot
- The new node is successfully created.
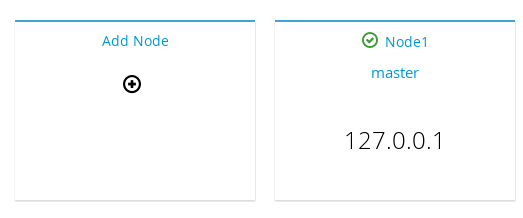
Figure 24.96. New Node
24.7.7. Node Statistics and Properties View
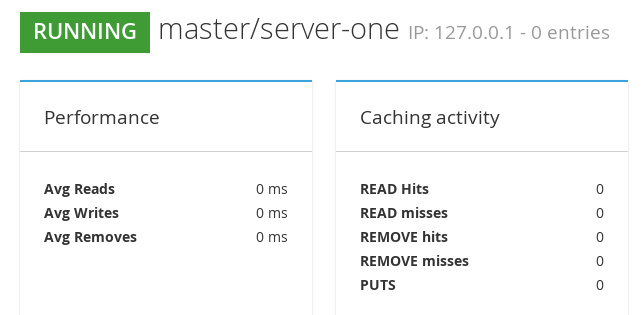
Figure 24.97. Nodes Statistics
24.7.8. Node Performance Metrics View
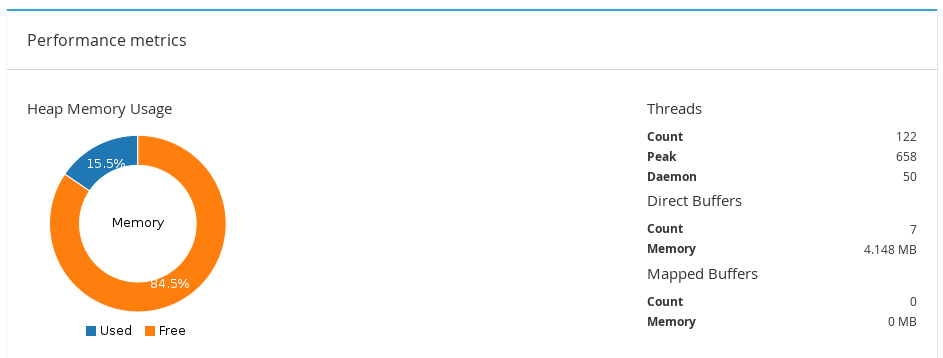
Figure 24.98. Node Performance Metrics
24.7.9. Disabling a Node
Procedure 24.17. Adding a New Node
- Click on the name of the cluster in the Cluster View of the JBoss Data Grid Administration Console.
- In the Nodes view, click on the node to be disabled.
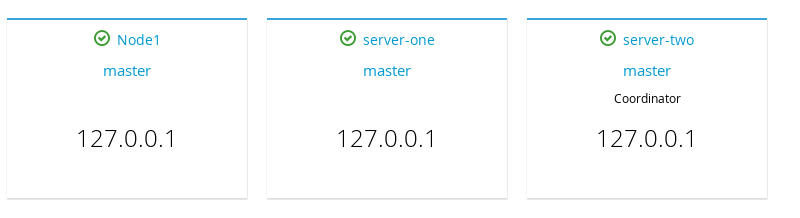
Figure 24.99. Nodes View
- The Node statistics view is opened. Click on the Actions tab located at the right hand side of the page and then click .
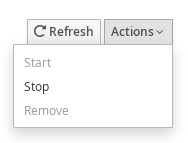
Figure 24.100. Nodes Stop
- A confirmation box appears. Click to remove the node from the cluster.

Figure 24.101. Confirmation Box
24.7.10. Cluster Shutdown and Restart
24.7.10.1. Cluster Shutdown
Procedure 24.18. Shutting Down Cluster
- Navigate to the Clusters view in the JBoss Data Grid Administration console and click on the name of the cluster.
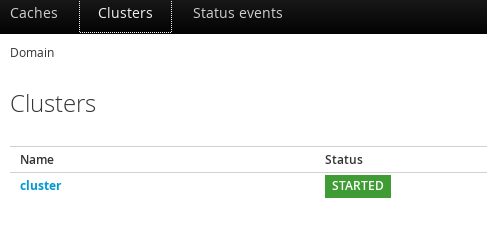
Figure 24.102. Clusters View
- On the Nodes view page, locate the Actions tab to the top right hand side of the interface. Click on Actions tab and then click .
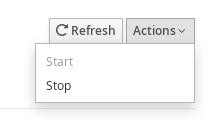
Figure 24.103. Cluster Stop
- A confirmation box will appear. To confirm, click Stop.
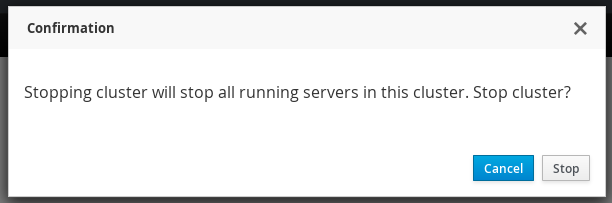
Figure 24.104. Confirmation Box
24.7.10.2. Cluster Start
Procedure 24.19. Starting Cluster
- Navigate to the Clusters view in the JBoss Data Grid Administration console and click on the name of the cluster.
- On the Nodes view page, locate the Actions tab to the top right hand side of the interface. Click on Actions tab and then click .
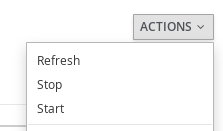
Figure 24.105. Cluster Start
- A confirmation box will appear. Click Start to start the cluster.