此内容没有您所选择的语言版本。
21.3. Workspace permissions
Procedure: Accessing Workspace Permissions
- Log into Business Dashboards from Business Central (as described in the Accessing Red Hat JBoss BPM Suite Dashbuilder topic).
Select the appropriate Dashboard from the Wokspace drop-down:
Figure 21.1. Dashbuilder Workspace
-
Click the
 button to access the Workspace Dashboard.
Click the Permissions label to view the permission management screen.
Figure 21.2. Permissions Screen

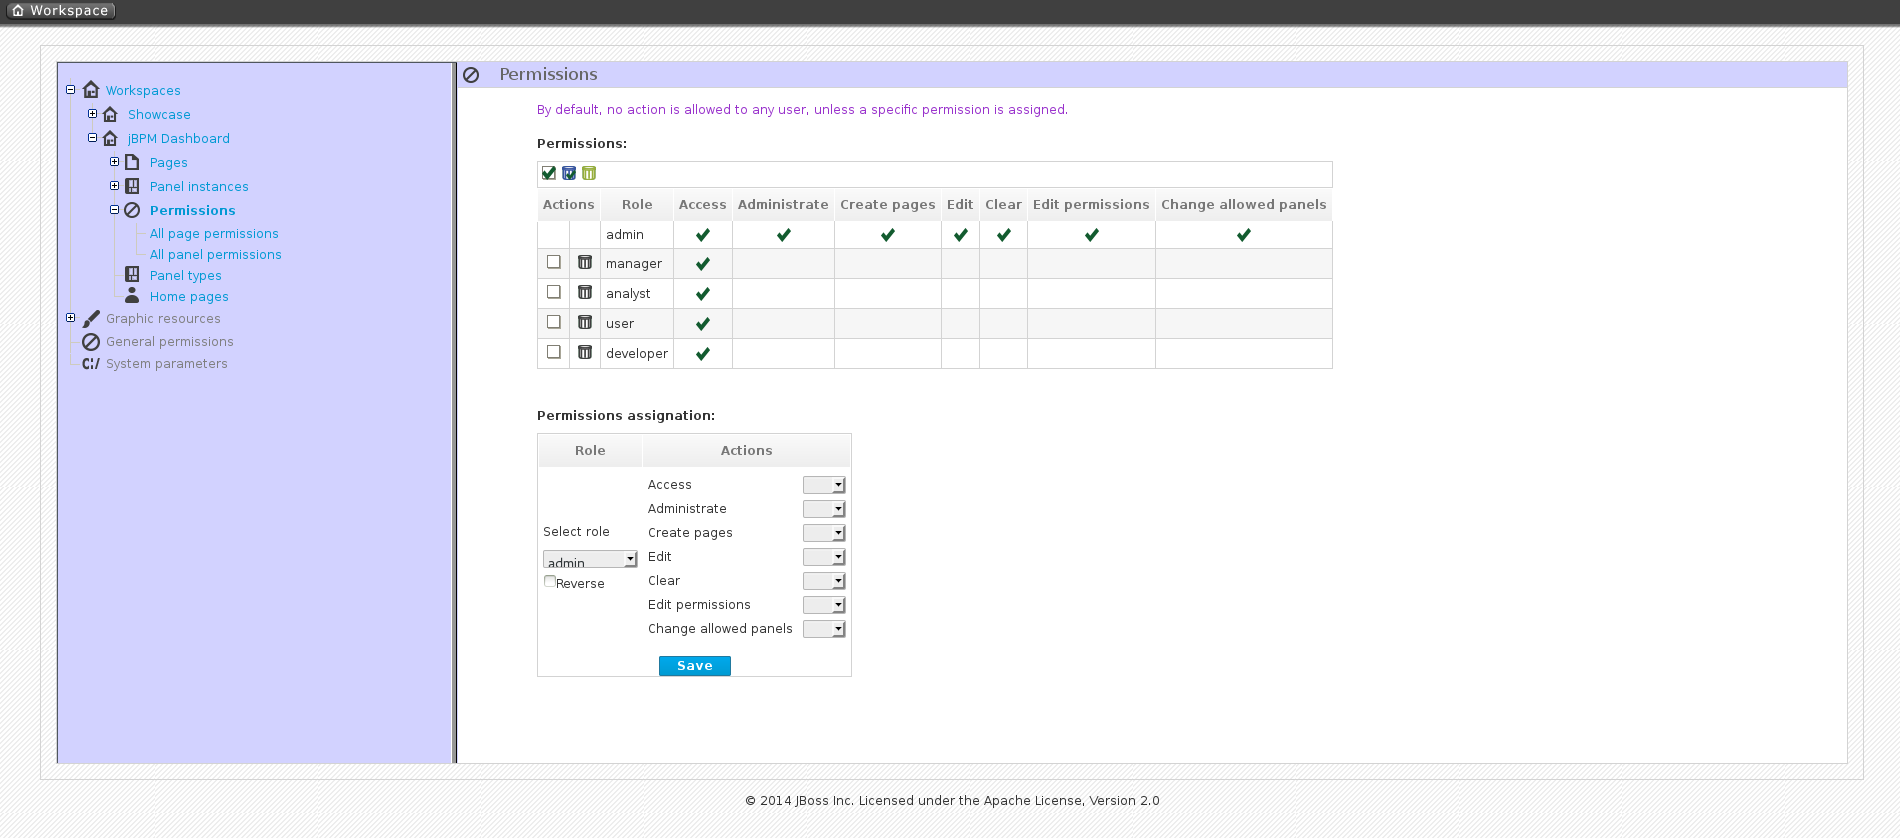
Under the Permissions section is a list of allowed actions that are applied to the selected role:
- Access: Permission to login into the application.
- Administrate: Permission to access the toolbar and system configuration features.
- Create pages: Ability to create new project pages.
- Edit: Permission to change the workspace properties.
- Clear: Ability to delete the workspace.
- Edit permissions: Ability to grant/deny permissions.
- Change allowed panels: Permission to restrict the type of panels that can be used in this workspace.
To assign a permission, you must select the target role and the list of actions allowed over the selected resource:
Figure 21.3. Permissions assignment
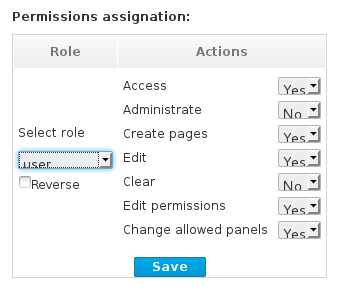
- Target roles (who): What user will be granted/denied with the permissions defined.
- Allowed actions: Depending on the type of the resource we can enable/disable what the user can do on this resource.
- Reverse (optional): When we have a set of roles and we want to grant/deny a permission to all the roles but one.
Note
By default, the full set of permissions go to the role admin. This makes it easy to create a user that can do everything as long as the role admin is assigned.