This documentation is for a release that is no longer maintained
See documentation for the latest supported version.3.9. 品牌
3.9.1. branding Che-Theia
本章论述了如何自定义 Che-Theia 接口和品牌。可以对以下元素进行自定义:
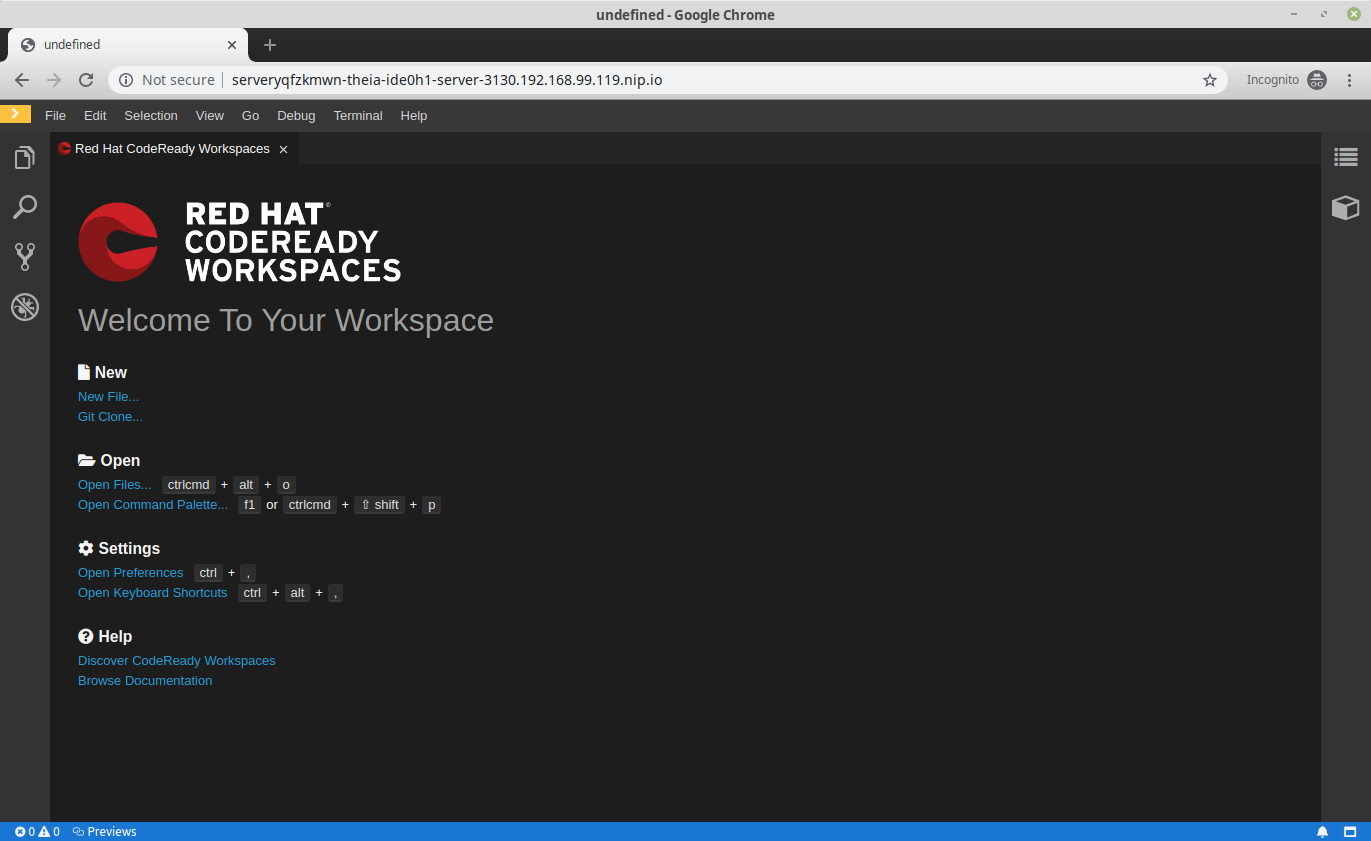
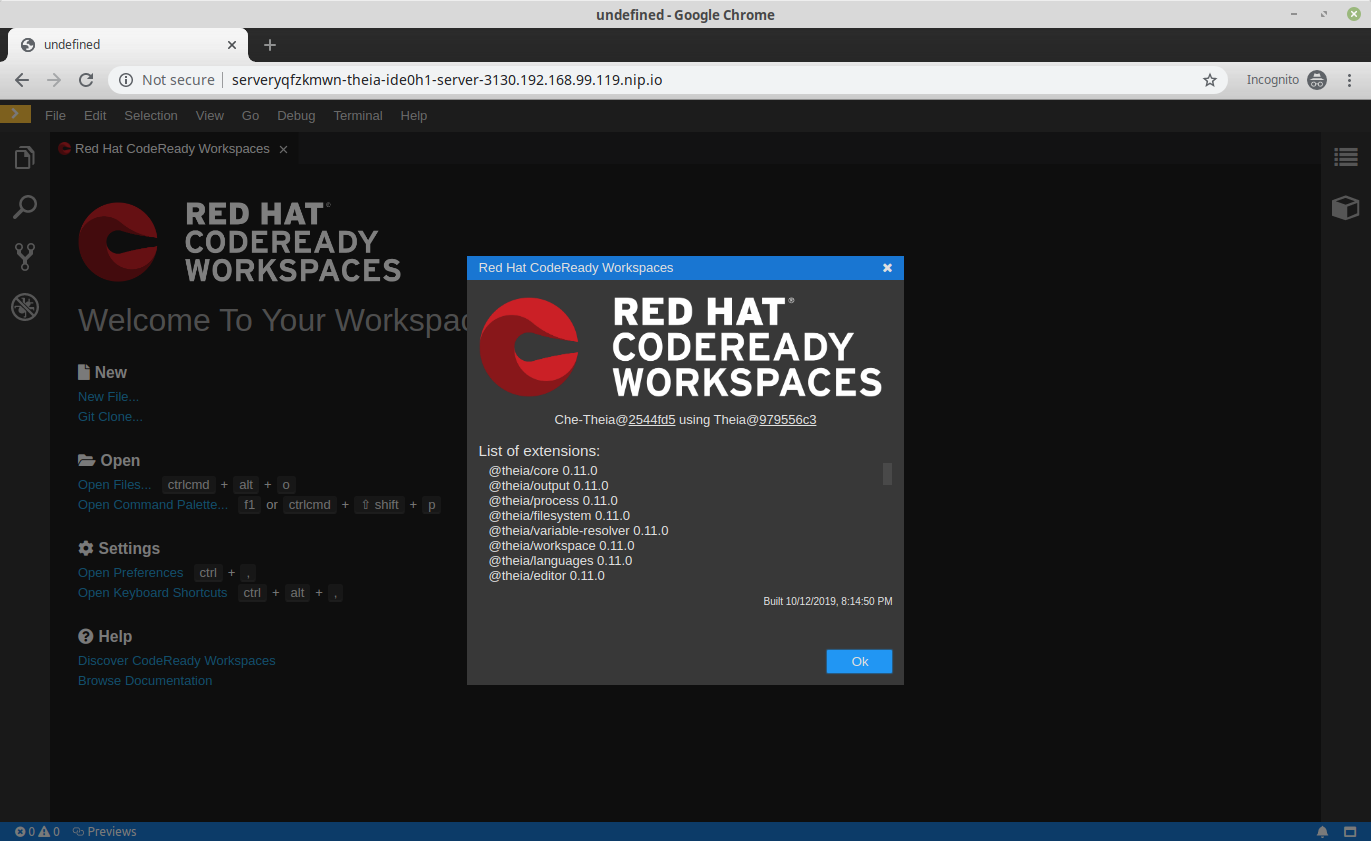
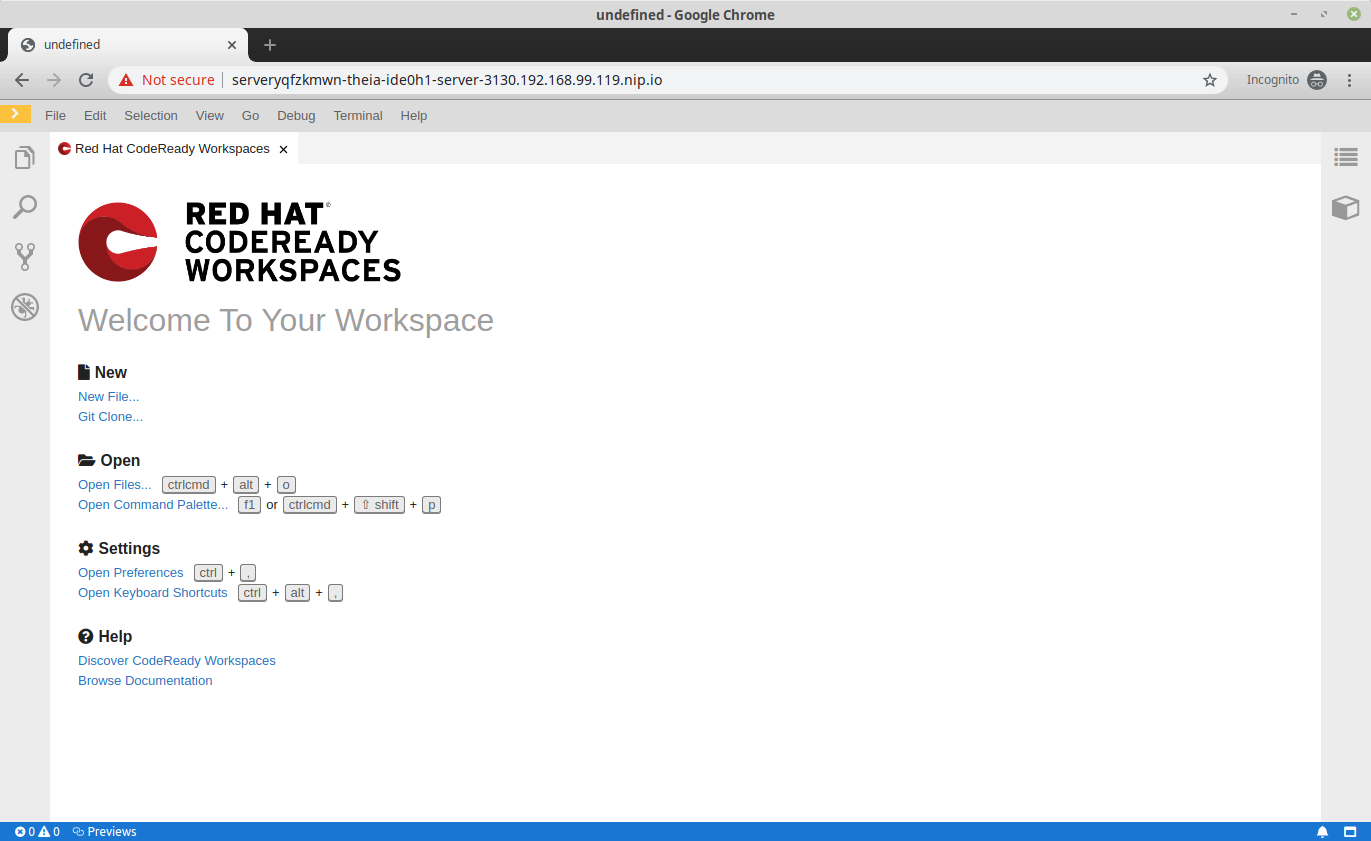
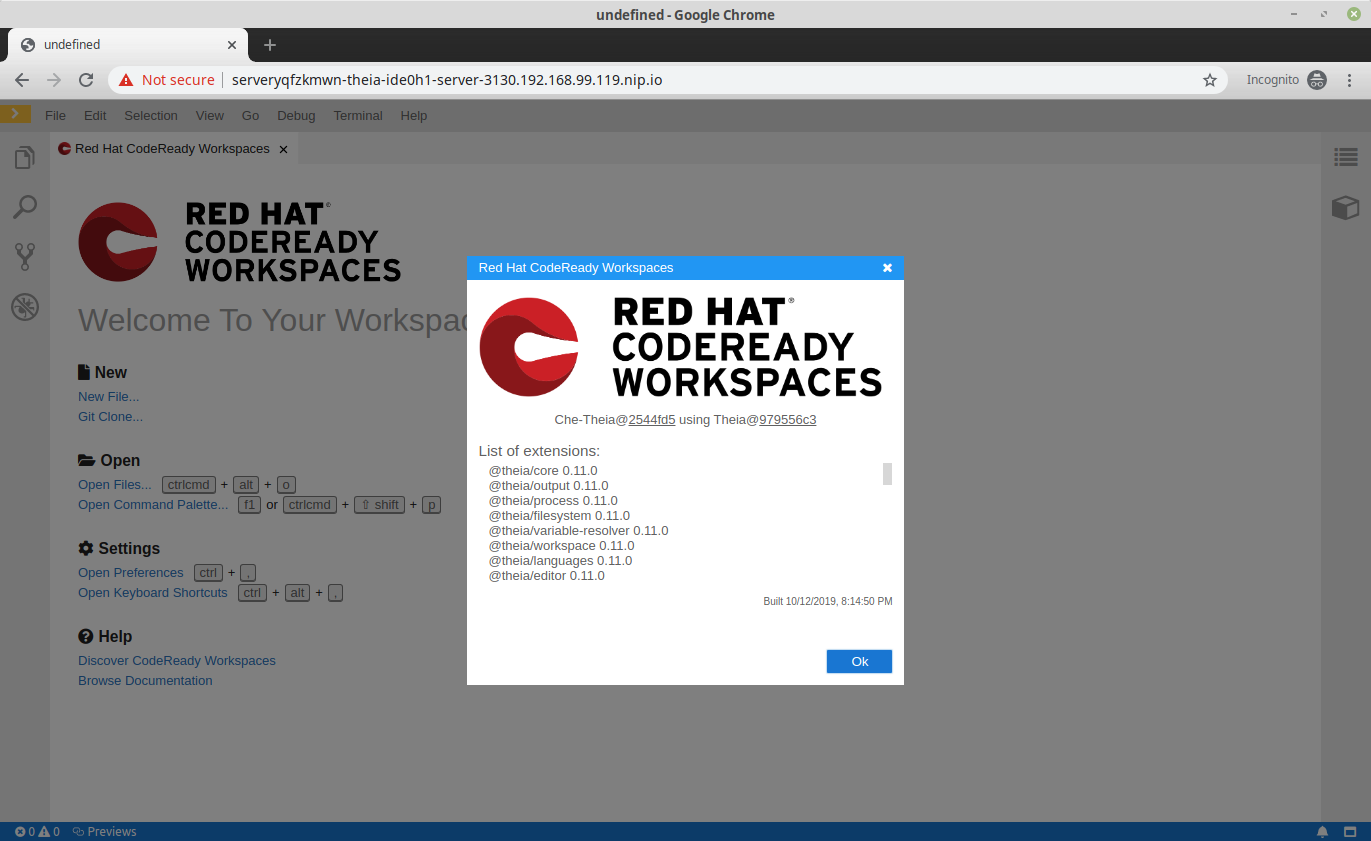
欢迎页面 和 关于 对话框:
- 产品名称
- 产品徽标
- 描述
- 有用资源列表( Welcome 页的Help 部分)
要使用自定义的 Che-Theia 启动:
- 使用自定义 Che-Theia 构建容器镜像。
-
定义使用自定义镜像的编辑器
meta.yaml。 - 使用自定义编辑器从 devfile 创建工作区。
3.9.1.1. 为 Che-Theia 定义定制品牌值
本节论述了如何自定义 Che-Theia 的基本品牌元素的定义。
流程
在 Welcome 页面( product.json 示例)上创建一个包含产品、徽标、描述和超链接列表的 product.json 文件:
对于 dark 和 light themes 只使用一个徽标镜像:
{
    ...
    "logo": "product-logo.png"
    ...
}
{
    ...
    "logo": "product-logo.png"
    ...
}3.9.1.2. 构建具有自定义品牌的 Che-Theia 容器镜像
本节论述了如何构建具有应用自定义品牌的 Che-Theia 容器镜像。
先决条件
-
带有自定义品牌定义的
product.json文件。
流程
-
下载
Dockerfile示例。 -
在
Dockerfile目录中,创建一个品牌/子目录。将自定义product.json文件和徽标镜像放在品牌/目录中。 使用 Che-Theia 构建容器镜像,并将镜像推送到容器 registry:
podman build -t username/che-theia-devspaces:next .
podman push username/che-theia-devspaces:next
$ podman build -t username/che-theia-devspaces:next .
$ podman push username/che-theia-devspaces:next
Copy to Clipboard Copied! Toggle word wrap Toggle overflow
3.9.1.3. 测试 Che-Theia with custom branding
本节论述了如何通过打开带有自定义品牌的新工作区来测试自定义的 Che-Theia。
先决条件
- Che-Theia 容器镜像,使用自定义品牌定义构建。
流程
要测试自定义 Che-Theia 镜像,请创建一个描述自定义 cheEditor 的新 meta.yaml 文件,并在 devfile 中将它用于测试工作区。
克隆
che-plugin-registry存储库,并检查要部署的版本。请参见:administration-guide:examples/snip_devspaces-clone-the-plug-in-registry-repository.adoc
-
打开
che-editors.yaml文件。 -
编辑
id等于eclipse/che-theia/next条目,并替换containers部分中的image值以指向自定义 Che-Theia 容器镜像。 构建 registry:
administration-guide:examples/snip_devspaces-build-a-custom-plug-in-registry.adoc
-
进入
./dependencies/che-plugin-registry/v3/plugins/eclipse/che-theia/next目录。 -
将这个目录中的
meta.yaml文件发布到一个公开访问的位置,该位置可作为 HTTP 资源使用。 使用 che-theia-branding-example devfile 示例创建一个工作区来应用更改。
验证
reference字段是否指向您公布的meta.yaml文件:Copy to Clipboard Copied! Toggle word wrap Toggle overflow 运行工作区以查看更改:
Che-Theia 的主题:
Che-Theia 的正常主题:


